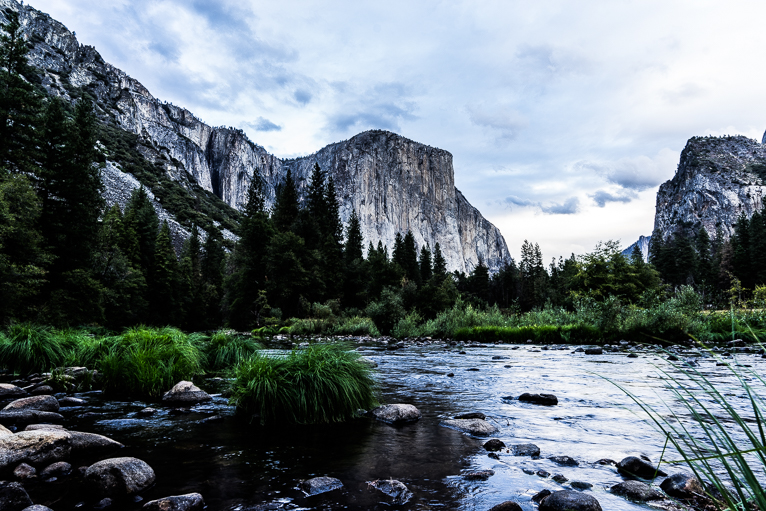
Professional photographer Anna Serrano tries to find the light in every photo. She says that “light has been boosting her upstream and against the winds”. Half Catalan and half Italian, she used to live in Walnut Creek, California and subsequently in Istanbul. So it was natural that her journey started by taking photos in San Francisco and Yosemite in her teens. For her, the photography exhibitions at that time in San Francisco were like a window into another galaxy. She wanted to follow in the footsteps of her friend who was a photographer.
Anna’s journey has included influences from some masters of visual and spoken arts. She says “my master is Velázquez because he is a man of order and genius, efficiency, risk, tradition and rupture. My second master is Goya because he saw what others couldn’t. My third is Brueghel because he was a storyteller and my fourth is Chekhov. He was able to say things that I can’t.” Anna’s philosophical view is certainly apparent in her photos. She says “beauty saves the world. It shoves people towards higher irradiation of the spirit. I work for that, for only when the spirit goes high does our passage through this planet makes some sense.”
Anna says that she has got to where she is today by “working a lot and falling but always standing up again.” Over the years she has constantly been learning, correcting, critiquing her work and listening to those voices that matter and not listening to those that don’t.
Speaking Catalan, Italian, Spanish, French, English and Turkish she has been working for 20 years as a travel photographer. Her work has been published worldwide in magazines and books.
So Anna, where are you from?
I am from Barcelona and Rome
Where do you currently live?
I currently live in Barcelona, but I also split my time between Rome and Istanbul.
What genre of photography do you specialize in?
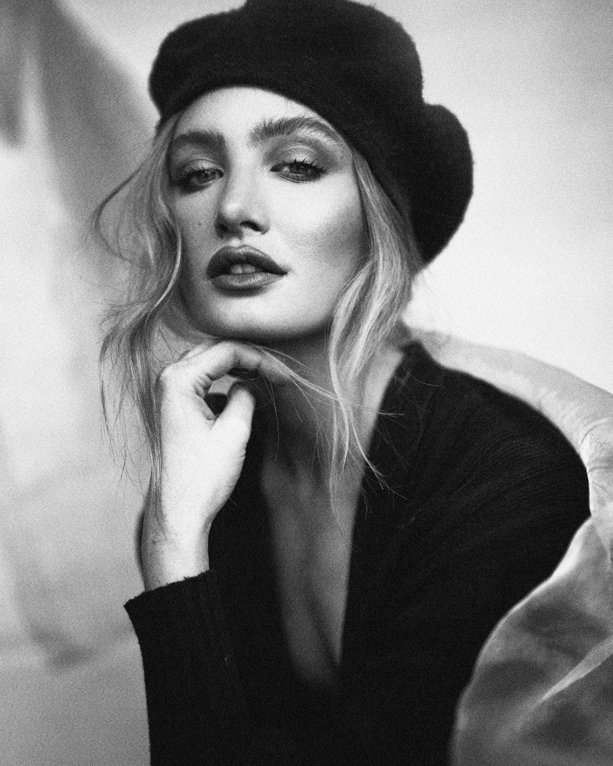
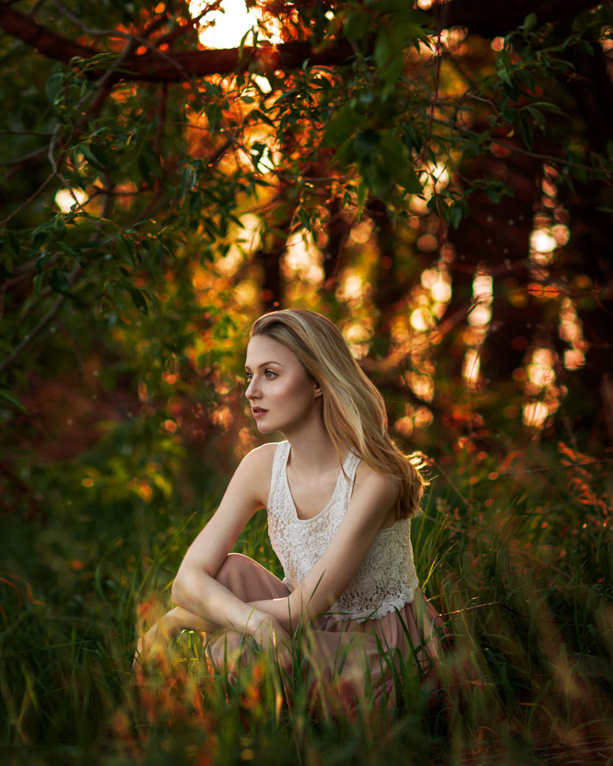
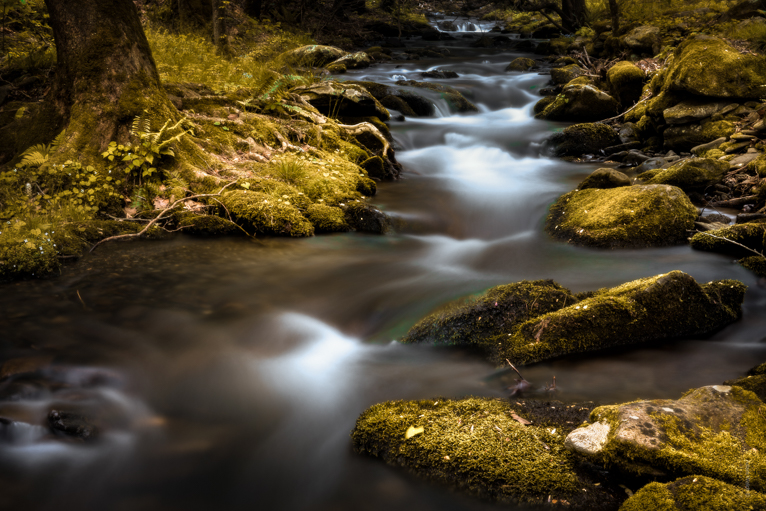
I devote myself to travel photography, interiors, architecture and portraits. I have been published by major international magazines and I have published a guidebook on Barcelona for National Geographic Germany. I’m currently working on fine art prints.
Describe your style of photography?
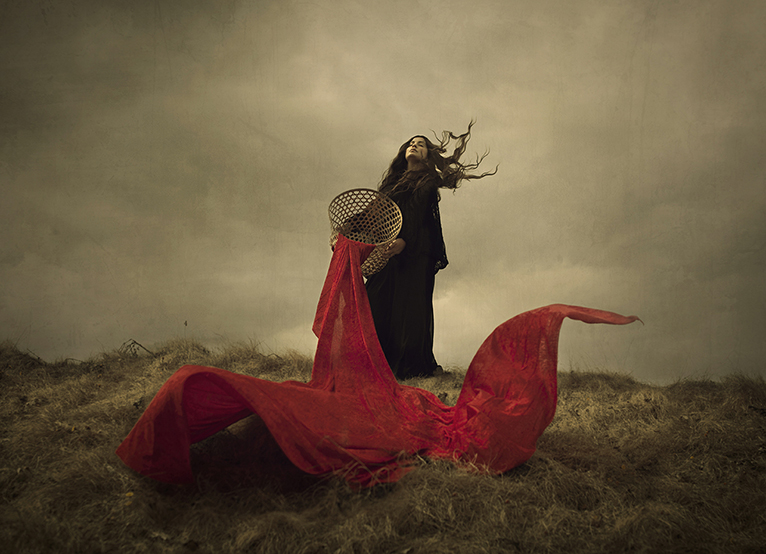
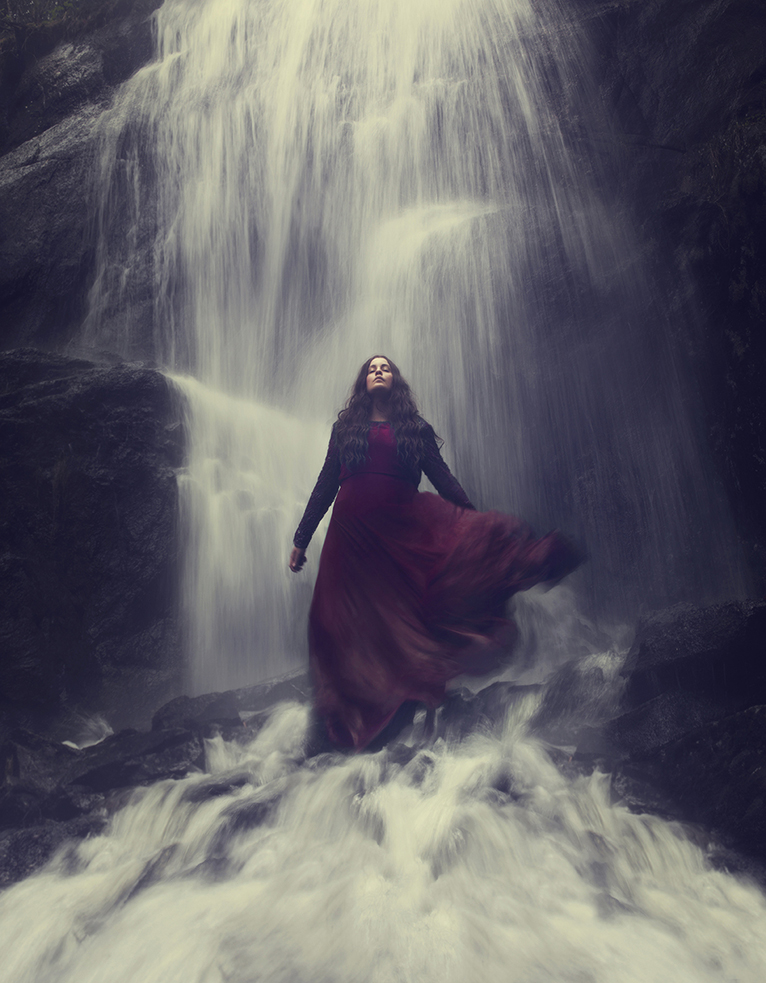
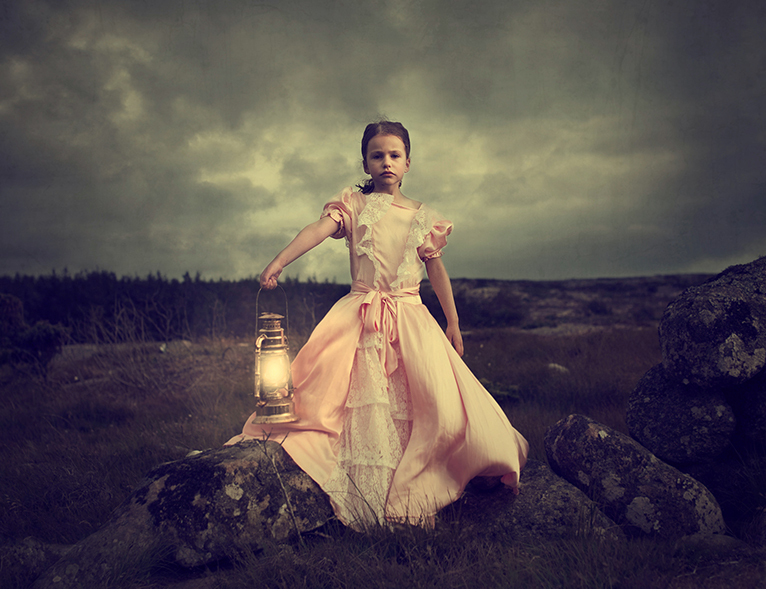
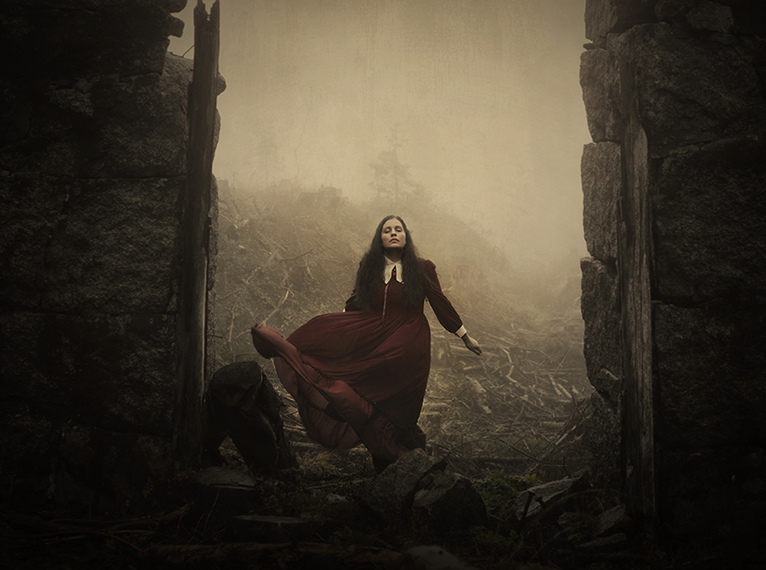
Photography is an inner journey for me. The creative process feeds my soul and my soul feeds the creative process. The more I take care of myself, the more I am able to look at others, to listen to them, and to be able to tell more about them and about our world. My photos always have an intimate touch and a twist of wonder. I use photoshop as a dark room or as a painter’s palette.
What are you working on at the moment?
I am currently working on work for two new museums which have just opened in Istanbul. One of them is on experimental art and the other one an old Byzantine building in the Golden Horn which has been beautifully restored.
I have just published a reportage series on Turkish singers for a Spanish magazine (Luzes). I have also created a reportage series for a French magazine (Madame Figaro) on the art panorama in Budapest to be published soon. Photos on Galicia will be published in an Italian magazine (Touring) and photos of Rome’s Appia Antica will be published there as well as in another Italian magazine (In Viaggio).
What is your next project or assignment?
I am preparing two different stories on Rome for two Italian magazines and I keep on working on my stock archive as well. My new project which I am excited about is a new set of fine art prints that will be soon available for sale.
Are there any photographers whose work/style you admire?
I am inspired not only by photographers but by painters, writers and musicians…
I enjoy spending hours looking at photographers with completely different backgrounds from mine, so I can learn more and more. The more different they are to me, the more I have the feeling of navigating on an intense journey.
What is your favourite memory of your experiences?
Watching the sunrise from the sky on a small balloon in Cappadocia. There was only 5 of us and all of us were silent. The emotion that filled me when darkness turned to light will stay with me forever.
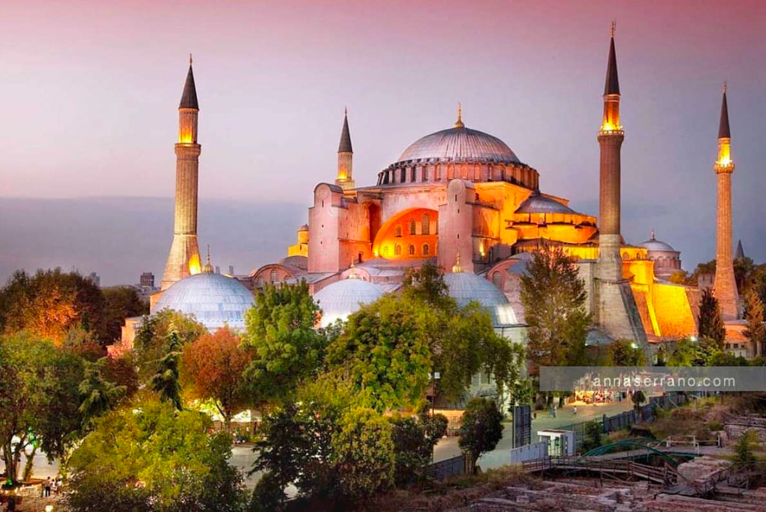
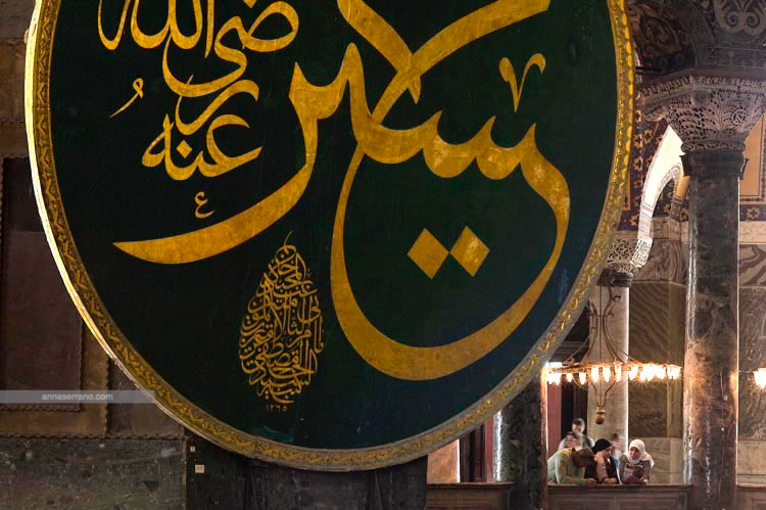
I also remember the day I was alone in Hagia Sophia with a special permit to take photos. It was a Monday and the museum was closed. Leaving just me and Hagia Sophia alone.
What’s the biggest photographic challenge you overcame?
I remember taking photos on an assignment for an Italian magazine in Mallorca when I was suffering from a very high fever. I remember having difficulty just standing up inside the cathedral of Mallorca. It was a nightmare.
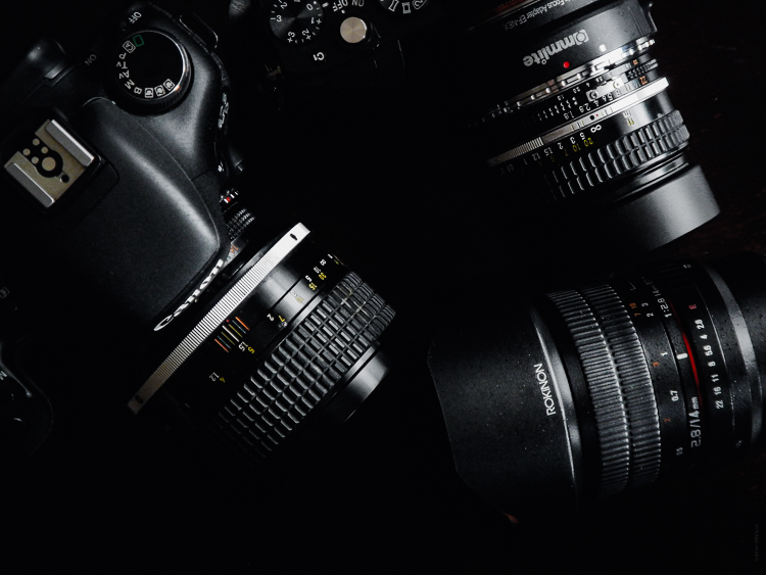
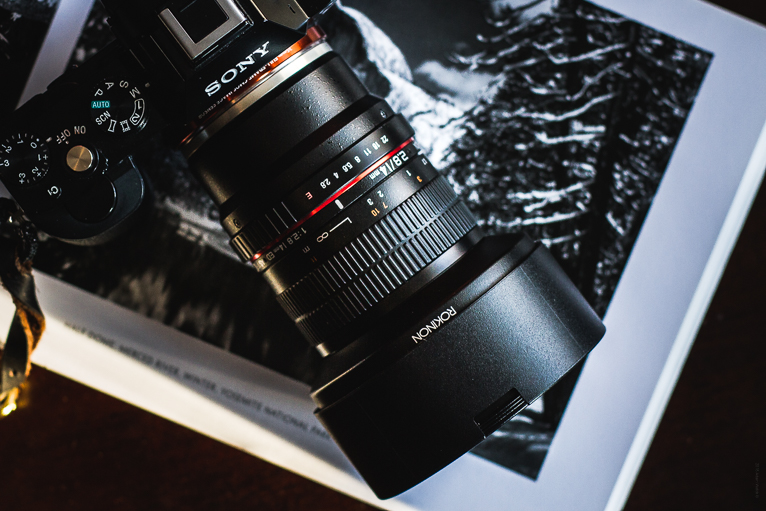
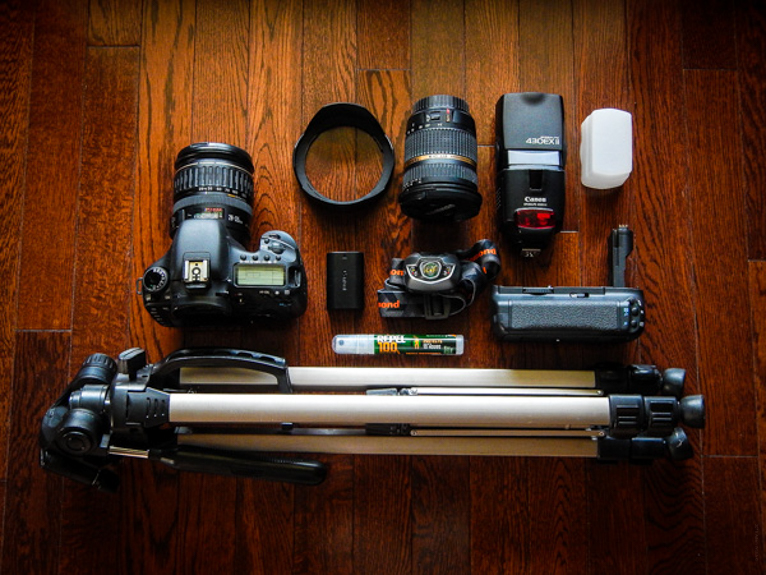
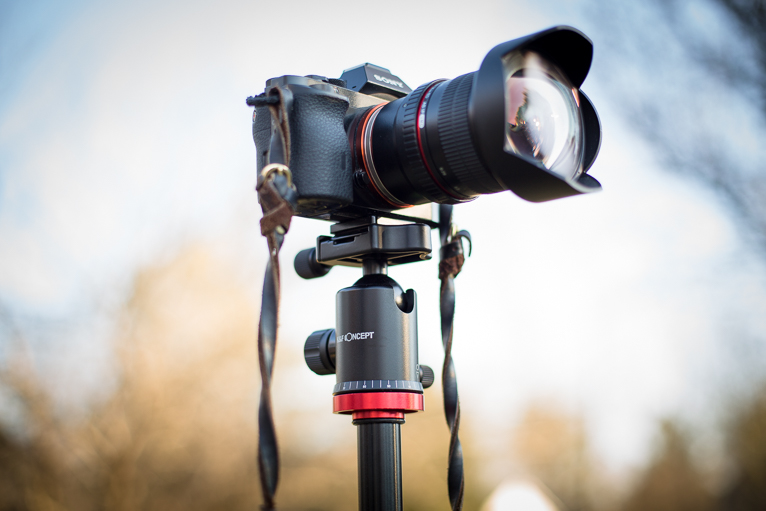
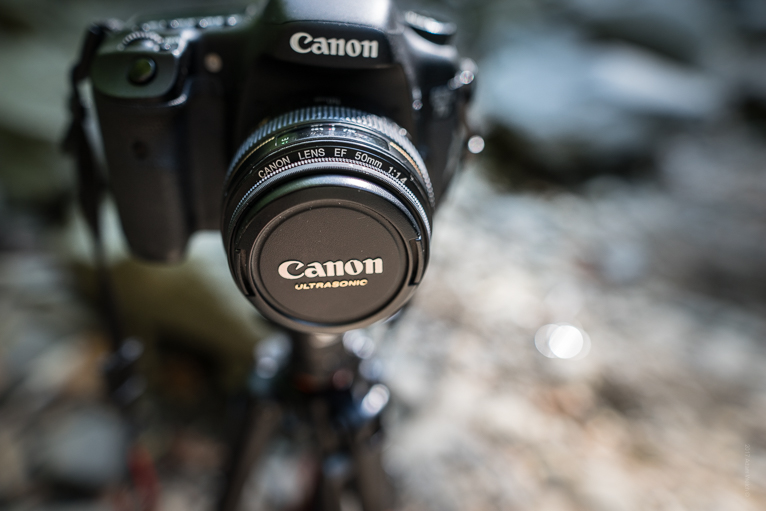
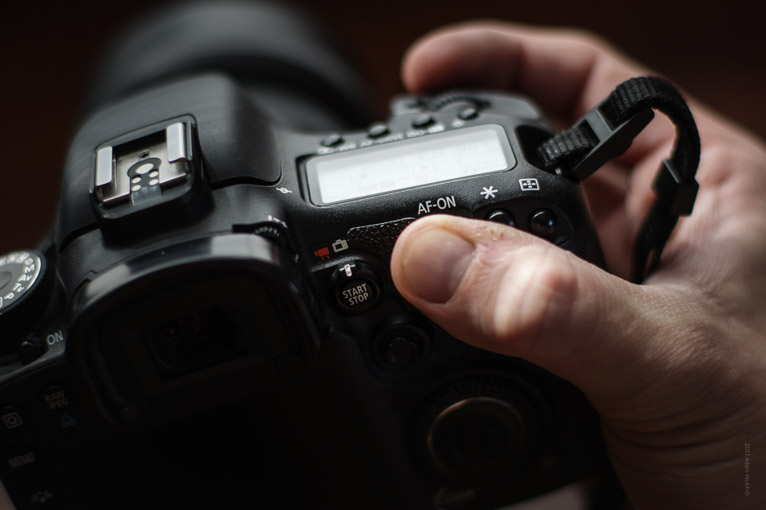
What’s in your camera bag?
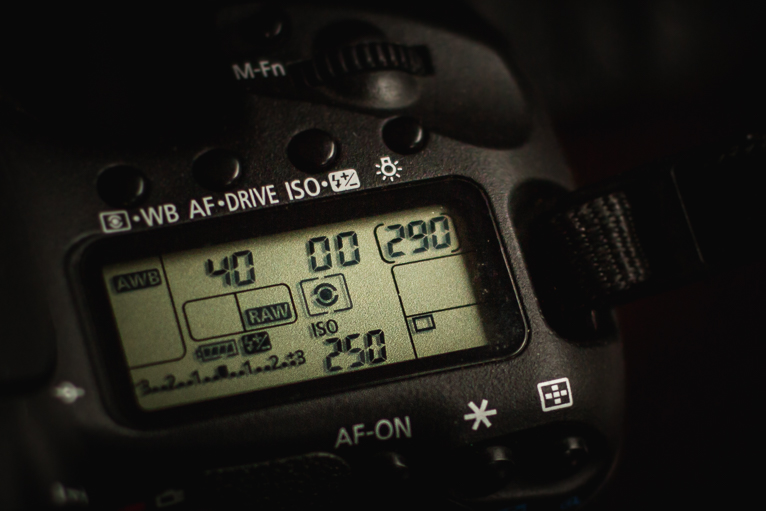
In general, I carry a Canon 5D Mark IV, 16-24mm, 24-70mm, 70-200mm lenses, and a tripod.
As a rule, though, whenever possible less is more. Cartier Bresson used to go around with a very small camera. But this depends upon the project of course. Less means that you can move around freely and be fresher and more agile. But sometimes you need softboxes, drones and other lenses.
For instance, in certain occasions, it’s better to be anonymous whilst taking photos. At other times, it’s better to have an accreditation pass hanging around your neck which will allow you to move easily.
What photographic equipment would you never leave home without?
As said before, it depends upon the project, but if I had to choose it would be my Canon camera and 24-70mm lens.
What advice you would give anyone who is starting out?
Be patient, with others but mostly with yourself. Have hours of silence. Keep going back to a chosen spot in order to redo the same photo a thousand times until you get the best shot that you can. Train yourself in the same way as athletes and other professionals do. Constant training is key. Be humble enough to keep on learning and have faith in yourself.
Remember that whenever you are working on any project, treat it as the most important thing you will do. But also take it easy so you don’t get nervous and mess things up.
Finally, travelling alone is the best way to learn about photography. You won’t have people distracting you.
Any pitfalls they should avoid?
Out of 10 projects, one or two will work out perfectly. Don’t get attached to the things you believed in so dearly that you can’t move on when they don’t work out.
Lastly… if you weren’t a photographer what would you be doing?
Swimming in the Aegean.
To see more of Anna’s work visit her website and be sure to follow her on Instagram
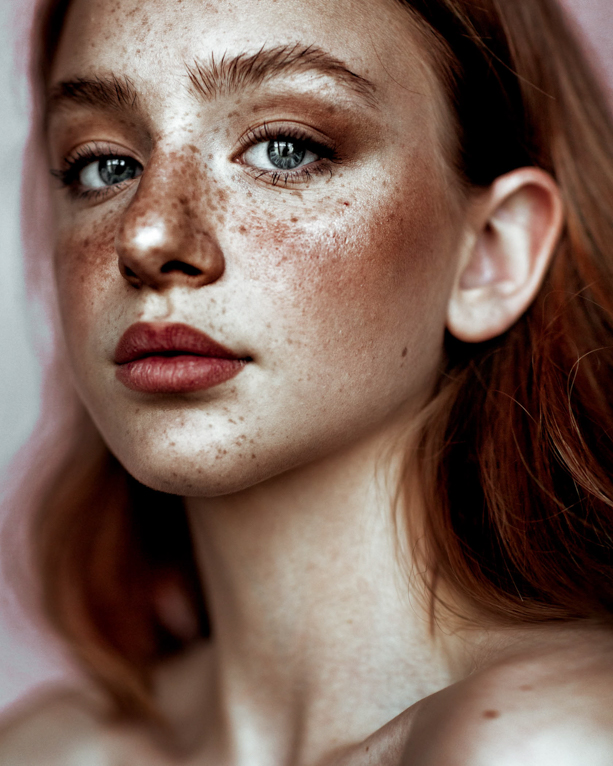
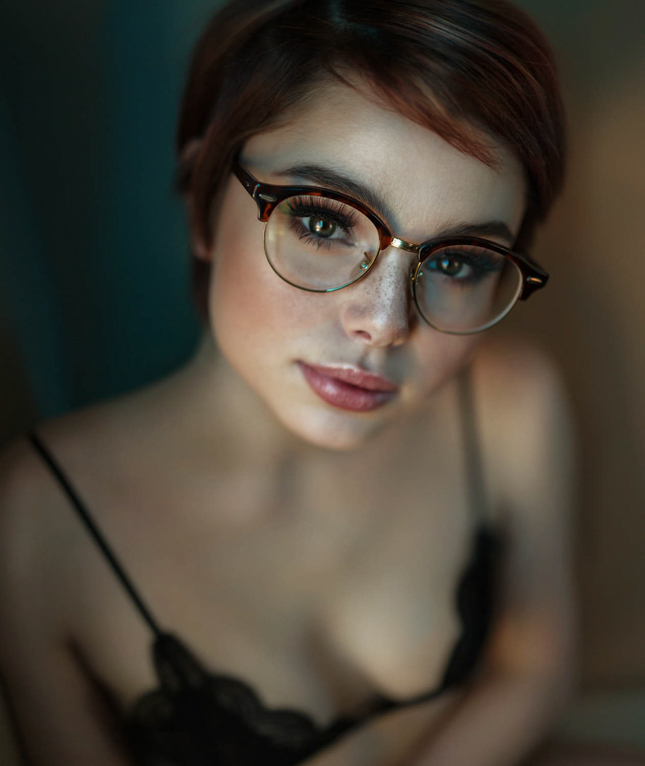
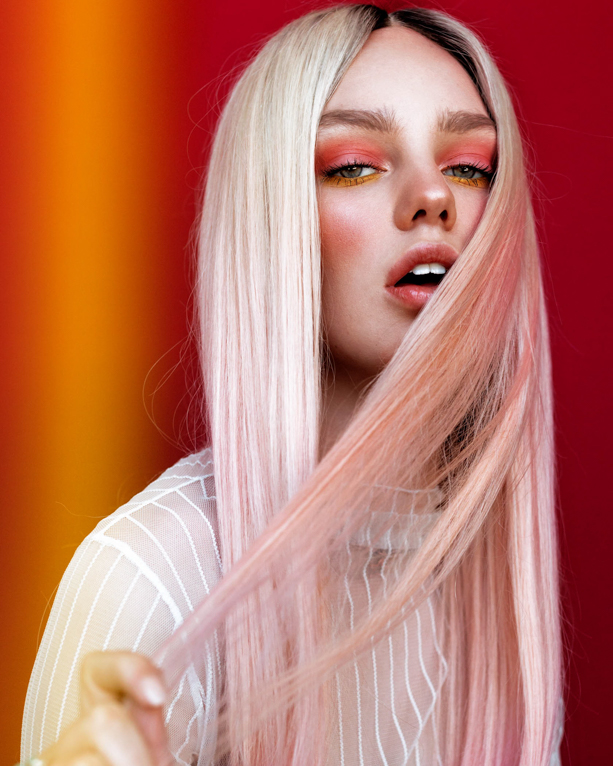
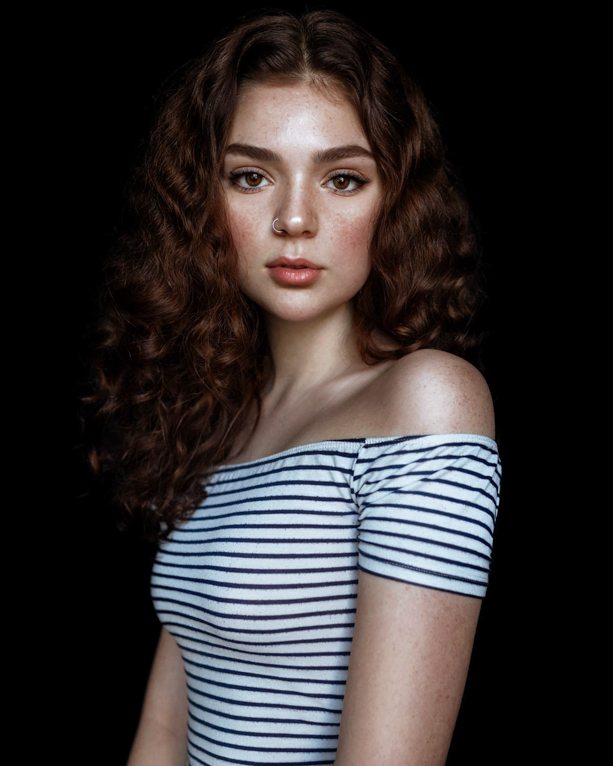
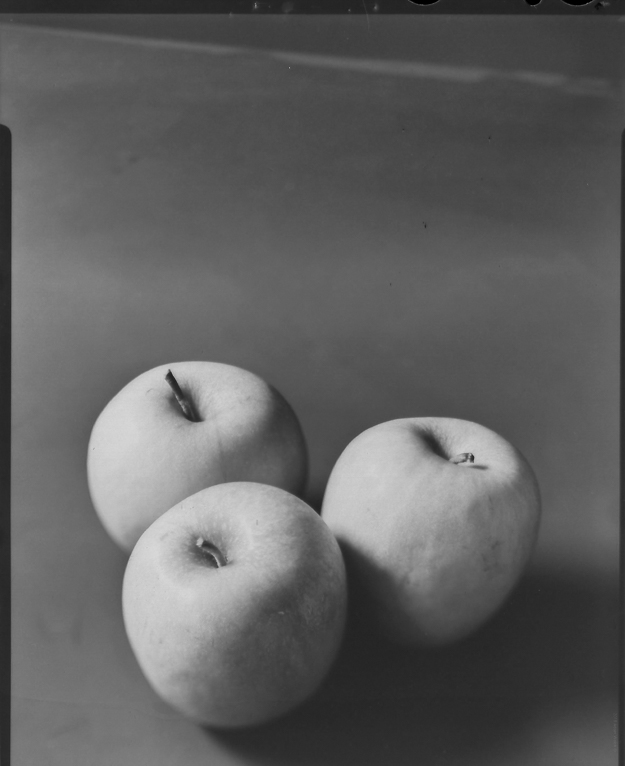
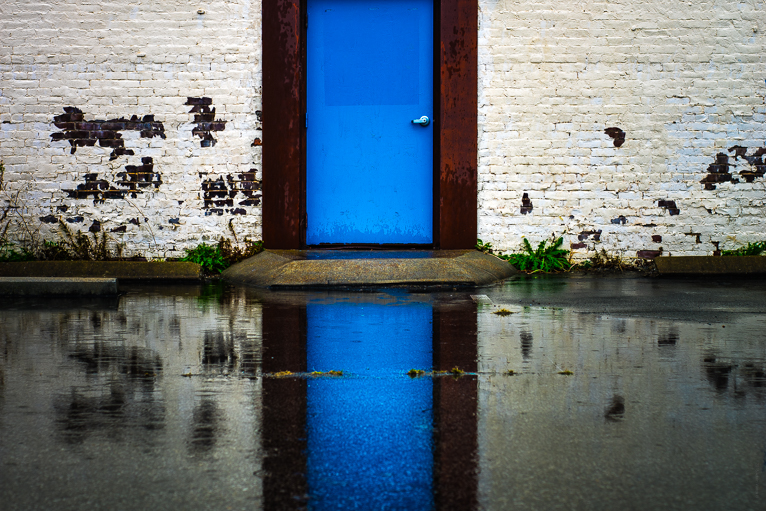
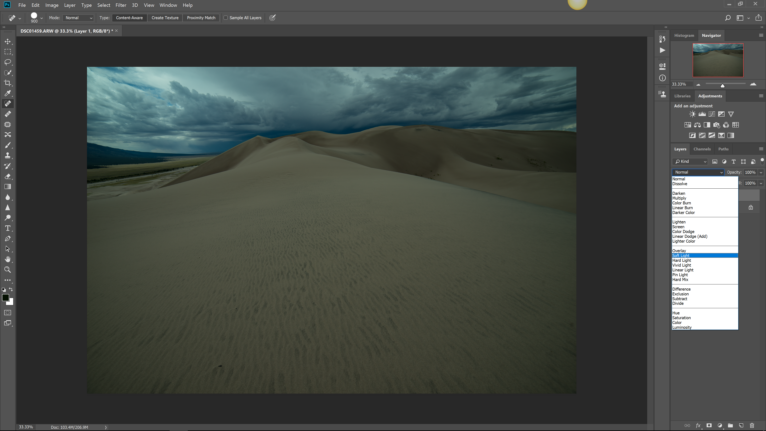
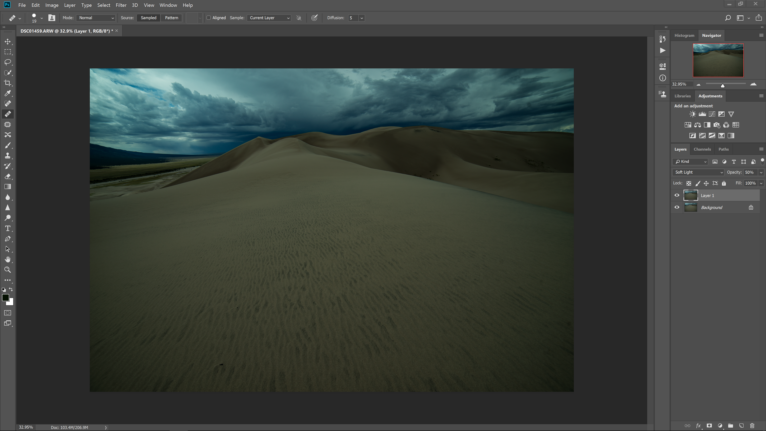
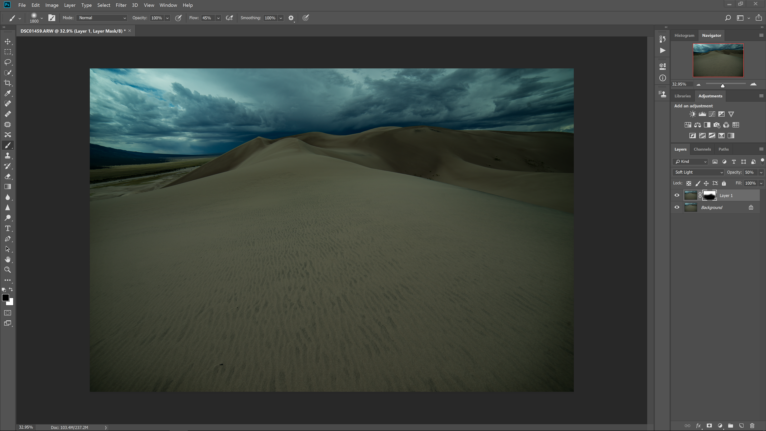
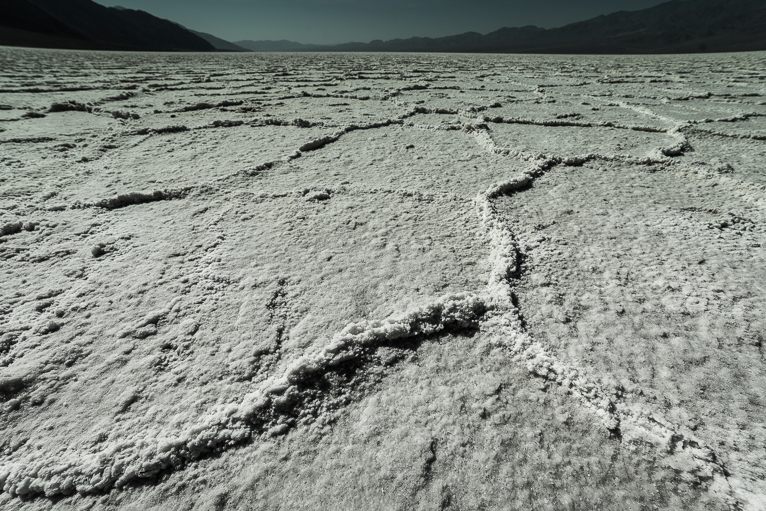
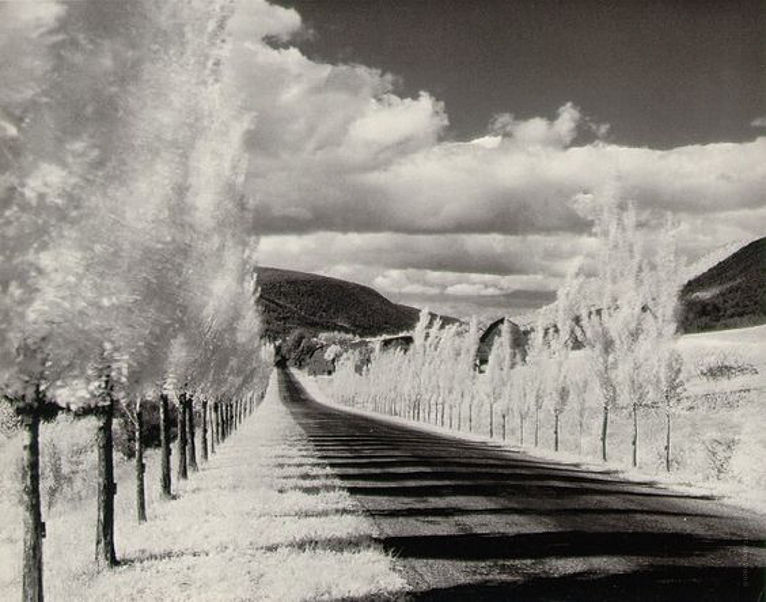
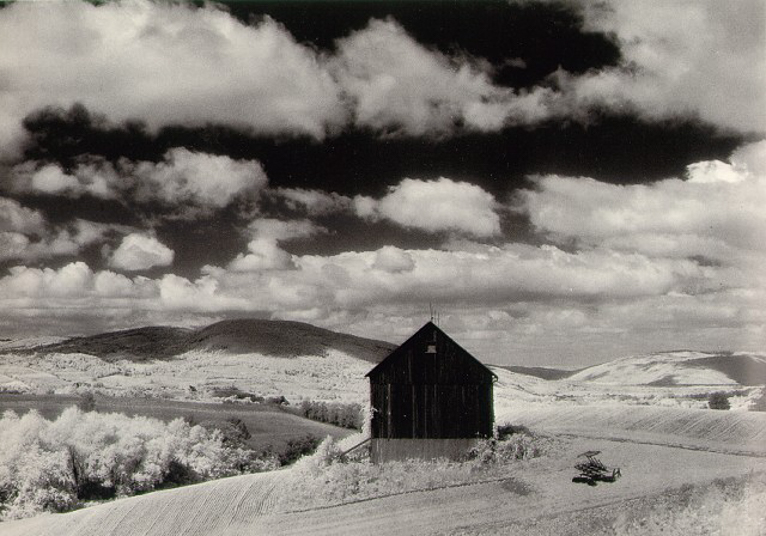
All images by Anna Serrano. All rights reserved. No usage anywhere online or in print without permission.
Interview by Kav Dadfar.