Sand dunes can be incredibly challenging to photograph. With the right lighting and subject, your sand dune photos can be brilliant and intriguing. But there are compositional challenges as well as general safety issues when photographing near sand. Good composition can be difficult because of the lack of points of interest in places like the desert. You also have to constantly be aware of not leaving behind footprints as well as keeping your camera safe. Fear not because here are 6 tips to help you when photographing sand dunes.
Know the dangers
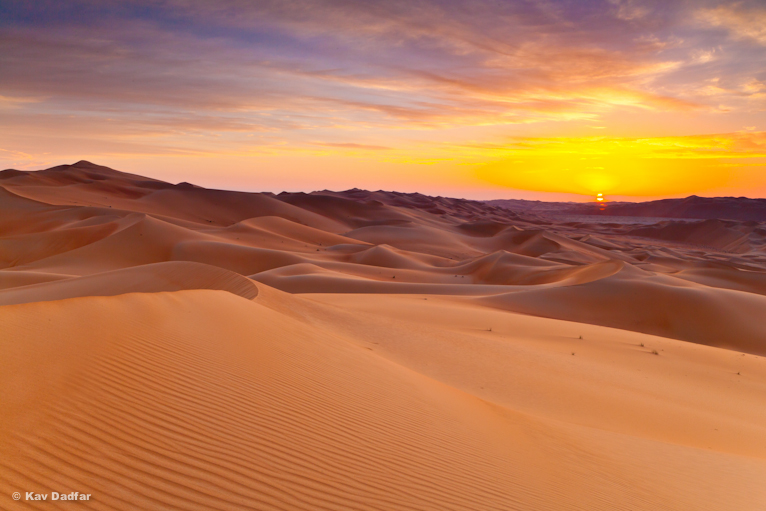
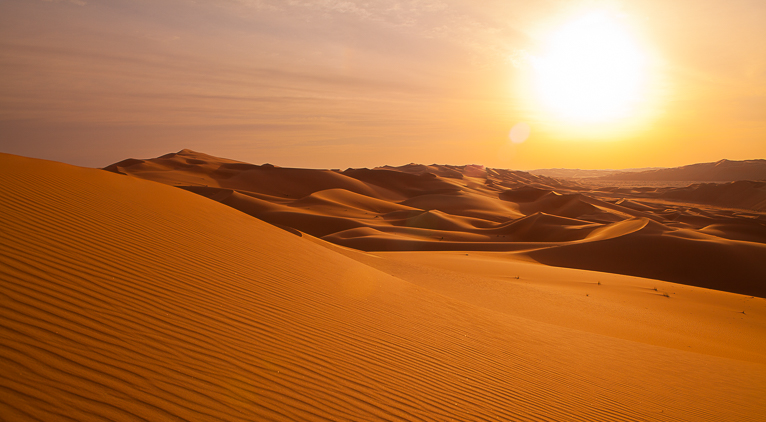
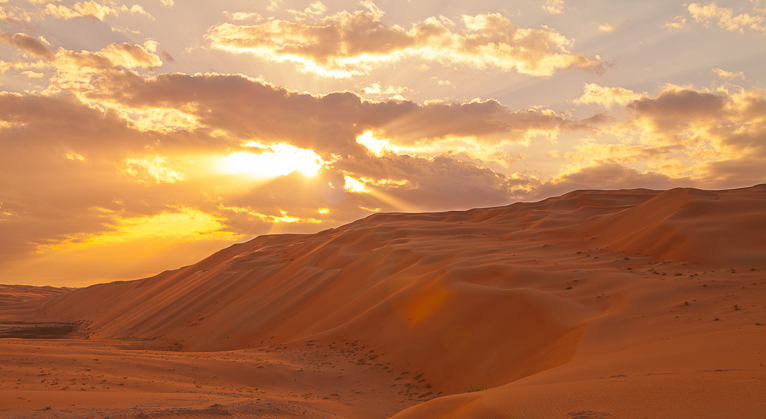
The first thing that you should always be aware of is the weather. It may be pretty hot or possibly even cold (at nights) in deserts so make sure that you are appropriately dressed. Early morning is better than sunset due to the extreme heat conditions. But sunsets will also provide a wonderful light. Sand and especially dunes are also challenging to walk on and can be very tiring and hard work, especially in hot conditions. So make sure you carry plenty of water and take regular breaks under shade if possible. It is also vital to pay attention to your route, so you know how to find your way back in the dark.
It’s not just your safety that you need to be aware of either. But also your sensitive, expensive equipment. Sand can be incredibly destructive for modern-day DSLRs so be very careful. Dust or sand can easily get blown into unsealed consumer-grade lenses and onto your sensor if you are changing lenses and scratch them. Weather sealed cameras are best and if you have two camera bodies take both to avoid changing lenses. Remember that even on a calm day the slightest gust of wind will blow sand around.
Be prepared
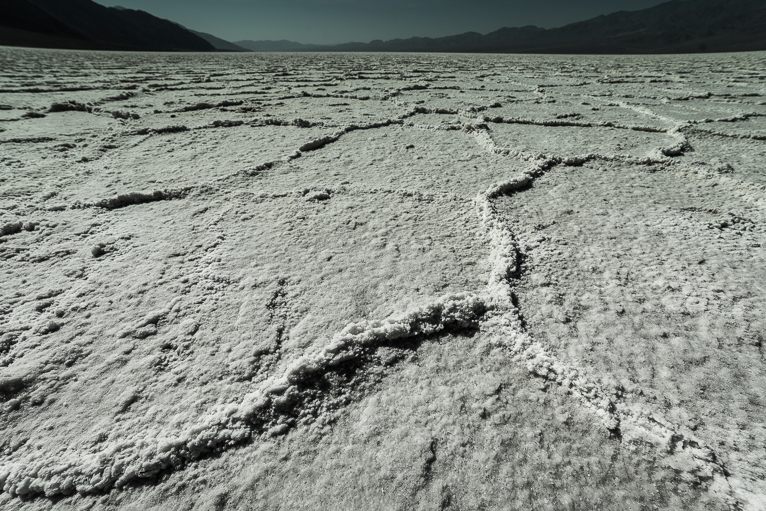
If it’s your first time photographing sand dunes start somewhere easy to get to and accessible so that you can practice. Going to Death Valley on your first attempt might not result in successful shots. Dunes can differ in shapes and other features based on wind or water differences. As a result, your composition will have to constantly change based on the scene you are faced with.
You also need to ensure that you bring the right equipment with you as it might be a long way back to the car if you haven’t packed something. As with any type of photography, a tripod is a must if you are planning on photographing early morning or late afternoon. Graduated ND filters will also be invaluable along with a polarizing filter. A towel or cloth is also useful to wrap or cover your camera with to stop any sand getting onto it. Use a UV filter attached to the front of your lens to protect the glass from sand and other flying debris. Finally, it’s a good idea to purchase insurance for your equipment.
Besides camera equipment safety, you should also wear sunscreen, and dress in layers. Remember that the weather changes drastically so bring a large-brimmed hat, sunscreen, and long-sleeved layers. These items may seem counter-intuitive when the weather is hot, but the long sleeves keep you cooler. There is also the extra benefit of additional sun protection. Being prepared for the elements will prevent losing a good shot due to discomfort.

Decide what you want
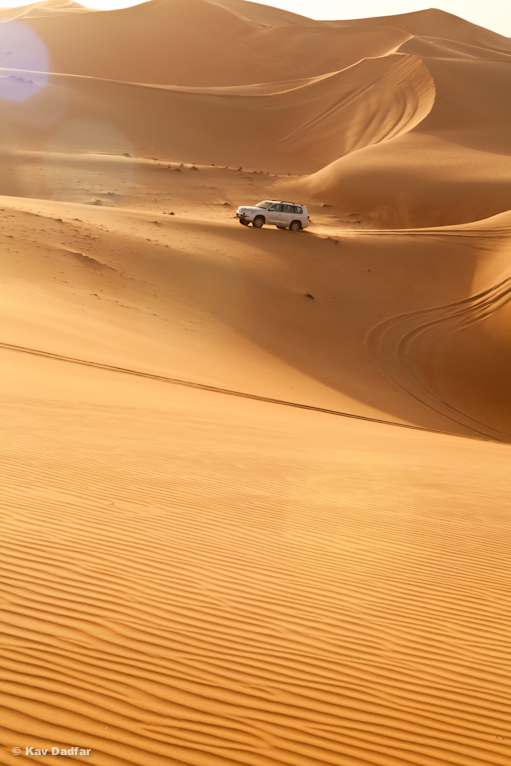
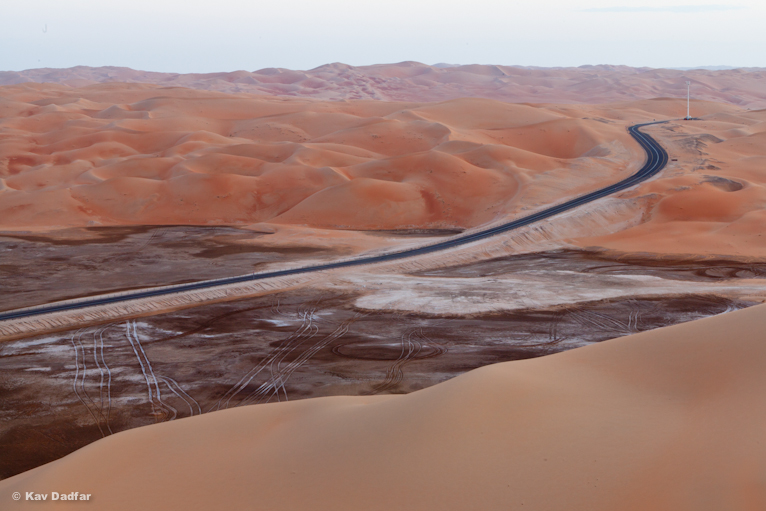
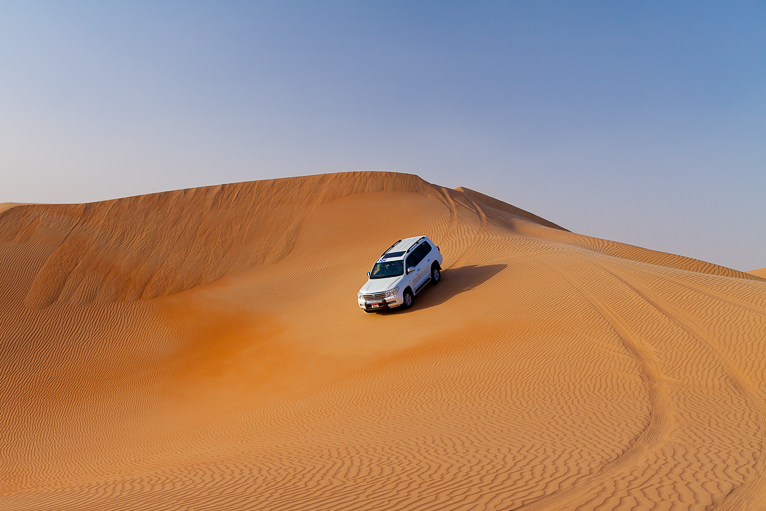
If you want a unique shot, you need to work for it. Finding a different vantage point or an unexpected angle will make a better picture. If the image is important enough, be prepared to have walk, hike or even camp to get it. But try to have an idea of what you are looking to capture. Is it the vastness of the desert? Is it the size of a sand dune? Or maybe you want to show activity like a car driving on sand dunes? It could be flora or fauna on sand dunes on a beach. The reason this is important is that all of these shots will require different types of planning and execution. For example, a photo of a 4×4 driving in the desert will need much faster settings than an empty landscape. By knowing what types of shots you want before you start you’ll have a better chance of capturing them.
Create a plan
Do not plan to take all your shots on the same day you first view the site. Explore the day beforehand, then plan your routes to avoid walking where you later wish you had not. For example, try to avoid walking on the ridge of a sand dune which will spoil those sharp edges. Instead, walk on the smooth sides where if you need to remove your footprints in post-production it is easier to do so.
When you get to the location you want to shoot, just pause for a few minutes and think about the composition, position of the sun and any other points of interest. Work out the different shots and angles before you start walking around.
Try to have a point of interest
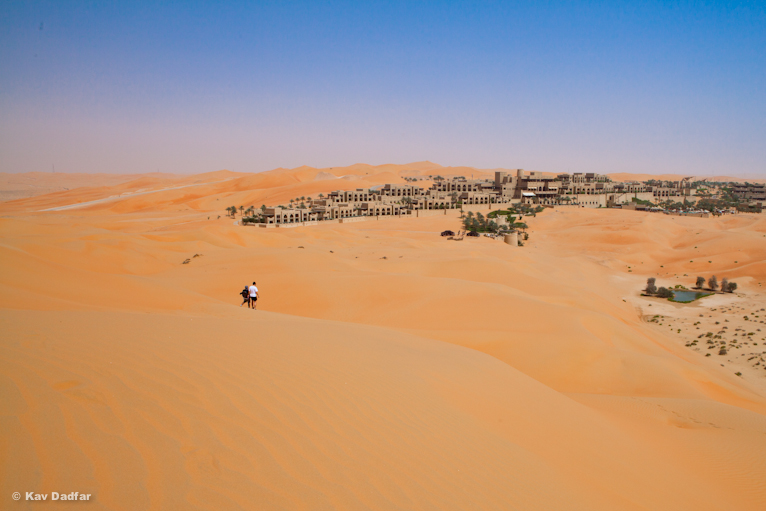
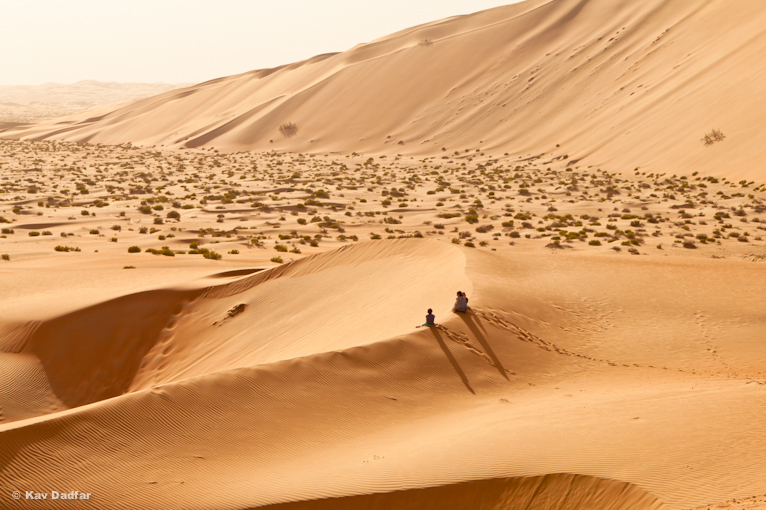
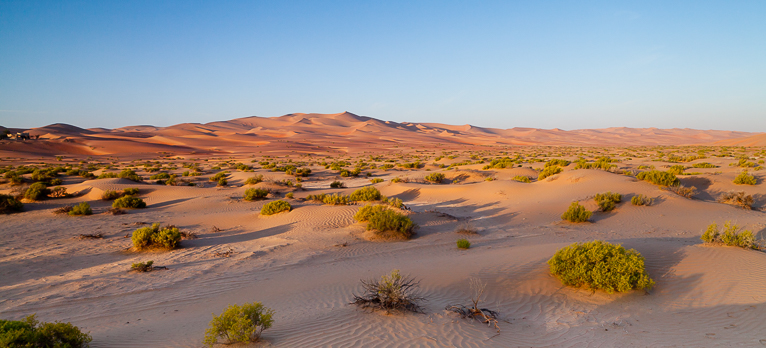
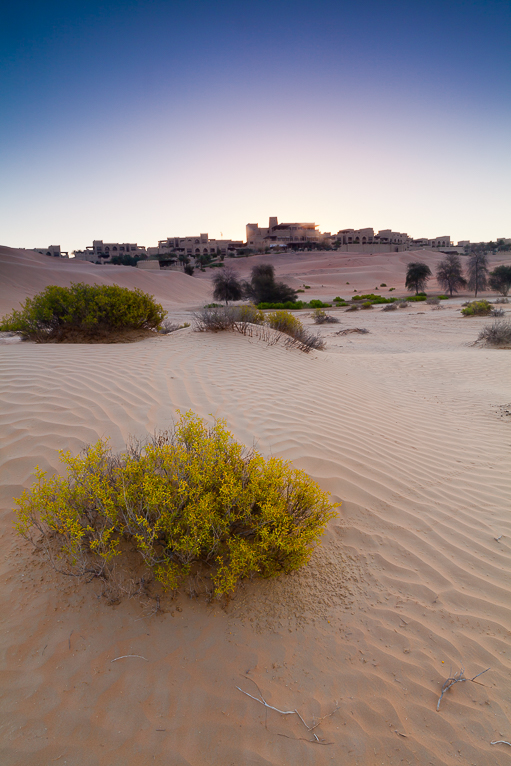
Some scenes will be easier than others to photograph. For example, sand dunes on a beach might have rocks, boulders, buildings or flora and fauna to help you build your composition around. If there are elements like this, try to incorporate them into the shot. But if you are in the desert with nothing but endless sand, what do you do?
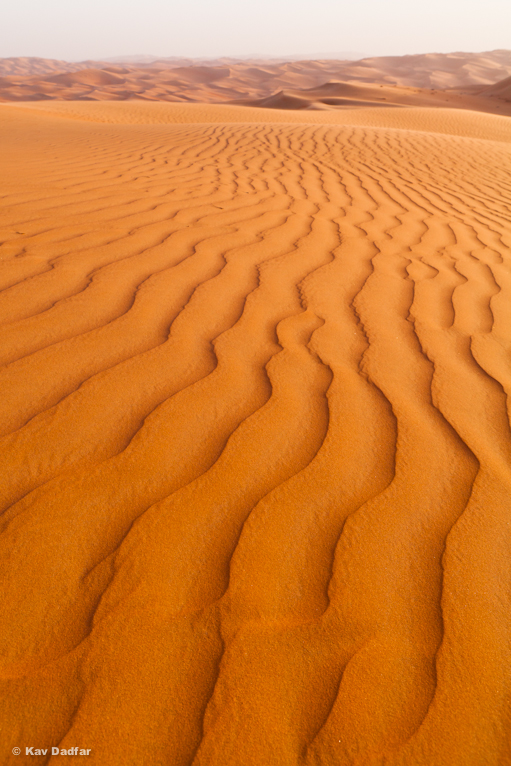
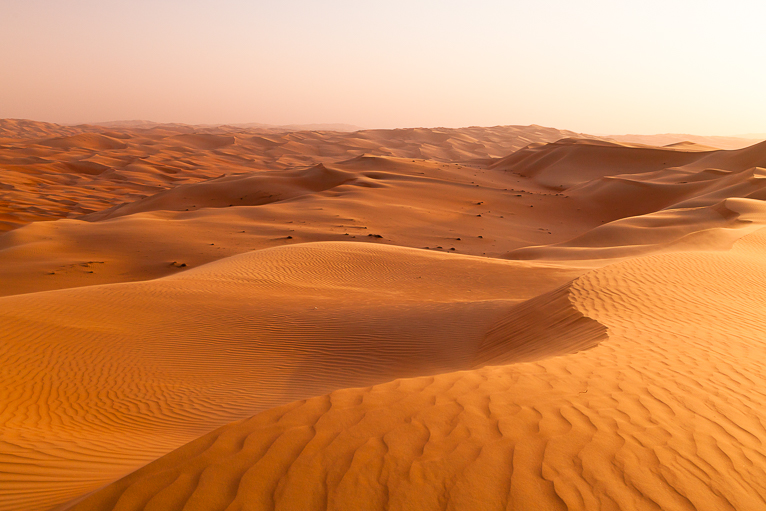
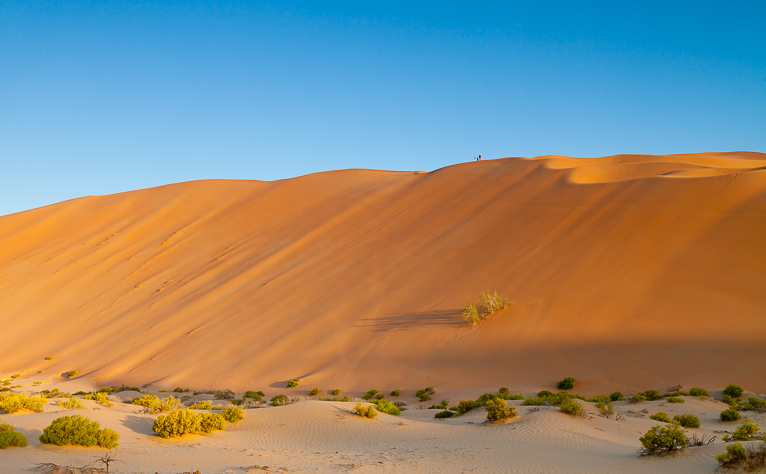
Well; for one, you can put a person (even yourself in the shot). This is a really great way to get a sense of scale across. For example, someone standing at the foot of a huge sand dune will immediately get across its size. Sand dunes themselves can also be your point of interest and you can also use the leading lines from them (or even on the sand itself) to help the viewer navigate the scene. The key is to have something within the shot that immediately catches the eye.
Lens and settings
There is no specific lens for photographing sand dunes. It really depends on what you want to achieve. A wide-angle lens is ideal for those epic landscape shots. But using a telephoto lens can also provide some wonderful result by compacting distances. It’s best not to take too many lenses as you should avoid changing lenses when you are near sand as much as possible.
Your settings will also be determined by what you are photographing. A typical landscape shot will require a long depth of field achieved through a narrow aperture. If you are shooting handheld, then a minimum shutter speed to avoid camera shake has to be considered. As does what you are photographing. For example, if you are photographing something moving like a person, animals or a vehicle than their speed will determine your shutter speed.
Sand dunes are often naturally in beautiful places. But they can also be difficult to capture well. The best way to improve your sand dune photography is to practice. Which can, unfortunately, be difficult for many who may not have any near them. But if you do get a chance to photograph sand dunes, be it in the desert or on beaches, use the tips above to guide you in getting those awesome shots.
Photo credits: Kav Dadfar – All rights reserved. No usage without permission.