Editing your images effectively is one of the most critical parts of the whole photography process. The reality is that every single image will benefit from some level of editing even if it’s as simple as just cropping or straightening it. Whether you decide to edit your photos or not will come down to personal preference. But there are certain things that regardless of personal taste you need to ensure you fix in photos. So here are 5 checks that you should run on every photo.
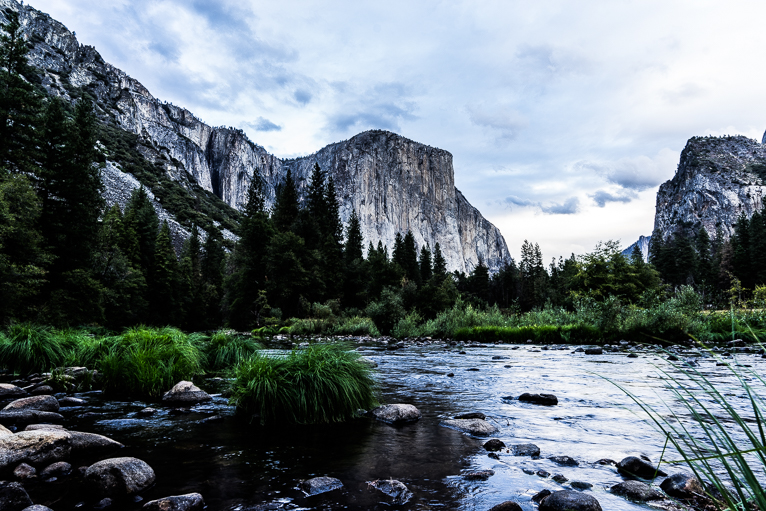
White balance
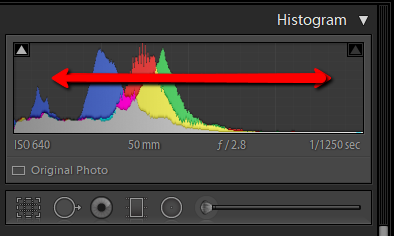
Unless you set your white balance while you are taking a photo, the chances are that it isn’t going to be correct. Which means having to fix or tweak it in post-production. The good news is that if you have taken your photos in RAW format then tweaking the white balance will be really easy. You can either do this manually by moving the sliders or you can use the presets that cameras come with (i.e. tungsten, cloudy etc). These presets will automatically try to tweak the white balance to match the scene. But they are not always 100% accurate and you may find that the colour doesn’t look right.
The key to tweaking the white balance is to aim for a natural look or in other words how your eyes viewed the scene. Be especially aware of skin tones that may look overly orange if the white balance is too warm for example.
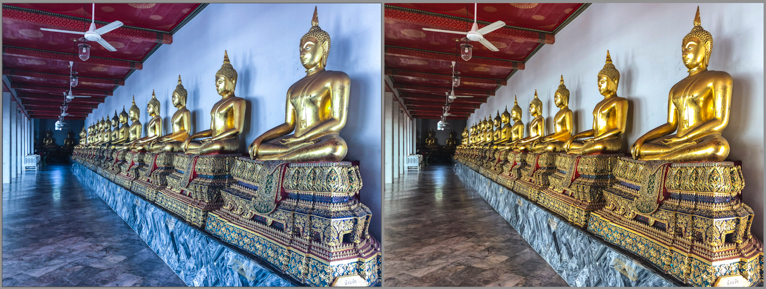
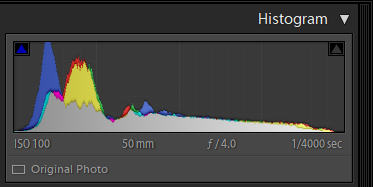
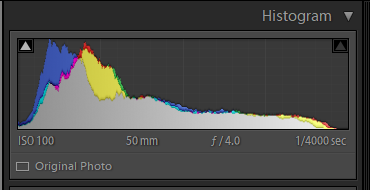
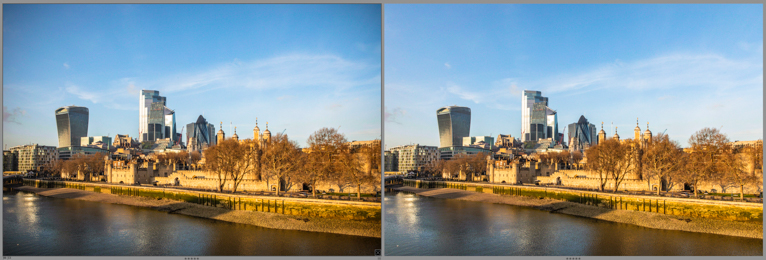
The image on the left without the WB corrected. The image on the right looks more natural and how the eyes would see the scene.
Remove dust
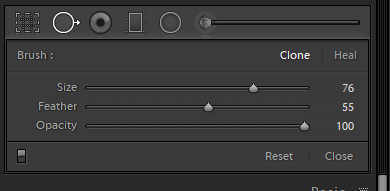
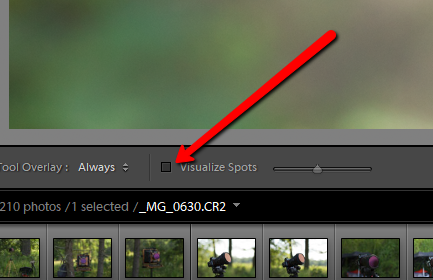
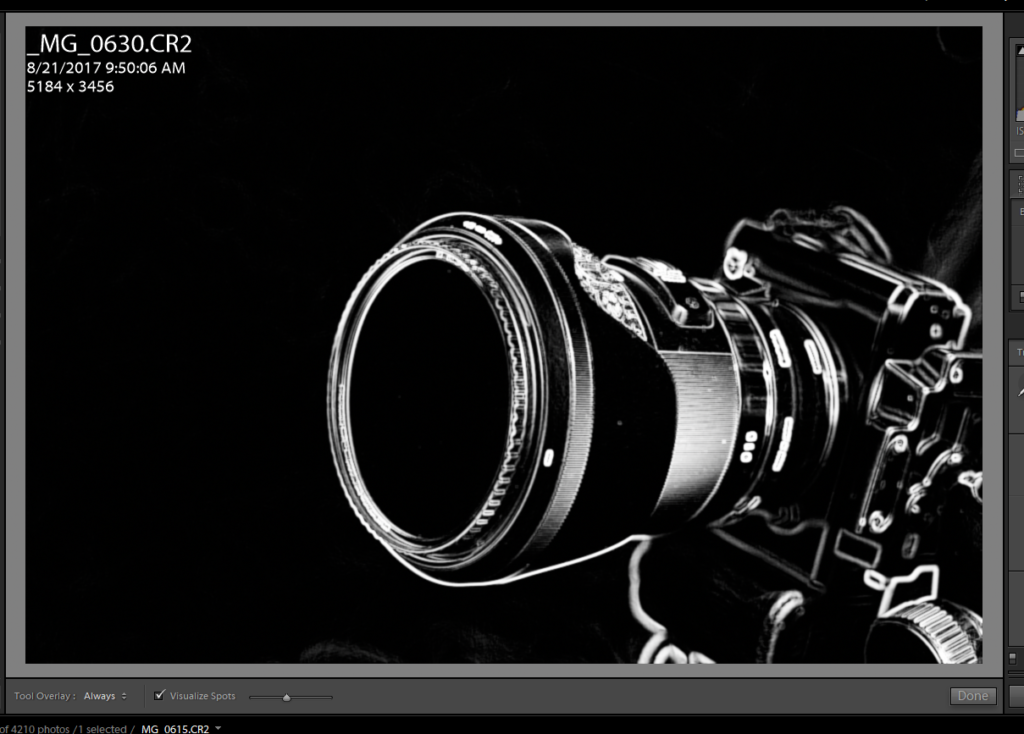
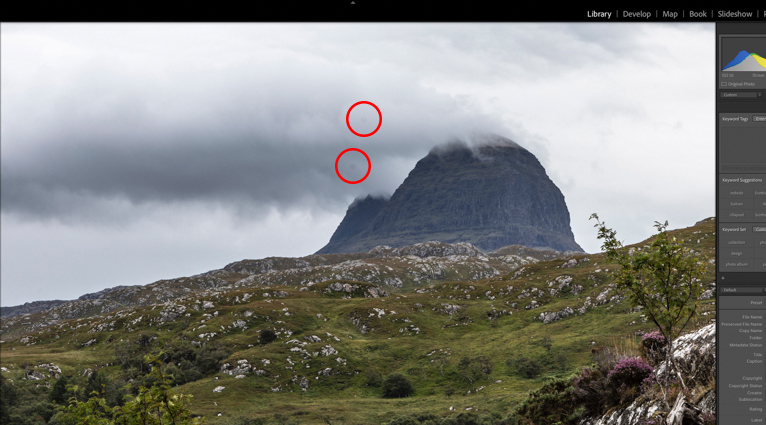
The longer you have had your camera and the more you use it, the more dust is likely to appear in your photos. You can of course reduce this by regularly cleaning your camera and lenses. But you will always find that there may be specks of dust that appear in your images. One of the most prominent places this shows up on are blue skies. The only way to check and know for sure is to zoom into your photos at 100% view and check the image all over. If you find dust particles you can then spot remove them in Photoshop or Lightroom.
Converging lines
A common problem that occurs whenever you photograph buildings (or anything vertical) is something called converging lines. You will no doubt have seen the effect in your photos. This is when you take a photo of two parallel lines like the two sides of a building and they seem to get closer together near the top. This can make the buildings look like they are about to fall backwards and is especially noticeable if you tilt your camera up and when using a wide-angle lens. There are several ways that you can avoid this happening when you are taking the photo without investing in an expensive tilt and shift lens. Like stepping further back so that your camera is not tilted up as much. Or you can try to get higher so that you are more straight on with the building you are photographing.
But sometimes none of these options are possible so you will need to fix the issue when editing your image. Lightroom makes this fairly easy with an automated correction section. It doesn’t always work perfectly for all images but most of the time it will straighten your image. If it doesn’t you will need to manually correct the perspective of the image in Lightroom or Photoshop.
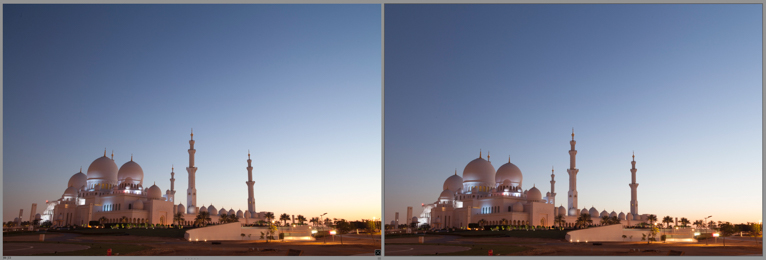
You can see how the verticle lines in the image on the left look like they are falling backwards. The image on the right is with correction added.
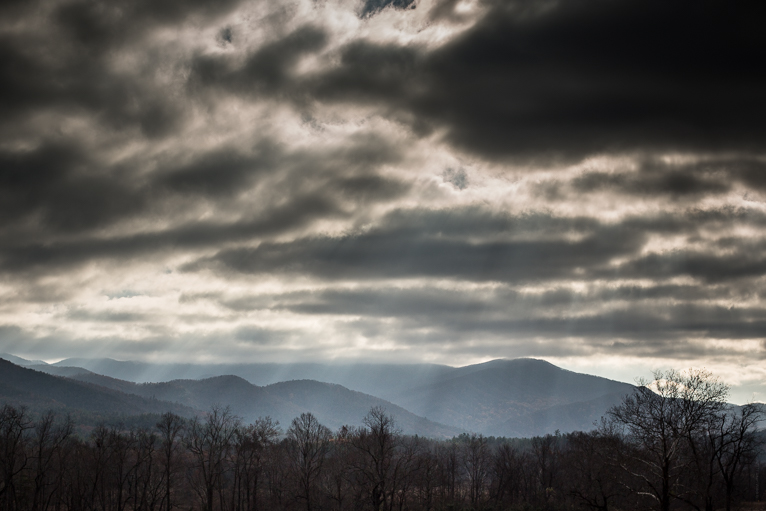
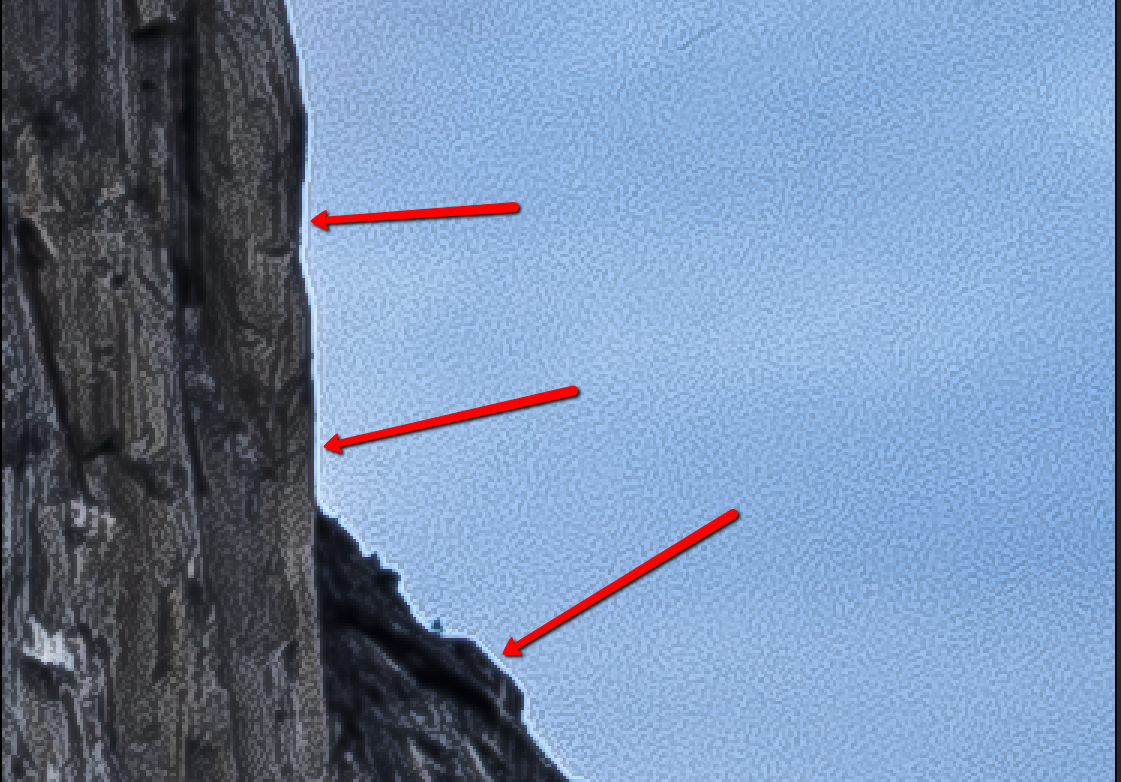
Chromatic aberration
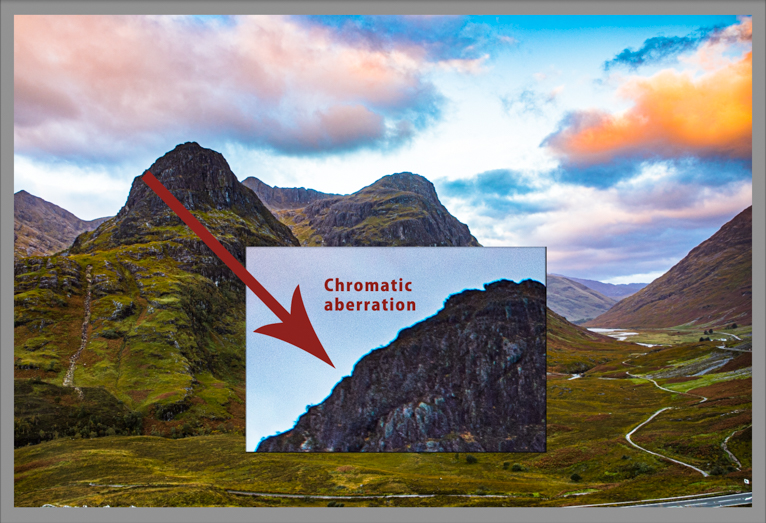
Also known as colour fringing, chromatic aberration is a common problem that occurs because of lenses. The optics of a lens mean that sometimes when light enters it is diffracted or bent and does not return to combine correctly when it hits the sensor. Chromatic aberration usually occurs in high contrast scenes and especially in areas where there are darker edges against a bright background. For example, a tree against a bright sky at sunrise may cause the edges of branches to show chromatic aberration. You needn’t fret about chromatic aberration as it is pretty easy to fix in Lightroom or Photoshop if you shoot in RAW. All you need to do is to tick the box to remove chromatic aberration and Lightroom will do the rest. But like anything sometimes it might not work perfectly and so you need to manually remove chromatic aberration in Photoshop.
NOTE: Check out this post for the easy way to remove chromatic aberration in photoshop.
Lens correction
You may have noticed that when looking at your images in Lightroom they suffer from certain issues such as distortion, vignetting and as discussed above chromatic aberration. These could be because of imperfections that occur in every camera and lens. A few years ago Adobe realised that with the array of lenses on offer there needed to be lens-specific corrections. Essentially these corrections look to fix the issues mentioned above that arise by simply selecting the right lens profile for an image. The unique formula created by Adobe offsets these optical issues. Whilst it’s very reliable and works perfectly most of the time, there are times that it may not and you may need to tweak things manually. But it’s worth making sure you select your lens profile for every image (you can also do this automatically when importing images) to correct the issues above.
The image on the left is without lens correction. Notice the vignettes in the corners.
These simple checks are something that you should do on every image not only to ensure that your images look their best but also because they are essential for when photos are printed. Any of these issues will look pretty undesirable on a finished photo. So, spend a bit of time checking and correcting your images.
Photo credits: Kav Dadfar – All rights reserved. No usage without permission.