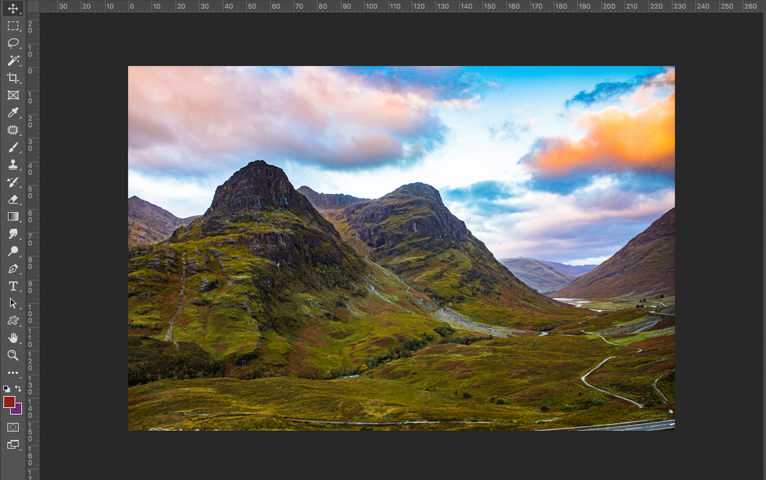
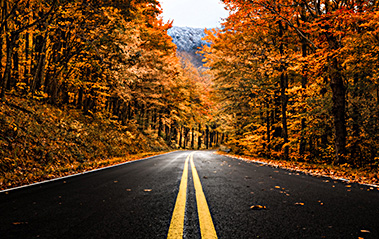
Chromatic aberration is an optical issue that occurs within lenses. This manifests itself in photos with colour fringing or purple fringing around the edges of objects, especially with high contrast areas. Most of the time the chromatic aberration can be removed with just a few simple clicks in Lightroom. However, in some more extreme cases, you may not be able to get the results you want. So you will need to use Adobe Photoshop to be able to remove the chromatic aberration completely from your photos. But fear not, the process is actually very simple. So here’s a step-by-step guide on how to remove chromatic aberration using Photoshop.
What is chromatic aberration?
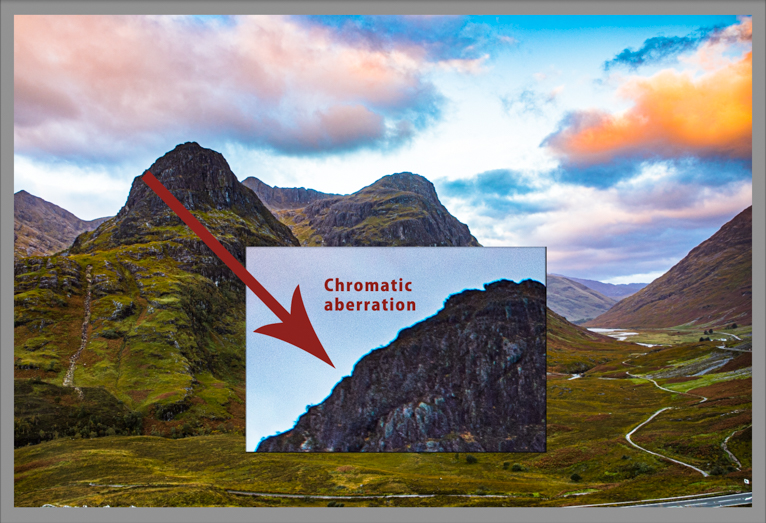
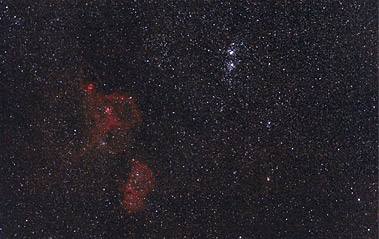
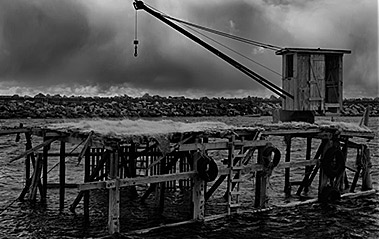
To fully understand chromatic aberration and what causes it you need to understand optics and wavelengths of colour. To summarise, chromatic aberration is caused when wavelengths of colour are not brought together by the lens to the same focal plane. Or when wavelengths of colour are focused at different positions in the focal plane. As a result, you often end up with colours such as red, green, blue, yellow, purple, and magenta appearing around the edges of objects. This is especially apparent in high contrast situation where are you have very bright and very dark areas next to each other. If you want to really understand chromatic aberration there are plenty of resources out there that go into great detail about this issue. For most photographers, the only thing they need to know is how to remove it from their photos.
How to remove chromatic aberration?
There are lots of different ways to remove chromatic aberration in Photoshop. However, I have personally found that this is the simplest and quickest way to do it.
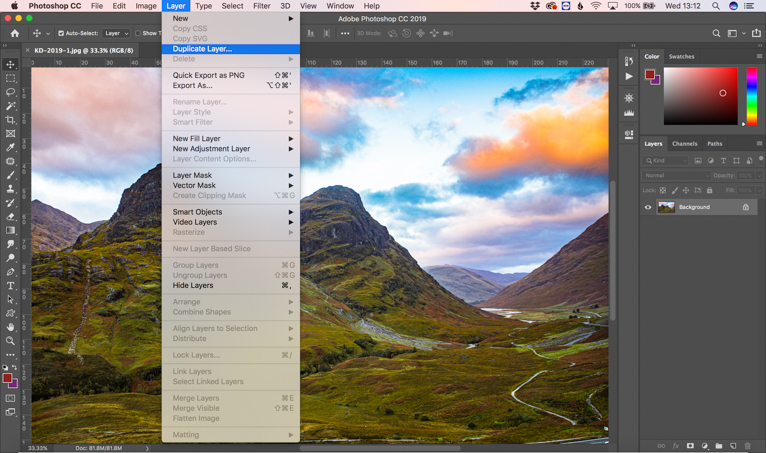
Step 1
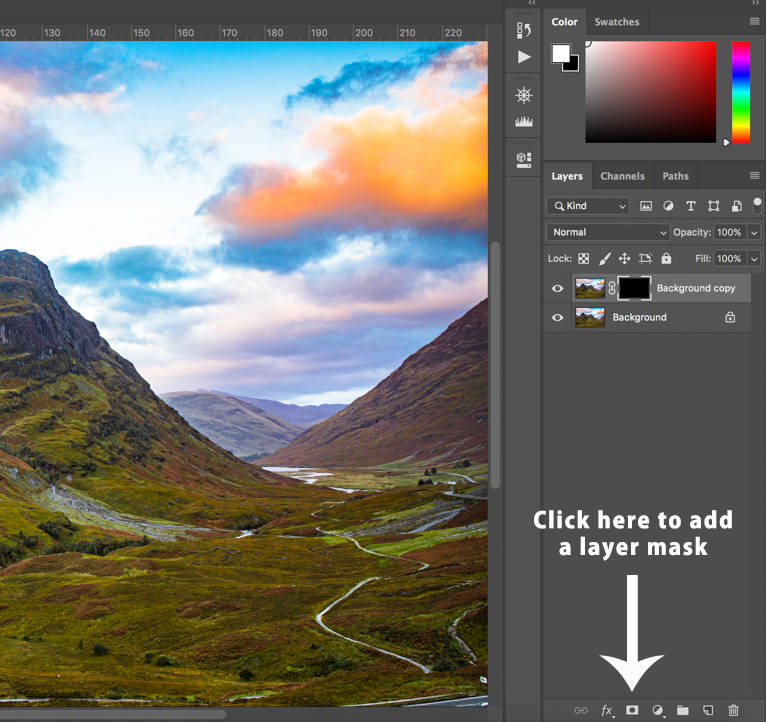
Open your photo in Photoshop and duplicate the image. The reason for this is that it is much easier to revert to the original if you still have an untouched version. Keep in mind that unlike Lightroom any adjustment that you make on a photo is actually permanent. So ideally you should get into the habit of working on layers. Once you have duplicated your image add a layer mask. If your layer mask isn’t black simply click on it and inverse it.
Step 2
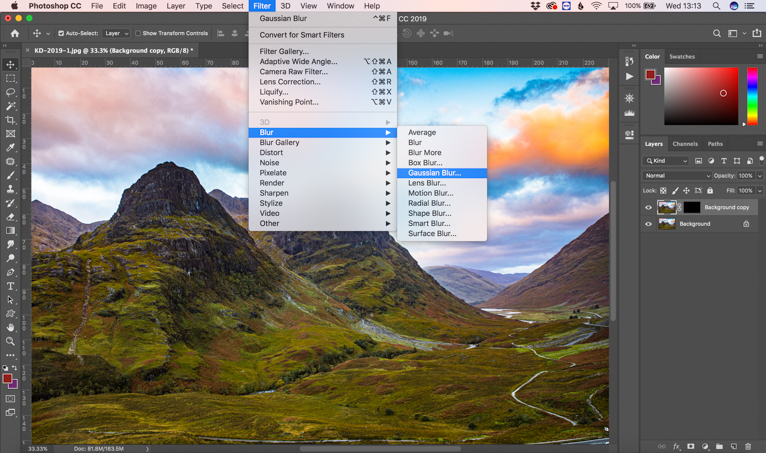
From now on you will be working on the duplicated layer of your image. So next you need to add some Gaussian Blur to your image. Yes, that’s right you read it correctly, we are going to add blur to your image. To do this select “Filter” on the top menu. Scroll down to “Blur”, and select “Gaussian Blur”.
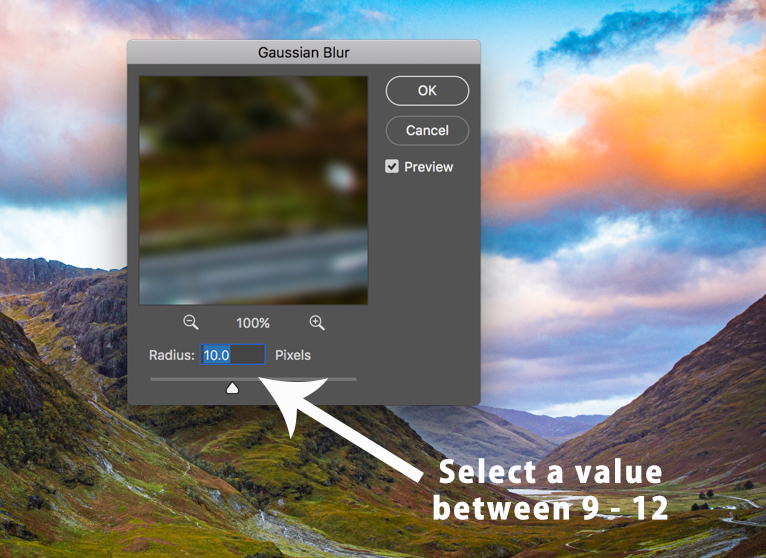
Once you’ve clicked to add Gaussian Blur to the image you need to adjust the radius to between 9 and 12.
Step 3
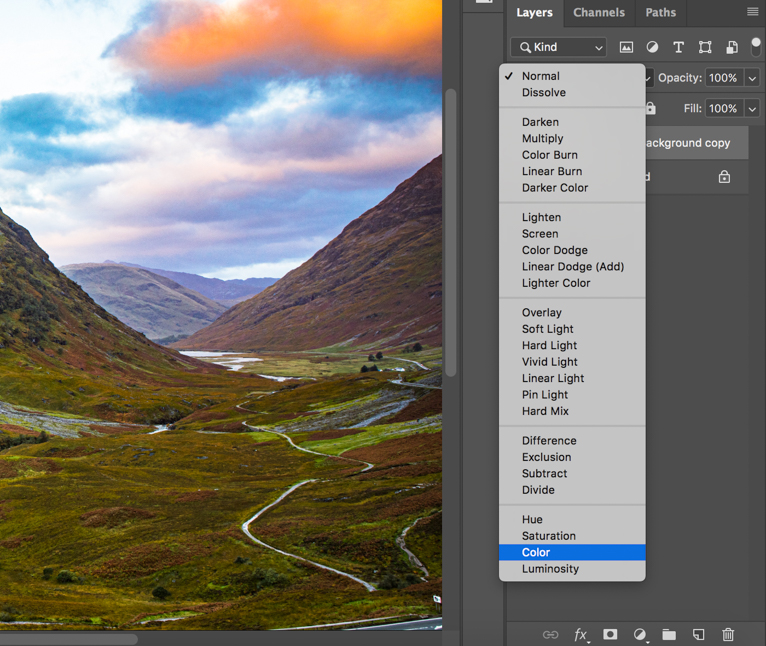
Now you need to go back to your panel on the right-hand side and change the blending mode of your duplicated image. Select “Colour” from the drop-down menu.
Step 4
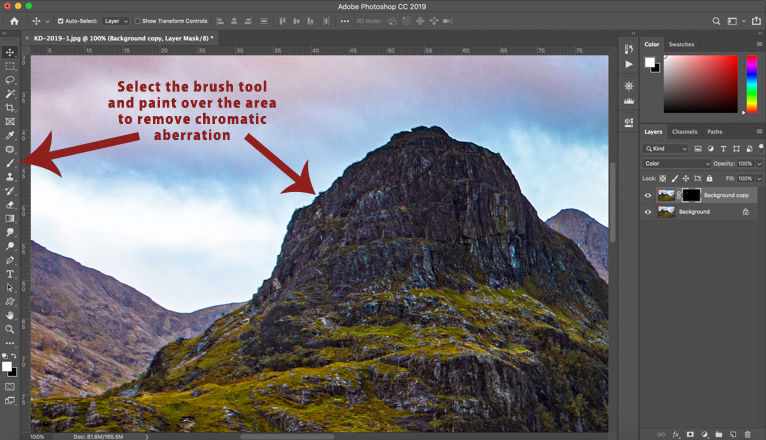
Now comes the fun part. Select your mask layer and then select the brush tool from the left-hand menu. Make sure that your brush size is fairly small. Now it’s just the case of simply brushing around the edges where chromatic aberration is evident. You should notice that the chromatic abrasion, in other words, the colours are disappearing. Once you have gone through your entire image removing any chromatic aberration double check your image at 100% size to ensure nothing is out of place. It’s as easy as that!
Step 5
One way to make your workflow even faster is to create an action of this process on Photoshop. Actions are very useful to help speed up the process of the same repetitive action. So, for example, you can create an action to add all the processes from above to an image apart from step number 4. So you will then simply brush the chromatic aberration away as specified in step 4.
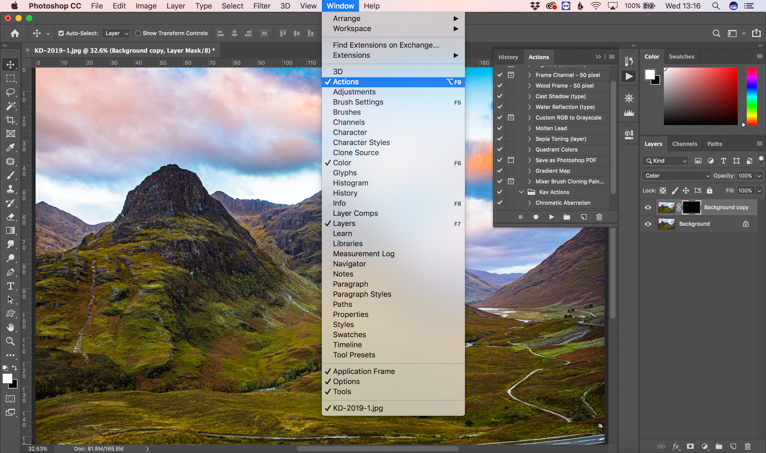
How to create an action in Photoshop
Creating an action in Photoshop is easy. Simply click on “Window” on the top bar, scroll down to “Actions” and click. This will open the actions panel on your workspace. Click the record button to start recording any actions you take from that point onwards. Press the stop button when you have finished a particular sequence of actions. You now have an action to use on your photos. When you want to use the action, select it from the menu and press the “play” button. Creating actions for specific things can really help speed up your editing process.
Chromatic aberration can be a real pain to remove. But it is incredibly important that you do not forego removing it from images that are affected. This method can be used to removed chromatic aberration in the majority of photos quickly and easily.
Photo credits: Kav Dadfar – All rights reserved. No usage without permission. Dreamstime.
Latest articles by Kav Dadfar (see all articles)
- How To Photograph Street Performers - April 26, 2022
- Profiled Photographers – Ben McKechnie - August 24, 2021
- Profiled Photographers – Jim Maher - August 24, 2021
is the founding editor of JRNY Travel Magazine as well as a professional travel photographer and writer based in the UK. His images have been used by clients such as Condé Nast, National Geographic, Lonely Planet, Rough Guides and many others. Kav is also the co-founder of That Wild Idea, a company specializing in photography workshops and tours both in the UK and around the world.
See All Articles by Kav Dadfar

Leave a Reply