• Cart
  • Checkout
  • My Account

Infrared Conversions, IR Modifications & Photography Tutorials | Life Pixel IR

The world leader in infrared conversions, modifications & DIY IR conversion tutorials. Scratched sensor replacement, UV & Full spectrum conversions.

The world leader in infrared camera conversions

866.610.1710
  • Home
  • → Start Here ←
    • 1 – Introduction
    • 2 – Filter Choices
    • 3 – Focus Calibration
    • 4 – Lens Considerations
    • 5 – Camera Considerations
    • 6 – Start Shopping
  • Galleries
    • Infrared Photography
    • Infrared Time Lapse
    • Infrared Cinematography
    • Infrared Stop Motion
    • Ultraviolet Photography
    • Forensic Photography
  • Education
    • Training Sessions
    • How To Shoot Infrared
    • AR Coated Infrared Filters
    • Lens Hot Spot Database
    • Photoshop Video Tutorials
    • Infrared Issues & Solutions
    • IR Basics in Photoshop
    • Camera Quick Start Guide
    • DIY Conversion Tutorials
    • IR Photography Primer
    • Secondhand Cameras
    • Wall Of Shame
  • Workshops
  • FAQ
  • Blog
    • Tutorials
    • Inspiration
    • Locations
    • Gear
    • News
    • Other
  • Why Choose LifePixel?
    • Submit Your Review
  • Contact
  • Shop

How to Add Instant Contrast in Photoshop

Share
Pin
Tweet
Email
Share

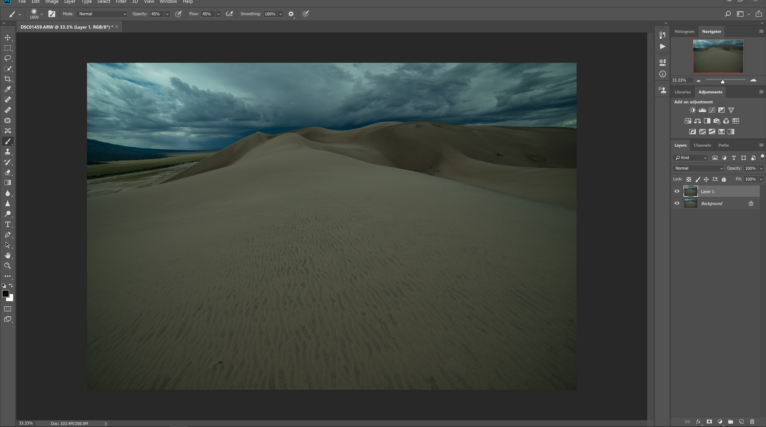
Adobe Photoshop is a beautiful thing. It allows an incredibly wide range of artists, designers, creatives, and especially us photographers to inject a little bit of creative juice into their work and see it come to life. And while Photoshop can be enormously complex there are so many simple, straightforward edits you can use to instantly transform your photographs.

One of these goes back to the basics of photo editing: exposure and contrast. There is a great way to quickly add contrast to your images by using PS blend modes, more specifically the “soft light” blend mode. You may be thinking “But why not just add contrast with the contrast adjustment?” Well, you can for sure…but it’s not exactly the same. And why not expand your photographic editing horizons to try something new?

Soft Light Blend Mode

The soft light blend mode is one of seven PS blends that make up the “contrast” group. These modes all use varying mathematical wizardry to accomplish a similar effect which is to make darks darker and lights lighter in relation to one another. While that is an incredible over-simplification it’s not entirely inaccurate.

The soft light blend mode bases itself on whether pixels are lighter or darker than 50% gray. If a pixel in your image is darker than 50% gray it will be darkened further. If a pixel is whiter than 50% gray it will be lightened. The result? More contrast. Not only that, but this contrast is wholly dependent on image and it’s tonal makeup.

Adding Contrast with Soft Light Blend Mode

First, duplicate your base photo layer by using the keyboard shortcut ‘Ctrl+J’(Cmd+J for Mac).

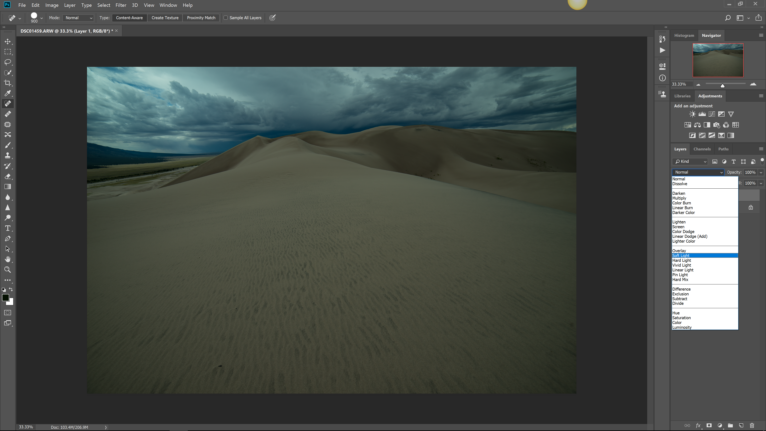
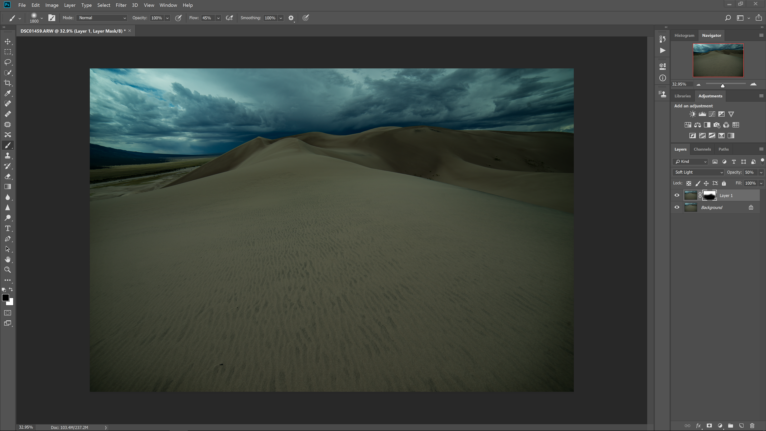
Next, select the soft light blend mode from the blend mode drop down list. Alternatively, use the keyboard shortcut ‘Ctrl+F’ to do the same thing a little faster. You will instantly notice a fairly drastic change to your photo. Namely the increased amount of contrast.

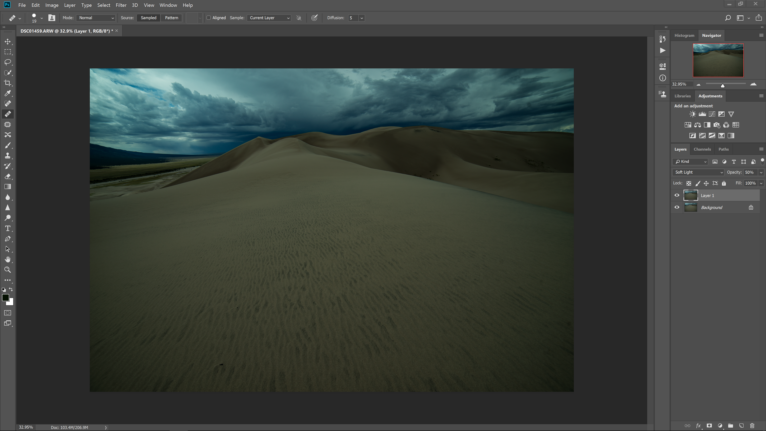
To really control the amount of contrast I highly recommend adjusting your layer opacity until you reach the overall level of contrast for your particular image. In the case of soft light the opacity and fill accomplish the same outcome so it is your choice which to use.

The real fun begins when you decide to add a layer mask. Don’t worry! Masks aren’t something to be afraid of(in most cases) and they allow you to completely take charge of how an edit is applied in PS. You’re about to see how easy it is right now.

Adding a Layer Mask

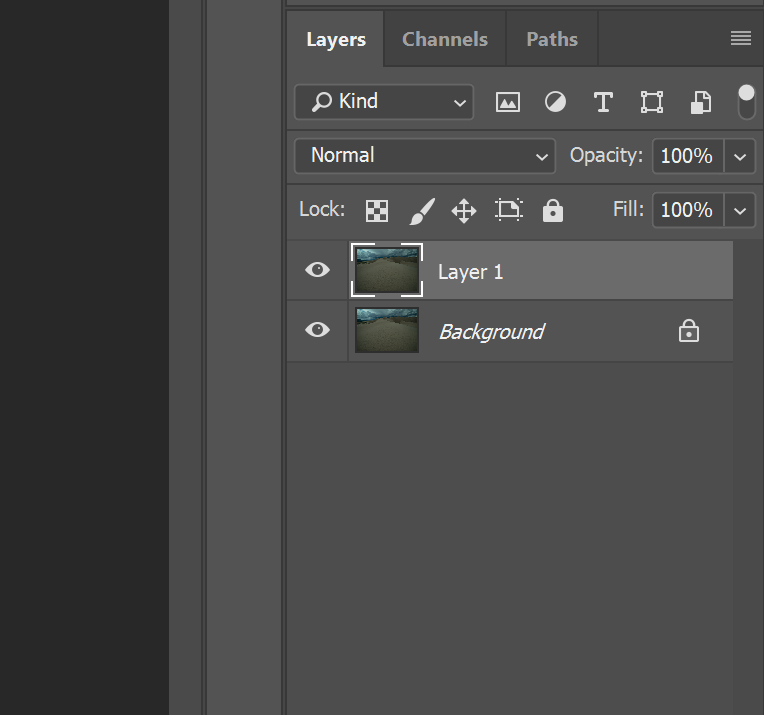
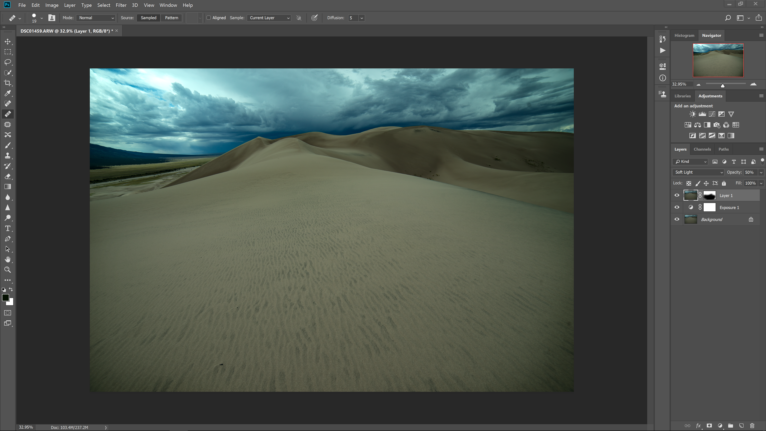
To add a layer mask to your soft light blend layer simply click on the “add a mask” icon at the bottom of the layer panel.

Guess what? You’ve just added a layer mask! It’s that simple. Now, you’re free to paint in or out the soft light contrast to virtually any degree and location you choose. Just adjust the size and opacity of your brush to achieve the desired effect.

Add in some a quick increase in exposure and we’re left with the finished product. All done within a matter of minutes.

Some Final Thoughts….

One of the fun and interesting aspects of post processing is discovering all the different methods of achieving certain editing effects. Adding contrast to a photograph is one of the most basic edits a photographer can make to instantly add power to a photo. There are many ways to do this and you’ve just learned one. Try using the soft light blend mode technique to add contrast in a smarter, more controlled way. The soft light blend mode in PS makes it easy to quickly and effectively add punch to your images and it is something I use to some extent on virtually every photograph I process.


  • Latest Articles
  • Author Bio
Adam Welch

Latest articles by Adam Welch (see all articles)

  • Bare Bones Photography: What Gear Do You Really Need? - May 13, 2018
  • A Simple Explanation of Aperture - May 13, 2018
  • The Case for Black and White Photography - May 13, 2018
Adam Welch

Adam Welch

Photo maker, author, and adventurer currently based in the western portion of his home state of Tennessee. You can usually find him on some distant trail making photographs or at his computer writing about all the elegant madness that is photography. Follow his sometimes controversial Blog on everything related to photography and then check out his cozy home on Instagram.

Adam has also authored one of the most comprehensive guide books on using Adobe Lightroom Classic CC.  You can get your copy of Lightroom Mastery:
A COMPLETE GUIDE TO WORKING IN LIGHTROOM CLASSIC CC HERE!


See All Articles by Adam Welch
Share
Pin
Tweet
Email
Share

Related Posts

  • How to Photograph the Desert
    How to Photograph the Desert
  • 10 Tips to Help You Get Started in Photography
    10 Tips to Help You Get Started in Photography
  • Photogenic Places – a simple guide to photographing London
    Photogenic Places – a simple guide to photographing London
  • 8 Tips to Improve Your Mountain Photos
    8 Tips to Improve Your Mountain Photos

Filed Under: Tutorials Tagged With: camera, cameras, Getting started, landscape photography, Lifepixel, lightroom, mountain photography, Photographer, Photography, photography tips, photoshop, processing, Travel photography, Wildlife photographer

Leave a Reply Cancel reply

Your email address will not be published. Required fields are marked *

Blog Topics

  • Tutorials
  • Inspiration
  • Locations
  • Gear
  • News
  • Other/Misc

What our customers say:

Life Pixel has been a life-changer for me. Continue reading
Eric GConnecticut
Read more reviews
I am more than satisfied with the service I received Continue reading
Christopher JCanada
Read more reviews
I am more than pleased with the conversion job that you did Continue reading
LOUIS MWaco, Texas
Read more reviews
I am VERY impressed with his knowledge of your products and his patience in explaining it to a novice like me. Continue reading
Lynn FEssex, Maryland
Read more reviews
Things will only get better from here thanks to all of you. Continue reading
Phillip FRedding, California
Read more reviews
The Lifepixel newsletter reminds me of not having expressed my gratitude for the excellent job you made. Continue reading
Michael GGermany
Read more reviews
Your staff went above and beyond the call of duty to make sure everything was handled in an excellent manner. Continue reading
Paige RPearland, Texas
Read more reviews
It has given my old camera a new life, I will enjoy using it again. Continue reading
William PAustralia
Read more reviews
Excellent service and the camera works just great Continue reading
Hans FairhurstAustralia
Read more reviews
I just got my converted camera back from you guys. THANK YOU!!!! Continue reading
Anne CutlerForest Knolls, CA
Read more reviews
infrared_filter_choices_sidebar
ir_conversions_explained_sidebar
----------- Watch More Videos -----------
infrared_quick_start_guide

Ready to start shooting Infrared?

Convert My Camera

Subscribe To Our Newsletter

Receive updates, tips, cool tutorials, free stuff and special discounts.

Learn the Basics

  • Video
  • Start Here
  • Filter Choices
  • Focus Calibration
  • Lens Considerations
  • Camera Considerations
  • Place Your Conversion Order

Resources

  • Galleries
  • Lens Hot Spot Database
  • IR Tutorials
  • FAQ
  • Infrared Filter Choices
  • Infrared Photography Guide
  • Infrared DIY Tutorials

Company

  • Why Choose Us
  • Get In Contact
  • Job Openings
  • Write For Us
  • Affiliate Program
  • Terms of Use
  • Privacy Policy
  • Home
  • Start Here
  • Galleries
  • Tutorials
  • FAQ
  • Blog
  • Why Choose LifePixel?
  • Shop
  • Contact

Copyright © 2025 Life Pixel Infrared - All rights reserved - LifePixel Infrared Photography IR Conversion, Modification & Scratched Sensor Repair