Jim Mahar’s journey into photography started while working as a hairdresser in London’s West End. Jim was fortunate to have worked on some of the world’s most famous glossy publications as a hairstylist for photoshoots. He realised that he was as interested in the photography aspect of the shoot as he was in hairstyling. So his partner at the time bought him his first entry-level DSLR which became attached to him pretty much at all times. While working on the shoots, he took the opportunity to ‘pick’ the brains of some of the world’s best photographers to understand the science behind photography and tried his utmost to soak up as much of their knowledge as possible. He says “from this point on, photography became a major part of my life, developing from an interest to a hobby which eventually became a second job”.
Jim had always had a passion for art and design and would regularly paint and draw. He believes this provided a good basis for his photography. “I believe it gave me a foundation for composition and a basic understanding of how to utilise light. Just like in paintings, it’s how the light hits the subject which creates the tone and feel of the final product. I found that photography works in a similar way, and felt my real challenge was to understand the science (i.e., Aperture, white balance etc) more than the composition and lighting”. Jim spent a long time creating “poor photos” due to his lack of knowledge but kept shooting and every time he made a small gain or mistake, he would remember it, learn from it, and fundamentally grow. “Once I felt confident enough that I could deliver constant consistent work, I started doing small shoots for local businesses, colleges and individuals and also became a contributor for Getty Images”.
Jim, where are you from?
I am originally from Gravesend in Kent.
Where do you currently live?
I live in a small town in Warwickshire called Kenilworth which neighbours Leamington Spa.
What genre of photography do you specialise in?
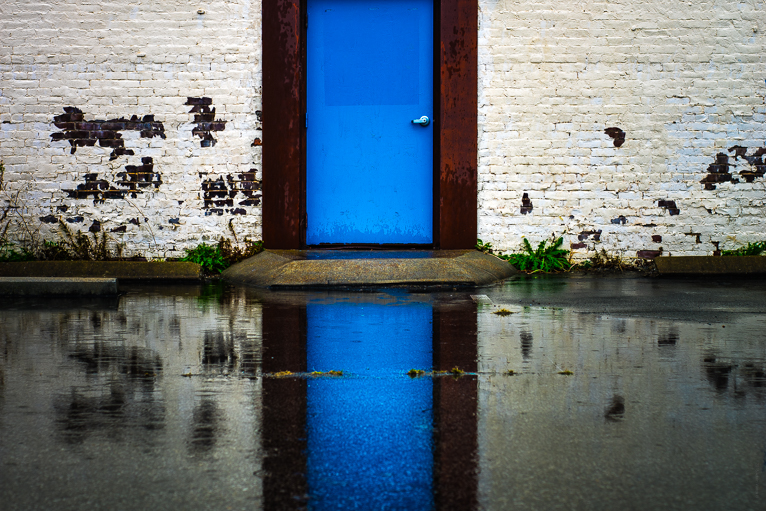
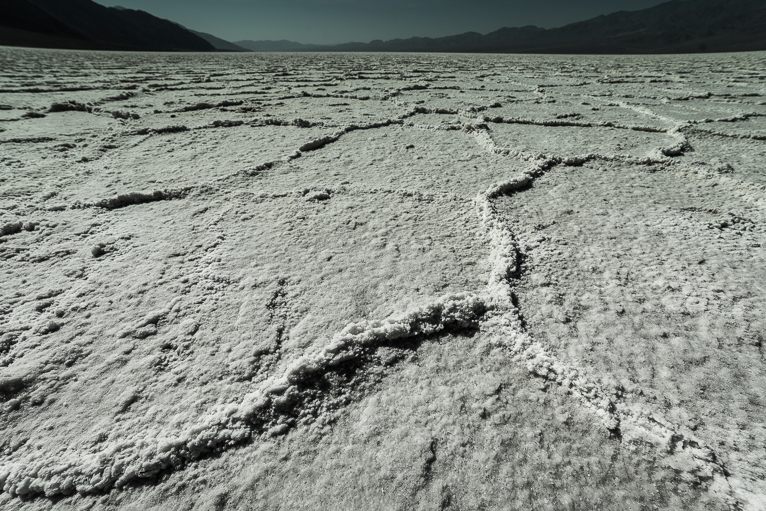
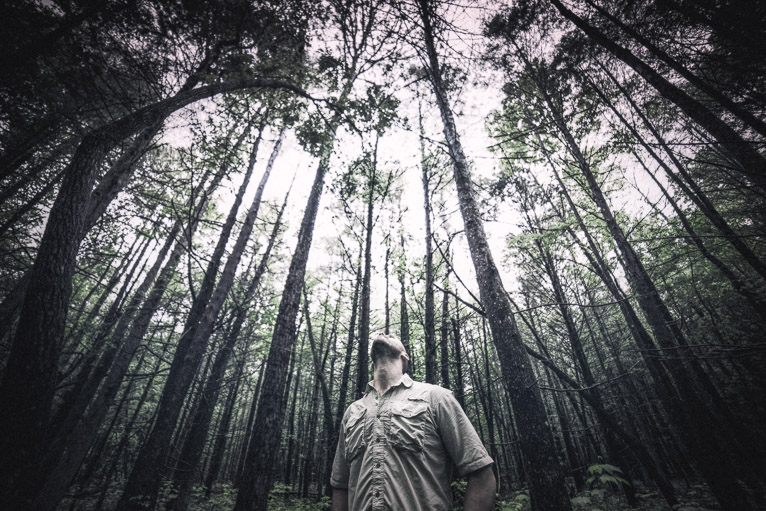
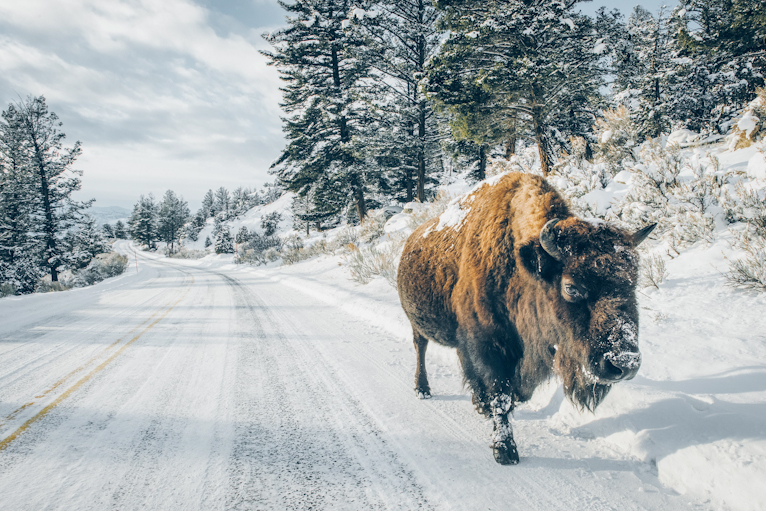
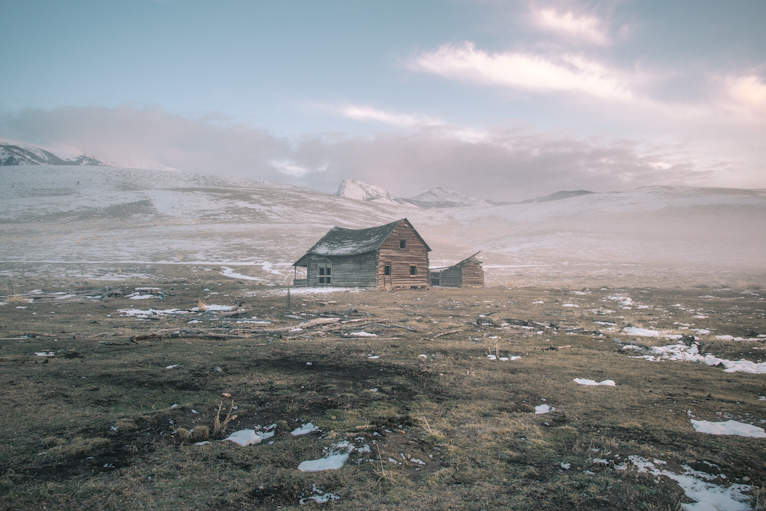
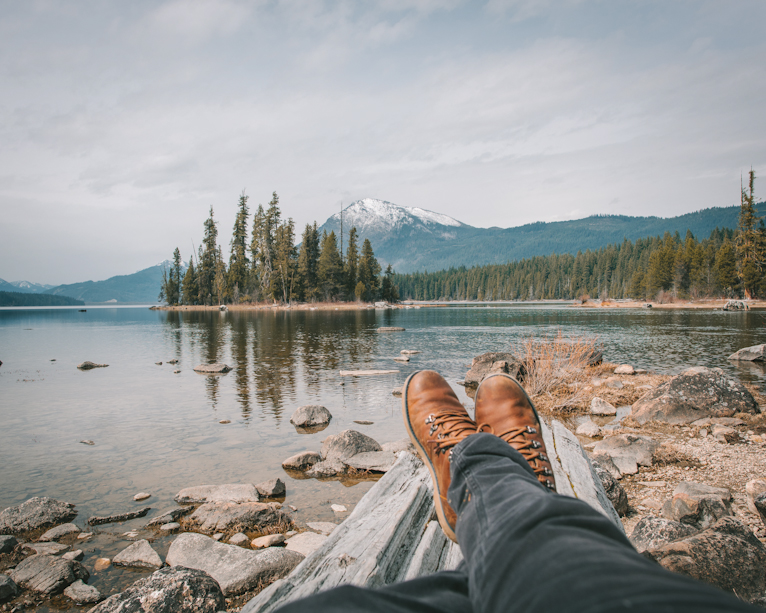
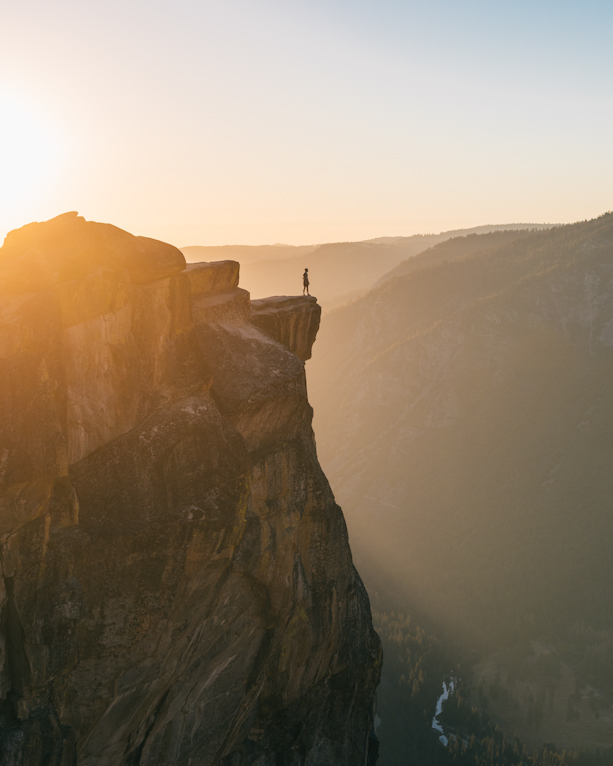
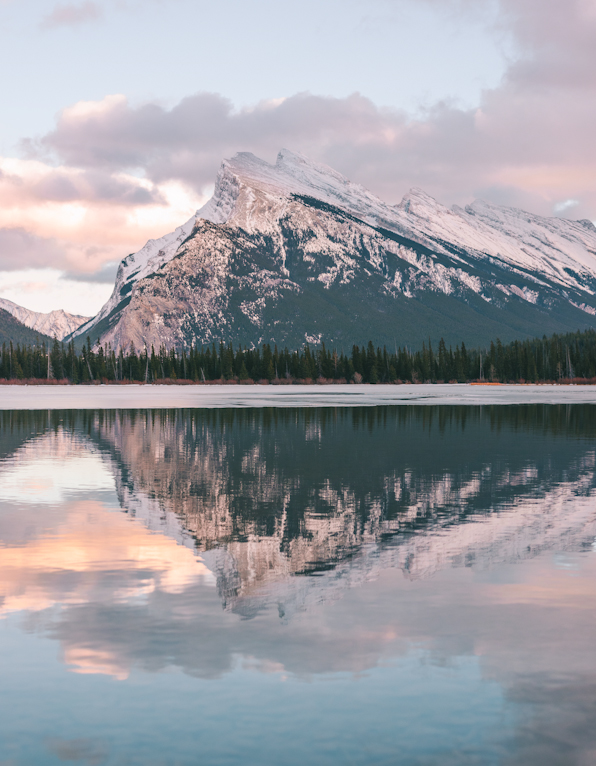
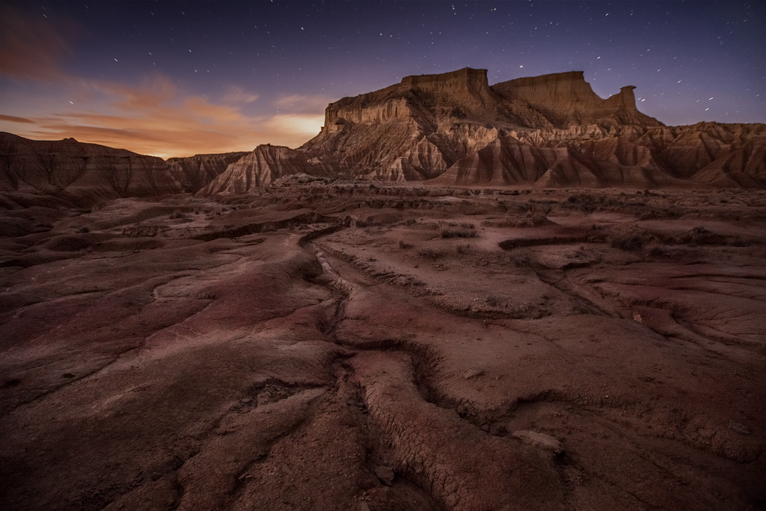
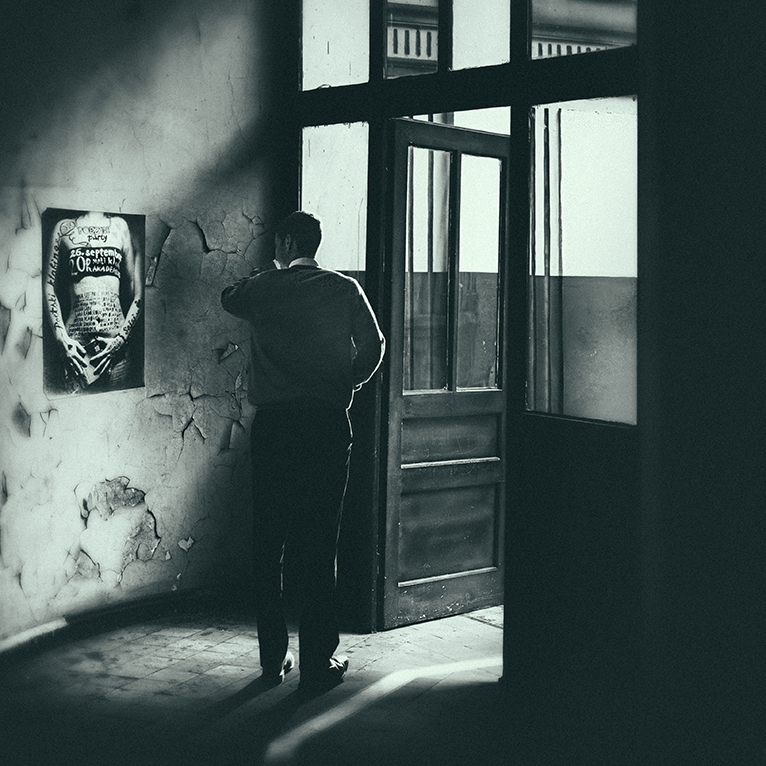
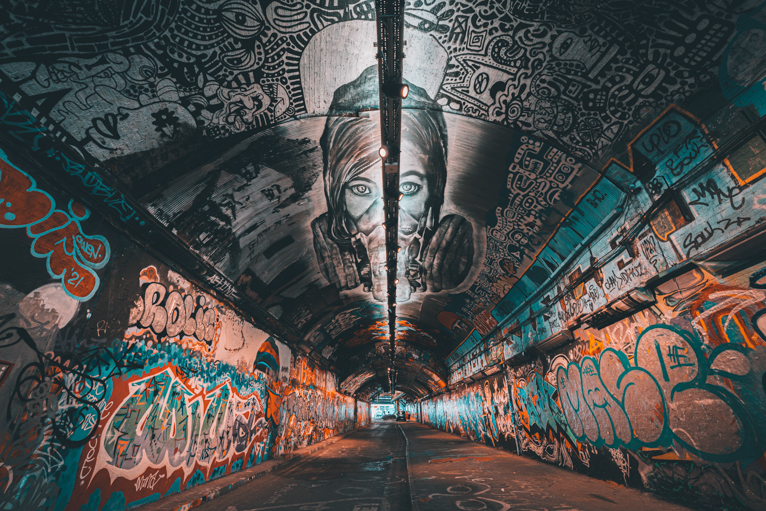
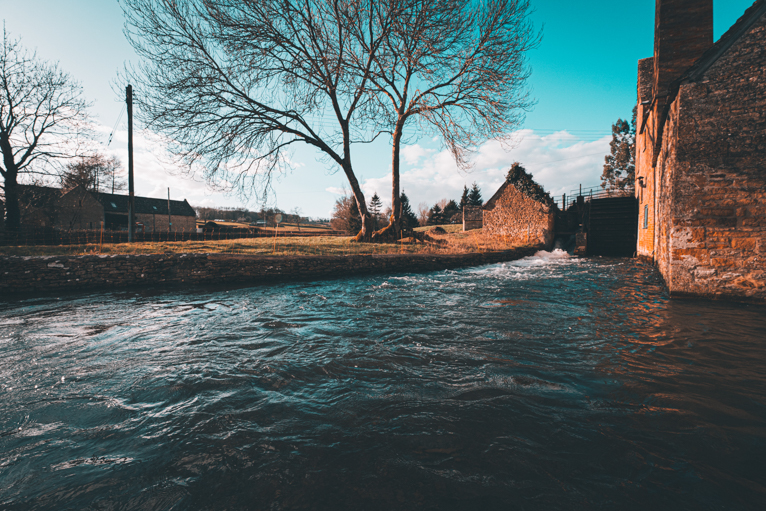
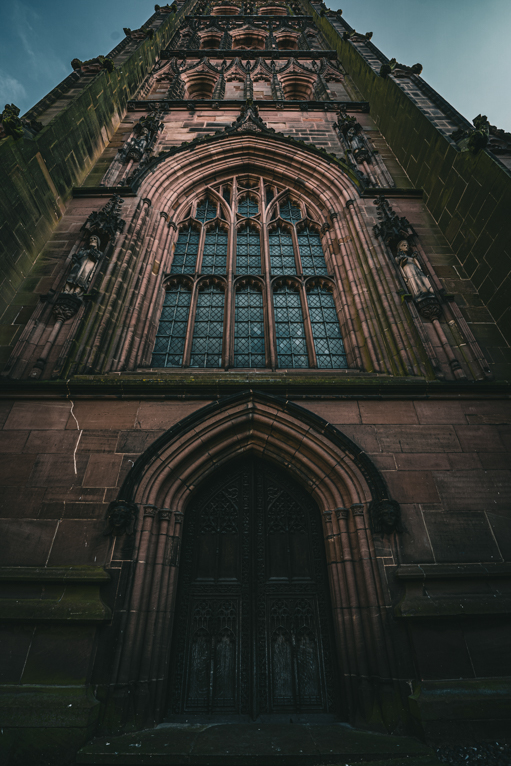
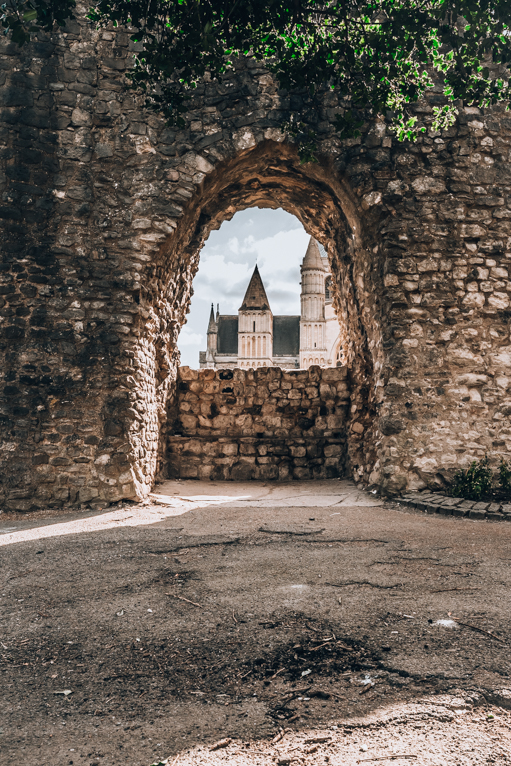
I mainly shoot landscapes and architecture, but really I shoot a little of everything. I love travel and street photography and enjoy shooting people in their natural environment.
Describe your style of photography?
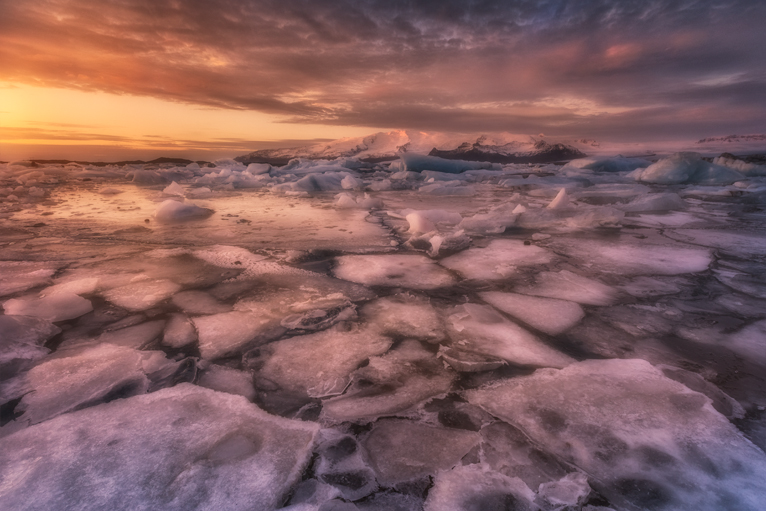
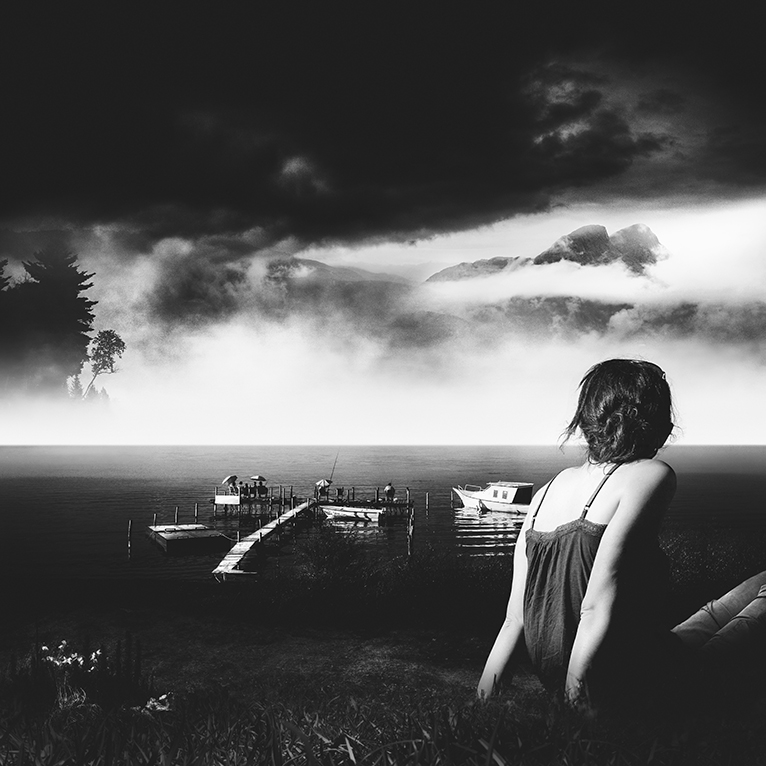
I would describe myself as a general lifestyle photographer that specialises in architecture, landscapes and people. I love natural lighting over studio lighting, and I use colour during the editing process to bring out the mood and feel of the subject at the time I shot it. Thus allowing people to view the world through my eyes.
What are you working on at the moment?
I am currently shooting multiple events for Coventry’s 2021 City of Culture. This will take me through to the end of the summer.
What is your next project or assignment?
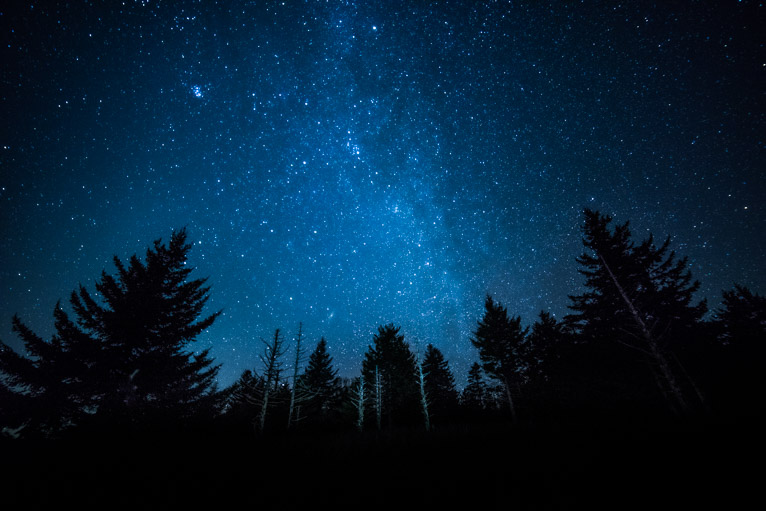
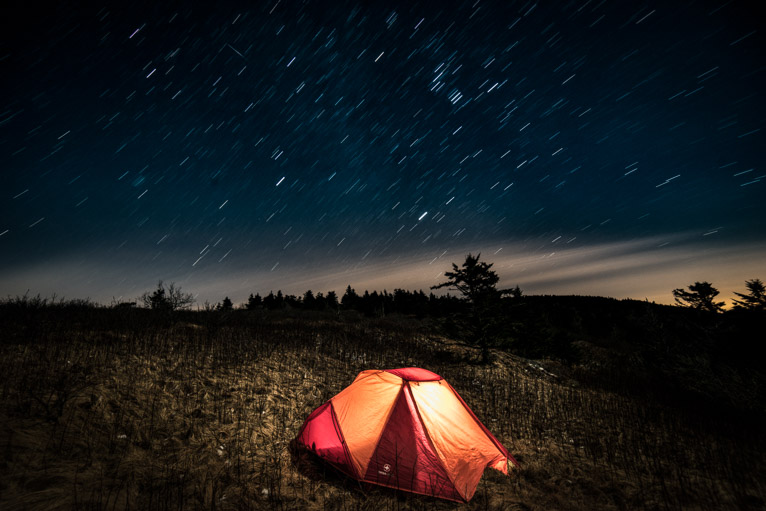
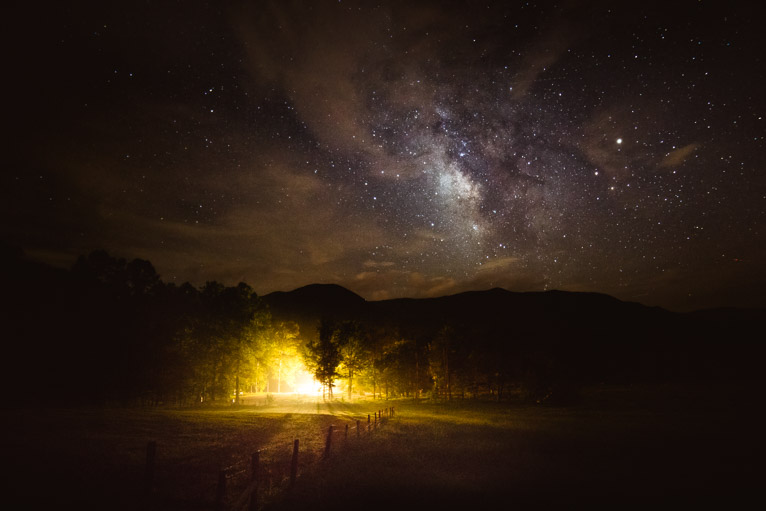
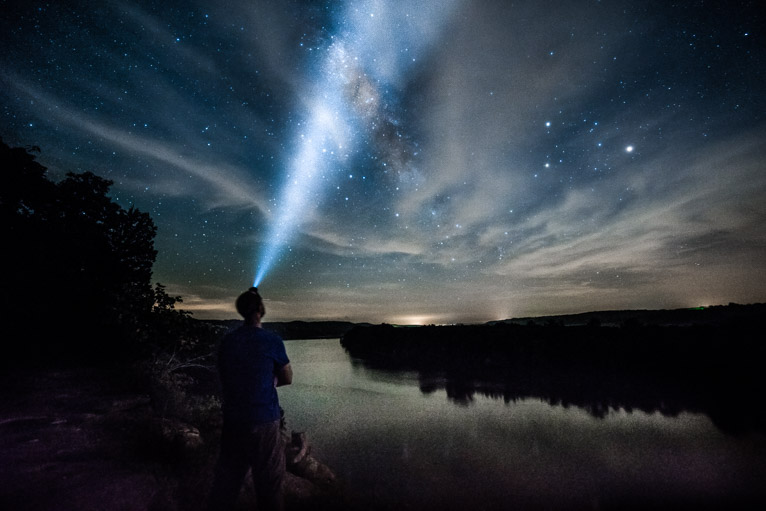
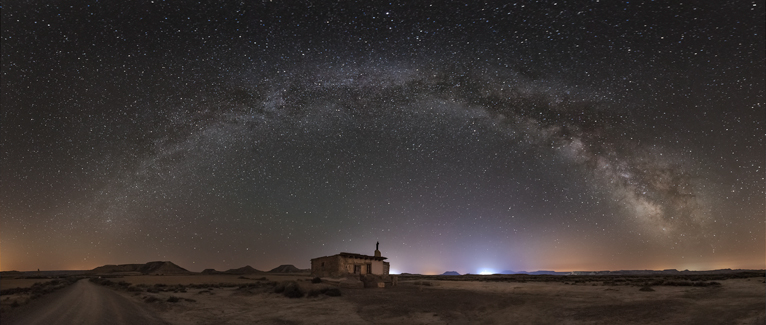
I am about to embark on a tour of the UK’s dark sites to highlight the best spots to capture the milky way. Outside of this, I have multiple events lined up for local businesses and a friend’s wedding.
Are there any photographers whose work/style you admire?
I love Annie Leibovitz, it’s the humanity she brings to her work I’ve always found inspiring. She doesn’t shy away from the less flattering aspects of a subject and uses their imperfections to highlight the hidden beauty and fundamental feel of the moment, in turn making you feel like you’re in the room with her.
The other photographer I admire is Mario Testino. Although he is famous for taking many beautiful black and white shots, it’s his colour photos which I’ve always admired. I love the way he uses colour. I find his stylized colour images cool and I love the artistry involved and how he makes every photo pop.
What is your favourite memory of your experiences?
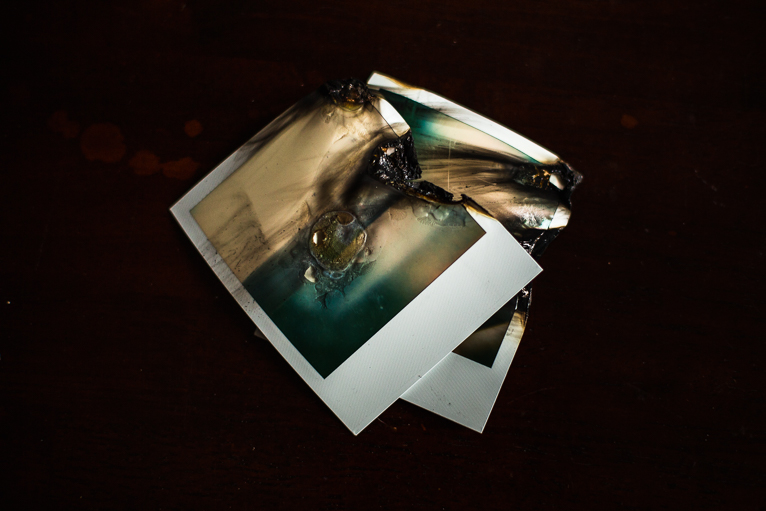
I have multiple favourite memories, and they all stem around documenting watching my children grow up. I always made a conscious effort to photograph them at their most natural, I never staged photos even if it came at the expense of them pulling undesirable faces or actions as I wanted to freeze that moment in time. My children are growing up fast with my eldest starting senior school next year, and although time is the only commodity no man can purchase, I feel I have frozen it. I view these photos regularly to remind me how far my children have come, but also how much I have changed and evolved as a father over the years. Without the medium of photography, these memories would soon disappear, and for that, I’m eternally grateful.
What’s the biggest photographic challenge you overcame?
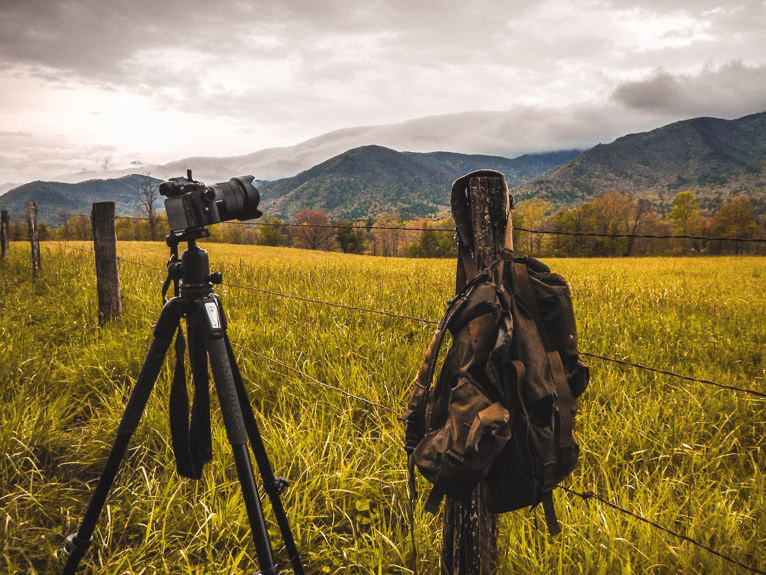
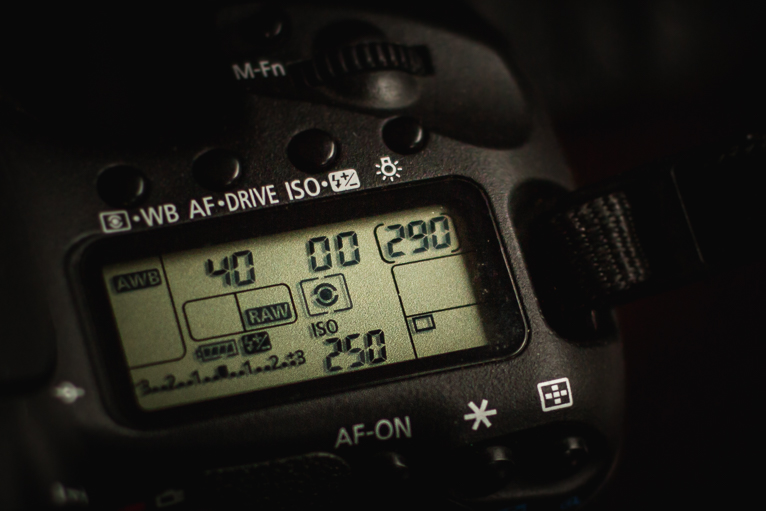
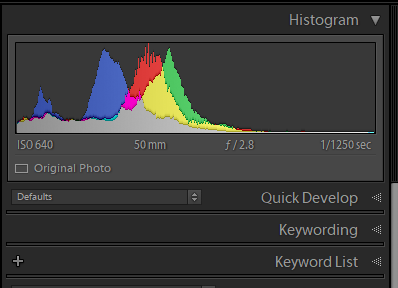
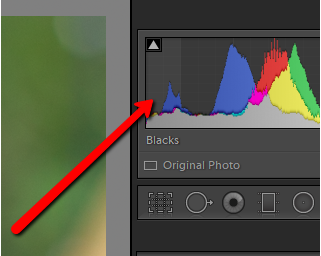
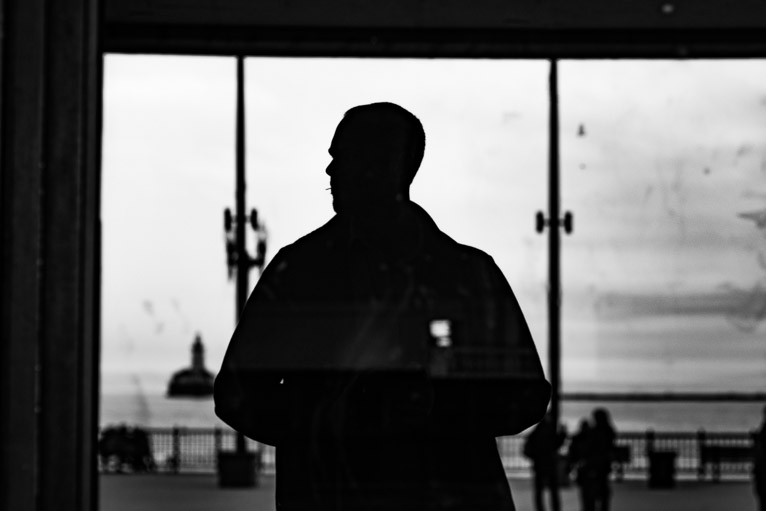
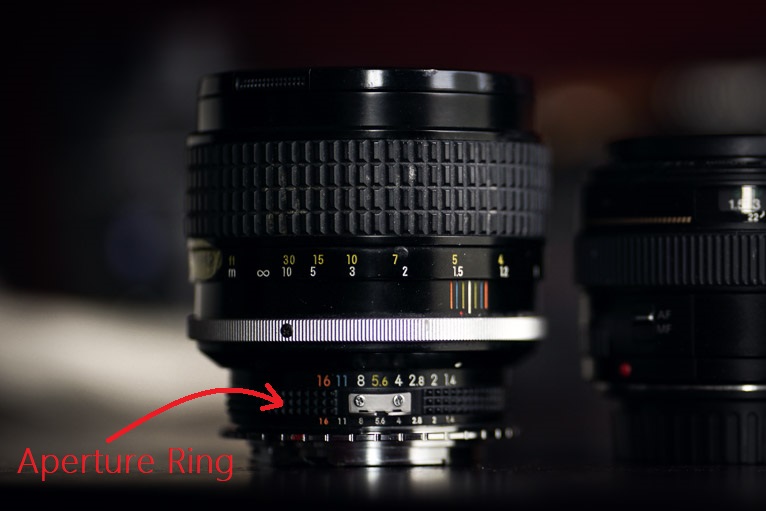
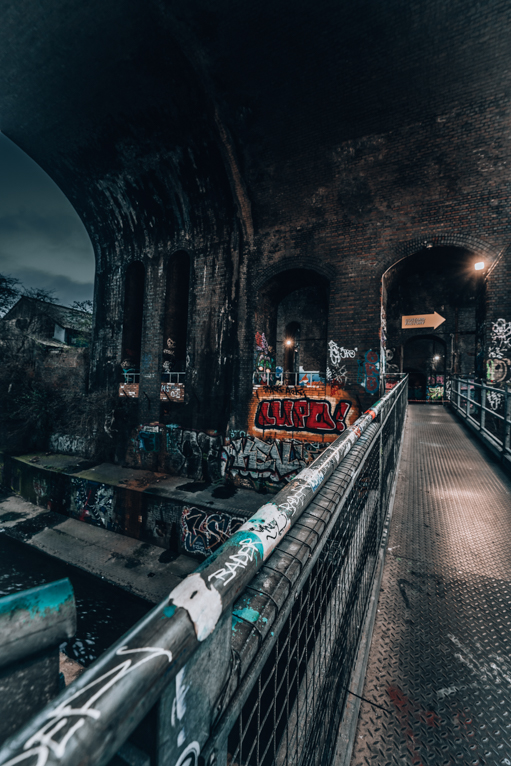
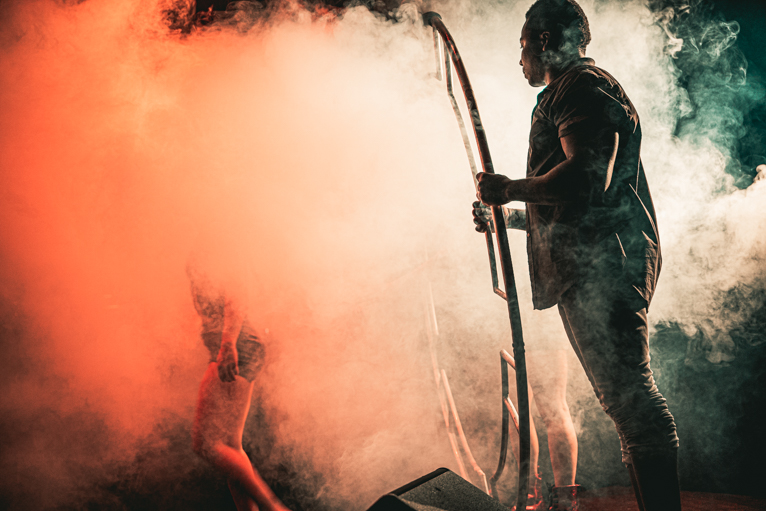
I believe it was mastering the dark. When I first started in digital photography my initial camera had a crop sensor and a standard kit lens. The sensor wasn’t a particularly strong one and struggled desperately in low light, while the kit lens had a relatively small aperture. So any ISO setting over 600 was pretty much unusable with the level of camera noise creeping in. Although these points sound negative, they gave me a good foundation and respect for shooting in the dark. I learned the best way to hold the camera securely when a tripod or monopod wasn’t ideal, it also taught me how to maximise aperture, shutter speed and ISO to get as close to the desired effect as possible. Nowadays with the pro-grade equipment, shooting in trickier environment’s has become incredibly easy, but I still keep the same disciplines I learned in past with my more modest setup. This allows me to play with the available light (or lack of) to my advantage.
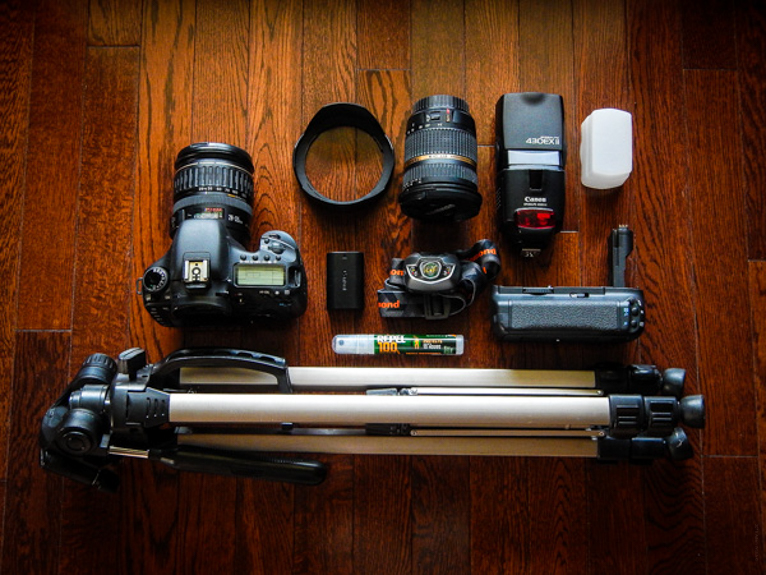
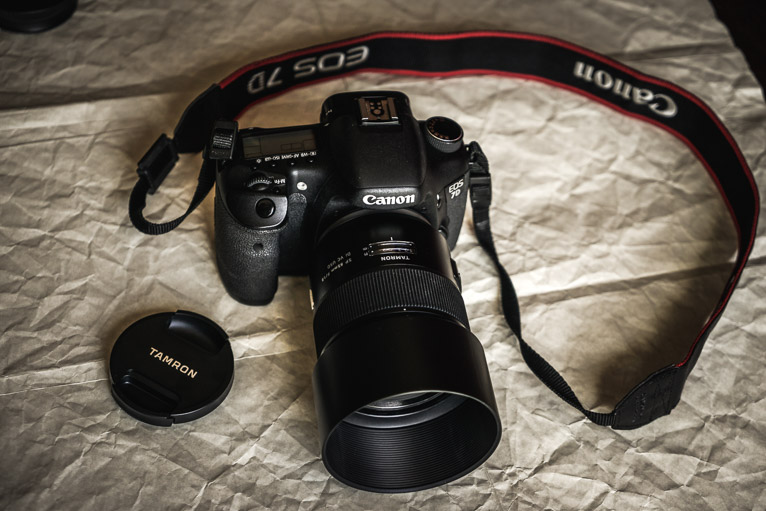
What’s in your camera bag?
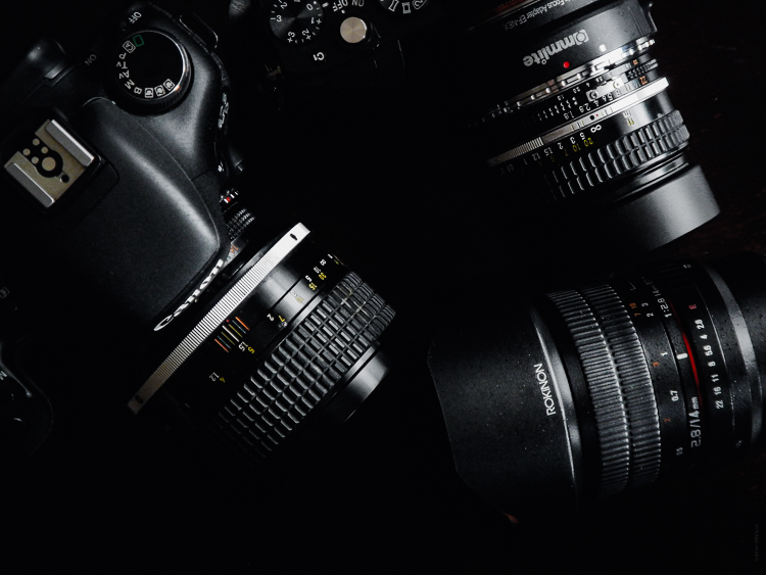
My first camera was a basic Minolta/Sony, within a few years I upgraded to a mid-range Nikon and built up from there. I now use a Sony A7iii so I feel I have come full circle.
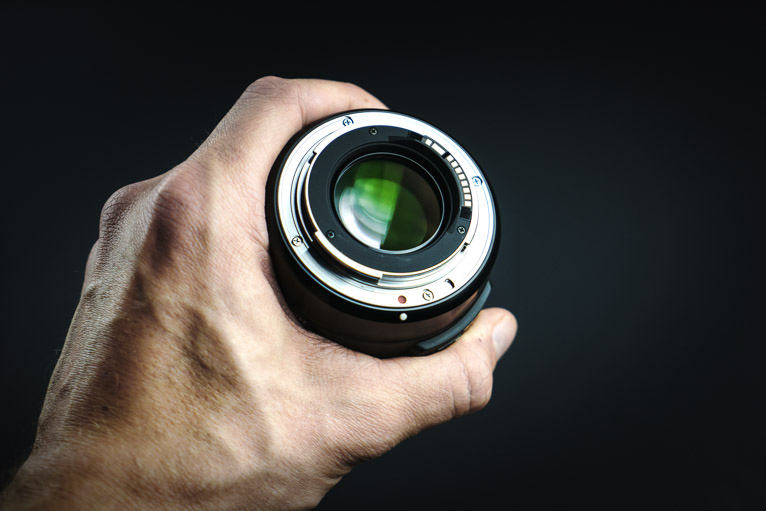
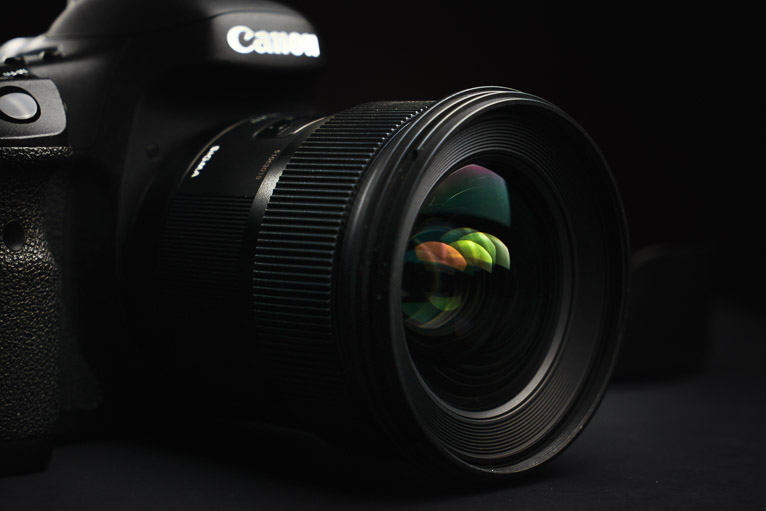
I have an early Polaroid SX-70 from the early seventies which I love using, the film is incredibly sensitive, and the camera is manual so in some respects it’s harder to perfect but much more rewarding when you do, all the while giving you full creative freedom. The Sigma Art lenses are amazing and give the famous camera manufacturers top-end glass a run for their money.
My little DJI drone was initially a plaything for family holidays knowing full well that the tiny phone-sized sensor wouldn’t be able to cope with anything more. To my surprise the shots and footage it takes are good, plus the new: Super Resolution feature in Photoshop allows me to blow up the drone photos from 12mp to 42mp+ with no loss (and sometimes slight improvement) of quality. I have used it for paid work, and it’s so tiny it takes up no space in my camera bag, so there is really no excuse not to bring it along.
My camera bag has the following:
- Sony A7iii
- Polaroid SX-70
- Sigma Art 14 – 24mm F2.8
- Sigma Art 24 – 70mm F2.8
- Sony 35mm F1.8mm
- ND filters
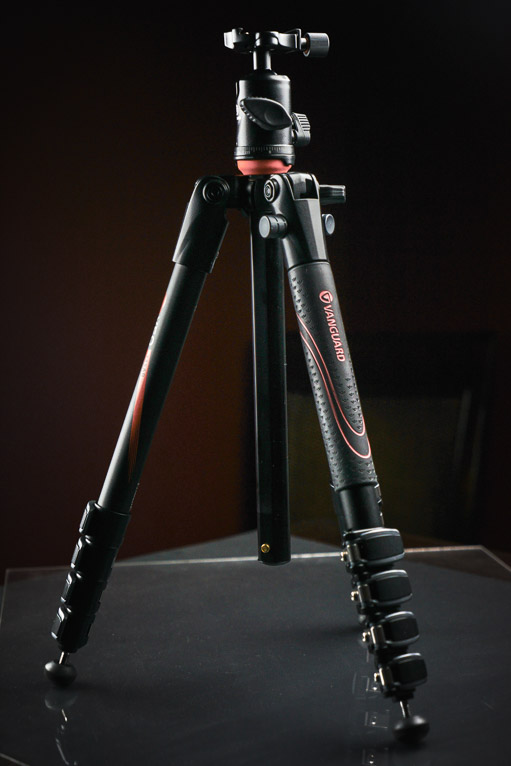
- Peak Design tripod
- DJI Mini 2 drone
What photographic equipment would you never leave home without?
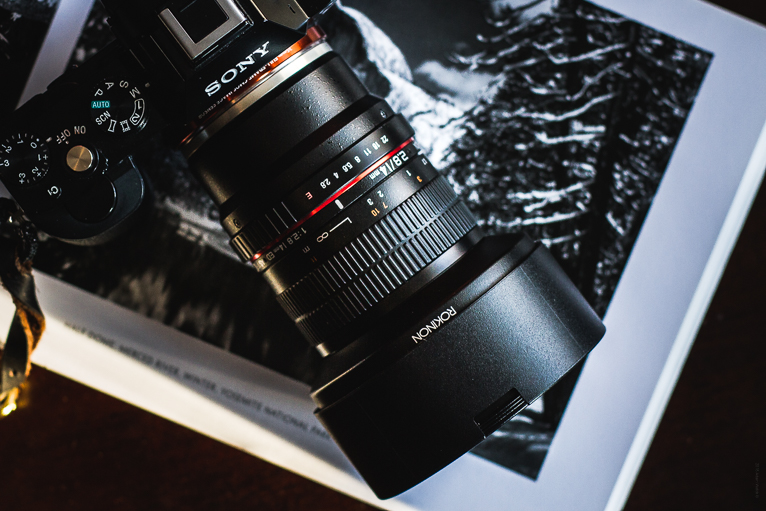
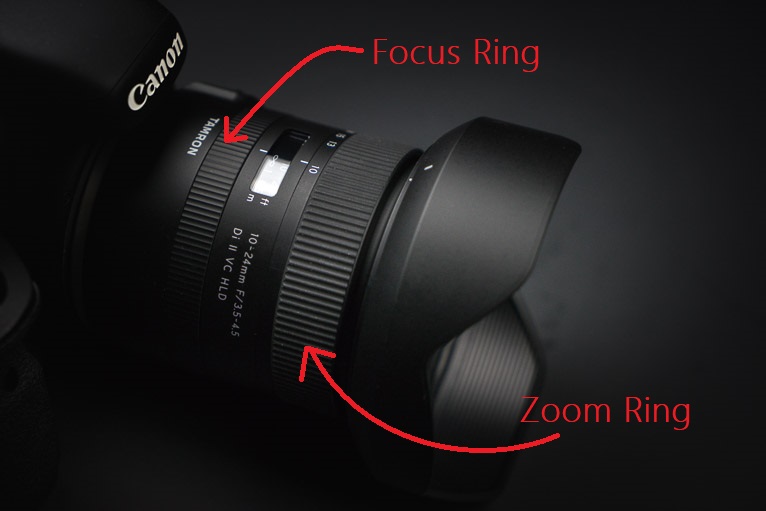
I love my 35mm prime, it’s so small and easy to carry around. I find 35mm so versatile, it is good for street photography, portraits and sometimes it’s just about wide enough for landscapes too. Having a large aperture gives it the freedom to shoot any time of the day. What I also love about a fixed focal length is that it makes you think about your positioning more and stops you from getting lazy by forcing you to move your body to get the right composition.
What advice you would give anyone who is starting out?
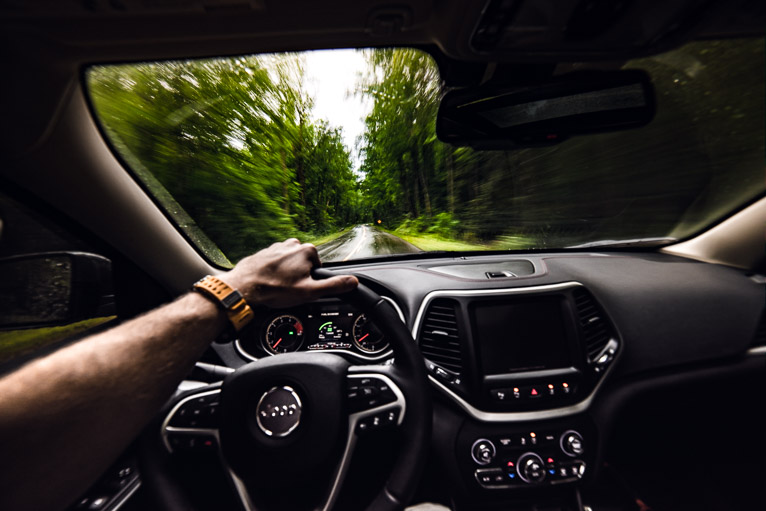
Don’t spend silly amounts of money on your first camera, buy a second-hand DSLR or mirrorless camera off eBay and hone your skills first. Then upgrade when you can take advantage of the extra power. Ultimately some of my personal favourite photos weren’t taken on my best cameras. The camera is just a tool, I like to use the analogy of a Fiat vs. a Ferrari, they both drive on the same roads, require the same fuel, and have the same operator, and ultimately the destination is the same too, but one gets there a little quicker that’s all.
Any pitfalls they should avoid?
Don’t be scared to change every setting on the camera, you won’t break it, but you might just learn something new about it!
Lastly… if you weren’t a photographer what would you be doing?
I own a hairdressing salon too, so I’d understandably continue in that arena.
To see more of Jim’s work visit www.jimmaher.co.uk or follow Jim on Instagram.
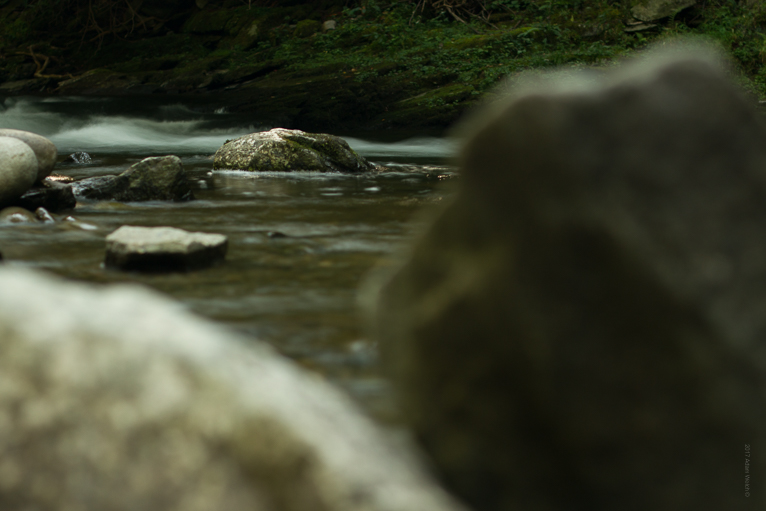
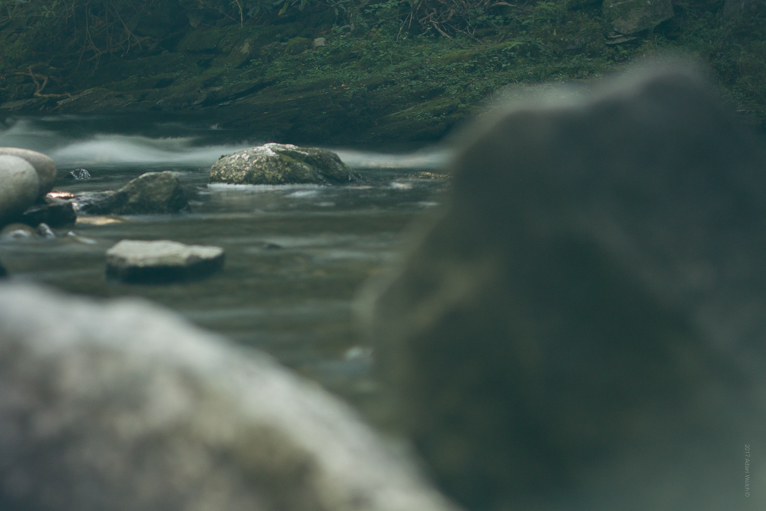
All images by Jim Maher. All rights reserved. No usage anywhere online or in print without permission.
Interview by Kav Dadfar.