• Cart
  • Checkout
  • My Account

Infrared Conversions, IR Modifications & Photography Tutorials | Life Pixel IR

The world leader in infrared conversions, modifications & DIY IR conversion tutorials. Scratched sensor replacement, UV & Full spectrum conversions.

The world leader in infrared camera conversions

866.610.1710
  • Home
  • → Start Here ←
    • 1 – Introduction
    • 2 – Filter Choices
    • 3 – Focus Calibration
    • 4 – Lens Considerations
    • 5 – Camera Considerations
    • 6 – Start Shopping
  • Galleries
    • Infrared Photography
    • Infrared Time Lapse
    • Infrared Cinematography
    • Infrared Stop Motion
    • Ultraviolet Photography
    • Forensic Photography
  • Education
    • Training Sessions
    • How To Shoot Infrared
    • AR Coated Infrared Filters
    • Lens Hot Spot Database
    • Photoshop Video Tutorials
    • Infrared Issues & Solutions
    • IR Basics in Photoshop
    • Camera Quick Start Guide
    • DIY Conversion Tutorials
    • IR Photography Primer
    • Secondhand Cameras
    • Wall Of Shame
  • Workshops
  • FAQ
  • Blog
    • Tutorials
    • Inspiration
    • Locations
    • Gear
    • News
    • Other
  • Why Choose LifePixel?
    • Submit Your Review
  • Contact
  • Shop

The Only Three Lenses You Need For Travel Photography

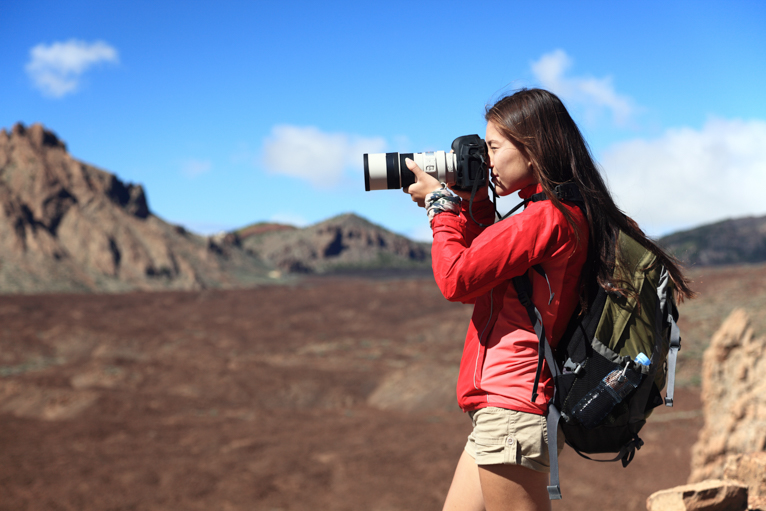
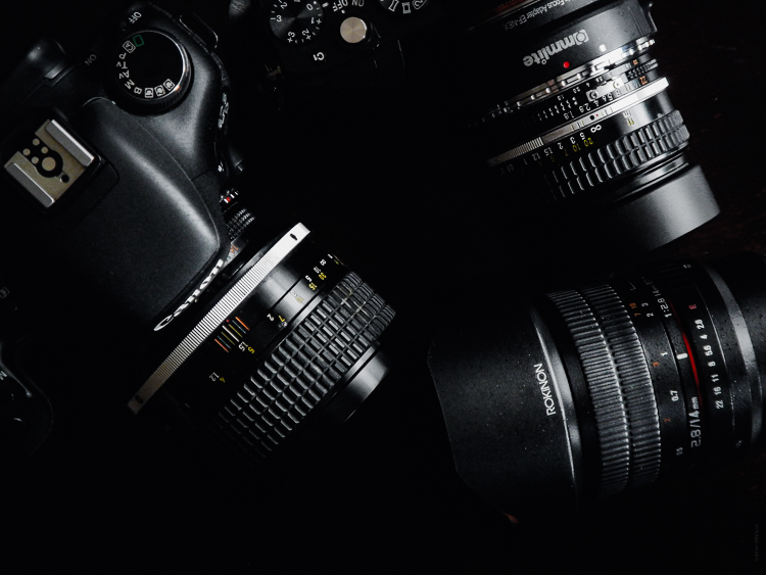
One of the most common questions that I get asked by amateur photographers is what lens or lenses they should take away with them on their trips. Whilst we all can be guilty of overpacking our camera gear, the reality is that most of the time you only need a few basic equipment to be able to get the shot you want. Taking a whole load of camera gear does not only mean more questions being asked if you’re going through airports but also the added weight that you have to carry around. There are also more things that can be lost or even stolen. When I tell people what I carry with me on any trip or assignments they are often surprised. So if you are guilty of overpacking your bags with lenses, here are the only three lenses that you will need for travel photography.

which-lenses-for-travel-photography

Do this quick test

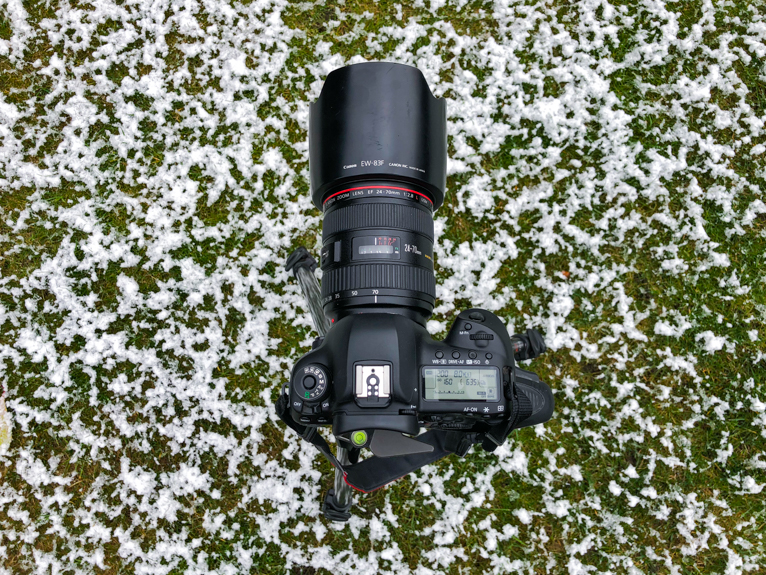
Before we get started on the lenses that you should take with you here is a quick test that you can do to prove to yourself that you don’t need all those Lenses. Look at all the photos that you’ve taken from the recent trip and count how many photos have been taken with each lens that you took with you. Unless you are photographing something very unique that requires specialist equipment, the vast majority of photos you would take would be with what I would call your workhorse lens. Often this is something like a 24 – 70 mm lens. So you can hopefully see that all those lenses you took with you weren’t actually needed.

The ultra-wide-angle zoom lens

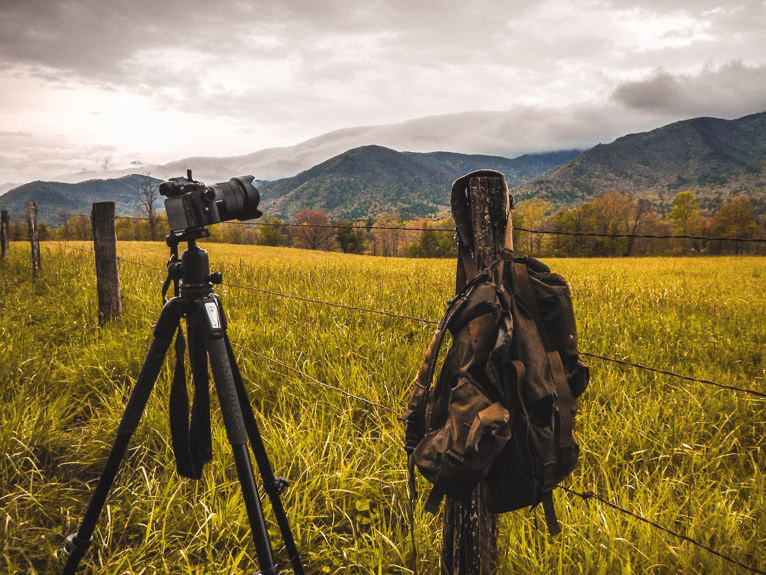
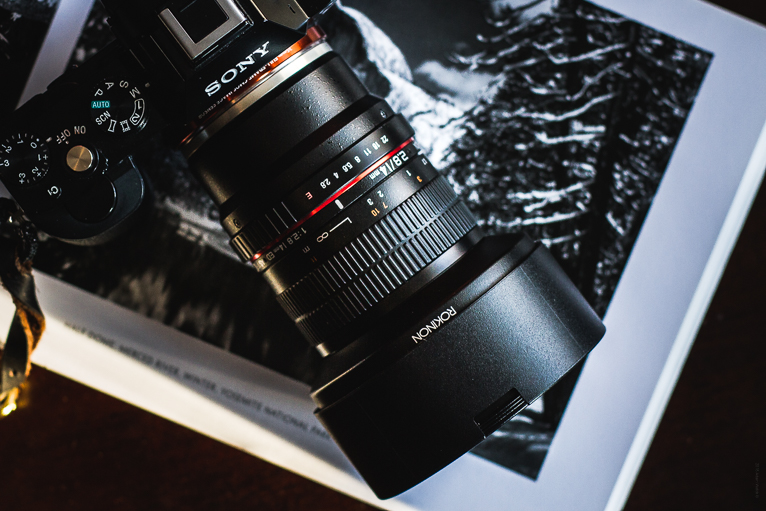
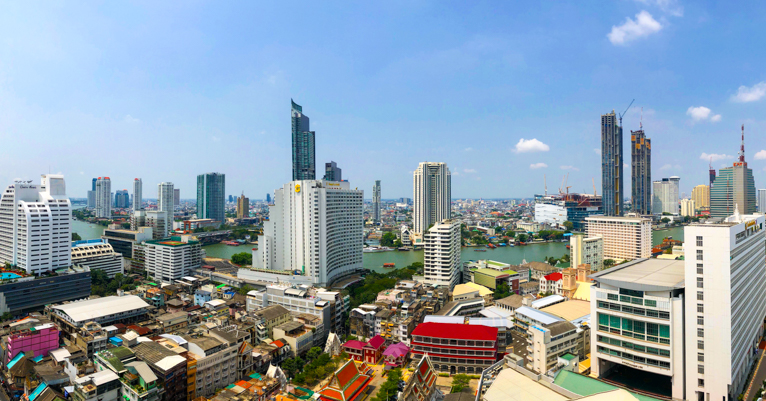
Ultra-wide-angle lenses are an essential part of a travel photographers kit. Whether you are photographing cityscapes or landscapes or even just photographing in tight spaces these ultra-wide-angle lenses can be very useful. The other benefit of using ultra-wide-angle lenses is that you can also subsequently turn your photos into a panoramic by cropping the top and bottom. Yes, you will be able to do this with any other lens but the extra width that you get will with ultra-wide-lenses mean that you can get a much wider view of that amazing vista that you are looking at.

Keep in mind that most of the time when you are going to be photographing in these sort of scenarios you’ll be using a tripod. So you don’t necessarily need to purchase the fastest lens (i.e. f/2.8 or faster) as these can be very expensive. Clearly if money is no object then go for it but otherwise, something like an f/4 will do the job.
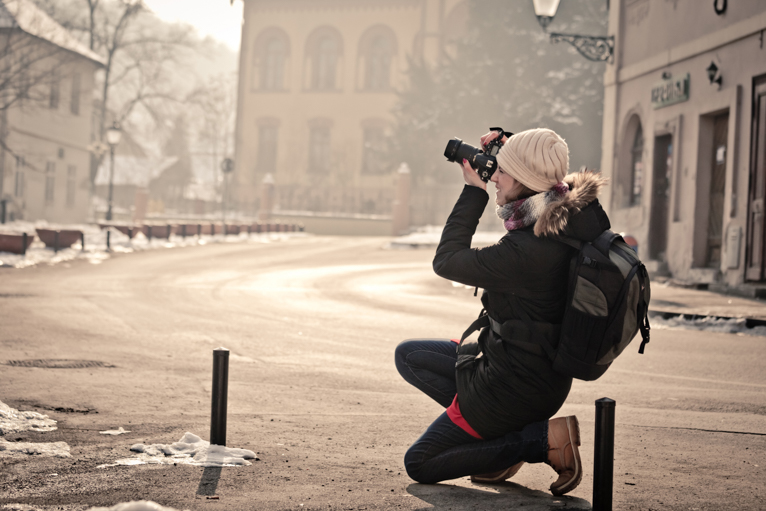
which-lenses-for-travel-photography

Your workhorse lens

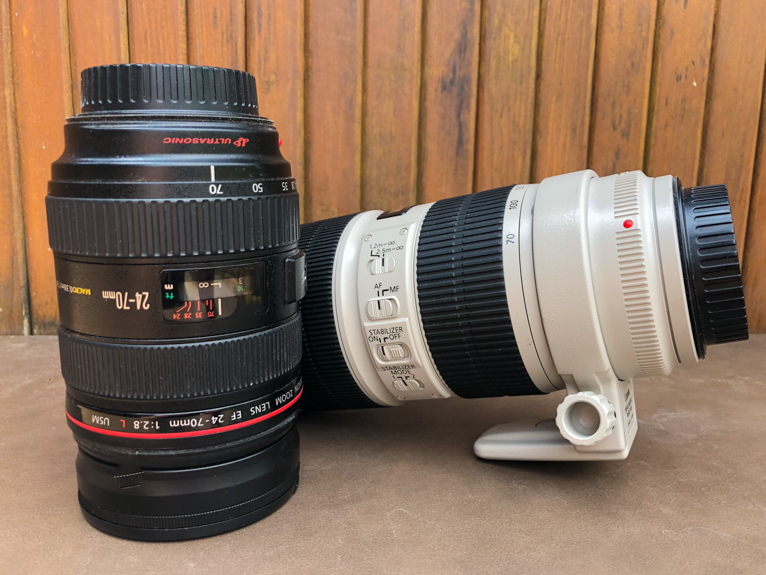
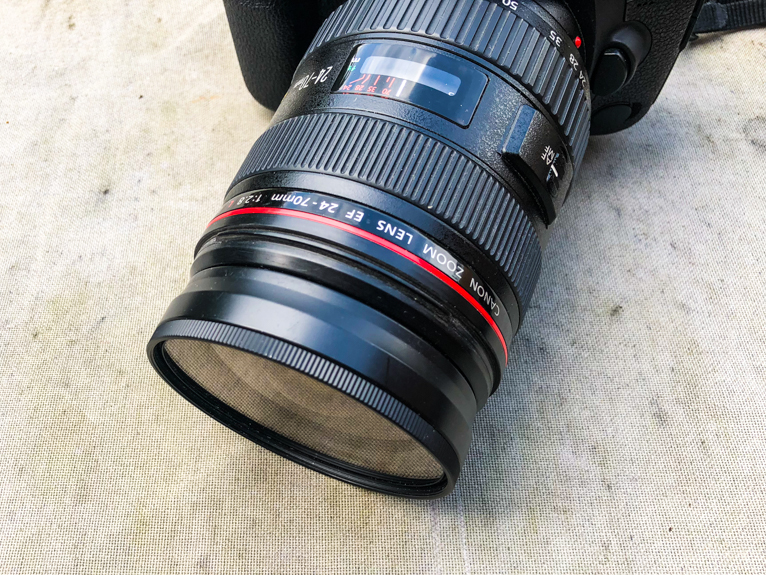
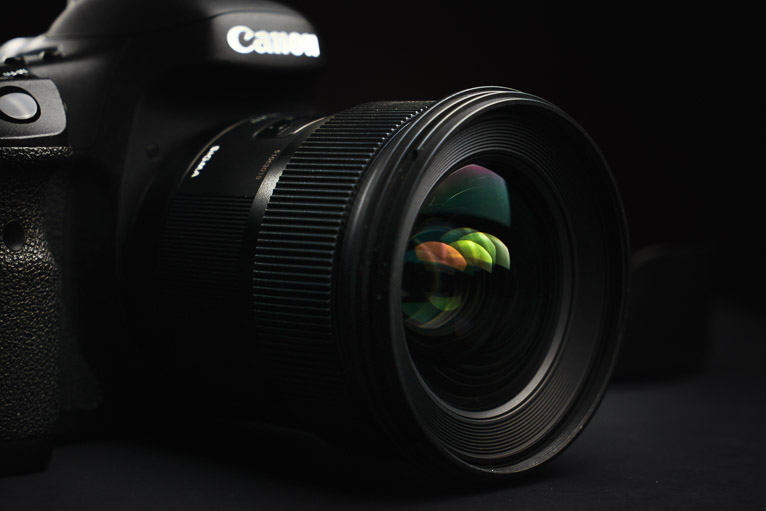
As discussed above every photographer will have one lens which does the vast majority of their photography. For me, this is my Canon 24 – 70 mm lens. Pretty much every manufacturer has a lens around these focal lengths and it’s the sort of the “Swiss Army knife” of lenses. This is often the first lens that you will need to buy so it’s definitely worth spending the money to buy the best possible lens that you can afford. In fact, I would advise anyone to buy the best quality 24 – 70 mm lens instead of forking out on two or three different lenses. These lenses offer a wide enough angle to be able to shoot landscapes while still being able to zoom in close enough for portraits. So even if you didn’t have any other lenses you will be able to capture the photos you want most of the time.

which-lenses-for-travel-photography

The telephoto lens

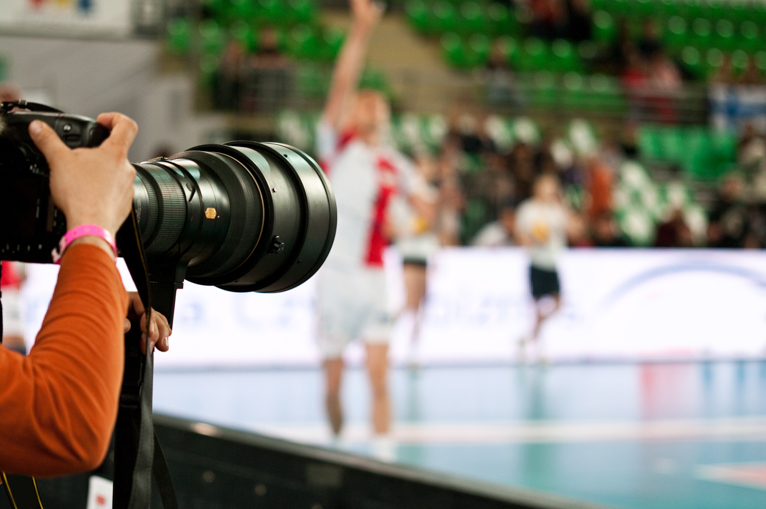
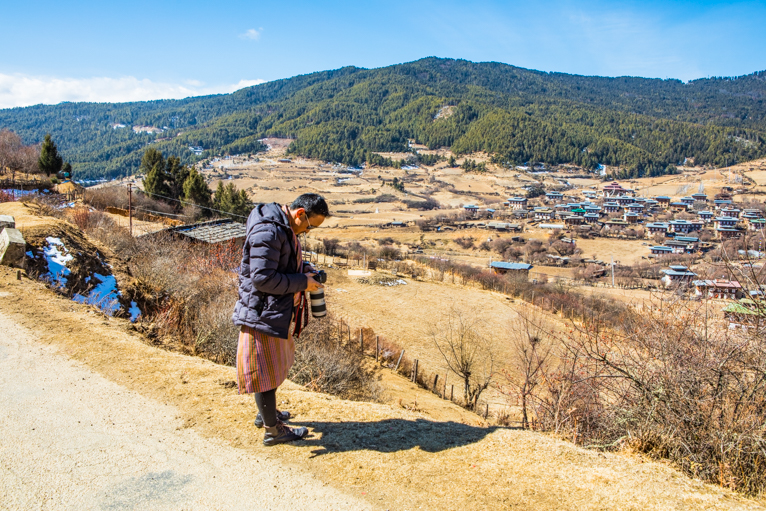
The only other lens that you will need is a telephoto lens. Most photographers will complete their kit with something like a 70 – 200 mm telephoto lens. These lenses are big, heavy and expensive for a good quality one. But they are also incredibly useful for a travel photographer. Most people think that these telephoto lenses are only for photographing wildlife. But actually you might be surprised to hear that even landscapes and portraits are wonderful subjects to photograph with these lenses. If you have never taken a landscape photo with a telephoto lens then try it next time you are out and about. These lenses will compress the space between various elements in the landscape and make the whole scene seem much more compact. This can look very pleasing in photos.

As for portraits, there is probably no better lens to photograph people with than these. A good telephoto lens is going to be very expensive but it will definitely be worth the investment in the long run.

Of course, if you are going to be photographing a lot of wildlife you may need a longer lens. For example, some people choose something like 100 – 400 mm lens which will allow you to capture wildlife shots from further away. But keep in mind that these lenses get heavier the longer the focal range is.

which-lenses-for-travel-photography

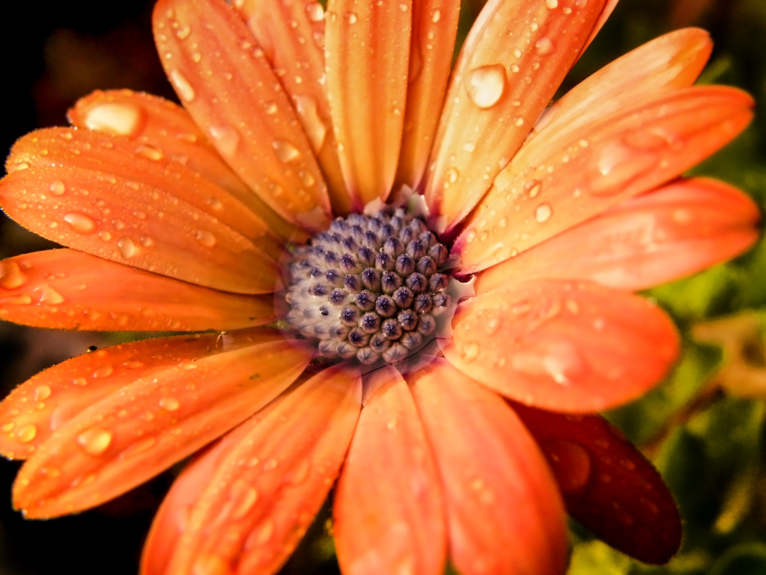
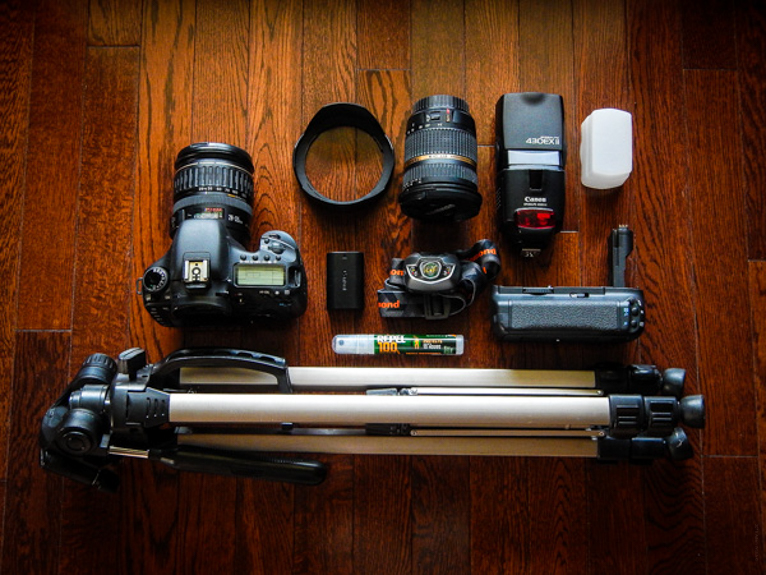
These three lenses should be able to cover almost every scenario that you come across in travel photography. But of course, there will be times when you may need more specialist equipment. For example, you may need a macro lens for photographing insects. Or a tilt and shift lens for photographing architecture. The thing to keep in mind is that you can always rent further equipment as and when you need it. So instead of spending a whole load of money on lots of different lenses that you may not use, spend your money on buying the best quality lenses above. If you want to shoot simply and travel without a heavy backpack then these lenses are all you need.

Photo credits: Kav Dadfar – All rights reserved. No usage without permission. Dreamstime.

Filed Under: Tutorials Tagged With: lenses, Travel photography lenses, Which lens, Which travel photography lens

A Guide To Different Types Of Lenses

I often get asked what lens should I buy? Whilst you can photograph anything with any lens often this isn’t advisable or possible. For example, no one wants to get too close to a lion to take a photo. Or trying to capture a cityscape with a telephoto lens means you have to stand so far away which might make it almost impossible. So having different lenses will give you more opportunities to be able to photograph different situations. I have never been one to advocate spending too much money on unwanted equipment. But when it comes to lenses, unfortunately, quality does matter. The better the quality of the lens, the better your images will be. Sharpness and the colour will be better with a better lens. It will also allow you to take photos with a faster shutter speed as you can select a wider aperture. This means that you can take photos handheld at lower light conditions. So if you have been unsure about which lenses do what, here is our guide to the different types of lenses.

Super wide-angle lenses

Super wide-angle lenses generally are less than 24 mm focal lengths. With this wide angle of view, they lend themselves to landscape photography and architectural photography. The only other scenario where these lenses might be useful is when you are working in confined spaces. For example, photographing a market vendor with a lens like this will allow you to capture their surroundings as well. But these lenses have to be used carefully otherwise you may find that your subject appears too small within the competition.

Wide-angle lenses

These are general wide-angle lenses. They are what most photographers use day-to-day. These will often be 24-70 mm and will allow the photographer to be able to photograph a wide range of scenarios with one lens. Over 90% of the photos that I would take on any shoot will be taken with this lens. This should be the first lens that you buy.

Prime lenses

Most photographers these days would have zoom lenses that allow you to have a range of focal lengths. Prime lenses are set so you cannot change the focal length. In other words, you can’t zoom in or zoom out. The benefit of these lenses is that they are often cheaper than buying good quality zoom lenses. They often also have a fast aperture such as f/1.2. This will allow you to capture photos in very low light conditions handheld.

Prime lenses are also a good way to practice becoming better as a photographer. Because you have to move around and get closer to your subject, you will find yourself doing the same when you have a zoom lens. Even if you don’t own a prime lens it’s always worth renting one for a few days and setting yourself the task of capturing photos with just that lens. You may be surprised by the results and your progression as a photographer.

Telephoto lenses

Telephoto lenses range from about 65-250 mm. The main characteristic of telephoto lenses is that they magnify your subject. In other words, you can capture closer photos of things which are further away. The other characteristic of telephoto lenses is that they will shorten perspective. This will make everything in a scene seem more compact. These lenses are generally used for head and shoulder portraits which give a pleasing perspective of the face of your subjects. The other benefit of these lenses when taking portraits is that it allows you not to be too close to your subject. Often that little bit of space can help relax them a little bit more and give better photos. The telephoto lenses are also useful for landscape photography especially cityscapes. When things are too far away they are useful in isolating a small section of a wide scene.

Super telephoto lenses

Anyone wanting to venture into wildlife photography, bird photography or even sports photography you would likely need these super-telephoto lenses. They will have a very narrow-angle of view and will often be very big and heavy to carry. If that doesn’t put you off the price often will. But for certain scenarios, you will not be able to capture a photo as well as you could without one of these lenses.

For example in bird photography, if you want to take pictures where you can actually see the bird close up, you are going to need at least a 500 mm lens. You may sometimes get away with using a shorter telephoto for some scenarios such as sport and some wildlife. But if you want to capture photos as you see in magazines and newspapers you are going to need one of the big serious telephoto lenses.

Perspective correction lenses

Perspective correction lenses or tilt and shift lenses are primarily used by architectural photographers. The main benefit of tilt and shift lenses is that they can eliminate linear distortion. This occurs when you take photographs of buildings where you tilt your camera upwards. By allowing you to control the angle of the plane of focus you can keep the image plane parallel to the building. Thus eliminating that effect of a building looking like it’s falling backwards. Keep in mind that these lenses are expensive and these days you can remove converging lines using post-processing software. Adobe Photoshop or Lightroom can remove this distortion easily.

Macro lenses

Macro lenses are ideal for photographing very small things such as insects or individual flowers. Generally, these macro lenses are described by the degree of magnification possible. A macro lens with 1x magnification is capable of one-to-one reproduction. A lens capable of 0.5x times magnification reduces objects at half life-size. They are specialist lenses for these types of scenarios.

Teleconverters

Teleconverters are accessories that fit between the camera body and the lens. They are used to increase the focal length of the lens and come in a variety of magnification (i.e. 1.4x, 2x, and so on). So for example using a 2x teleconverter on a 70-210 mm lens will turn that lens to a 140-240mm lens. They are ideal if you need a one-off solution where you need to magnify your lens. For example, if you are going on a safari and don’t want to rent or spend money buying an expensive super-telephoto lens this is a cheap alternative. But unfortunately, they do come with the downside of inferior optics. This will have an effect on the sharpness of your images. So you need to decide whether you would want to put a cheap piece of glass between your expensive lens and your expensive camera?

Image stabilisation

This is a feature that is available on most lenses these days. It is especially useful in telephoto lenses as it allows you to take photos at shutter speeds two or three stops below the recommended minimum shutter speed. For example with a 200 mm lens, image stabilisation will allow you to photograph at 1/60th or even 1/30th of a second handheld. Whereas without image stabilisation you would need a shutter speed of at least 1/200th sec or more. You will often see the image stabilisation referred to with IS on Canon and VR on Nikon. So in summary image stabilisation will allow you to take photos at slower shutter speeds then you would normally be able to handheld.

Like most things a photographer carries, lenses will be added to over your photography journey. The key is to always buy the very best lens that you can afford. Because lenses make a huge difference in the quality of your photos. But always buy what you actually are going to use. You can always rent a specialist lens for a one-off trip, assignment or even for personal photography. So there you have it. A brief summary of lenses and what they are for.

Photo credits: Kav Dadfar – All rights reserved. No usage without permission. Dreamstime.

Filed Under: Tutorials Tagged With: beginer photography tips, beginner photography, lenses

Bare Bones Photography: What Gear Do You Really Need?

What is the end game of photography? To make a photo, right? Not always a print but nonetheless an image of some kind is the final goal of most photographers. The tools needed to complete what can sometimes be a world altering task are simple. At their minimum, you’ll require some type of otherwise light-proof box which has a relatively small opening-i.e. a camera, and some way of recording the incident light which enters-i.e. film or digital sensor. You don’t even truly need a lens(pinhole cameras) to make a photograph but of course that helps immensely.

Now, that list of gear might sound incredibly lacking but when you think about it everything else that we throw into the mix simply expounds on or enhances those basic pieces. There are multitudes of cameras, both film and digital, with equally vast selections of lens and filters for each. Everything else aside, this article will help you if you’re just starting out on your photographic journey in that you will learn what basic photo gear you will actually need…not just what someone might want to sell you.

What You’ll Need

Below is a list of the bare-bones gear that you will need to get rolling in making photographs. Of course there are not real absolutes as you will soon find out but in order to reach the end result, a picture, you will need these few things:

The Most Important Item

The single most important tool you can possess isn’t actually a piece of gear at all but rather the correct mindset. I’m listing this first because everything else is secondary to your ability and to adapt and make the most of whatever camera or lens you have available. When I first started out in photography, eighteen year old me saved $265 and bought a 35mm SLR kit that included one 18-55mm F3.5-5.6. I shot on that one lens for about five years and managed to make some wonderful photographs despite it being a “kit” setup. After I switched to digital photography(I still shoot film as well) the progression evolved much the same way with me beginning with a kit lens and later branching out as I learned more about the craft.

Don’t think that you need incredibly expensive cameras or lenses to get started doing photowork. Granted, there are some things that even the most determined effort can’t make happen without the necessary equipment but you might be surprised how much you can get out of “low end” gear when you approach the problem with creative solutions.

A Camera

The importance of a camera can’t be overstated but that doesn’t mean that it has to be the latest and greatest piece of tech to roll off the line. In fact, if I could back in time I would have spent much less on my first digital camera and much more on the lens. More on lenses in a minute but ironically the camera you use usually plays much less of a role in the final image quality(sharpness/color/contrast) than you might think.

Whether it be film or digital, find a camera that is well built and feels good to you. If you can’t readily handle the camera before you buy then become a review hound and learn everything you can about other users experiences. Luckily, most digital cameras today are so good in terms of ISO performance and build that you won’t really go wrong in most cases. Again, if I can offer a little advice in hindsight, invest more in your glass instead of your camera.

A Lens

The lens is the eye through which your camera sees and there are apparently hundreds of different eyes out there. Like I mentioned earlier, the quality of your lens is a huge factor in the final quality of your photos. If you put a poorly made, blurry and sluggish lens on the most expensive camera in the world you will still get poorly made, blurry and sluggish photos in turn

In short, if you aren’t sure yet which genre of photography you’ll gravitate towards, what’s called a “normal” focal length lens will be the best bang for your buck. The term “normal” refers to a lens approximately equal to the field of view of the human eye which is arguable in the 30-50mm range. Most kit lenses included with cameras hover in the normal range. In any case, find the fastest lens(small F-number/large aperture) that will fit the most situations be it landscape, portraiture or street photography. Fortunately, a fast 50mm lens remains of the cheapest lenses you can currently buy.

Finishing Up

Yes, that really is all you need. While there are a few accessories like film or memory cards that you’ll require the overall basic gear to start making images really is as simply as that.

As you progress you will learn what makes you tick photographically and you can adjust your tools accordingly. Find a camera, find a lens, and start shooting.

Filed Under: Gear, Inspiration Tagged With: camera, cameras, Getting started, inspiration, landscape photography, lens, lenses, Lifepixel, Photographer, photographers, Photography, photography tips, Travel photography, tripod, Wildlife photographer

Understanding Basic Lens Anatomy and Terminology

The lens is the eye through which a camera sees. No matter what kind of camera you use, the lens is one of the single most important investments you will make. So in the spirit making wise decisions and minimizing buyer’s remorse the gear-savvy photographer will make it a point to understand the basics of lens anatomy. Not only with understanding the basic ins and outs of your lens make you a better technical shooter, but it will also enable you to squeeze every last drop of performance from whatever glass you happen to be using.

Without a doubt the numbers, markings, and terms often associated with camera lenses can be confusing. The good news is that they don’t have to be! Generally speaking, all those numbers and symbols are actually quite simple to understand. Let’s begin with some terms and names of common lens components you will likely encounter with most camera lenses.

Basic Lens Anatomy

Barrel-The physical outer body of the lens which houses the internal components.

Elements-A term used for the individual internal pieces of glass which make up the optics of a lens.

Bayonet-The end of the lens that attaches to the camera body. Bayonets are designed in different “mounts” based on the camera they are intended to fit.

The bayonet of a Canon EF Mount lens

Zoom Ring-A circular ring which allows the photographer to control the zoom of zoom lenses.

Focus Ring-A ring present on virtually all lenses which allows the shooter to manually adjust focus.

Focus and zoom rings on a modern lens

Aperture Ring(manual lenses)-On fully manual lenses, the aperture ring controls the physical size of the aperture with no selection being made by the camera.

Fully manual lenses often sport an aperture adjustment ring

Basic Lens Terminology

Some of the most confusing aspects about lenses isn’t their physical operation but the terminology used to describe their characteristics. Here is a breakdown of some common terms and phrases you will encounter when talking about camera lenses.

Focal Length-At the risk of oversimplifying the concept, think of this is simply the magnification strength of the lens measured in millimeters. Shorter focal length lenses are deemed “wide-angle” while long focal length lenses are considered “telephoto”.

Prime-When we say that a lens is “prime” it means that the lens is a fixed focal length. Basically speaking, the lens doesn’t “zoom”.

Lens Speed-The speed of a lens is directly connected to aperture. The wider the maximum possible aperture a lens is capable of the “faster” the lens is considered to be. This means that the lens is capable of shooting in lower light situations at faster shutter speeds. Remember, the smaller the F/number of the wider the aperture. Check out “Aperture Simplified”  ,another one my articles here at LifePixel, for a nice and simple breakdown of aperture that will help make since of F/numbers….

What the heck is this symbol ⌀ anyway???-You will likely find this symbol located around the outside front of your lens along with lens speed and focal length information. Fear not, that little guy is just the indication of what circular filter(polarizer, neutral density, etc.) size your lens accepts. It will be accompanied by a measurement in millimeters. If you see a “⌀77” then you will need a 77mm filter. What’s more, if you lose a lens cap, that is also the size for the replacement.

The face of a modern lens showing aperture, focal length, and filter size information

And always remember….

Your lens and camera work as one piece of gear along with you and your creative spark.

Understanding how your lens functions and the basics of lens anatomy will not only make you a better photographer but also a more competent when it comes to acquiring the gear you need.  Arm yourself with all the information you can and build on the basics. Knowledge is power when it comes to lenses.

Filed Under: Tutorials Tagged With: cameras, Canon, gear, Getting started, lens, lenses, Lifepixel, photographers, Photography, photography tips

Blog Topics

  • Tutorials
  • Inspiration
  • Locations
  • Gear
  • News
  • Other/Misc

What our customers say:

Life Pixel has been a life-changer for me. Continue reading
Eric GConnecticut
Read more reviews
I am more than satisfied with the service I received Continue reading
Christopher JCanada
Read more reviews
I am more than pleased with the conversion job that you did Continue reading
LOUIS MWaco, Texas
Read more reviews
I am VERY impressed with his knowledge of your products and his patience in explaining it to a novice like me. Continue reading
Lynn FEssex, Maryland
Read more reviews
Things will only get better from here thanks to all of you. Continue reading
Phillip FRedding, California
Read more reviews
The Lifepixel newsletter reminds me of not having expressed my gratitude for the excellent job you made. Continue reading
Michael GGermany
Read more reviews
Your staff went above and beyond the call of duty to make sure everything was handled in an excellent manner. Continue reading
Paige RPearland, Texas
Read more reviews
It has given my old camera a new life, I will enjoy using it again. Continue reading
William PAustralia
Read more reviews
Excellent service and the camera works just great Continue reading
Hans FairhurstAustralia
Read more reviews
I just got my converted camera back from you guys. THANK YOU!!!! Continue reading
Anne CutlerForest Knolls, CA
Read more reviews
infrared_filter_choices_sidebar
ir_conversions_explained_sidebar
----------- Watch More Videos -----------
infrared_quick_start_guide

Ready to start shooting Infrared?

Convert My Camera

Subscribe To Our Newsletter

Receive updates, tips, cool tutorials, free stuff and special discounts.

Learn the Basics

  • Video
  • Start Here
  • Filter Choices
  • Focus Calibration
  • Lens Considerations
  • Camera Considerations
  • Place Your Conversion Order

Resources

  • Galleries
  • Lens Hot Spot Database
  • IR Tutorials
  • FAQ
  • Infrared Filter Choices
  • Infrared Photography Guide
  • Infrared DIY Tutorials

Company

  • Why Choose Us
  • Get In Contact
  • Job Openings
  • Write For Us
  • Affiliate Program
  • Terms of Use
  • Privacy Policy
  • Home
  • Start Here
  • Galleries
  • Tutorials
  • FAQ
  • Blog
  • Why Choose LifePixel?
  • Shop
  • Contact

Copyright © 2025 Life Pixel Infrared - All rights reserved - LifePixel Infrared Photography IR Conversion, Modification & Scratched Sensor Repair