• Cart
  • Checkout
  • My Account

Infrared Conversions, IR Modifications & Photography Tutorials | Life Pixel IR

The world leader in infrared conversions, modifications & DIY IR conversion tutorials. Scratched sensor replacement, UV & Full spectrum conversions.

The world leader in infrared camera conversions

866.610.1710
  • Home
  • → Start Here ←
    • 1 – Introduction
    • 2 – Filter Choices
    • 3 – Focus Calibration
    • 4 – Lens Considerations
    • 5 – Camera Considerations
    • 6 – Start Shopping
  • Galleries
    • Infrared Photography
    • Infrared Time Lapse
    • Infrared Cinematography
    • Infrared Stop Motion
    • Ultraviolet Photography
    • Forensic Photography
  • Education
    • Training Sessions
    • How To Shoot Infrared
    • AR Coated Infrared Filters
    • Lens Hot Spot Database
    • Photoshop Video Tutorials
    • Infrared Issues & Solutions
    • IR Basics in Photoshop
    • Camera Quick Start Guide
    • DIY Conversion Tutorials
    • IR Photography Primer
    • Secondhand Cameras
    • Wall Of Shame
  • Workshops
  • FAQ
  • Blog
    • Tutorials
    • Inspiration
    • Locations
    • Gear
    • News
    • Other
  • Why Choose LifePixel?
    • Submit Your Review
  • Contact
  • Shop

5 Ways To Improve Your Photography Skills

I’ve yet to meet a photographer who doesn’t think they can improve some aspect of their skillset. For beginners, it might be how to improve their composition or how to avoid their photos being blurred. For more advanced photographers it might be how to use a new piece of technology or even shooting a different genre to what they are accustomed to. For example, I recently added a drone to my photography kit and so it took some time to learn how to use it properly and safely. But I’m by no means an expert yet and it will take more practice to get to the level I would like to be at. Whatever level you are at, there are always ways t improve. So here are some ideas for you to implement to improve your photography skill set.
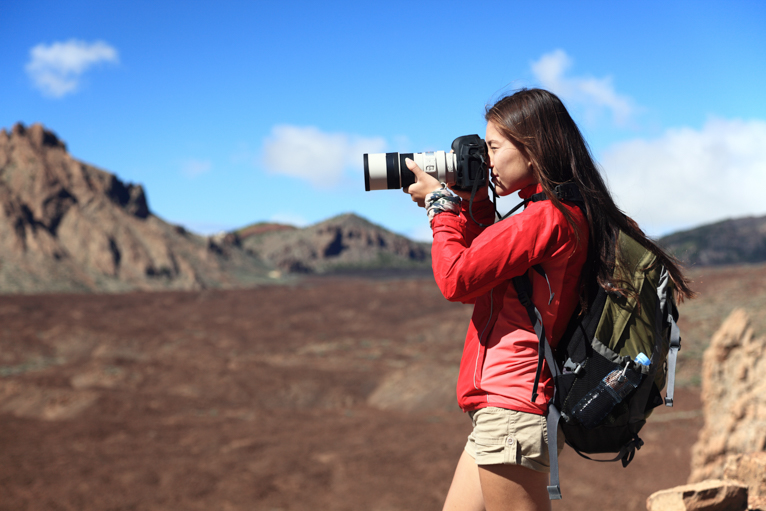
improve_your_photography_skills

Shoot more

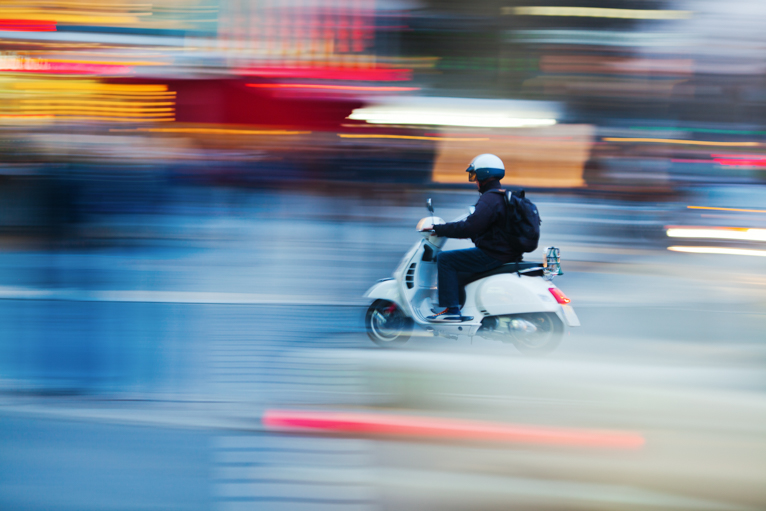
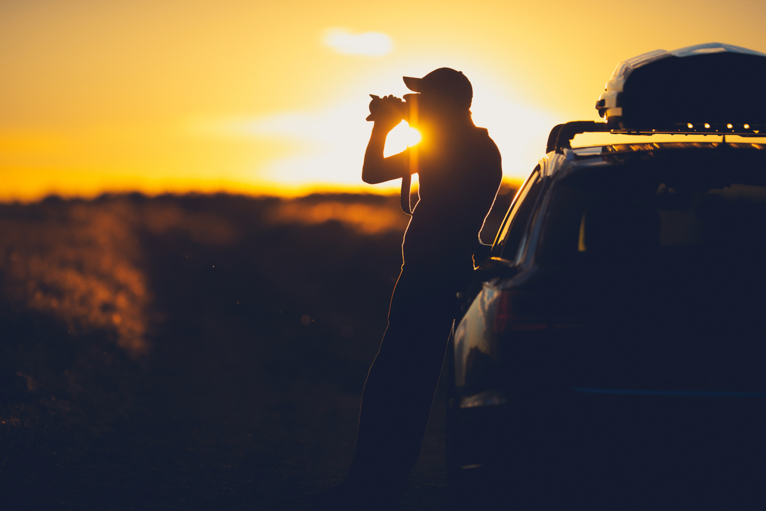
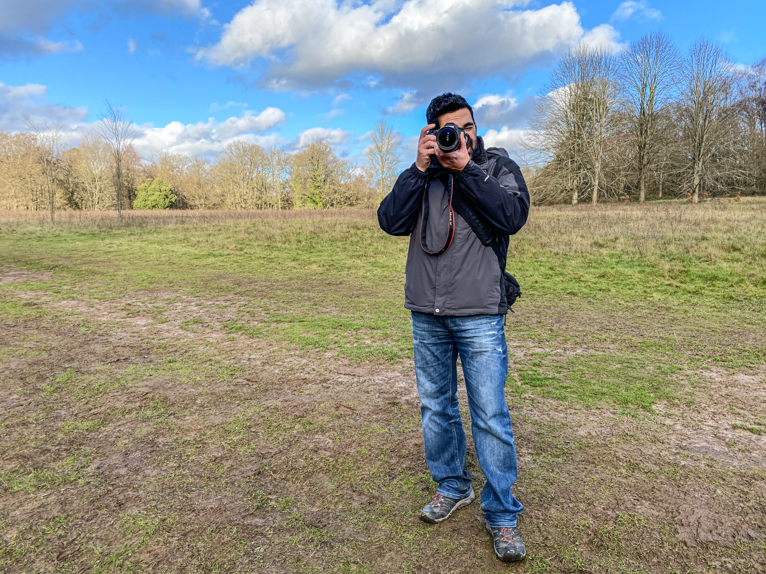
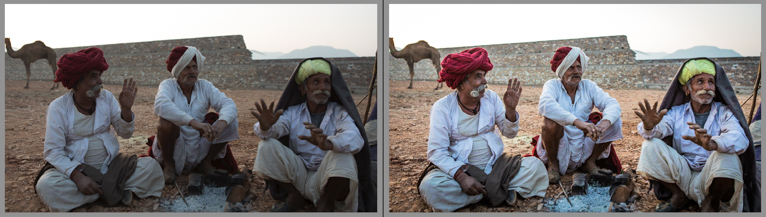
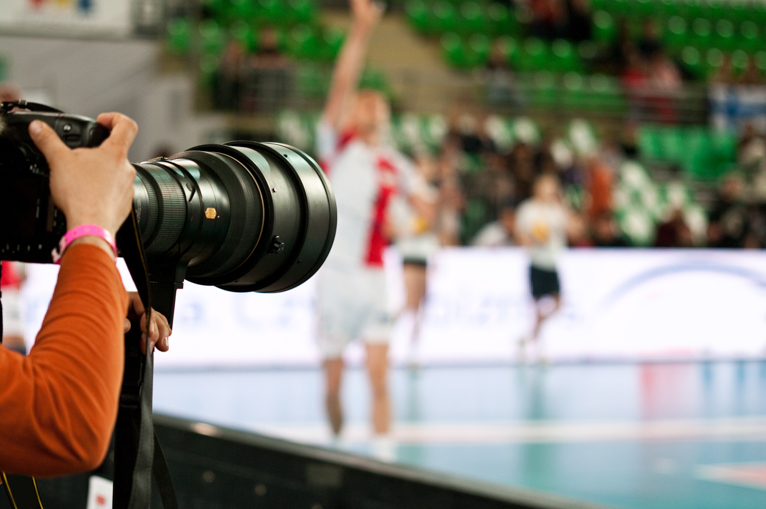
The easiest and most common way to improve your photography is to simply take more photos. That doesn’t mean keeping your finger on your shutter button and shooting at high-speed burst mode. But rather, it is about shooting more photos. Photography is like any other skill and the more you do it and practice the better you will become. So set yourself a target of doing the type of photography you are interested in a few times a week or month. But instead of just wondering around aimlessly and shooting, set a plan and treat it like a real shoot. You will be far more likely to do it well if you have prepared.

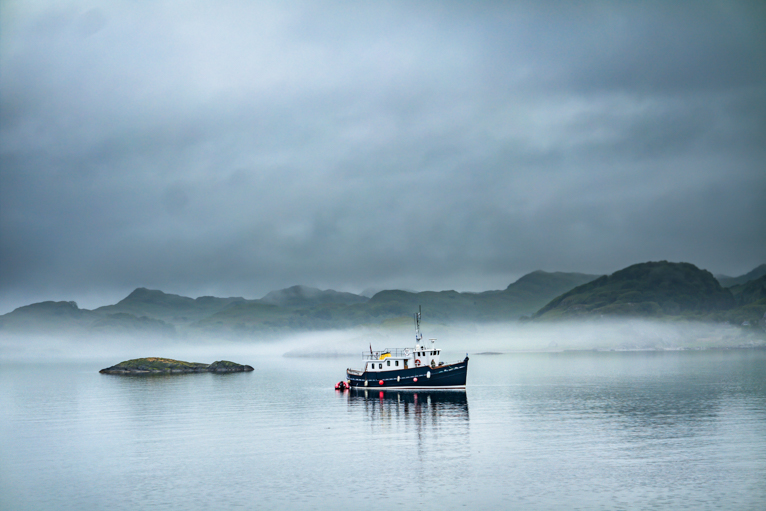
You can also set yourself a target of practising something that you may not be good at. For example, if you struggle to shoot in low light conditions, make a point of practising this over and over again until you see an improvement in your photos.
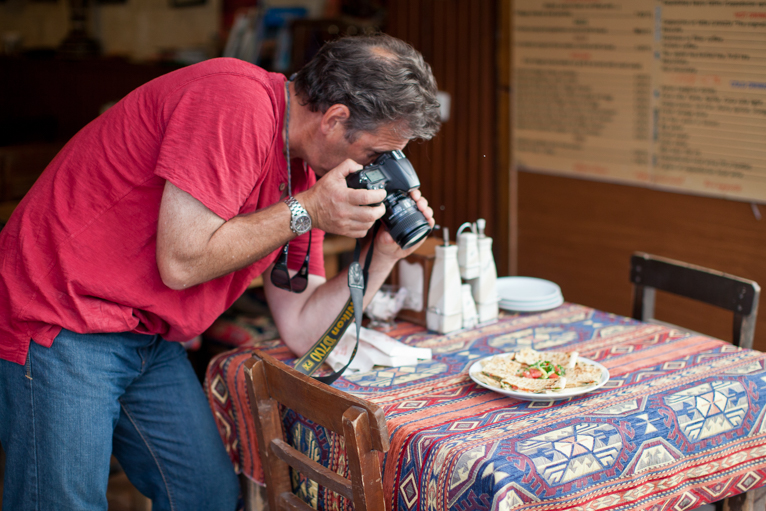
improve_your_photography_skills

Do something new

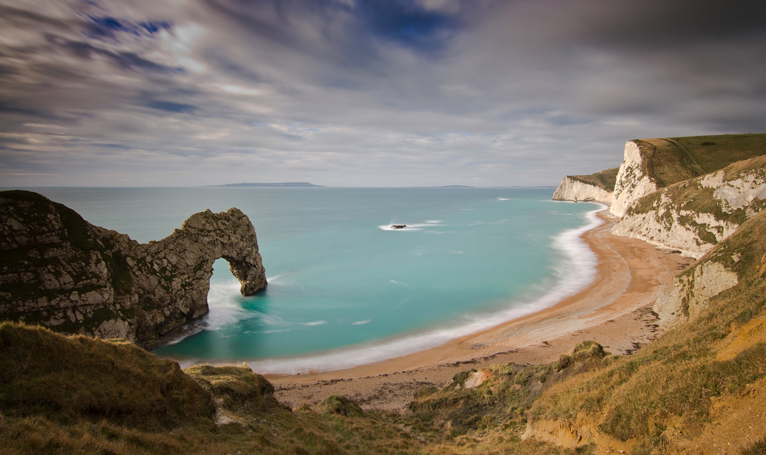
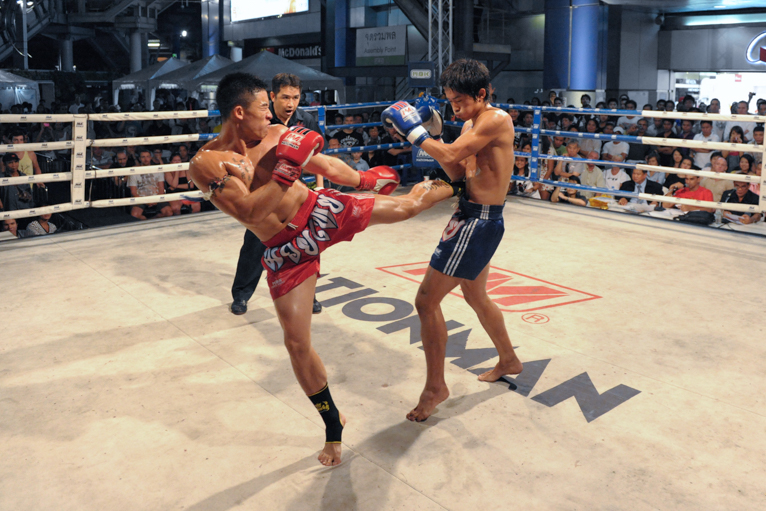
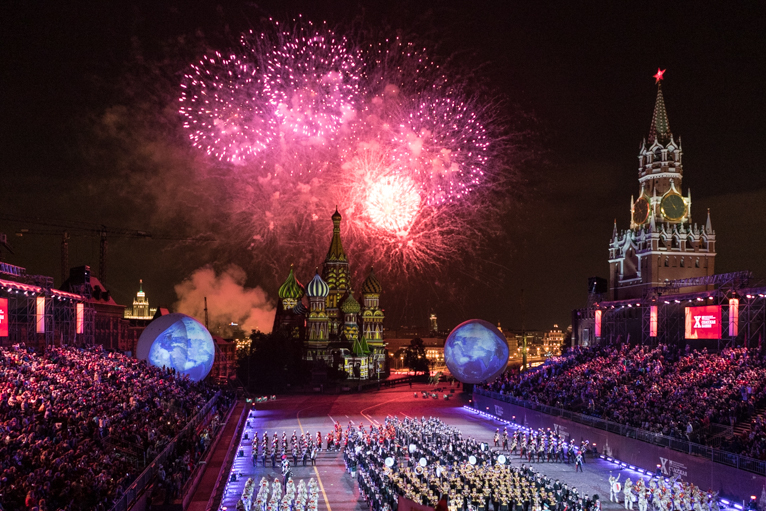
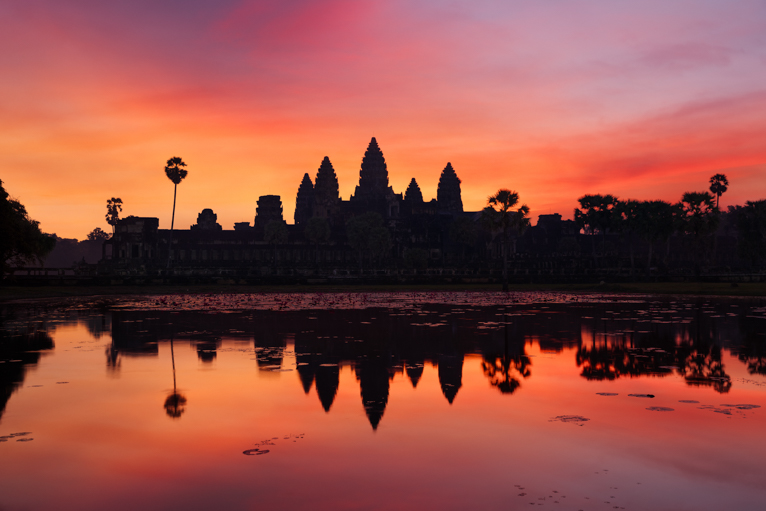
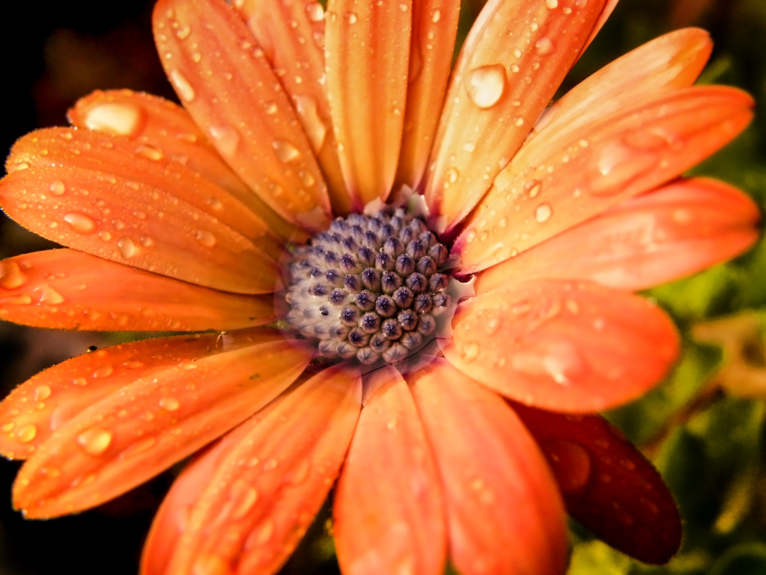
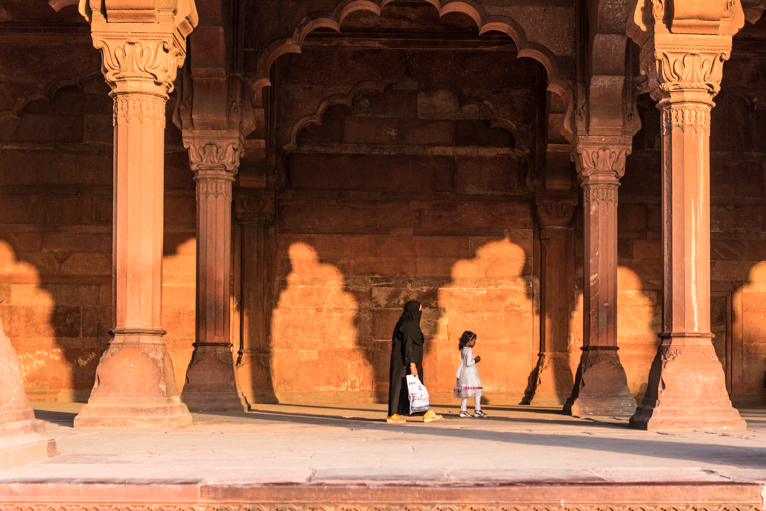
As photographers, we all have a genre that we specialise in and enjoy doing. For me as a travel and landscape photographer, locations and people are what I prefer to take photos of. But at the same time, over the years, I have also photographed weddings, events and food. So even if in the long term you prefer to stick to what you enjoy, it is still worth trying out some new things. Besides the new skills that you will learn, it will also help you take your mind off what you usually photograph which can sometimes help you when you then return to your forte. So make a plan of trying out some new types of photography over the course of the year. You never know you might end up enjoying the new genre more than your thought.
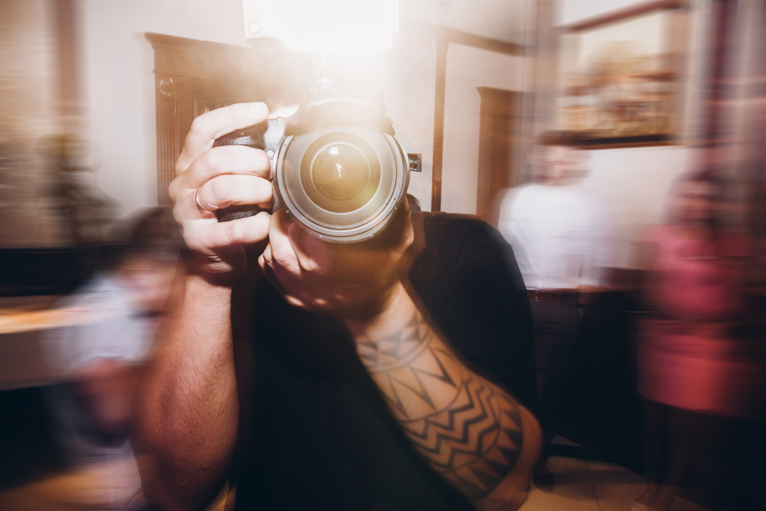
improve_your_photography_skills

Watch and read

One of the biggest advantages photographers have these days is the sheer wealth of information that is out there for them to access. You literally have access to thousands of photographers who generally all write blogs, create videos and have social media accounts. Not only can all of this inspire you to improve your own work, but you can also find answers to specific questions you may have. For example, the LifePixel blog alone has almost 500 posts on pretty much all aspects of photography.

But all of this information can seem overwhelming so try to set yourself a learning plan that you can follow. Let’s say you want to improve your portrait photography. Instead of watching a few videos and then switching to videos about landscapes, spend a few days or weeks purely on portrait photography before moving on. Make a list of things you would like to learn, what you want to improve and then practice what you have watched or read. It will help you retain the information better.

improve_your_photography_skills

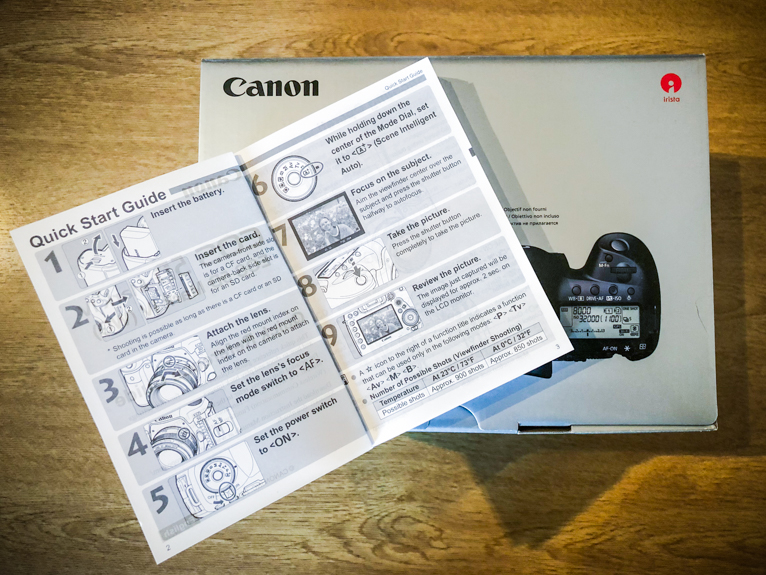
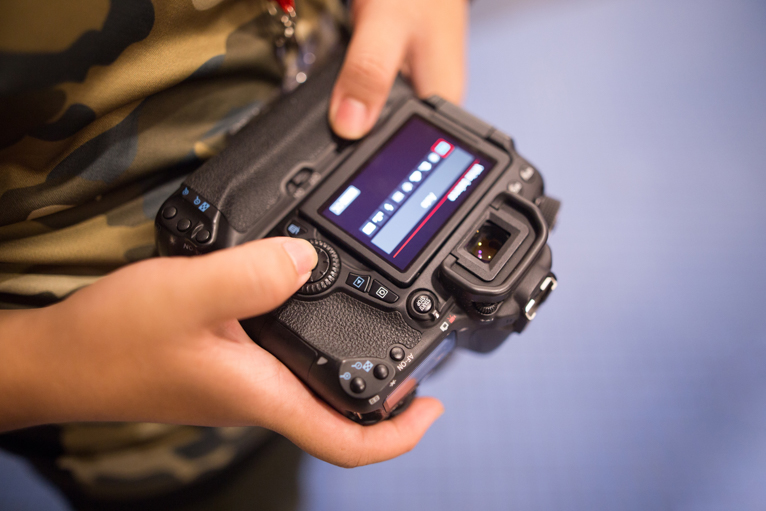
Even your camera manual is worth reading a few times!

Join or attend…

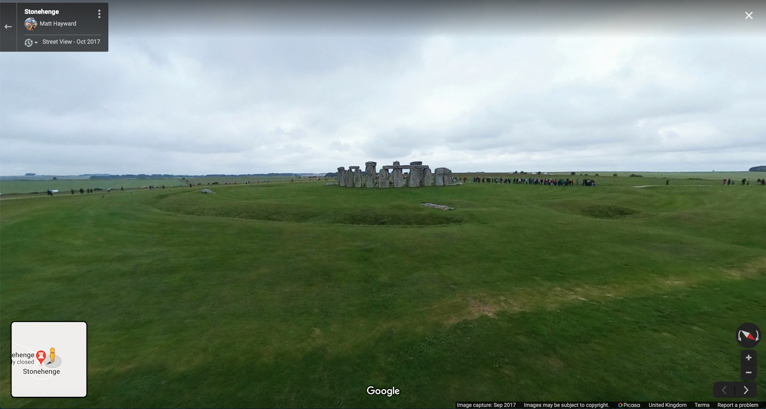
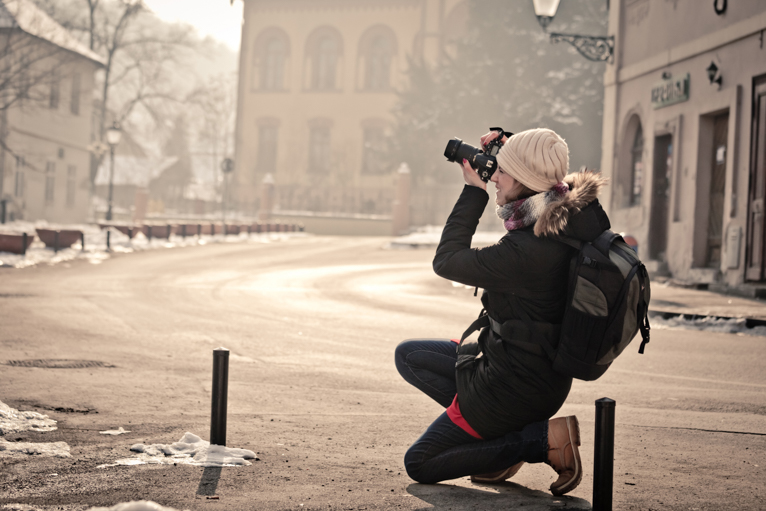
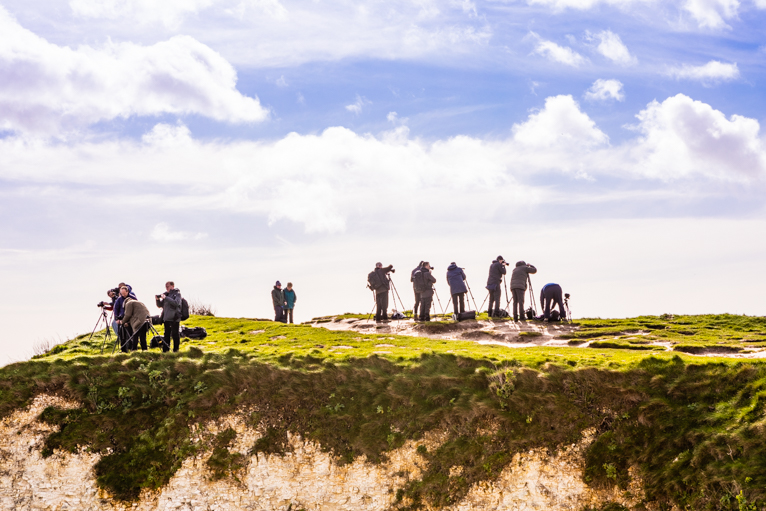
Whether its events, workshops, talks or camera clubs, being surrounded by others who share your passion is a great way to improve your photography. For most people, photography is a lonely hobby or profession. Even when you are surrounded by people like, say a wedding photographer you are still usually on your own. So look to join a local camera club or even go on a photography workshop where you will spend several hours or even days with other people who love photography. Often this can lead to you forming friendships with people who you can then practice photography with (like a photography buddy). You may find that having someone to bounce ideas off, for inspiration or support really helps you improve your own photography.

improve_your_photography_skills

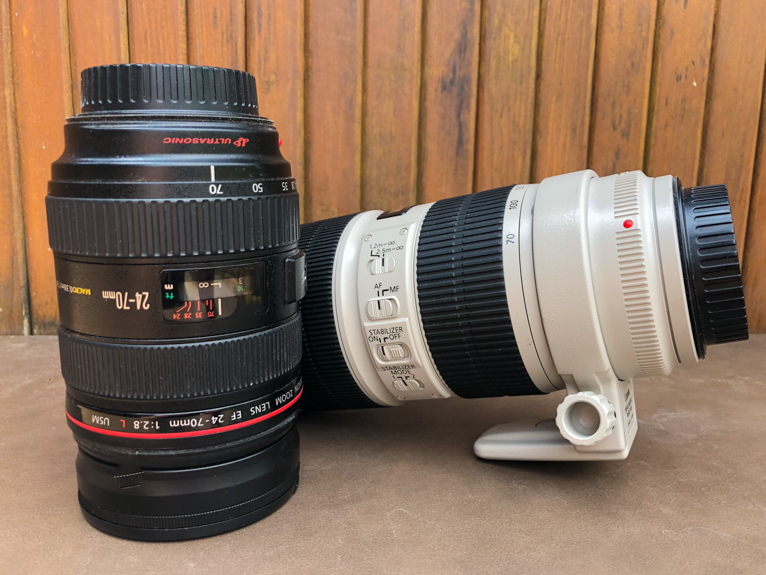
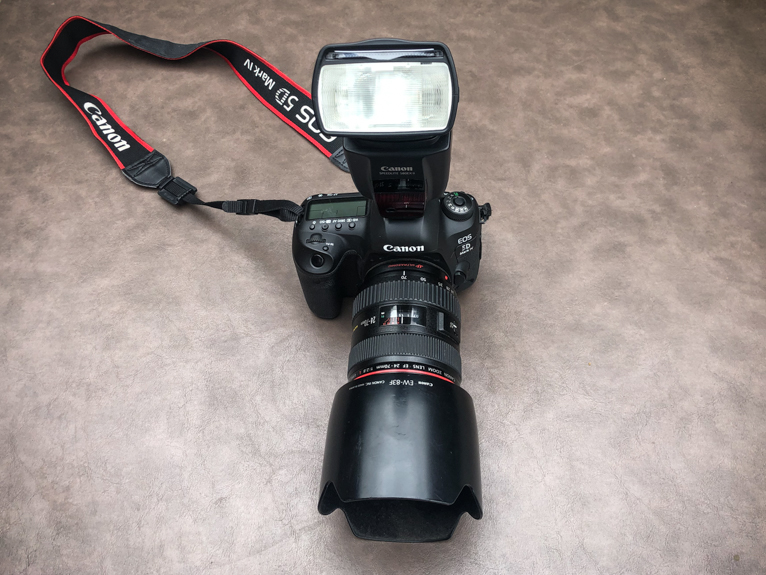
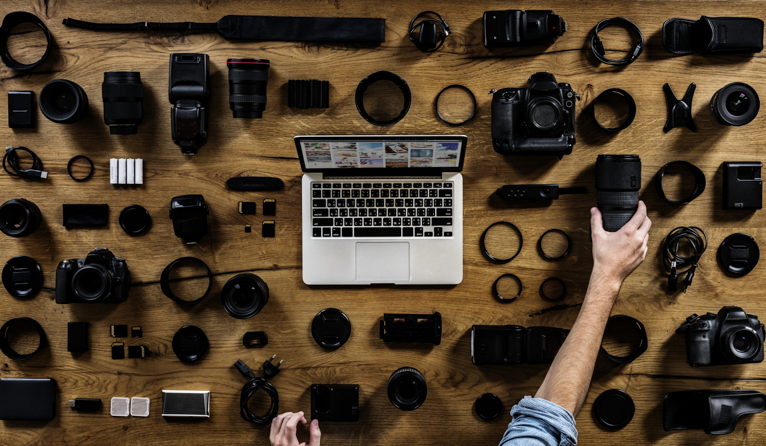
Get better equipment

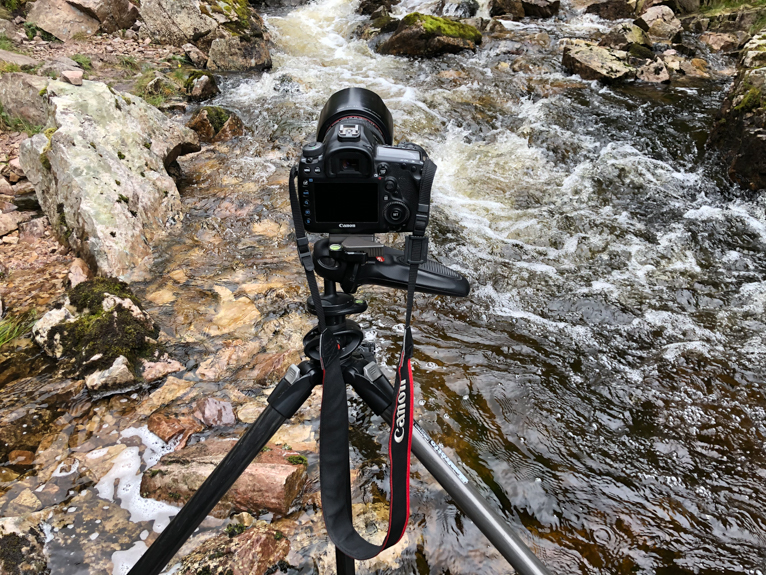
Ok, you may think that I’m contradicting myself as I have always been an advocate of people not using the phrase that I hear often: “if only I had a better camera my photos would be better” as an excuse for their photography. I firmly believe that anyone can take great photos with any camera. So I would always recommend that you spend your time and money in actually improving your photography rather than improving your kit. However, there are some exceptions when it comes to photography equipment where the quality does make a difference.

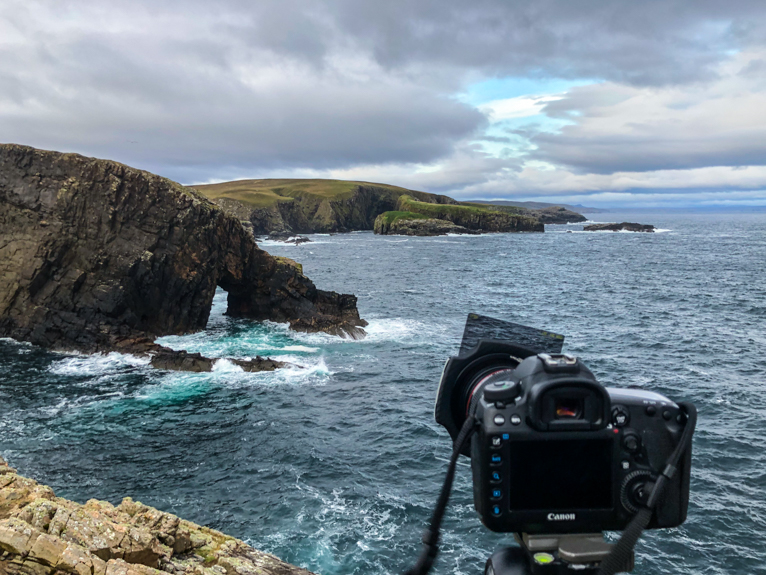
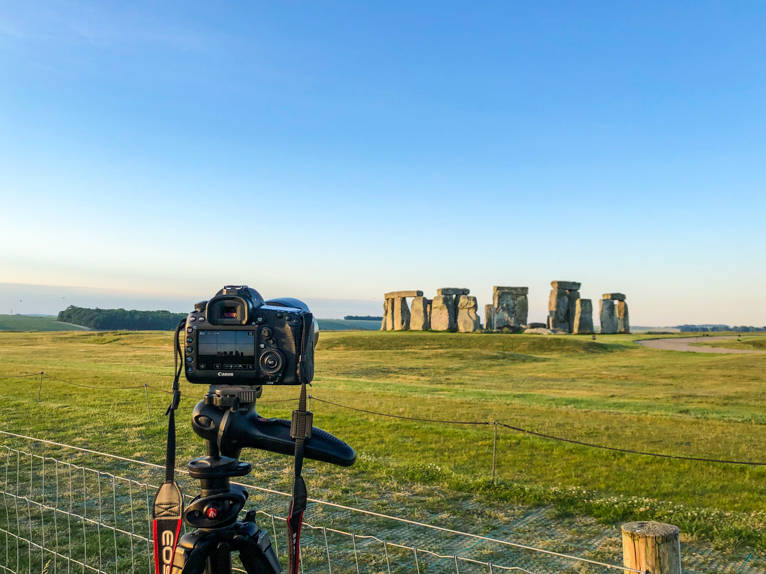
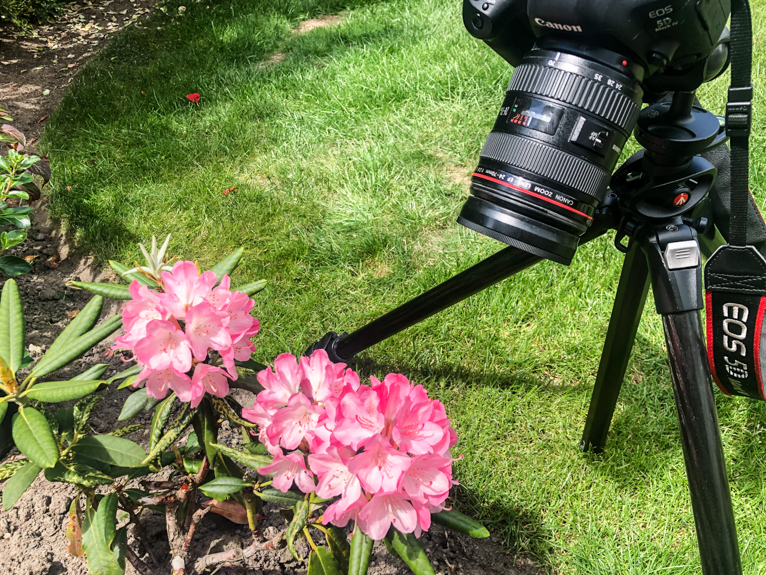
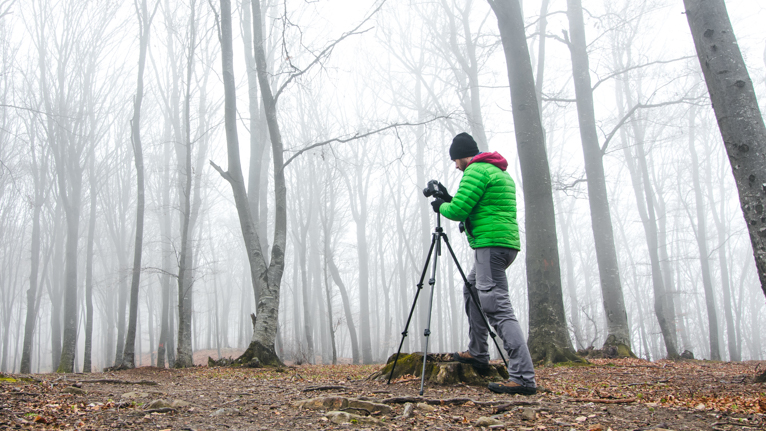
The two obvious candidates are your tripod and your filters. Using cheap or flimsy tripods and filters could mean you end up with poor photos. For example, a flimsy tripod might mean vibrations make your photos blurred. And poor quality filters could mean your photos suffer from colour casts. Over time you will naturally improve your kit, so make a list in order of priority and upgrade when you can afford it.

improve_your_photography_skills

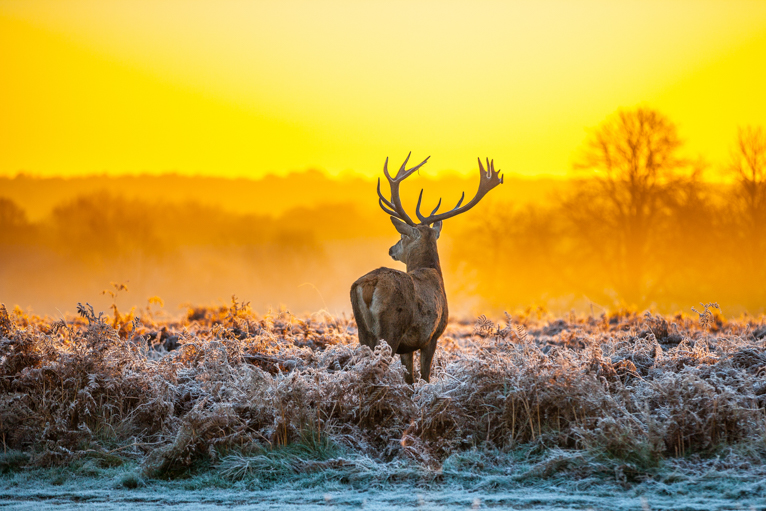
Over the years I have met many amateurs or even experienced photographers who have gone on to achieve great things with their photography. They all have one thing in common in that they were all willing to work hard and practice to perfect their craft. Photography is something that I believe anyone can improve in. Of course, some people have a natural talent whilst others just have to work harder. Use the ideas above to see if you can improve your photography.

Photo credits: Kav Dadfar – All rights reserved. No usage without permission.

Filed Under: Tutorials Tagged With: Become a better photographer, beginer photography tips, Improve Photography, photography tips

How To Add The “Wow Factor” To Your Images

We would all love to make sure every photo we take has that “wow factor”. You know the type of shots that I’m talking about. These are the types of images that stand out in your portfolio and make people take notice. Whether it’s a beautiful landscape, an iconic landmark or an emotive portrait, these types of photos are the holy grail. But how can you ensure you capture these types of shots? Here are 7 tips to help you capture those “wow factor” shots.

Wow_factor_shots

Accept it won’t always happen

The first thing that you should know and accept is that these types of photos won’t happen every time you pick up a camera. Unless you are photographing in a controlled environment like a studio, you will have to rely on the elements out there to make your shot special. Great photos require many factors to come together and sometimes this just doesn’t happen. At other times you have to be patient and wait for them to occur. The important thing is to simply be aware of the fact that sometimes you won’t be able to capture those “wow factor” shots. If it was that easy to capture them, when you do take one it wouldn’t be as special.

Wow_factor_shots

Look for the “extraordinary”

The easiest way to capture stunning photos is to find scenarios where amazing things are happening. This could include everything from an interesting subject to amazing light. Or it could be that the weather conditions are serving something spectacular. These are the easiest ways to capture those unique and unbelievable photos. But of course, this does mean that you will have to look or wait for them to happen. For example, a seascape will look nice and pretty in beautiful sunshine. It may even be a more commercially viable photo to sell. But a big storm and crashing waves are far more likely to cause people to look again. So be on the lookout for these unique scenarios and as soon as they occur head out to take your photos.

Wow_factor_shots

Unseen angles

All photographers would love to have these amazing conditions happen whenever they take photos. The reality is that it doesn’t happen often. So most of the time you have to try and capture the best shots with the conditions that you have. One way to give your photos the “wow factor” is by showing an angle or point of view that people may not have seen before. For example, this could be from a low angle view or an elevated view which isn’t the usual “viewing area”. This might require more effort to get to like having to hike further, specialist planning or equipment like hiring a helicopter or using a drone. But the shots you will end up with will be far more interesting to the viewer than the standard eye-level ones.

Wow_factor_shots

Unique stories

Another way in which you can look to find those amazing photos is by looking for unique stories such as events that are not always happening. For example, a photo of a supermoon or a celestial event that might not happen for another 100 years will give people more reason to be “wowed”. Or it could be a unique festival that only happens every few years or one that is in a hard to reach location. The fact that it is in a remote location will mean that not as many people would see or photograph it. So your photos will be more unique anyway. But it’s important to remember that simply capturing these photos won’t make them spectacular. You still need to factor in your composition, light and other elements to make the best of the opportunity you are given.

Wow_factor_shots

Manipulate the scene

There are plenty of techniques and accessories these days that can help you manipulate a scene to turn it into a spectacular image. For example, using filters is an easy way to manipulate and control the light and even the subject in your shot. Use a neutral density filter and you can slow your shutter speed down even in daylight for long exposure photos. Or you may deliberately add something your shot like person positioned perfectly in the foreground of your epic landscape. There are also things like mist filters and even gadgets that can add elements into your photos. If you are a purest you may not agree with this type of photography. But if you are treating your photography as art then there should be no limit to what you can do.

Wow_factor_shots

Keep going back

Getting the perfect conditions for a shot can be extremely difficult. That is why often the best way to capture those “wow factor” shots is to keep going back to the same locations over and over again. The more times you head to a location the more chance of encountering great weather or interesting light. But also often you will find that you will be more inclined to try different things because you have taken the classic shot already. So you will spend more time looking around and trying different compositions which will be more likely to give you a unique shot. Obviously, this will be much easier for you to do if the location is near you. So keep going back to those locations in your vicinity again and again.

Wow_factor_shots

Give it your treatment

One of the things that often makes photographers stand out is their style. Look at famous photographers through the years and often you can tell them apart from the style and look of their photos. Sometimes this might be in the treatment that you give your photos. So try to find your unique style and show your photos with that treatment whether that is at the time of capturing photos or in post-production. Don’t be afraid to edit your photos the way you want to as sometimes your editing of photos can turn a good photo into a spectacular one.

Wow_factor_shots

To capture spectacular photos you have to be willing to work hard for them. Sometimes this means lots of research and planning. At other times this might mean walking further, higher or longer. It might also mean putting yourself through more like walking in the rain or cold in the early hours of the morning. But if you put the work in and have a little bit of luck, you might just end up with some spectacular photos.

Photo credits: Kav Dadfar – All rights reserved. No usage without permission. Dreamstime.

Filed Under: Tutorials Tagged With: beginer photography tips, better photography, better photos, photography tips

6 Hacks For Handholding Your Camera In Low Light

A lack of light is often the biggest culprit in blurred photos. If there isn’t enough light it will mean that your shutter speed will have to be slow which in turn can mean blurry photos. Using a tripod in low light conditions is the best way to ensure that your photos are sharp. But a tripod isn’t always allowed or convenient. Fear not, here are some tips to help you to shoot sharp photos when you handhold your camera in low light conditions.

Handheld_Low_Light

Know your limit

The first part of being able to take photos handheld in low light conditions is knowing how slow you can have your shutter speed when handholding a camera. Everyone is different and some people can hold a camera steady at slower shutter speeds than others. If you test out your steadiness before you need to shoot then you will have a baseline for how slow you can go.

This is important to know because it will help you decide what to aim for with your shutter speed using the tips below or by adjusting the other settings in the exposure triangle.

Handheld_Low_Light

Shoot in burst mode

Generally, for most people, the slowest that they can have their shutter speed and still have an acceptable level of sharpness is 1/60th sec. At this speed or even slower (if you are able to hold a camera steady), you should shoot in high-speed burst mode. The reason is that often you will find that the middle shots in your burst of shots are sharper than the ones at the start and finish. This can be a huge help when shooting handheld in low light conditions. Just make sure you have plenty of memory cards as you can go through them quickly when shooting in burst mode.

Handheld_Low_Light

Shoot in live view mode

An extension of the above tip is to shoot in bursts but in live view mode. The reason that this can sometimes help a little is that you are also taking the mechanical movement of the mirror flipping (in DSLR cameras) out of the equation. This movement of the mirror can cause small vibrations that show up at slow shutter speeds (hence why you need to lock up the mirror when taking long exposure shots using a tripod). It might not make a difference but when you are dealing with low light conditions sometimes it’s the sum of multiple things that can mean the difference between a blurred shot and one with acceptable sharpness.

Handheld_Low_Light

This shot was taken handheld at 1/40th sec at ISO 4000.

Get your stance correct

Another way that you can sometimes make your handheld photos in low light conditions sharper is by getting yourself and your stance more steady. Start by standing with one foot slightly in front of another and legs around shoulder-width wide. Tuck your elbows into your side rather than up in the air and support your camera with one hand under the lens. If you have just been walking around or hiking takes a few minutes to calm your breathing down before taking a photo. When ready to press the shutter button, take a couple of seconds to be more steady and do the same after you have finished taking the shot (rather than rushing to bring the camera down).

You can also kneel down on the ground resting your elbow on your knee or even fully lying on your stomach with your elbows on the ground. Both of these will help make you more steady.

Handheld_Low_Light

Underexpose your shot

Editing software like Lightroom is pretty amazing these days. You can often recover details in shadows without too much noise appearing. So sometimes it’s better to underexpose your shots slightly so that you can get a faster shutter speed. After all, what good is a perfectly exposed photo if it’s blurred? Of course, you don’t want to underexpose so much that your shadows are clipped (where the histogram gets cut off by the left side of the graph). But if you can get away with underexposing a little, then that is a far better option than raising your ISO too high.

Handheld_Low_Light

Left: Slightly underexposed shot allowed me a shutter speed of 1/160th sec. Right: Shadows recovered in Lightroom.

Experiment with your settings

The biggest tip to remember if you are unsure how to capture sharp shots in low light conditions when handholding a camera is to take lots of photos at different settings using the tips above. Not only will they help you increase your chances of capturing a sharp photo, but they can also help you learn from them for future shoots. Try to analyse all your shots and determine which ones are acceptable in terms of sharpness. Look at the ones that aren’t and learn what you did wrong so that you can eliminate it from future shoots.

Handheld_Low_Light

There is of course no substitute for using a tripod for low light shots. But that isn’t always an option and sometimes you will have to use the tips above or your creativity (like finding a ledge to rest your camera on) to be able to shoot handheld in low light conditions.

Photo credits: Kav Dadfar – All rights reserved. No usage without permission. Dreamstime.

Filed Under: Tutorials Tagged With: beginer photography tips, Handheld photography, Low light photography, Sharp photos

How To Capture Photos Of Famous Landmarks That Are Unique

From the Great Pyramids of Giza to the vast temples of Angkor Wat, famous landmarks around the world are a big part of our travel experiences. It’s no surprise that these iconic places are often full of tourists hoping to capture their own memorable photos. So how can you make your photos stand out? How can you show a place that has been photographed millions of times in a different light? There’s no doubt that in this age of digital photography, that is much harder to do. But with a little bit of hard work and patience, it is possible to capture photos of famous landmarks that are unique. Here are 6 tips to help you on your way.

unique-landmark-photos

1. Go onto Google maps

Often my first port of call when researching a destination is Google maps. I do always wonder how photographers of yesteryear were able to research their shoot in an age before the internet. Google maps really is a tremendous tool for photographers to use. Not only can you search on it to find possible locations that you can use to capture shots of the landmark, but can you can actually step in and view it as if you are there. By looking at street view you can move around and do you initial scouting before you even leave your house.

I always spend a considerable amount of time researching every spot by looking at street view. I make notes about possible locations thinking about the direction of the light and possible compositions. This always forms the basis of my shoot at a destination.

unique-landmark-photos

2. Look on social media

Another really great tool of this age for research is social media. After I have some ideas for a location my next stop if often Instagram. I look through the various accounts and hashtags that are relevant to the location. One of the best attributes of Instagram is that it allows anyone to upload photos. So you often see photos from locals of a location that may not conform to the usual time of day, season or even location. This is great research and can give you a ton of ideas on how you can make your shots stand out from the crowd.

I also look through accounts of tourists boards and local businesses. Because you may find a new hotel or rooftop bar opening with a unique view of the landmark.

unique-landmark-photos

3. Allow plenty of time at your location

One of the big differences between everyday tourists and photographers is the amount of time they spend at a location. The average tourist might turn up, take a few photos and be on their way. As a photographer, I would rarely spend that little time anywhere. How can you possibly hope to capture the best shots if you are gone within a few minutes? Allow yourself enough time at a location to really feel like you know it. Walk around the landmark. Think about the direction of the light and how it will look at different times of the day. Imagine what the shot would look like from low on the ground or high up or with people in the shot. The more time you have at a location, the greater your chances of a great photo.

unique-landmark-photos

4. Turn around and look the other way

It can be hard to take your eyes off that famous landmark. But one of the best bits of advice I can give for photographing famous landmarks is to look the other way when you are there. Why is that? It’s not necessary to take photos – although sometimes you can capture nice shots of reflections – it’s to find interesting locations to shoot from. You never know, you might spot a street that can give you a different view of the iconic landmark. Or even a rooftop bar or balcony that you may be able to get to by speaking to the owner. You just never know what you might find if you look the other way.

unique-landmark-photos

5. Take risks with your composition

I’m not naive enough to think that anyone will get to a famous landmark and not take the classic eye-level shot. That is a given and you should take the shot. Obviously, make sure it is as good as you can make it. But once you are done with those classic shots, then it’s time to really get to work. Start to look at different angles and compositions that you may never even consider usually. For example, tilt your camera to get a different look to the photo. Or get really close look straight up at the landmark. Maybe even try something creative like looking through an archway, a window or even through peoples legs. The quirkier and less conventional the better. You never know, you might end up with something incredibly unique.

unique-landmark-photos

6. Embrace bad weather

I’ll be the first to admit that heading out in the cold and wet is not very enticing. But often these conditions can provide some unique shooting opportunities. From reflection on the ground during and after rain to simply being able to add people with umbrellas into the composition. It can give you a completely different photo than the usual. If you are lucky enough to get snow, mist or fog, that’s even better! Think about how often you see a famous landmark or monuments in these conditions? Not often right. So if you can capture photos during these times they are bound to look different from what exists already.

unique-landmark-photos

Seeing an iconic landmark for the first time can leave you breathless. But unfortunately, it can be difficult to replicate that in photos especially in this digital age of photography. But if you are willing to look beyond the obvious eye-level shots you could capture some really wonderful and unique photos. Just do your research and don’t be afraid to experiment and take risks with your shot.

Photo credits: Kav Dadfar – All rights reserved. No usage without permission. Dreamstime.

Filed Under: Tutorials Tagged With: aerial photography, beginer photography tips, Landmarks

A Guide To Different Types Of Lenses

I often get asked what lens should I buy? Whilst you can photograph anything with any lens often this isn’t advisable or possible. For example, no one wants to get too close to a lion to take a photo. Or trying to capture a cityscape with a telephoto lens means you have to stand so far away which might make it almost impossible. So having different lenses will give you more opportunities to be able to photograph different situations. I have never been one to advocate spending too much money on unwanted equipment. But when it comes to lenses, unfortunately, quality does matter. The better the quality of the lens, the better your images will be. Sharpness and the colour will be better with a better lens. It will also allow you to take photos with a faster shutter speed as you can select a wider aperture. This means that you can take photos handheld at lower light conditions. So if you have been unsure about which lenses do what, here is our guide to the different types of lenses.

Super wide-angle lenses

Super wide-angle lenses generally are less than 24 mm focal lengths. With this wide angle of view, they lend themselves to landscape photography and architectural photography. The only other scenario where these lenses might be useful is when you are working in confined spaces. For example, photographing a market vendor with a lens like this will allow you to capture their surroundings as well. But these lenses have to be used carefully otherwise you may find that your subject appears too small within the competition.

Wide-angle lenses

These are general wide-angle lenses. They are what most photographers use day-to-day. These will often be 24-70 mm and will allow the photographer to be able to photograph a wide range of scenarios with one lens. Over 90% of the photos that I would take on any shoot will be taken with this lens. This should be the first lens that you buy.

Prime lenses

Most photographers these days would have zoom lenses that allow you to have a range of focal lengths. Prime lenses are set so you cannot change the focal length. In other words, you can’t zoom in or zoom out. The benefit of these lenses is that they are often cheaper than buying good quality zoom lenses. They often also have a fast aperture such as f/1.2. This will allow you to capture photos in very low light conditions handheld.

Prime lenses are also a good way to practice becoming better as a photographer. Because you have to move around and get closer to your subject, you will find yourself doing the same when you have a zoom lens. Even if you don’t own a prime lens it’s always worth renting one for a few days and setting yourself the task of capturing photos with just that lens. You may be surprised by the results and your progression as a photographer.

Telephoto lenses

Telephoto lenses range from about 65-250 mm. The main characteristic of telephoto lenses is that they magnify your subject. In other words, you can capture closer photos of things which are further away. The other characteristic of telephoto lenses is that they will shorten perspective. This will make everything in a scene seem more compact. These lenses are generally used for head and shoulder portraits which give a pleasing perspective of the face of your subjects. The other benefit of these lenses when taking portraits is that it allows you not to be too close to your subject. Often that little bit of space can help relax them a little bit more and give better photos. The telephoto lenses are also useful for landscape photography especially cityscapes. When things are too far away they are useful in isolating a small section of a wide scene.

Super telephoto lenses

Anyone wanting to venture into wildlife photography, bird photography or even sports photography you would likely need these super-telephoto lenses. They will have a very narrow-angle of view and will often be very big and heavy to carry. If that doesn’t put you off the price often will. But for certain scenarios, you will not be able to capture a photo as well as you could without one of these lenses.

For example in bird photography, if you want to take pictures where you can actually see the bird close up, you are going to need at least a 500 mm lens. You may sometimes get away with using a shorter telephoto for some scenarios such as sport and some wildlife. But if you want to capture photos as you see in magazines and newspapers you are going to need one of the big serious telephoto lenses.

Perspective correction lenses

Perspective correction lenses or tilt and shift lenses are primarily used by architectural photographers. The main benefit of tilt and shift lenses is that they can eliminate linear distortion. This occurs when you take photographs of buildings where you tilt your camera upwards. By allowing you to control the angle of the plane of focus you can keep the image plane parallel to the building. Thus eliminating that effect of a building looking like it’s falling backwards. Keep in mind that these lenses are expensive and these days you can remove converging lines using post-processing software. Adobe Photoshop or Lightroom can remove this distortion easily.

Macro lenses

Macro lenses are ideal for photographing very small things such as insects or individual flowers. Generally, these macro lenses are described by the degree of magnification possible. A macro lens with 1x magnification is capable of one-to-one reproduction. A lens capable of 0.5x times magnification reduces objects at half life-size. They are specialist lenses for these types of scenarios.

Teleconverters

Teleconverters are accessories that fit between the camera body and the lens. They are used to increase the focal length of the lens and come in a variety of magnification (i.e. 1.4x, 2x, and so on). So for example using a 2x teleconverter on a 70-210 mm lens will turn that lens to a 140-240mm lens. They are ideal if you need a one-off solution where you need to magnify your lens. For example, if you are going on a safari and don’t want to rent or spend money buying an expensive super-telephoto lens this is a cheap alternative. But unfortunately, they do come with the downside of inferior optics. This will have an effect on the sharpness of your images. So you need to decide whether you would want to put a cheap piece of glass between your expensive lens and your expensive camera?

Image stabilisation

This is a feature that is available on most lenses these days. It is especially useful in telephoto lenses as it allows you to take photos at shutter speeds two or three stops below the recommended minimum shutter speed. For example with a 200 mm lens, image stabilisation will allow you to photograph at 1/60th or even 1/30th of a second handheld. Whereas without image stabilisation you would need a shutter speed of at least 1/200th sec or more. You will often see the image stabilisation referred to with IS on Canon and VR on Nikon. So in summary image stabilisation will allow you to take photos at slower shutter speeds then you would normally be able to handheld.

Like most things a photographer carries, lenses will be added to over your photography journey. The key is to always buy the very best lens that you can afford. Because lenses make a huge difference in the quality of your photos. But always buy what you actually are going to use. You can always rent a specialist lens for a one-off trip, assignment or even for personal photography. So there you have it. A brief summary of lenses and what they are for.

Photo credits: Kav Dadfar – All rights reserved. No usage without permission. Dreamstime.

Filed Under: Tutorials Tagged With: beginer photography tips, beginner photography, lenses

6 Tips For Better Local Park Photos

Wherever you live in the world, you are sure to have a local park near you. Parks are fantastic places to photograph and importantly practice parts of your photography that you may be weak in. Besides the array of fauna and flowers, there are also people to photograph, wildlife and even sculptures and art. The great thing about parks is that you will often find people interacting with each other and nature. There might even be some people playing sport. All of this can lead to some great photos. To help you on your way here 6 tips for photographing local parks.

Use the right light

Light is vital in any sort of outdoor photography. Parks are no different. To capture great photos of parks aim to take your photos early in the morning or late in the afternoon. The soft golden light will enhance shadows and give the scene a warm glow. If you really want to improve your park photos, learn how to utilise this light creatively by for example backlighting your subject or creating sunbursts. The other advantage of photographing early morning is that you may also get some mist which will enhance the scene further.

Know what the rules are

Some local parks will be clear about what is and isn’t allowed when it comes to photography. For example, in some parks, tripods or drones might not be allowed. Or some may only allow photos for non-commercial use. For example, some of the Royal parks in London allow photography for editorial use but not commercial. The majority of the time if you are not intending to use the photos for commercial purposes (i.e. they are just for yourself) you will be fine and should have no problem. But it’s worth checking the rules and also using common sense. For example, taking pictures of kids or people sunbathing might get you being asked some questions. Also, pay attention to things like opening and closing times. You don’t want to end up being locked a park.

Look for stories

Parks are a wonderful place to practice your storytelling photography. There are so many different situations happening that the possibilities are endless. It could be someone walking their dog or people enjoying ice cream. Including people in your photos is a great way to tell these stories. These photos can often give you the unique shots that will make your portfolio stand out from the crowd. They are everywhere to be seen, you just need to keep your eyes open to capture them.

Shoot a few great photos

One of the great things about photographing in parks is the sheer volume of subjects that you can capture. From flowers, trees, lakes and animals to statues, wildlife, bugs and even people, they all offer great opportunities for photos. Instead of trying to photograph everything do some research to try and find what that park is famous for. Then just focus on capturing that part of the park. You may not end up with as many photos, but the ones that you have will stand out much more. Remember it’s far better to have a selection of fantastic photos than a whole load of mediocre ones.

Don’t forget the details

Photography allows us to photograph and see the little things. Often these small details Are missed by the naked eye. So instead of always trying to capture the wide-angle views, step in closer and capture those small details that you notice from time to time. It could just be the beautiful bark of a tree or the leaves of a plant. Not only will these types of photos give you a variety for your portfolio, but they will also provide you with wonderful abstract images. So don’t be afraid to experiment by getting in closer. You never know, you might be surprised by the result.

A close-up photo of the shell of a turtle.

Take your time

As with any form of travel photography, often you have to be willing to be patient and wait for the right moment to capture your shot. So if you spot a scene where you think it could be improved or the light isn’t right either sit and wait. Or come back later in the day. The key is not to cram too much into your shot list for each day so that you enough sufficient “waiting” time.

Parks are a great place to practice any form of photography you are interested in. Most often they are easily accessible and with the plethora of subjects on offer to photograph, it means it is easy to hone your skills. Just do your research beforehand and if time permits even scout the park out. Just make sure you pay attention to the rules.

Photo credits: Kav Dadfar – All rights reserved. No usage without permission. Dreamstime.

Filed Under: Tutorials Tagged With: beginer photography tips, beginner tips, photographing parks

Which Type Of Camera Is Right For You?

Mirrorless or DSLR? Compact or smartphone? Or do you go for a medium format? These days the choice of cameras can seem endless. But if you know the differences between them that can be a great help in helping you choose the right one. Budget will also, of course, be a factor. So here is our guide to help you decide which type of camera is right for you?

Smartphone cameras

The first option when it comes to cameras is the trusty smartphone. Because after all the best camera is the one that you always have with you. Smartphones have improved vastly over the years and are slowly becoming a serious player in the camera market. In fact, it’s not unusual to even see photos that were taken with a smartphone being accepted by prospective clients. There are some smartphones now that can offer high-quality resolution and are even good in low light conditions. There are so many choices out there so do your research and chose one that will do what you are looking for.

Standard compact cameras

These are generally the basic point and shoot entry-level cameras. Whilst they are normally fully automatic, there is usually also the option to adjust some settings manually. Some will also offer HD video recording, image stabilization and even Wifi connectivity which is useful for uploading photos directly onto social media platforms. Most will also have a 10x zoom lens, built-in flash and an LCD screen on the back. With prices starting at around $80 it’s often the go-to camera for people who just want to take family or vacation photos.

Zoom compact

The next level up from the standard compact cameras are the zoom compact ranges. These are very similar to standard compact but often will have a more powerful zoom lens. For some models, this can be as much as x30. You will often have some manual exposure options as well as the usual fully automatic modes. As per standard compact cameras, they will usually have HD video recording and some models might offer extras such as GPS for geotagging or WiFi connectivity. Prices would usually start around $150 with some models being +$500.

Adventure cameras

An alternative option to the standard compact cameras are the adventure cameras. They are usually similar in their features to standard cameras and also a similar zoom. The big benefit of these cameras is that they are built to withstand the elements. Their tough casing might make them waterproof, shockproof, freezeproof and even have toughened glass on the lens. If you are going to be using your camera in harsh conditions, this would be a good alternative to standard compact cameras.

Advanced compact

Even though these cameras might look like the normal standard cameras, they offer far flexibility and control in their photo taking. Designed for more experienced photographers, they are ideal for those who want more versatility, quality and creative features. Options such as manual exposure mode and manual focusing features, optical viewfinders and external flash connections make these cameras a good option for photographers who want more control over their photos.

Compact (mirrorless) system cameras

The big step up from the compact systems is to the mirrorless cameras. The big benefit of these cameras over compact cameras is the ability to have interchangeable lenses which mean greater flexibility. But you can also benefit from all of the manual and creative features of SLR cameras without the burden of the additional weight. Mirrorless cameras have been experiencing a huge boom and they are becoming increasingly more powerful. Some of the latest models are as good as the higher-end DSLR cameras with some professional photographers also investing in these cameras as an alternative or even replacement to their usual cameras. These cameras are a great option for anyone from hobby photographers or even those who are more serious about their photography and even pros.

DSLR

Traditionally the go-to option for serious amateur and professional photographers, DSLR cameras helped make the transition between film and digital. With interchangeable lenses, full manual control, superb image quality they have been top of the tree for a long time. That position is under threat from mirrorless cameras and in the years to come they may fully replace traditional DSLRs. The majority of DLSRs use a sensor size called: APS-C. The high-end ranges will have a full-frame sensor which is the same size as the traditional 35mm film. Prices start from around $400 for an entry-level model with a standard lens right through to over $3000 just for the camera body for a full-frame model.

Medium format cameras

If you have a few thousand dollars to spend, then medium format cameras are the highest quality cameras you can get. This is the next step up from full-frame DSLR cameras. With a bigger sensor than even the full-frame DSLRs, it means higher image resolution (60 megapixels). But this extra quality comes at a whopping price. For example, some medium format cameras can cost in excess of $25,000! But before you rush out and get yourself one, ask if you are actually going to need that extra quality. The reality is that photos that are taken with full-frame DSLR cameras or even mirrorless camera will be a good enough quality to print even at big sizes.

Whatever camera you choose the important thing to remember is that your photos won’t automatically become better. You will just have more tools to be able to control the photo-taking process. Yes, your photos will have a better resolution, but a poorly composed photo in poor light will still not impress anyone, even if it is taken with a medium format camera. Invest in the best quality camera that you can afford. Then upgrade when you can afford to do so. These days it seems like a new camera is released every day. As long as you follow the advice above and learn the differences in the camera systems you will be able to purchase what’s right for you.

Photo credits: Kav Dadfar – All rights reserved. No usage without permission. Dreamstime.

Filed Under: Tutorials Tagged With: beginer photography tips, beginner tips, cameras, Different camera types

6 Things That Could Be Holding Your Back Your Photos

Most amateur photographers at some point through their journey feel like they have reached their peak. This might lead to the frustration that they cannot take their potential in taking great photos any further. Often the barriers that are holding them back have nothing to do with skill. Instead, they are either mental or the common photography pitfalls that they fall into. If you are one of these photographers, fear not. Below you’ll find 6 potential issues that are holding you back. The first step in being able to push through your limitations is to understand them. Because only then can you begin to rectify these issues and move forward.

Not confident enough

Confidence plays a huge part in anything that we humans do. When you are confident you feel you can achieve anything. It helps to motivate and push you further. But a lack of confidence in photography is probably the most common reason that is holding people back. Confidence is such a vital part of photography that if you are lacking in confidence, it is something you need to address. The first thing you should do is establish what you are lacking confidence in? Is it approaching people to take their photo? Is it the confidence in knowing what settings to use? Or is it a lack of confidence in your ability?

Whatever you are lacking confidence in, that is the area that you should focus on. But it’s not enough to simply acknowledge it. You need to try to train yourself to improve in that area. Because that is what will give you the confidence you need. For example, if you are shy and don’t like approaching people, make it a mission to do so. Set yourself a daily challenge to photograph one person. Then increase it to two and so on. Eventually, it will become second nature to you.

Or for example, if you are lacking confidence in knowing what settings to choose, make that a priority to practice. Go to a market for a day and keep shooting until you get a good idea of the settings you need. Then next time practice photographing during the blue hour until that becomes comfortable for you to do. Eventually, you will have a good understanding of every scenario and what settings you need to use.

Blaming your gear

This is one of the biggest misconceptions when it comes to photography. Having better or more expensive equipment will not make you a better photographer. If you don’t believe this, just have a look on Instagram at the thousands of amazing iPhone photographers out there. So don’t hide behind your gear and instead try to examine and understand how and why your photos are not as good as you want them to be. Better equipment will make the quality of your photos better. But that is in terms of resolution, sharpness and even colour saturation. But a poorly composed and executed photo will not be made better with a more expensive camera.

Saying “I don’t have enough time”

Everyone in any line of profession is always guilty of using this excuse. Whilst it is true that as an amateur photographer you may not have as much time to dedicate to photography as a pro, it shouldn’t be an excuse. If you want to improve your photography you have to dedicate the time to learn, practice and even examine your failures. Try to dedicate a set night in a week where you can just focus on photography. Think of it like attending a class. Or if you struggle to manage your time why not join a local camera club. Often you will find that because there are regular meetings every week, it will become part of your schedule.

Not shooting enough

Even if you feel that you do not have the time at all, at the very least you should carry your camera with you every day. Using the time when you are commuting to take photos is a good way to practice. Photography is like any other hobby or profession, the more you practice the better you will become. Try to set yourself a target daily, weekly or even monthly. But try not to think of it as to quantity but rather quality. Aim to capture one great shot a day. So even though you might take fifty photos, aim for that one fantastic shot. Even if you managed to capture just one great shot a week, that would be 52 a year. But think of how many you might have taken for those 52? Those photos will help you learn as much as your great shots.

Too impatient

One of the things that always astonishes me is how often I see photographers turn up somewhere, take a photo and leave in the blink of an eye. There is no time spent thinking about the shot or the light. No thought on the composition or even just taking in the scene. Very rarely will I ever find that my favourite photo from a scene is my first shot. Of course, sometimes there won’t be time to wait around and you have to capture the shot straight away. But if you are photographing something like a landscape scene, take your time instead of rushing to take the photo. You might be surprised by the results.

Giving up

All of the points above sometimes end up with you giving up. You may give up waiting for the perfect light when you are at a scene. Or you might just give up photography. The thing about photography is that sometimes it can be incredibly frustrating and disheartening. Even seasoned professionals will have their moments of thinking that a change in career might be in order. But if you can persevere and identify where you can improve then you may just find yourself being able to push through the thought of giving.

Photography can be incredibly rewarding. Just think of that moment when you were able to nail that shot that you had to work hard to capture. Or maybe it was just a lucky fleeting moment. Either way, you are proud of that shot. So every time that you feel that one of the issues above is holding you back think to that moment. Or just imagine how great it would be to capture that incredible shot. It may just stop the issue holding you back.

Photo credits: Kav Dadfar – All rights reserved. No usage without permission. Dreamstime.

Filed Under: Tutorials Tagged With: beginer photography tips, beginner tips, common mistakes

Blog Topics

  • Tutorials
  • Inspiration
  • Locations
  • Gear
  • News
  • Other/Misc

What our customers say:

Life Pixel has been a life-changer for me. Continue reading
Eric GConnecticut
Read more reviews
I am more than satisfied with the service I received Continue reading
Christopher JCanada
Read more reviews
I am more than pleased with the conversion job that you did Continue reading
LOUIS MWaco, Texas
Read more reviews
I am VERY impressed with his knowledge of your products and his patience in explaining it to a novice like me. Continue reading
Lynn FEssex, Maryland
Read more reviews
Things will only get better from here thanks to all of you. Continue reading
Phillip FRedding, California
Read more reviews
The Lifepixel newsletter reminds me of not having expressed my gratitude for the excellent job you made. Continue reading
Michael GGermany
Read more reviews
Your staff went above and beyond the call of duty to make sure everything was handled in an excellent manner. Continue reading
Paige RPearland, Texas
Read more reviews
It has given my old camera a new life, I will enjoy using it again. Continue reading
William PAustralia
Read more reviews
Excellent service and the camera works just great Continue reading
Hans FairhurstAustralia
Read more reviews
I just got my converted camera back from you guys. THANK YOU!!!! Continue reading
Anne CutlerForest Knolls, CA
Read more reviews
infrared_filter_choices_sidebar
ir_conversions_explained_sidebar
----------- Watch More Videos -----------
infrared_quick_start_guide

Ready to start shooting Infrared?

Convert My Camera

Subscribe To Our Newsletter

Receive updates, tips, cool tutorials, free stuff and special discounts.

Learn the Basics

  • Video
  • Start Here
  • Filter Choices
  • Focus Calibration
  • Lens Considerations
  • Camera Considerations
  • Place Your Conversion Order

Resources

  • Galleries
  • Lens Hot Spot Database
  • IR Tutorials
  • FAQ
  • Infrared Filter Choices
  • Infrared Photography Guide
  • Infrared DIY Tutorials

Company

  • Why Choose Us
  • Get In Contact
  • Job Openings
  • Write For Us
  • Affiliate Program
  • Terms of Use
  • Privacy Policy
  • Home
  • Start Here
  • Galleries
  • Tutorials
  • FAQ
  • Blog
  • Why Choose LifePixel?
  • Shop
  • Contact

Copyright © 2025 Life Pixel Infrared - All rights reserved - LifePixel Infrared Photography IR Conversion, Modification & Scratched Sensor Repair