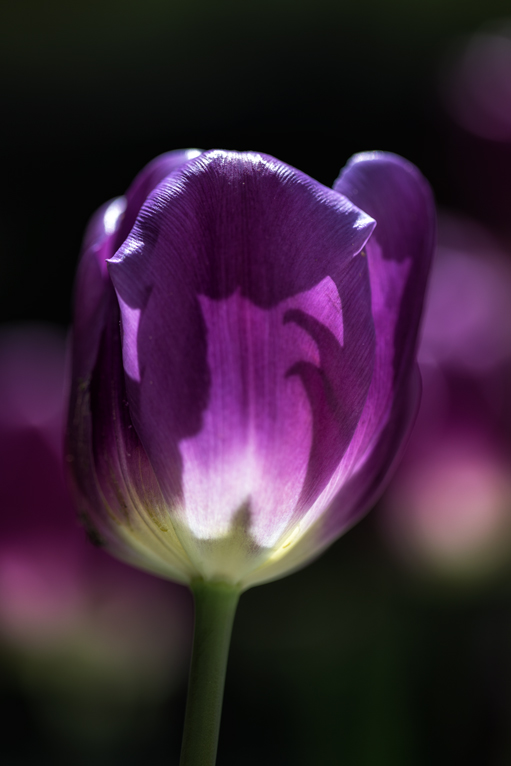
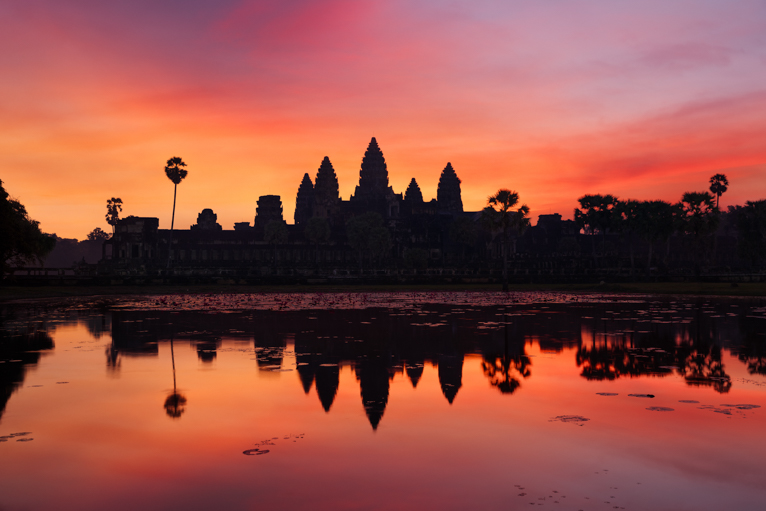
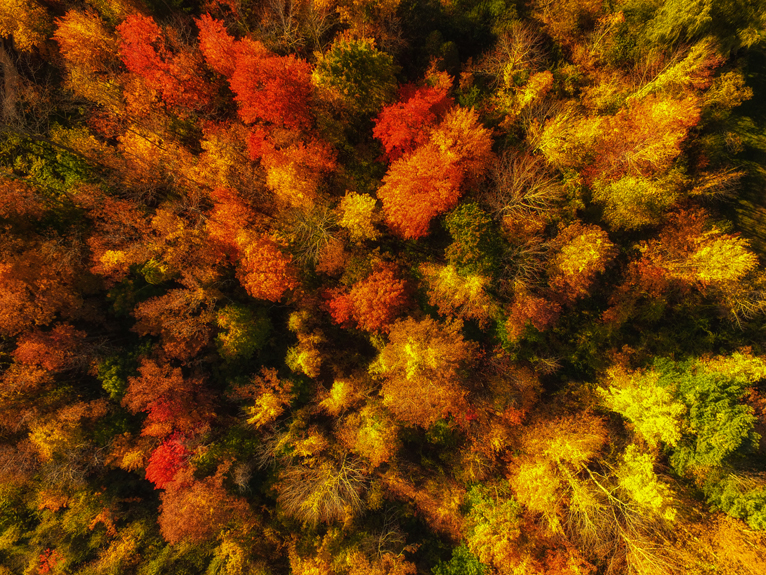
From the Great Pyramids of Giza to the vast temples of Angkor Wat, famous landmarks around the world are a big part of our travel experiences. It’s no surprise that these iconic places are often full of tourists hoping to capture their own memorable photos. So how can you make your photos stand out? How can you show a place that has been photographed millions of times in a different light? There’s no doubt that in this age of digital photography, that is much harder to do. But with a little bit of hard work and patience, it is possible to capture photos of famous landmarks that are unique. Here are 6 tips to help you on your way.
1. Go onto Google maps
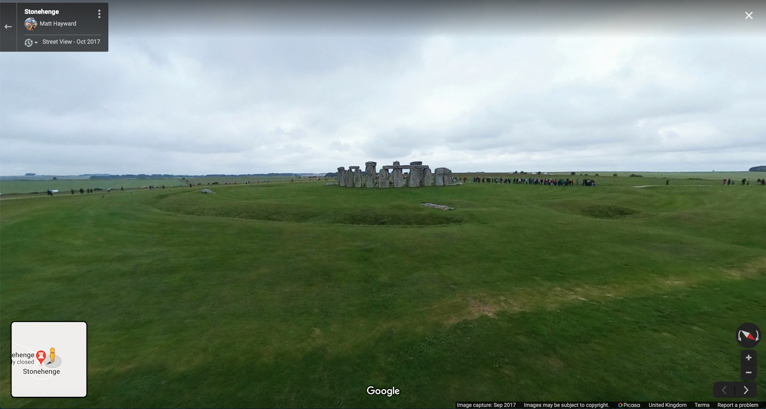
Often my first port of call when researching a destination is Google maps. I do always wonder how photographers of yesteryear were able to research their shoot in an age before the internet. Google maps really is a tremendous tool for photographers to use. Not only can you search on it to find possible locations that you can use to capture shots of the landmark, but can you can actually step in and view it as if you are there. By looking at street view you can move around and do you initial scouting before you even leave your house.
I always spend a considerable amount of time researching every spot by looking at street view. I make notes about possible locations thinking about the direction of the light and possible compositions. This always forms the basis of my shoot at a destination.
2. Look on social media
Another really great tool of this age for research is social media. After I have some ideas for a location my next stop if often Instagram. I look through the various accounts and hashtags that are relevant to the location. One of the best attributes of Instagram is that it allows anyone to upload photos. So you often see photos from locals of a location that may not conform to the usual time of day, season or even location. This is great research and can give you a ton of ideas on how you can make your shots stand out from the crowd.
I also look through accounts of tourists boards and local businesses. Because you may find a new hotel or rooftop bar opening with a unique view of the landmark.

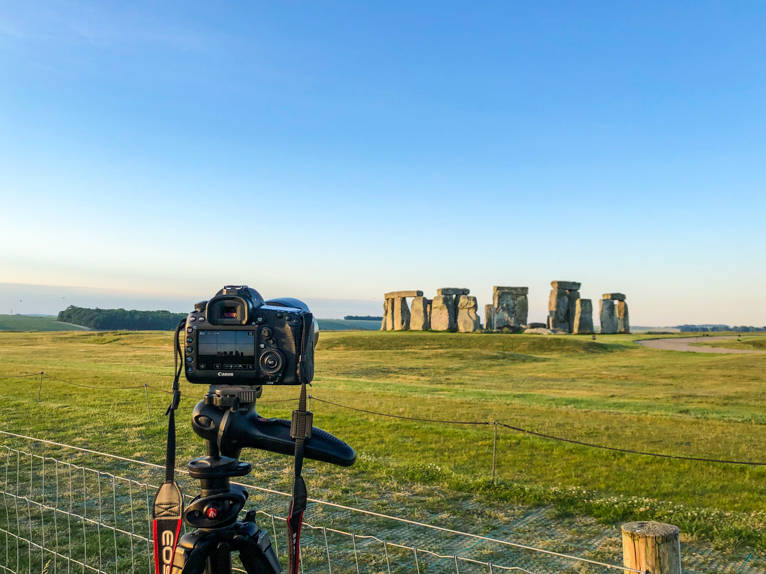
3. Allow plenty of time at your location
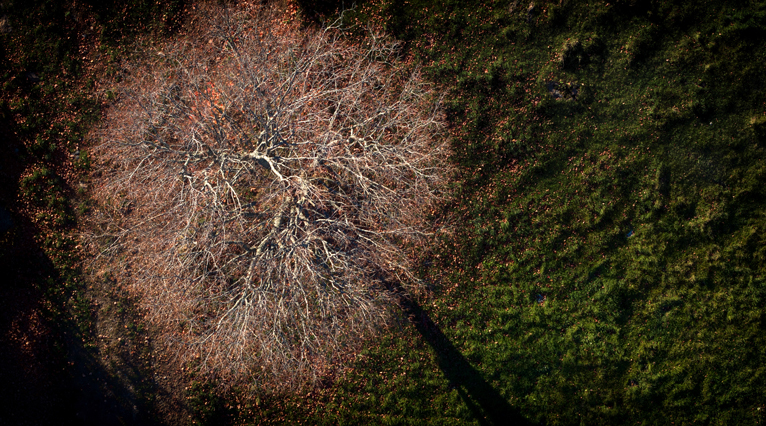
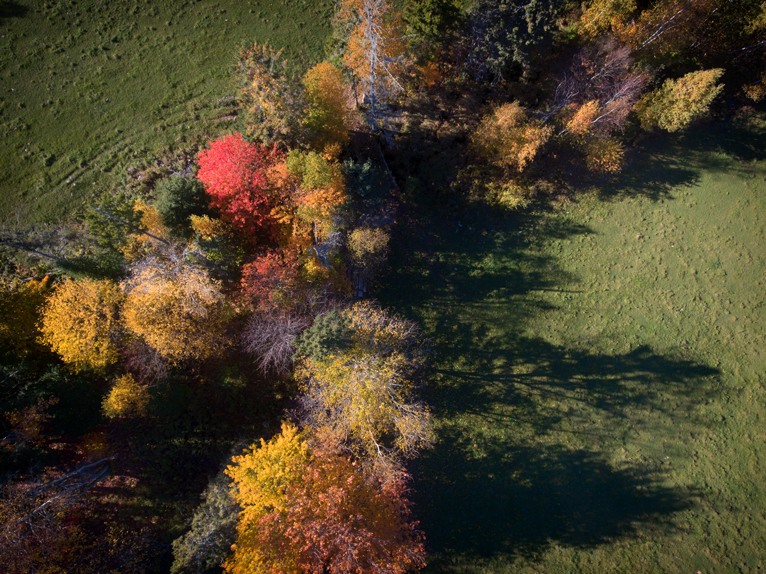
One of the big differences between everyday tourists and photographers is the amount of time they spend at a location. The average tourist might turn up, take a few photos and be on their way. As a photographer, I would rarely spend that little time anywhere. How can you possibly hope to capture the best shots if you are gone within a few minutes? Allow yourself enough time at a location to really feel like you know it. Walk around the landmark. Think about the direction of the light and how it will look at different times of the day. Imagine what the shot would look like from low on the ground or high up or with people in the shot. The more time you have at a location, the greater your chances of a great photo.
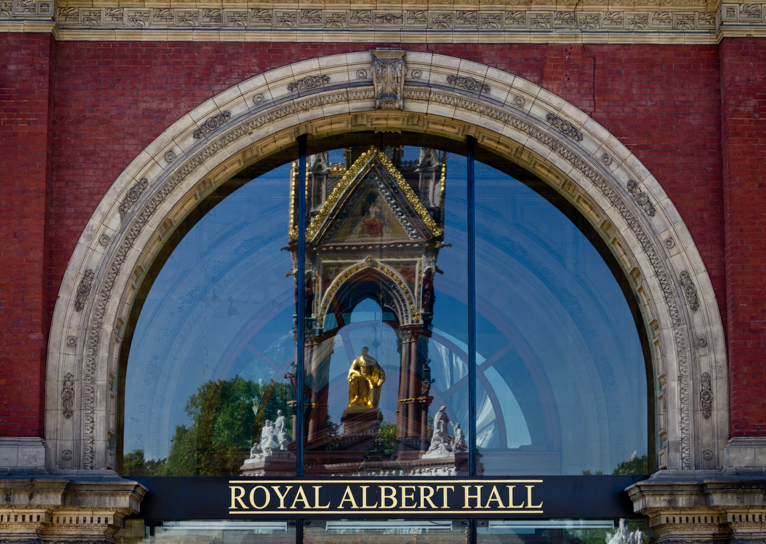
4. Turn around and look the other way
It can be hard to take your eyes off that famous landmark. But one of the best bits of advice I can give for photographing famous landmarks is to look the other way when you are there. Why is that? It’s not necessary to take photos – although sometimes you can capture nice shots of reflections – it’s to find interesting locations to shoot from. You never know, you might spot a street that can give you a different view of the iconic landmark. Or even a rooftop bar or balcony that you may be able to get to by speaking to the owner. You just never know what you might find if you look the other way.
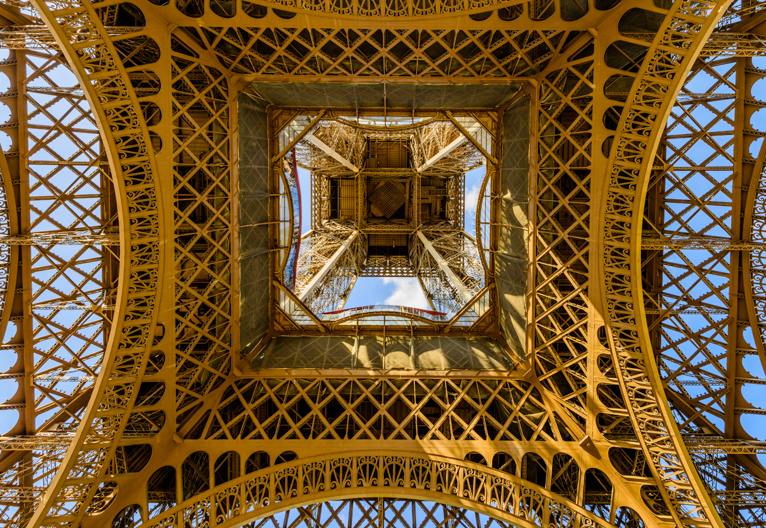
5. Take risks with your composition
I’m not naive enough to think that anyone will get to a famous landmark and not take the classic eye-level shot. That is a given and you should take the shot. Obviously, make sure it is as good as you can make it. But once you are done with those classic shots, then it’s time to really get to work. Start to look at different angles and compositions that you may never even consider usually. For example, tilt your camera to get a different look to the photo. Or get really close look straight up at the landmark. Maybe even try something creative like looking through an archway, a window or even through peoples legs. The quirkier and less conventional the better. You never know, you might end up with something incredibly unique.
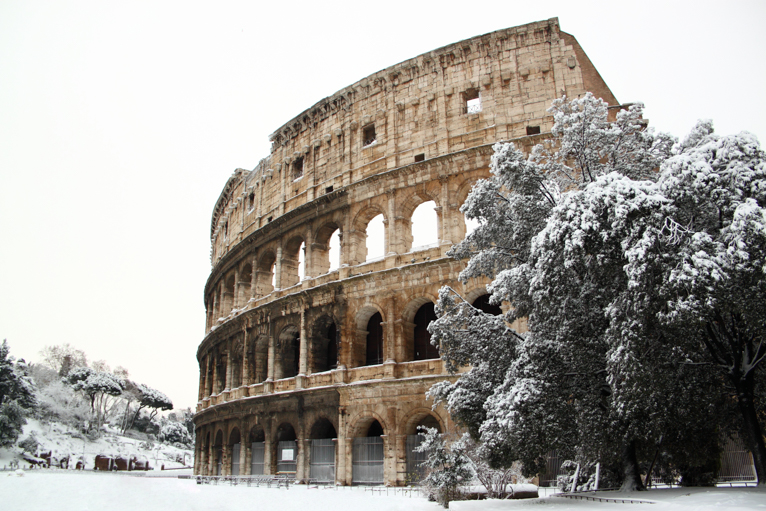
6. Embrace bad weather
I’ll be the first to admit that heading out in the cold and wet is not very enticing. But often these conditions can provide some unique shooting opportunities. From reflection on the ground during and after rain to simply being able to add people with umbrellas into the composition. It can give you a completely different photo than the usual. If you are lucky enough to get snow, mist or fog, that’s even better! Think about how often you see a famous landmark or monuments in these conditions? Not often right. So if you can capture photos during these times they are bound to look different from what exists already.
Seeing an iconic landmark for the first time can leave you breathless. But unfortunately, it can be difficult to replicate that in photos especially in this digital age of photography. But if you are willing to look beyond the obvious eye-level shots you could capture some really wonderful and unique photos. Just do your research and don’t be afraid to experiment and take risks with your shot.
Photo credits: Kav Dadfar – All rights reserved. No usage without permission. Dreamstime.


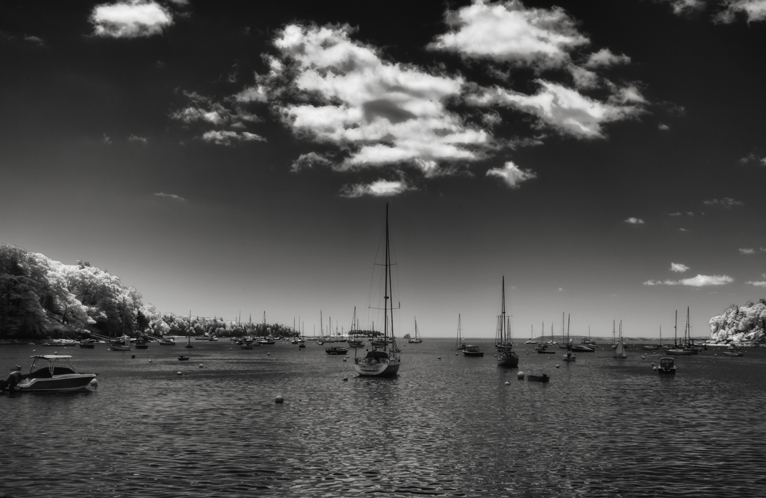
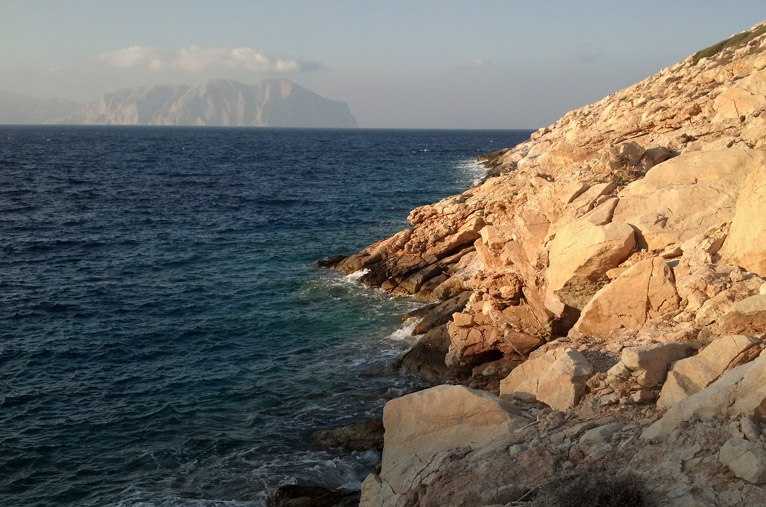 A scene photographed with a color camera showcasing the haze on the distant mountains.
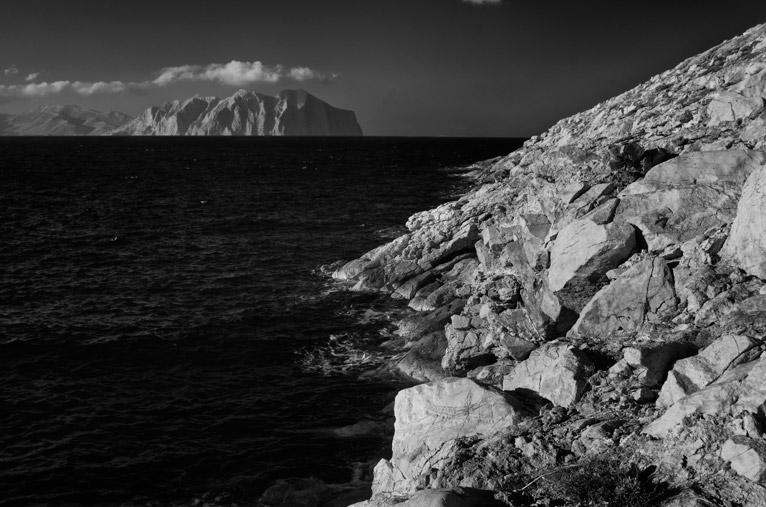 The same scene photographed at 740nm. Notice the reduction in haze and improved detail.
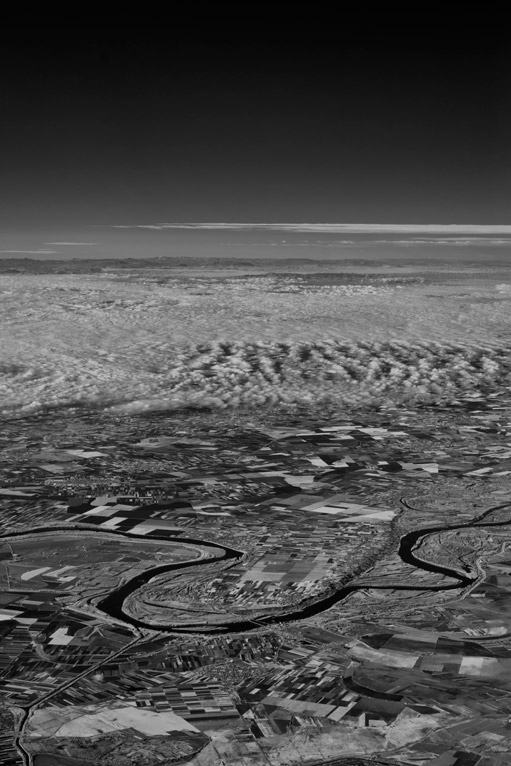
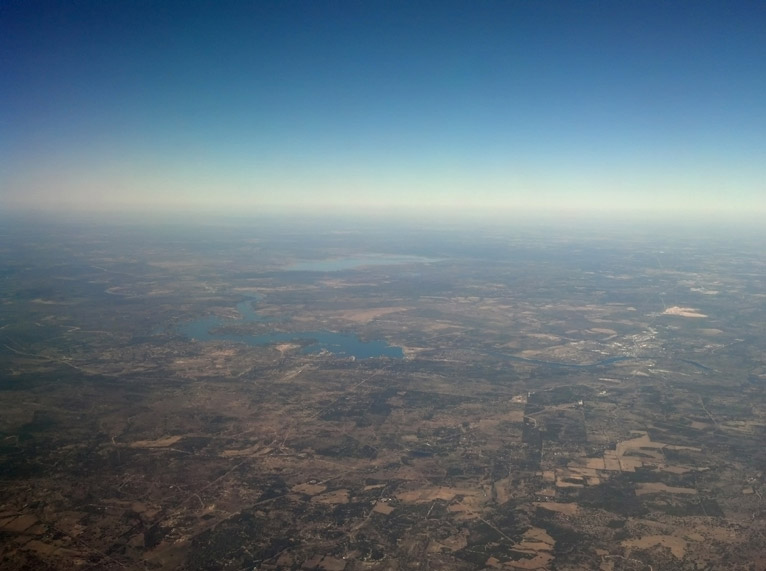 Visible Light photo West of Austin Texas
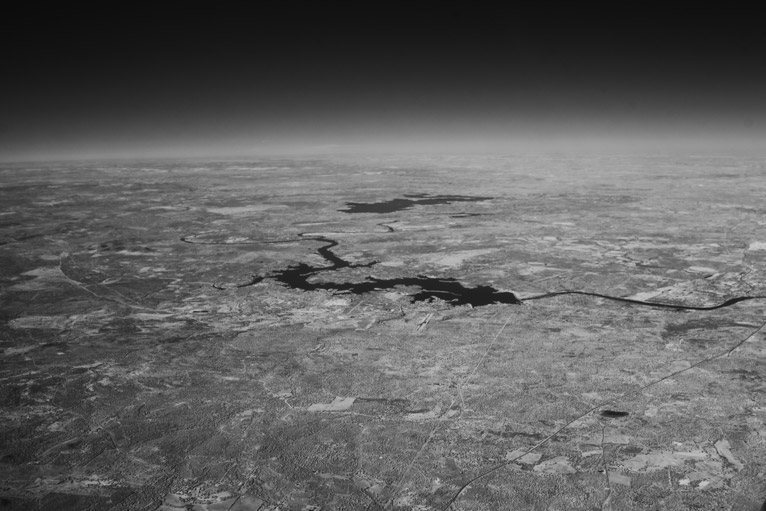 Same photo in 740nm IR
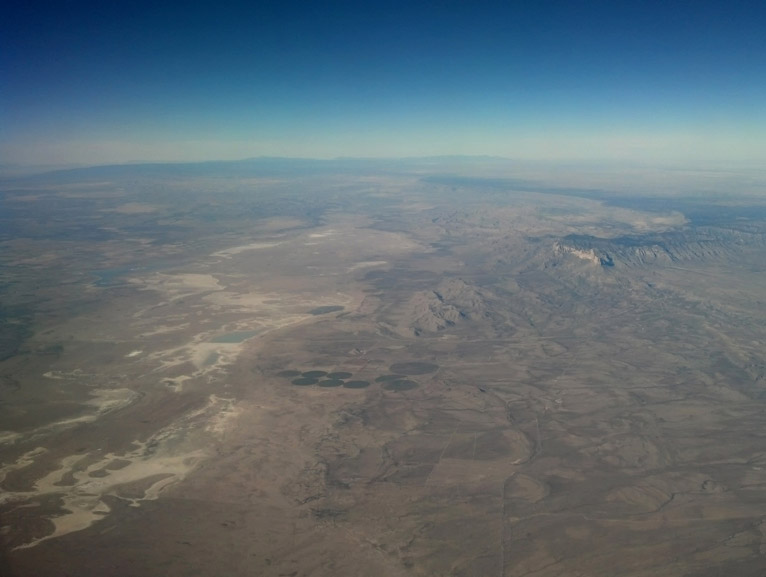 Visible light photo of West Texas, including Guadalupe peak (upper RH side) and Salt Flats.
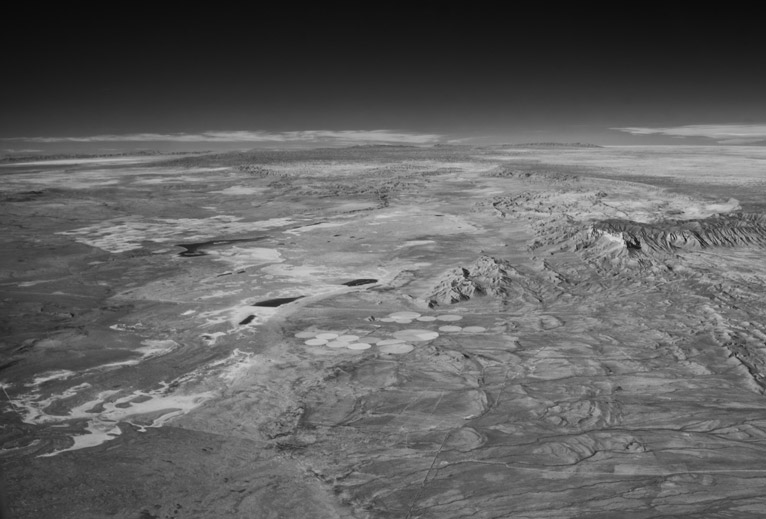 Same photo in 740nm IR. White Sands National Monument is visible in the upper LH portion of the image, more than 100 miles away.