Several months ago, I wrote a blog about using medium format lenses on DSLR. I wanted to continue this series with a little more information. In my experience, one of the most understood characteristics of using non-standard lenses with different film/sensor size is crop factor. Before going into this, let’s get a little background on what crop factor is and why it’s relevant to this blog.

When you use a lens that is intended for a different sensor size or film format, the lens can overfill or under-fill the sensor/film. Using a full format (35mm) lens on a DSLR with a crop sensor (APS-C, Micro Four Thirds, etc), the lens will project an image that is larger than the sensor size. This overfills the sensor. In other words the smaller sensor is sitting in the center of a larger image on the film plane. When this happens, the sensor is only seeing a portion of image on the film plane. This gives the appearance that the image is zoomed, when compared to the same image on a full format sensor. The image below represents a full frame DSLR image (35mm format). The inset square represents the crop factor of an APS-C sized sensor.
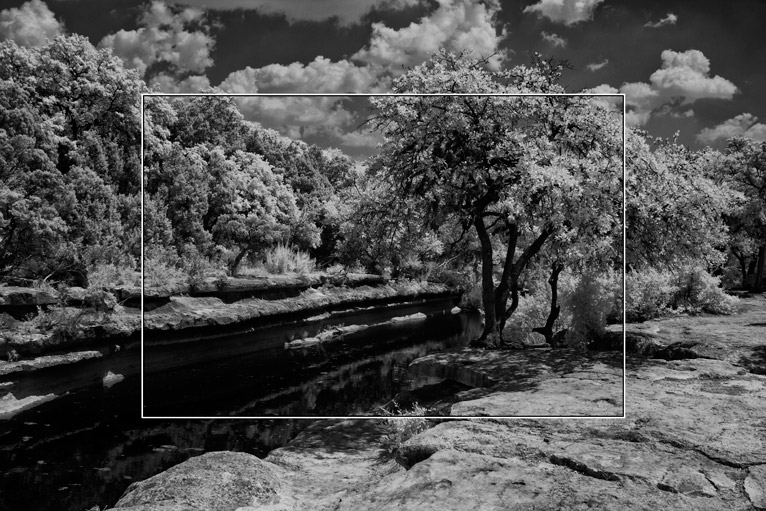
It’s important to note that there is no magnification or change in focal length. It is merely a characteristic of the image size and the sensor/film size. This is called crop factor. The most common is when using a full format lens on an APS-C sensor camera. This gives a crop factor of 1.6. This is simply the ratio of the smaller image size vs the larger one. Since different sensors have different aspect ratios (height to width) I prefer to use the diagonal distance for crop factor calculation, as it accounts for both height and width. A full frame sensor is nominally 36mm x 24mm, which is 43.3mm diagonally. An APS-C sensor is 22.4mm x 15mm or 27.0 mm. So 43.3mm/27.0mm=1.6X.
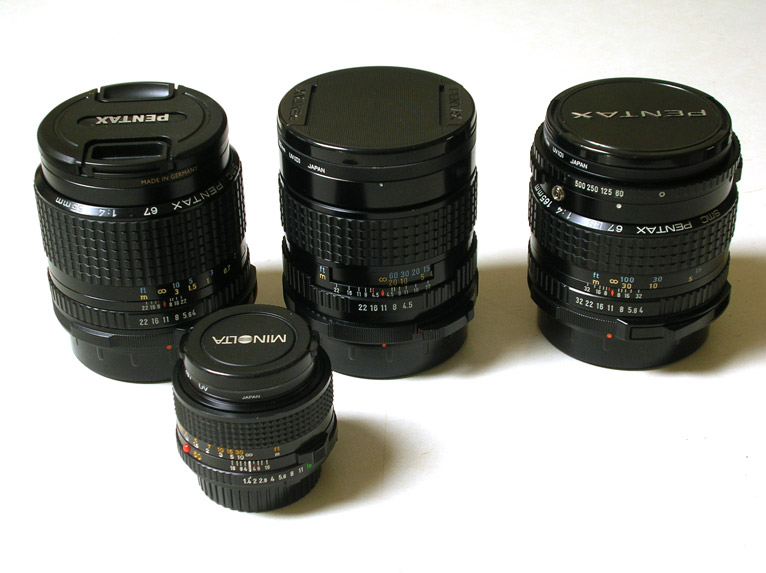
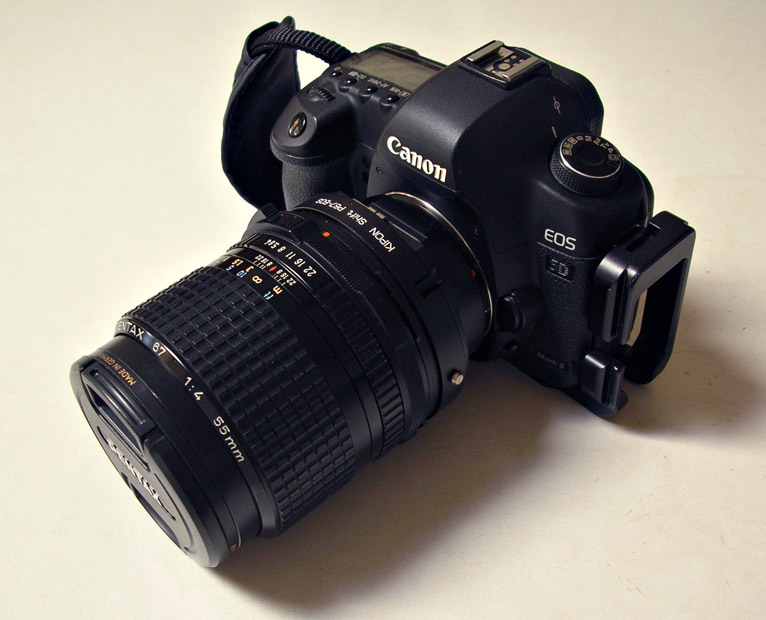
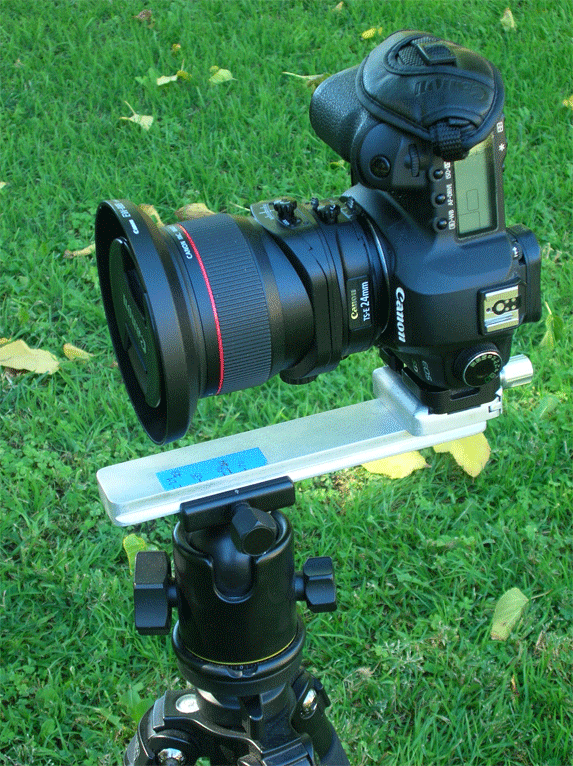
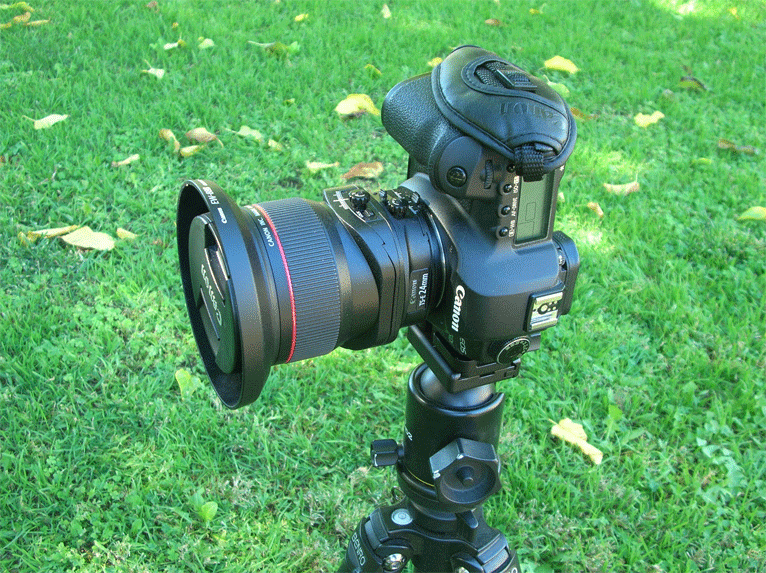
The exact same situation occurs when we use a medium format lens on a DSLR. I’m currently using Pentax 67 lenses on my full spectrum Canon 5D Mark II. There is a big difference in film/sensor size. So there is a significant crop factor. The film size of a 6×7 is about 6 x 7cm, however the actual size is about 56.0 x 72.0mm, depending on camera format. Using lenses for medium format on a full frame DSLR provides a crop factor of over 2X. Using these lenses on an APS-C sensor provides a crop factor of over 3.4X. In terms of what was discussed earlier, a 6×7 lens on a full frame DSLR over fills the sensor area by more than 2 times. It over fills an APS-C sensor by 3.4 times.
A 55mm lens is a 55mm lens. It won’t matter if this lens is used on a full frame camera or a medium format camera. The focal length does not change. Only the field of view changes. But if you take a photo with a medium format camera and then use the same lens on a full frame DSLR, the DSLR photo will appear to be zoomed by 2X. But remember, it’s just seeing less of the full image. I did an experiment to validate this and took several Canon L lenses (intended for full frame sensors). These were compared with images shot with my medium format lenses. I overlaid them in Photoshop to make comparisons. With these, it’s easy to see that the medium format lenses have the same field of view as the Canon lenses.
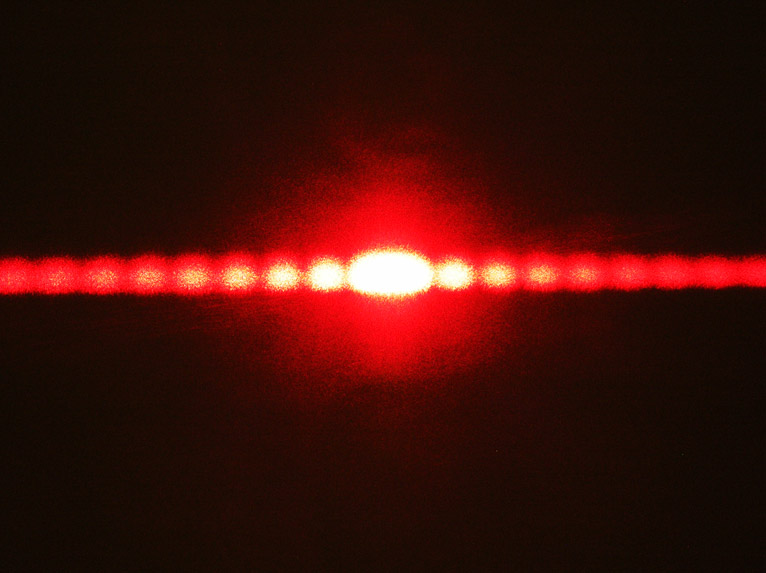
It turns out that crop factor is one of the best characteristics of using a medium format lens on a DSLR. Most lenses are clearest in the center. It’s toward the edge of the frame that aberrations occur. Using the medium format lenses on DSLR’s uses sees the image through the best part of lens, the center.
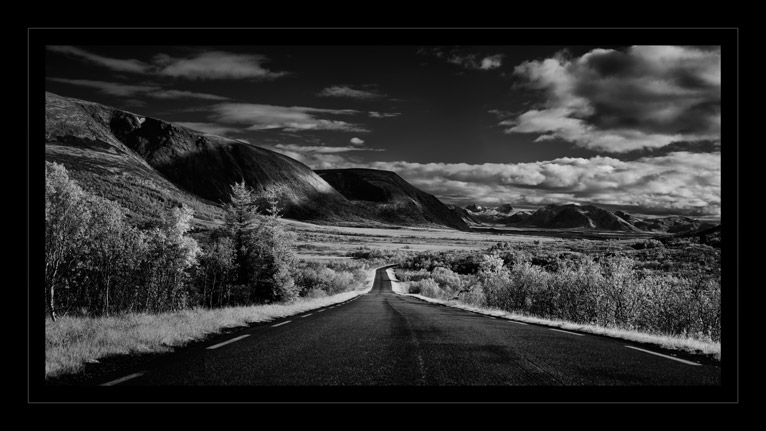
I love shooting IR with the medium format lenses. They are hefty and manual focus, but are superb for IR. They fit the way I shoot IR and provide superb results. I hope this information helps understand how crop factor affects the field of view and that there is no magic happening when you use medium format lenses on a DSLR. I also hope it encourages you to do some experimentation of your own. Happy shooting!


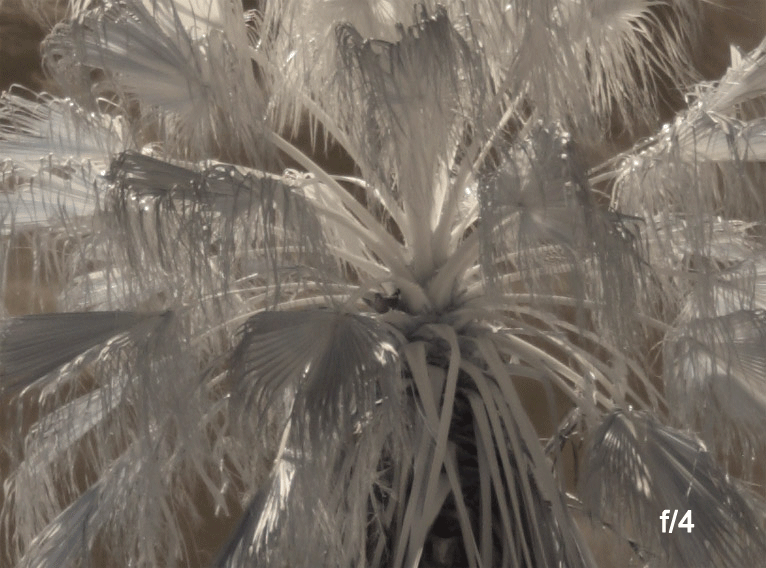
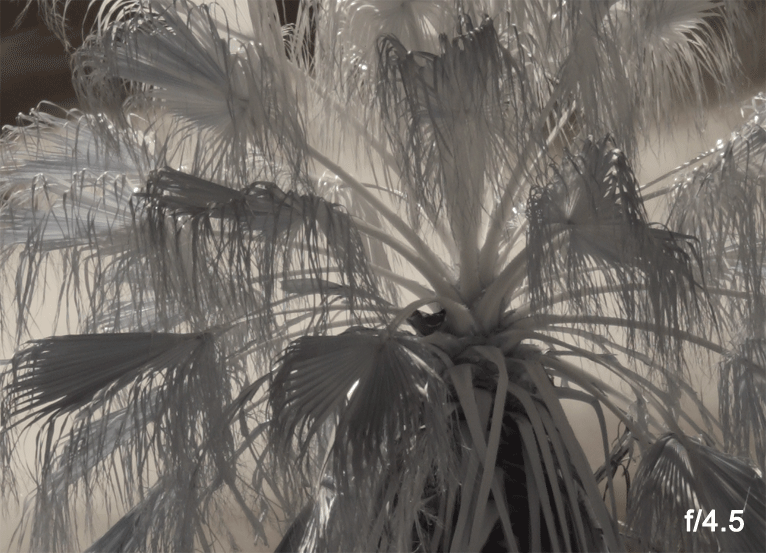


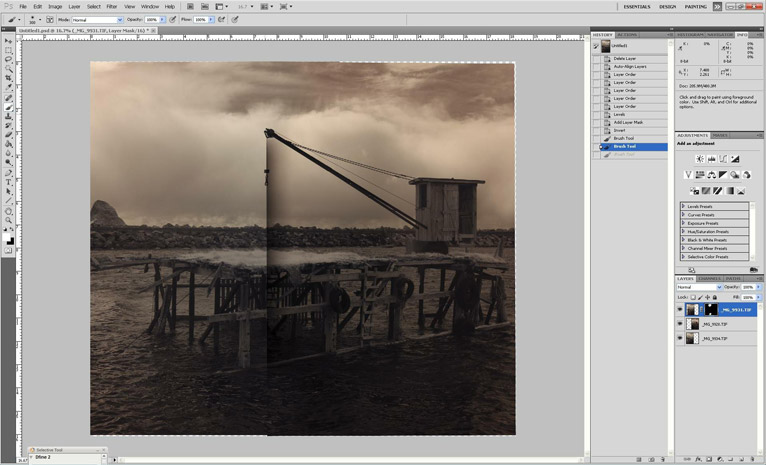
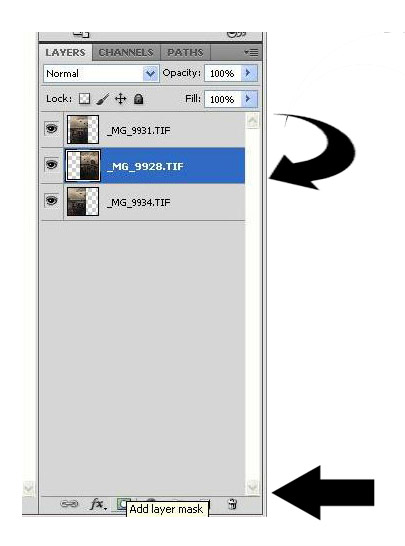 I start with masking the layer that has the most features that most need hiding or blending. It takes a little practice to see what needs to be hidden and what needs to be revealed and which layer is best on top. But try several arrangements and choose the best result. Below is the result of my layer swap.
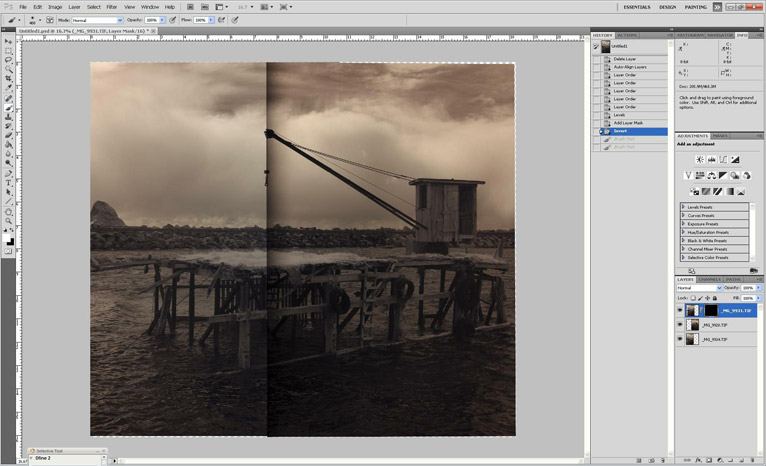
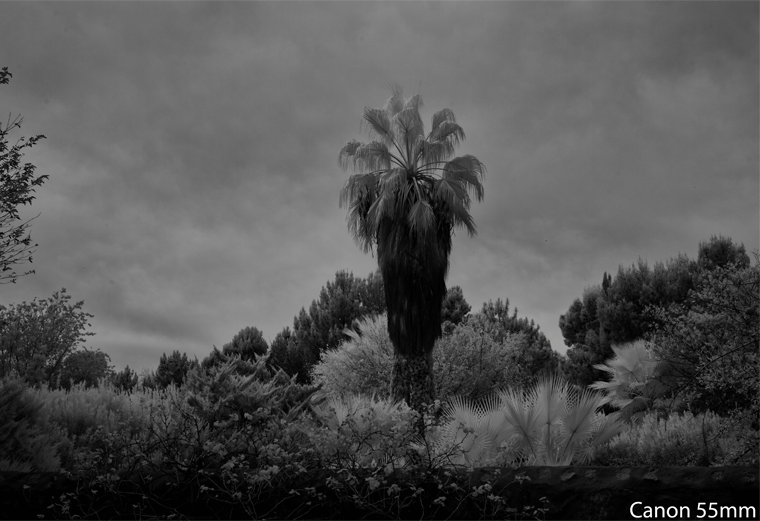
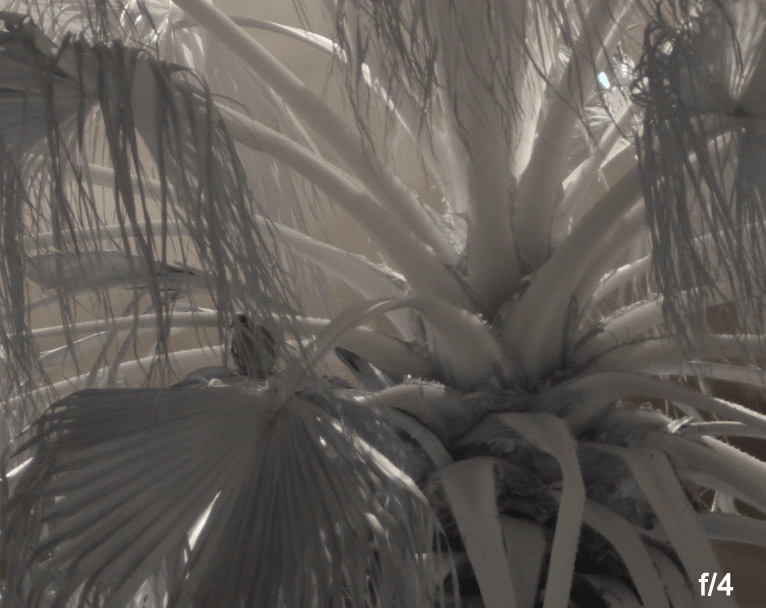
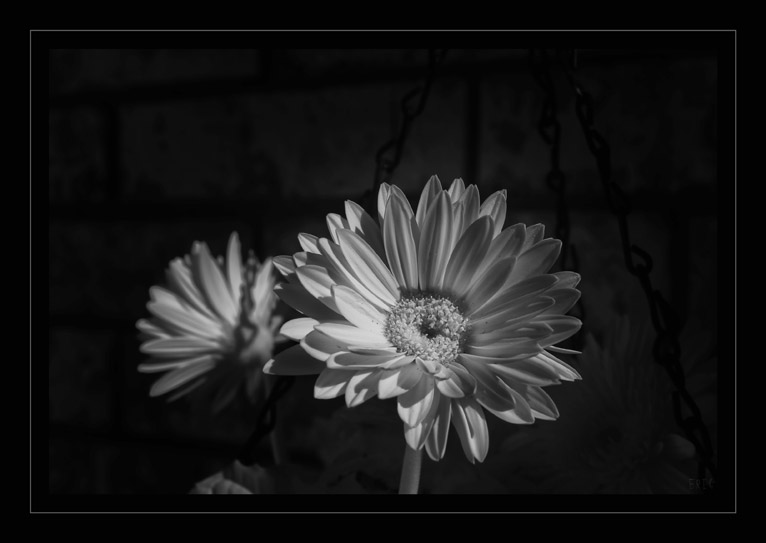 Here’s a Gerbera Daisy, shot with a medium format 55mm lens
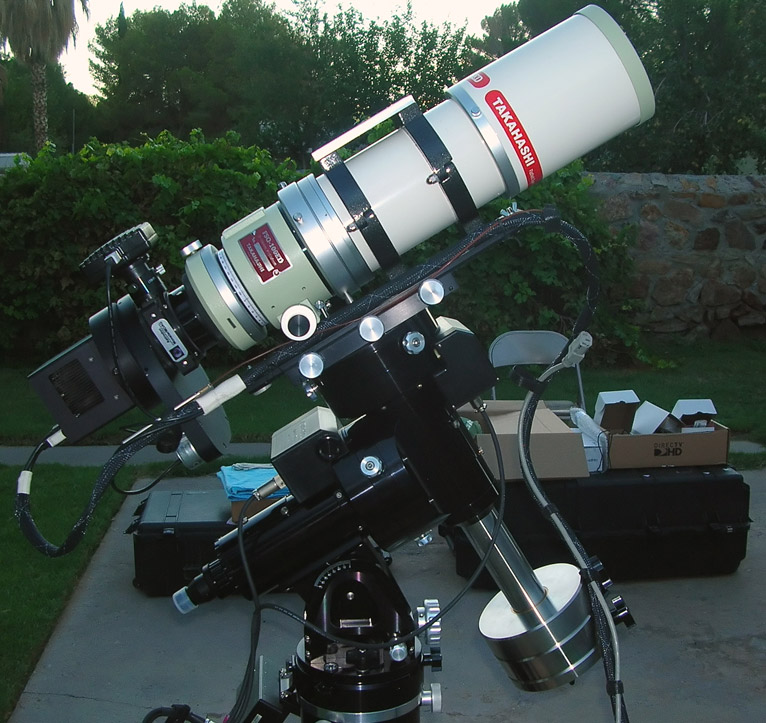
 A test shot using my 150mm Pentax 6×7 lens (my oldest medium format lens)
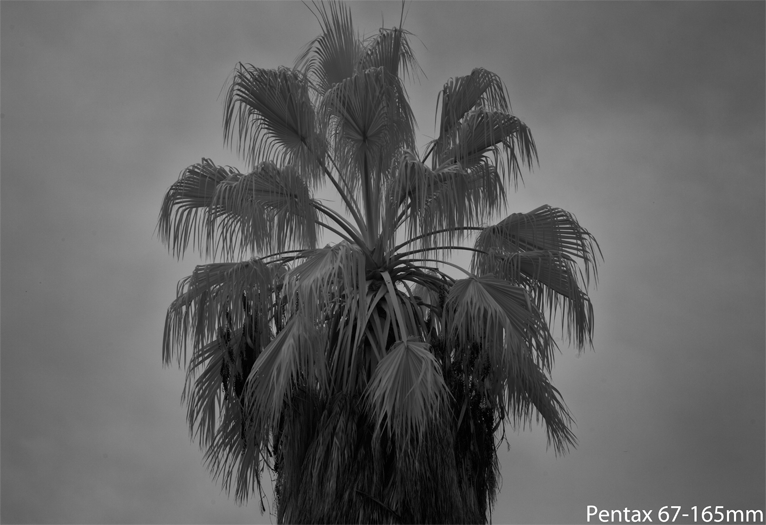
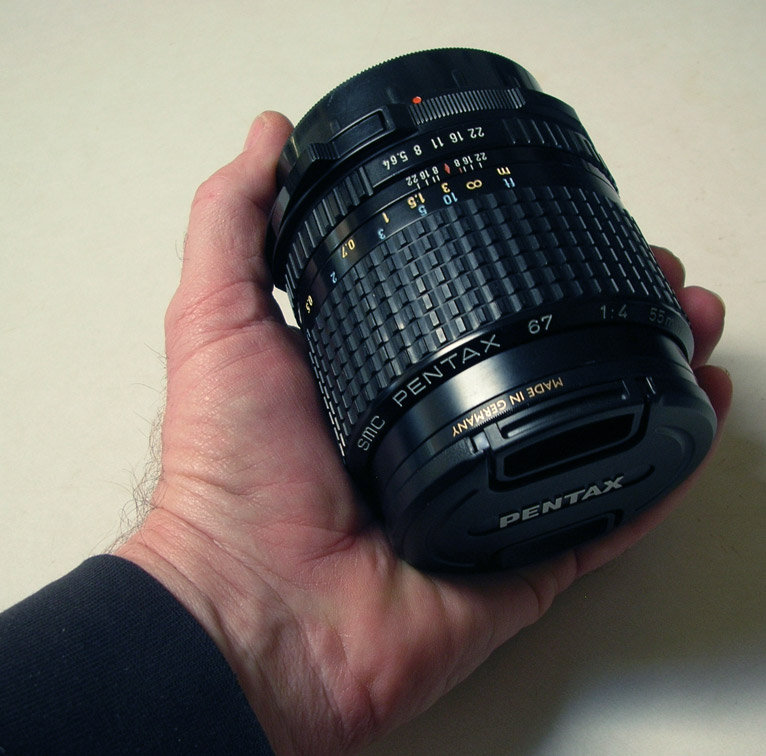 A monster of a 55mm lens and probably one of the sharpest lenses I’ve ever used, in any format.
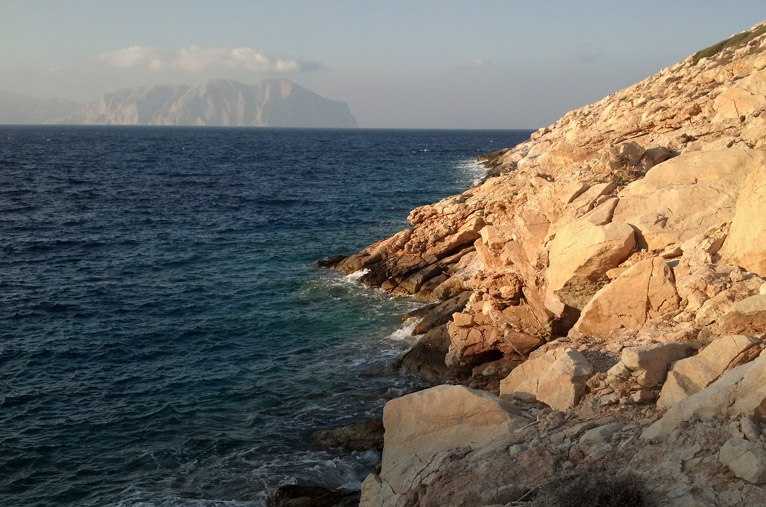 A scene photographed with a color camera showcasing the haze on the distant mountains.
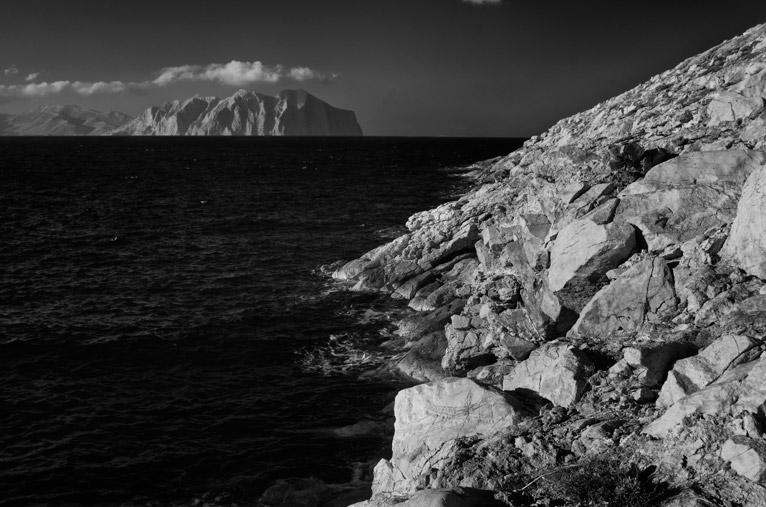 The same scene photographed at 740nm. Notice the reduction in haze and improved detail.
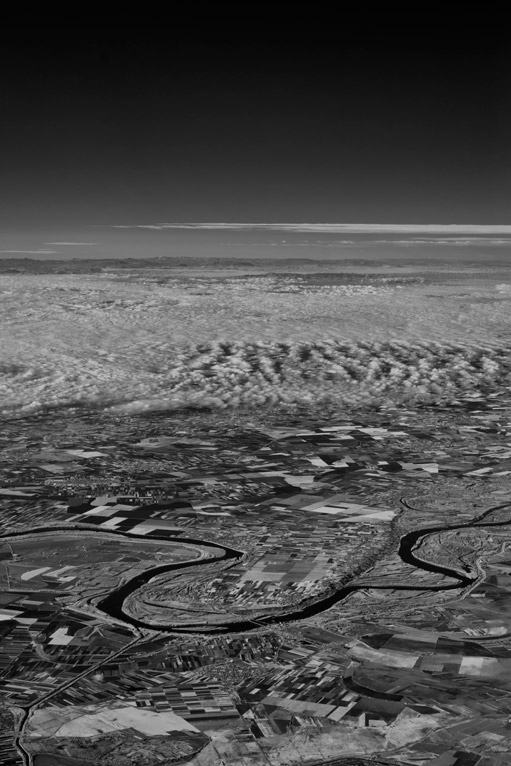
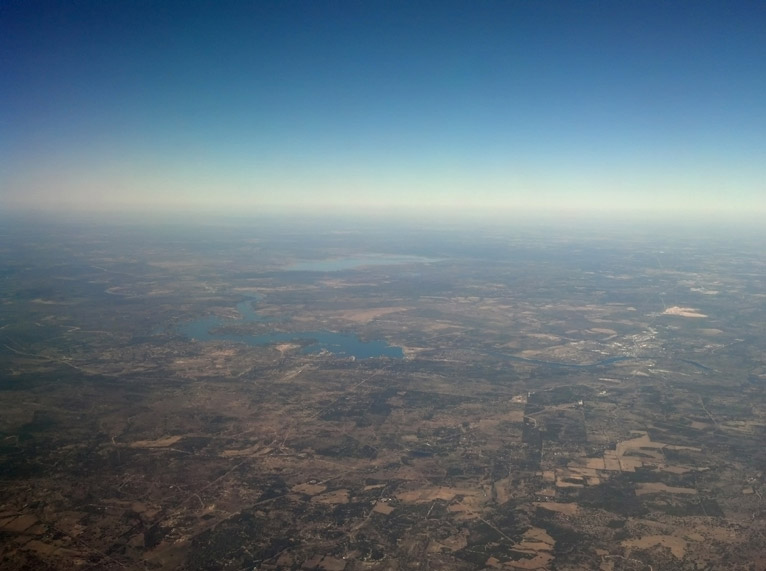 Visible Light photo West of Austin Texas
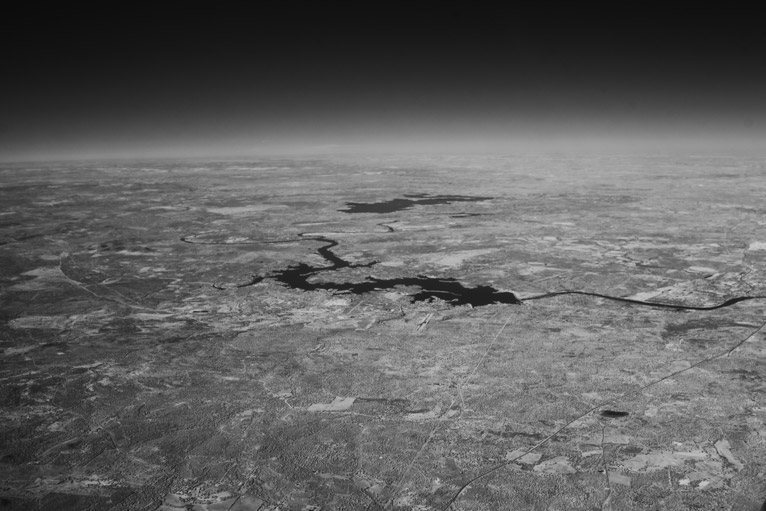 Same photo in 740nm IR
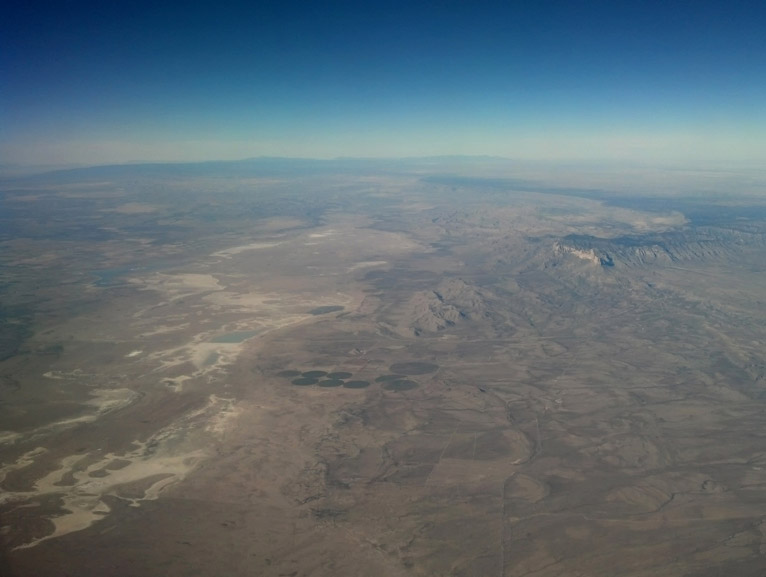 Visible light photo of West Texas, including Guadalupe peak (upper RH side) and Salt Flats.
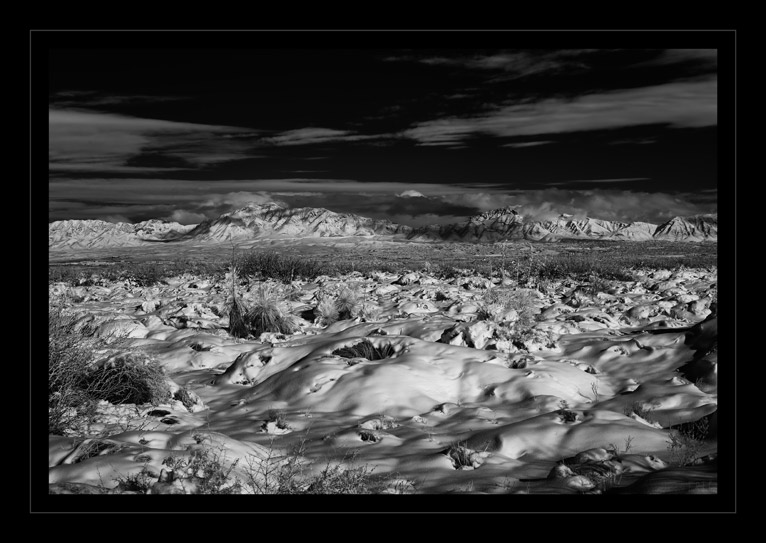
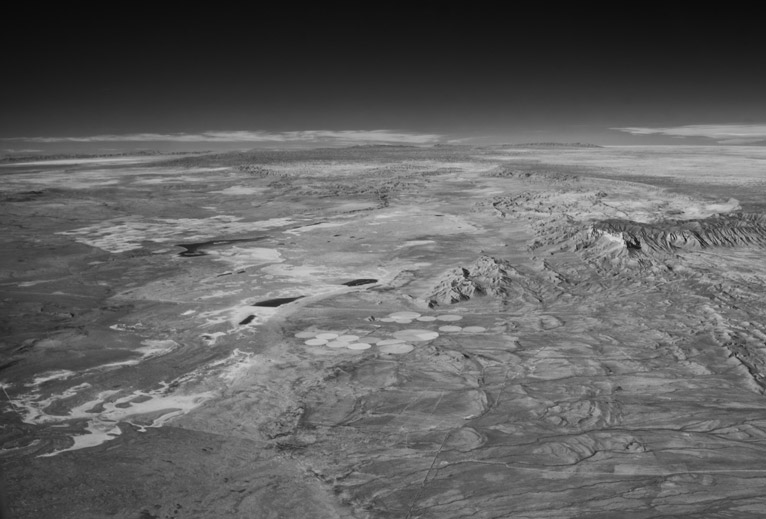 Same photo in 740nm IR. White Sands National Monument is visible in the upper LH portion of the image, more than 100 miles away.

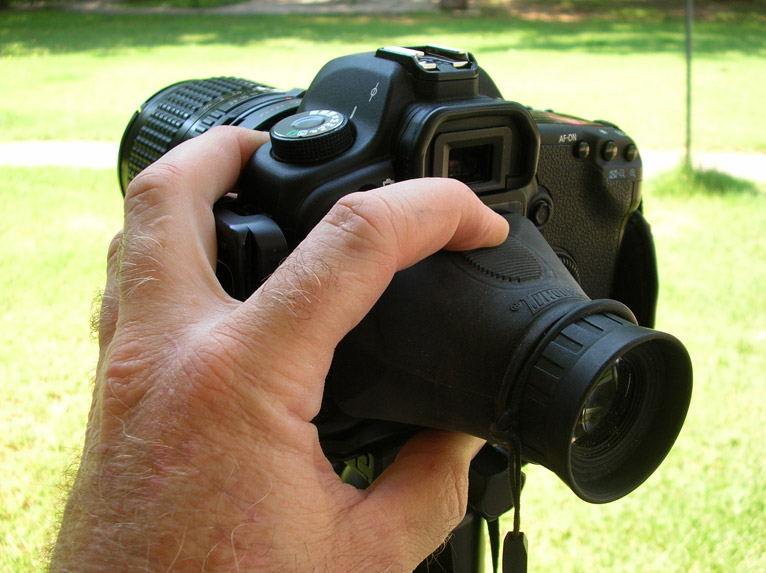
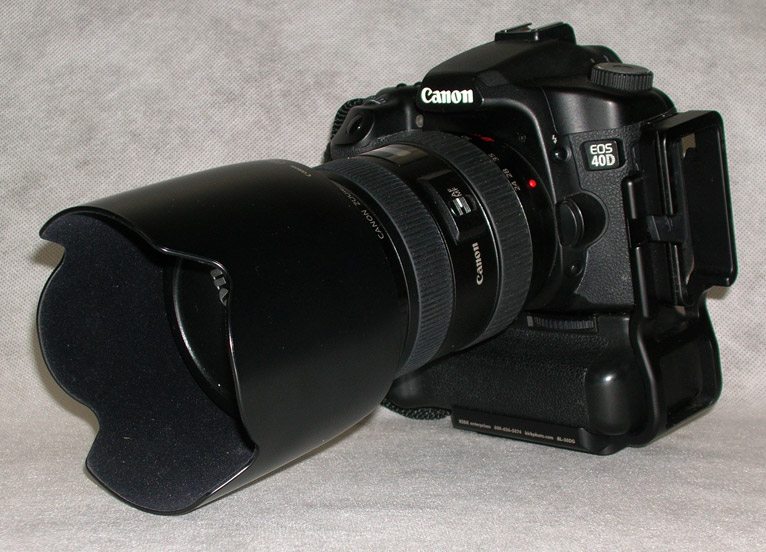
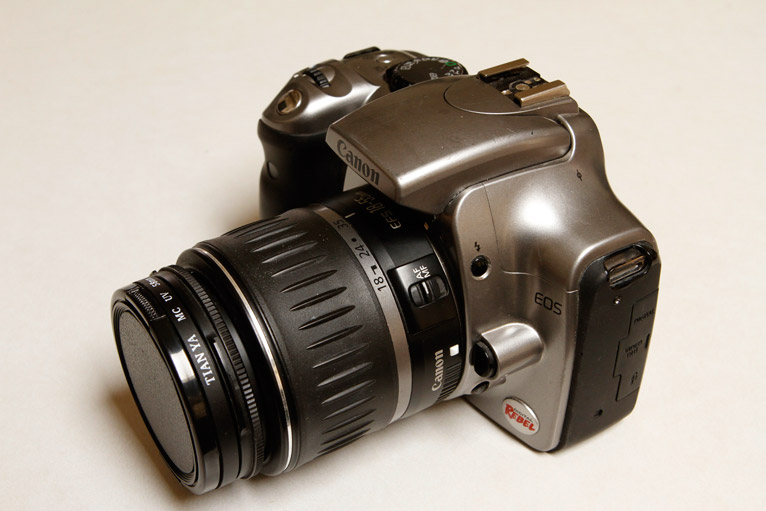 My first modified DSLR for Astrophotography
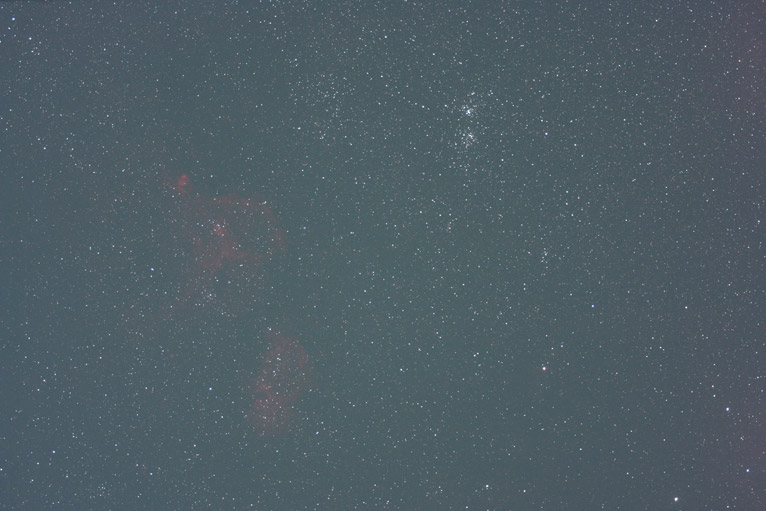 Unprocessed, right out of the camera
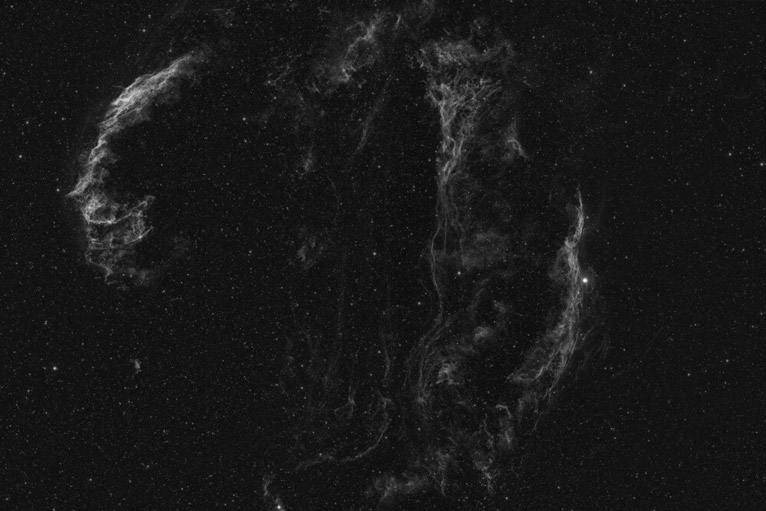
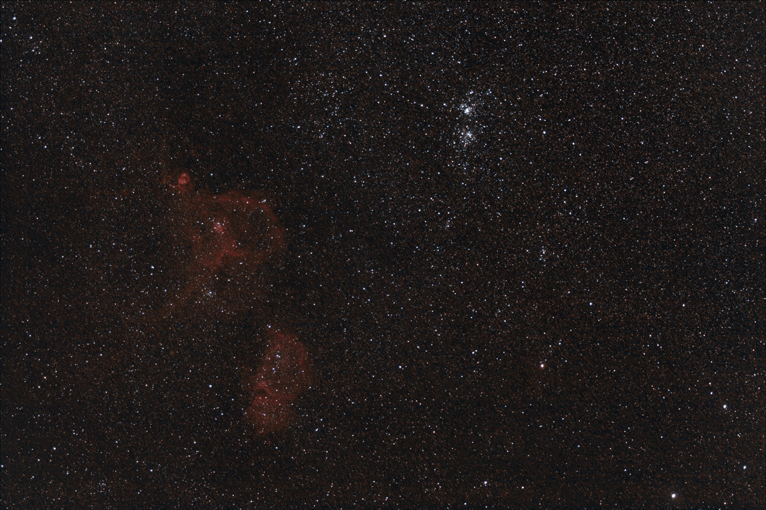 Stacked and post processed
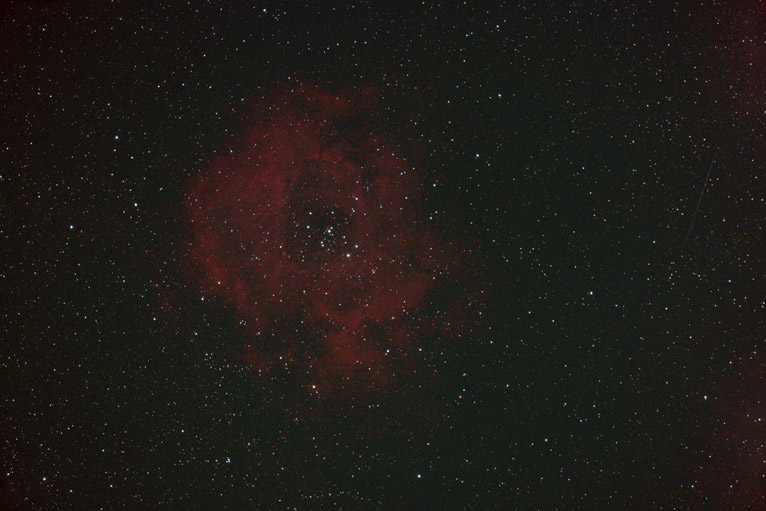
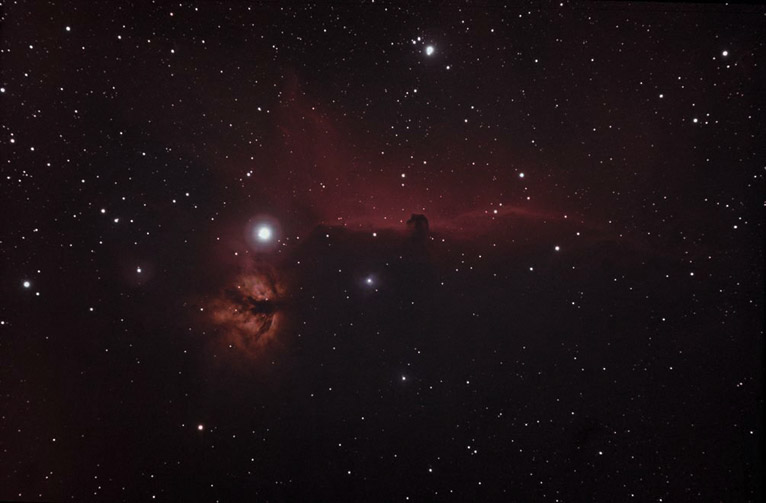
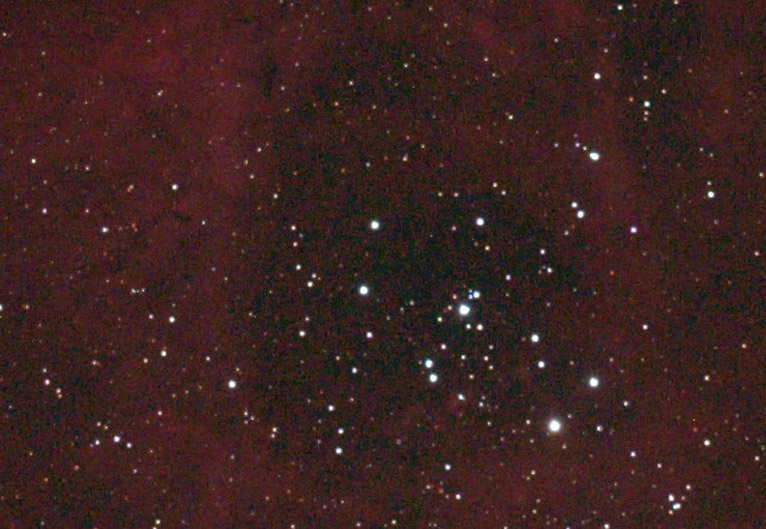 Single Frame and crop of the Rosette Nebula (NGC 2237)
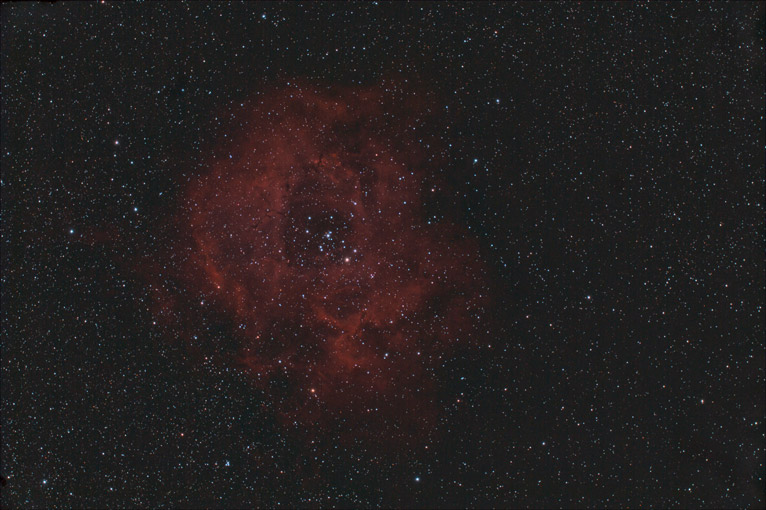
 Stack/post processed image and crop of the Rosette Nebula
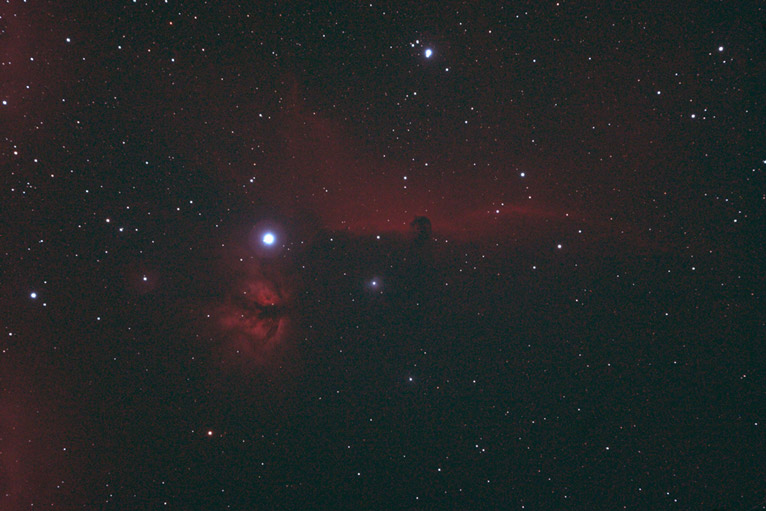
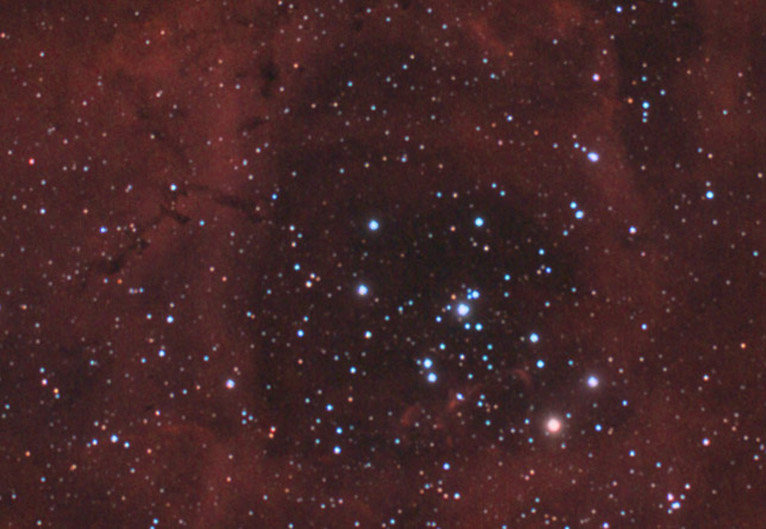
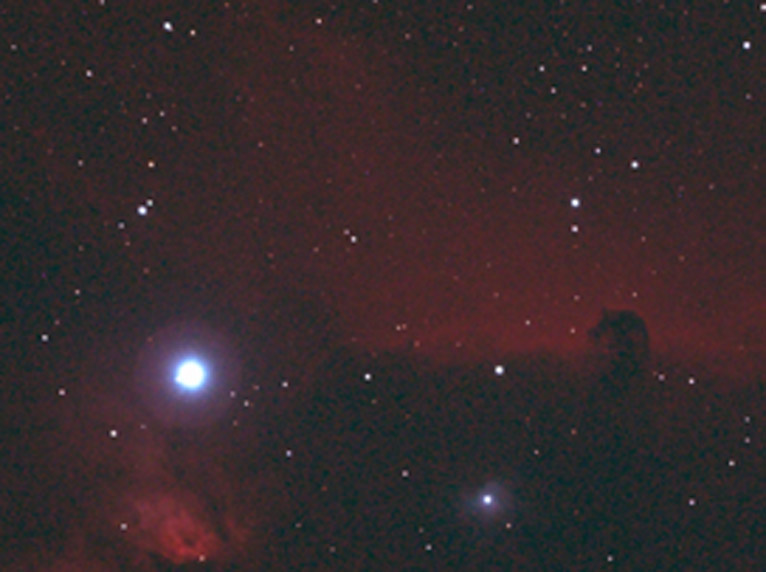 Single Frame and crop
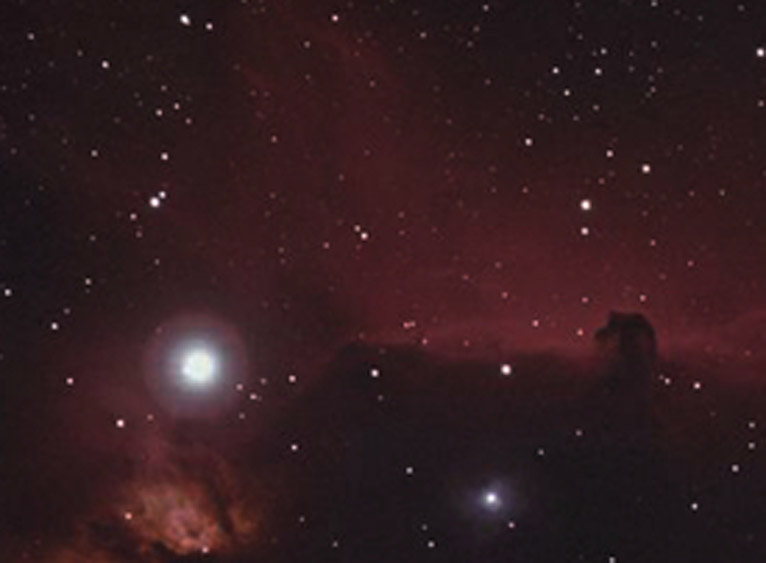 Stack/post processed image and crop