Panoramas are the ideal tool for capturing scenes with expansive views or to increase the field of view of a lens. They are also a lot of fun to shoot. However with the excitement of shooting a panorama comes the frustrating reality of assembling the images into to single frame. Without some proper shooting techniques this assembly process can be hit or miss.
Anyone that has tried to assemble panoramas in Photoshop (or a similar image processing program) is aware that some aspects of the individual frames of the panorama don’t always match. This is caused by parallax errors of near and distant objects. With these images there is usually some compromise to the assembly. So some of the image parts will match and other parts may not. These parallax errors are most problematic where the scene has close foreground objects as well as distant objects in the background. So what can be done about this?
Well, lets first look at the problem, parallax. You can easily see the effects of parallax by setting up a couple objects on a counter top, in line with the camera. Place one object closer than the other and aligned so that the object closest to the camera hides the object further from the lens. Now pan the camera and notice the effect. This effect is seen because the camera is not being rotated around the optical node of the lens.
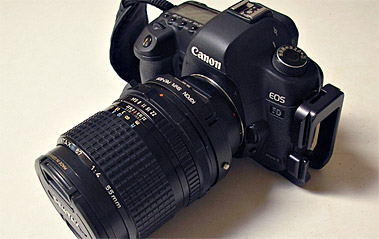
So how do we fix this problem? The use of a nodal slide will allow you to rotate the camera around a predetermined nodal point. The nodal slide allows you to offset the camera so that the axis of rotation is around the optical node (also known as the no-parallax-point or entrance pupil) of the camera lens. Not too many manufacturers publish this information, but it can be determined experimentally. The nodal point will differ from lens to lens and also at different zoom settings on the same lens. To properly use a nodal slide you’ll need a tripod and a head with a panning base (or separate pan head). Below is an example of a nodal slide set up with my 5DII. Although I machined this one, they are available many places at very reasonable prices. Note the blue tape that has information on the location of the nodal point for various lenses. My preference is to use a set-up with an L-bracket attached to my camera. However nodal slide set-ups can be done in many different ways, even on both axes (pan and tilt) for monster panoramas.
Another superb option for panoramas is to use the shift feature of a tilt-shift lens. In my opinion, this produces the best panoramas with the least trouble with assembly in Photoshop. The shift feature of the lens is used to shift the image across the film plane, without movement of the camera itself. Using this technique there are imperceptible levels of parallax. I usually start by composing the scene keeping track of how far the shift feature will frame the field of view. I then shift the lens to one side and begin shooting and shifting. Use care to not move the camera or tripod. One major downside is that a tilt-shift lens can be a pricey solution for panoramas. Another drawback is that it’s typically only possible to shoot up to 3 frames on a full frame camera and maybe 4 frames on an APS-C camera. The use of a nodal slide offers the potential for full 360 degree panoramas, if you ever have that need.
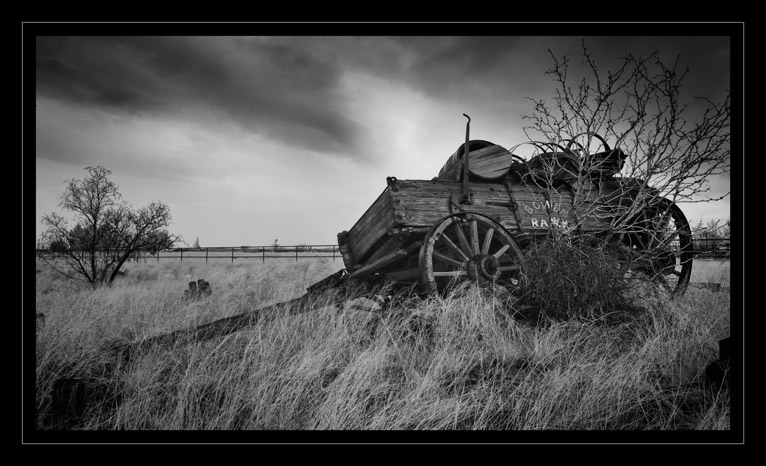
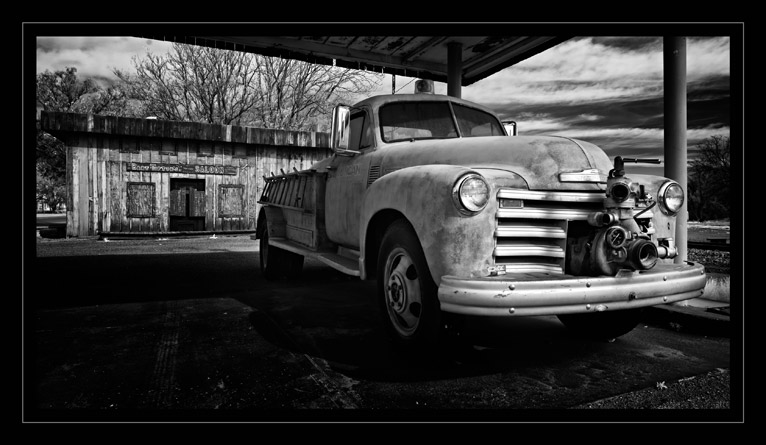
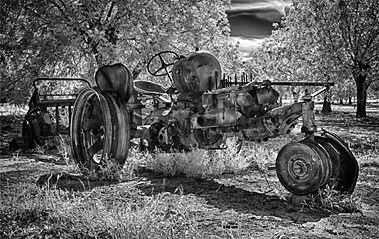
The shot below is a 3 frame panorama shot on a full spectrum modified 50D with a 740nm filter and my 24mm TS-E lens. Without the use of a nodal slide, the parallax errors in this scene would have made assembling this image nearly impossible. The front of the truck is close the camera and the buildings in the background being much further. This would have created large parallax errors and made final image assembly very difficult. But using the shift feature of the lens, the images stitched together without any trouble or compromises.
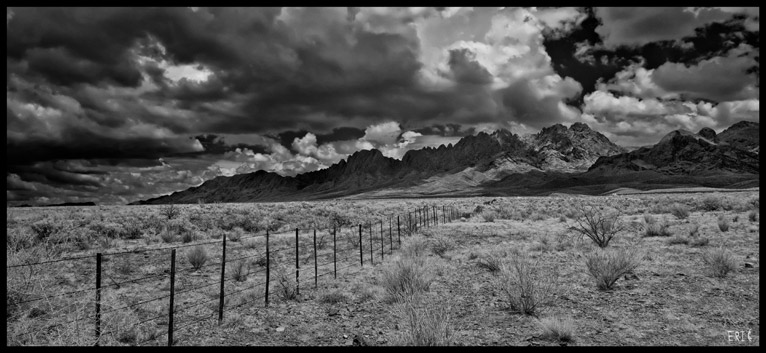
Now all this being said, there are some situations where panorama shots can be done without any equipment and can even be hand held. But these are mainly done for distant scenic shots where there would be very few problems with parallax. Regardless of what method you use to shoot panoramas, it’s best to overlap the images. I usually shoot with at least 1/4 overlap. It’s also generally best to have the camera in portrait orientation. This will provide the best set of images for final processing.
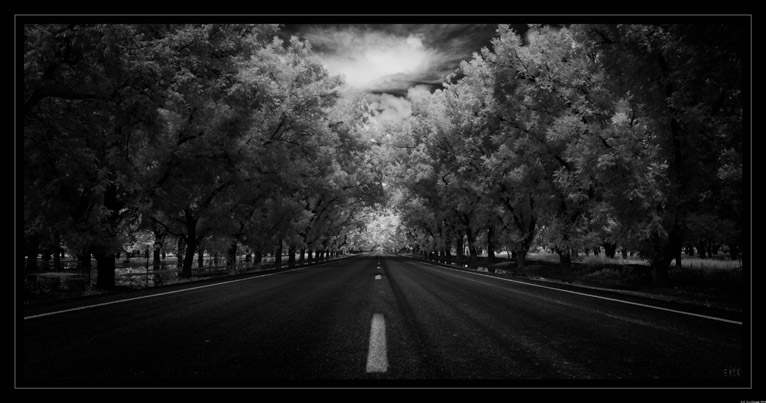
A tilted horizon can be fairly distracting on a large landscape panorama. So for these I always try to insure that the nodal slide and panning or tripod head are level. Most tripods & nodal slides have a bubble level. But for times where I don’t have a level and can’t see the horizon, I use a $5 hot shoe cube level on the camera. This helps make sure that the horizon is not tilted in the final assembled panorama. Correcting a tilted horizon on a large panorama requires cropping a large portion of the panorama.
Probably the most important point when shooting panoramas is to shoot in manual mode. With the camera in an auto-mode, the camera will typically detect a difference in exposure from shot to shot and adjust the camera accordingly. But having it in manual mode will insure the same exposure for all the shots. The final images will need considerably less work to assemble if there are no exposure variations.
I hope this brief overview has removed some of the mystery and has inspired you to get out and shoot panorama images. I really enjoy shooting panoramas and hope you’ll give it a try. Practice makes perfect. So get out and shoot!
Latest articles by Eric Chesak (see all articles)
- IR Fireworks - July 14, 2018
- Medium Format Lenses – Part II - December 11, 2017
- Bracketed Exposures for IR photography - July 19, 2017
Eric Chesak is a physicist, engineer, photographer, and general technophile. He has always been interested in cameras, photography, and optics with several patents and scientific publications on the subject. He’s a full-time consultant, after a successful career in Engineering and R&D management. Eric has been enjoying photography for more than 40 years and began shooting with his grandfather’s rangefinder, 35mm Zeiss Ikon camera. His life-long passion for astronomy and astrophotography spun off to IR photography which developed into a full-blown obsession.
Eric's images are published in Astronomy & other magazines, many websites and on the artwork on a classical music CD. He has also written for several engineering trade magazines and received numerous awards for technical excellence. In addition to his photography hobbies, he enjoys metalworking, machining, and mechanical design and is experienced with CNC machining equipment. In fact, he designs and fabricates some of his own equipment for astrophotography and photography.
You can view more of Eric's IR and Astrophotography at his online gallery.
Eric currently shoots with custom, full-spectrum modified Canon 50D and 5DmkII -- and learns something new every time he shoots a photo.
See All Articles by Eric Chesak

Leave a Reply