What to do on the 4th of July… Humm… Grill? Done. Catch up with family? Done. Relax? Done. Watch fireworks? Wait a second… How many of you have photographed fireworks? I’m guilty. But who’s photographed fireworks in IR? I’ve never done that, and probably few have. Let’s give it a try.
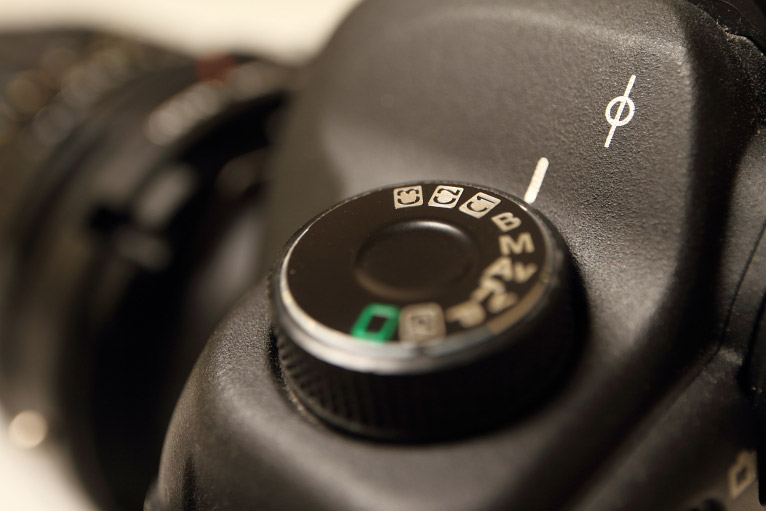
I climbed on the roof of my house to get a better vantage point and set-up my full spectrum 5D Mk II with a 720nm filter.
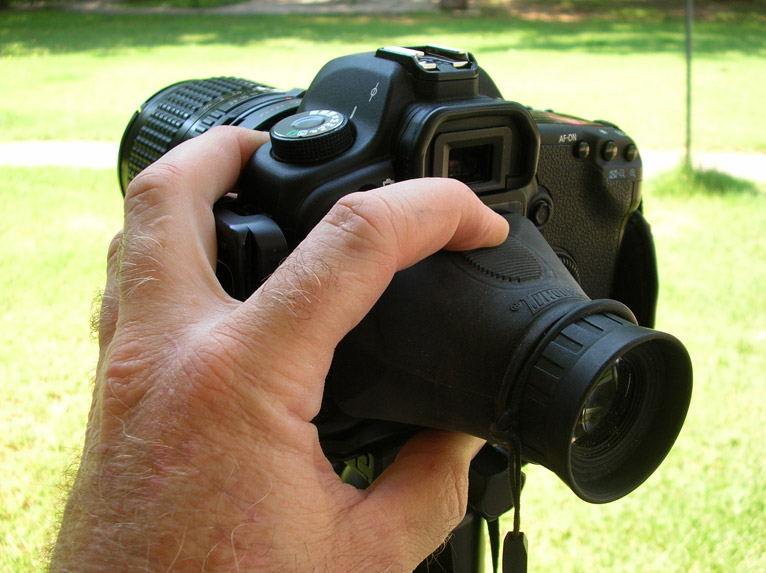
I use a Hoodman Loupe for focusing my 5D, since the filter blocks the visible light and makes the viewfinder useless. This technique works quite well for me and is what I’ve been using for more than 5 years. I wrote a blog on the topic.
I knew about where to look for the fireworks. So I installed my Pentax 67 55mm medium format lens and prefocused before it turned dark. It’s more difficult to focus once it is dark. I connected my shutter release and then waited…
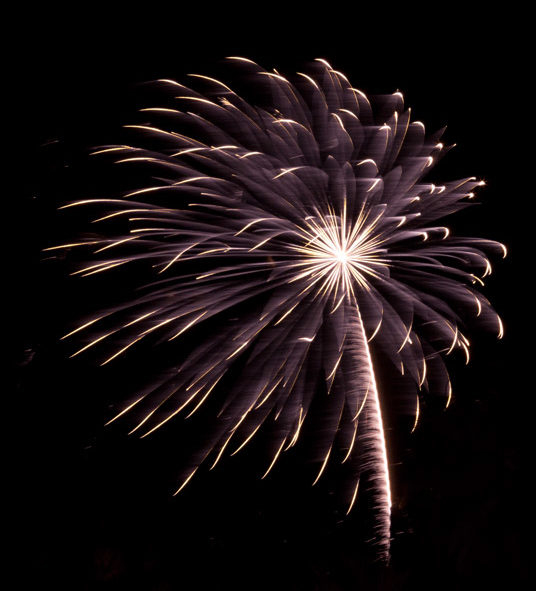
At 9 o’clock on the dot, the fireworks began. I was shooting exposures from about 3-10 seconds at ISO 400 and f/5.6. This seemed to work well. Adjustments in framing, focusing and exposure need to be done quickly, as the fireworks continue. I continued to shoot until my memory card was full. It was close to 9:30, which is when the firework show typically ceases. A quick back of the camera indicated that I had captured some interesting shots.
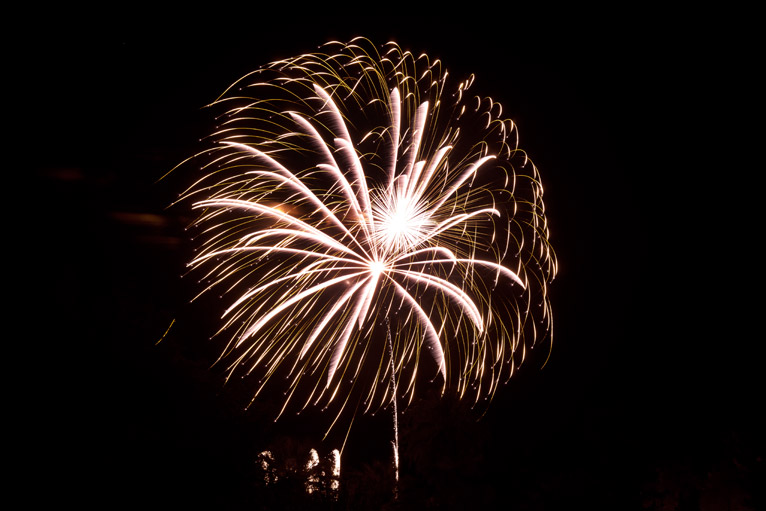
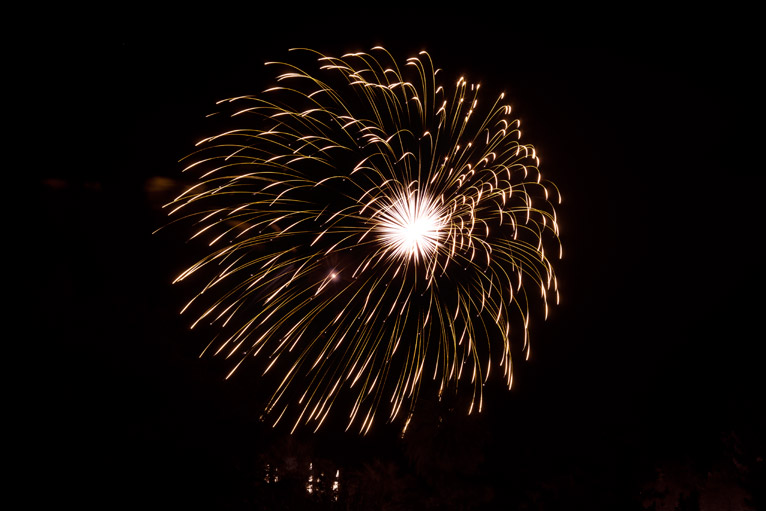
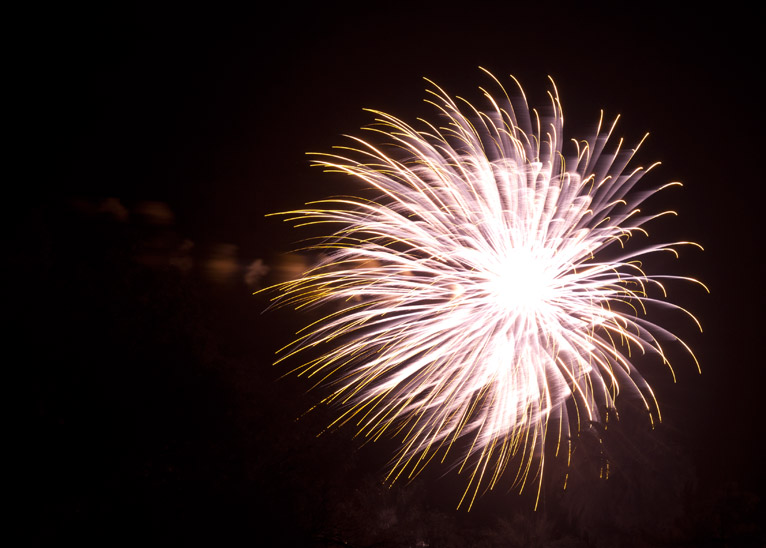
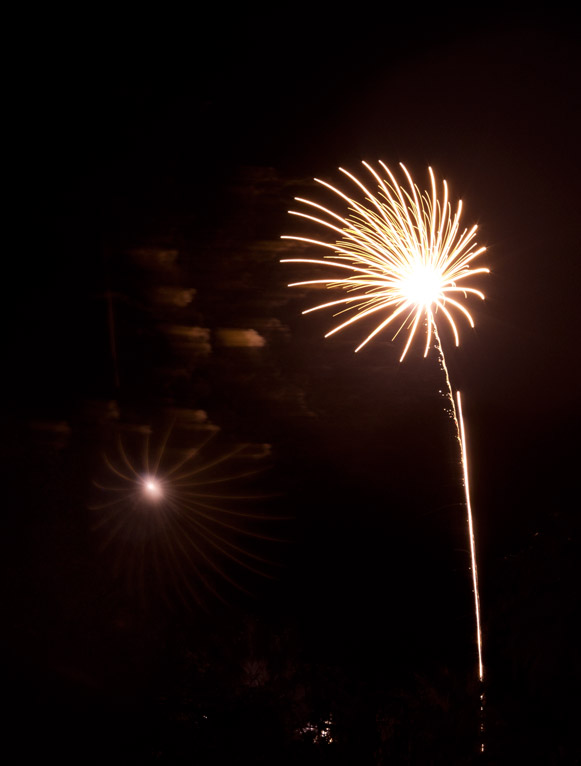
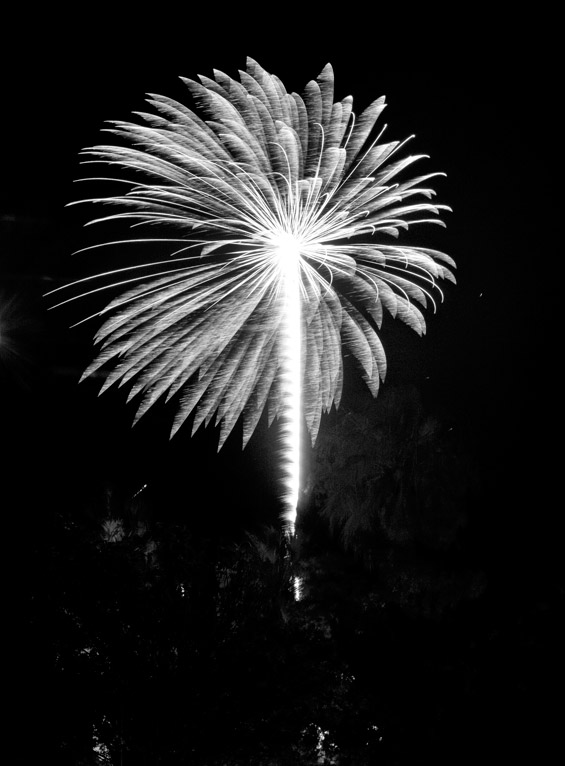
So where were the trouble spots? First, I noticed that the 55mm lens had some significant internal reflections. I’m not sure if this was caused by the filter, or the basic lens design itself. My EF24-70mm f/2.8 has a similar issue with super-contrasting scenes. I’ll have to set-up an experiment to test my lenses under these conditions. I’ll share the results here. The three photos below, though still interesting show the effect of the internal reflection.
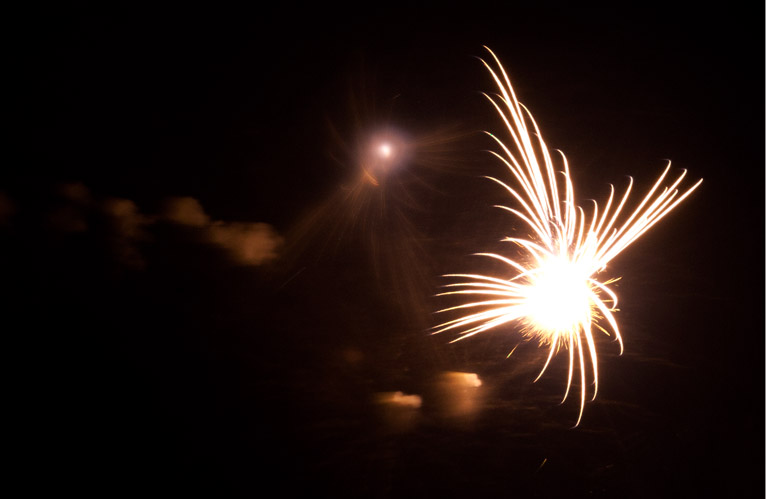
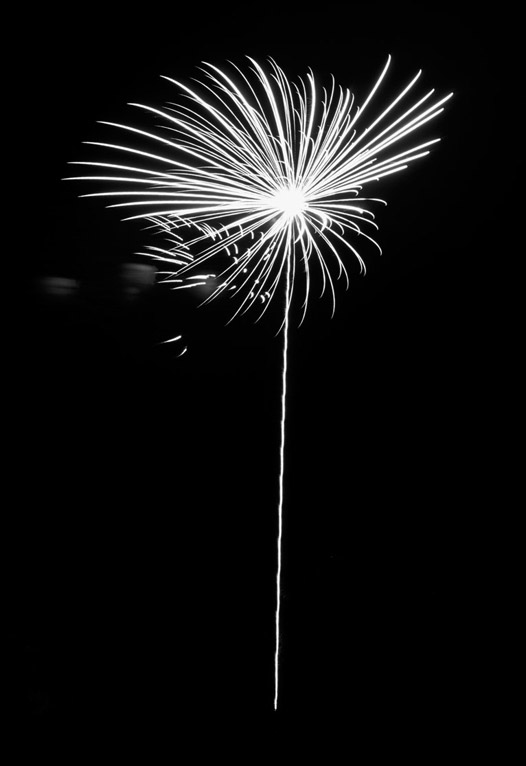
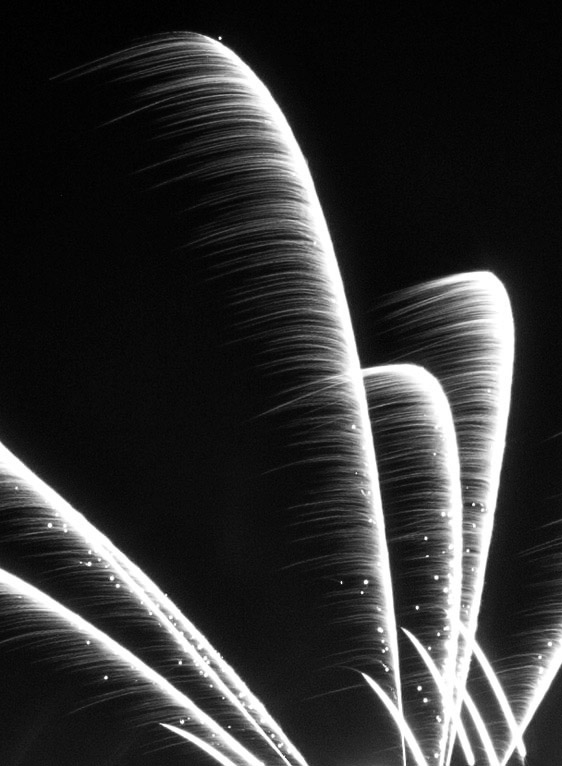
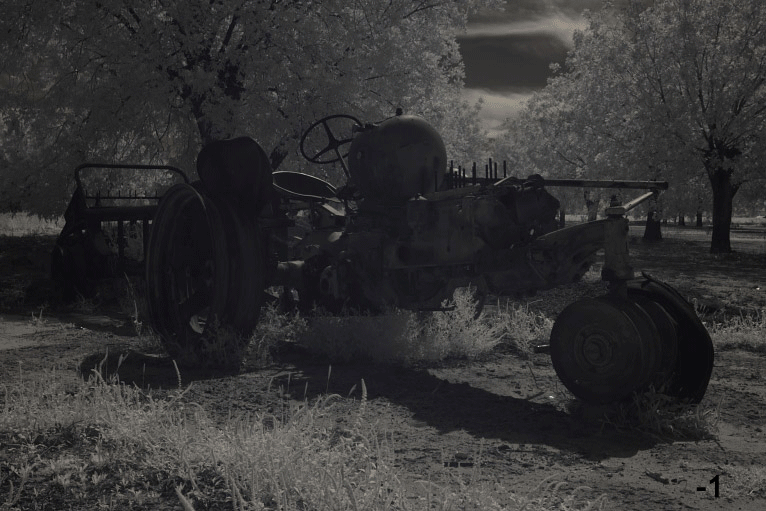
Releasing the shutter release mid explosion halts the motion of the firework and provides a truncated look. Note also a second shell climbing to altitude.
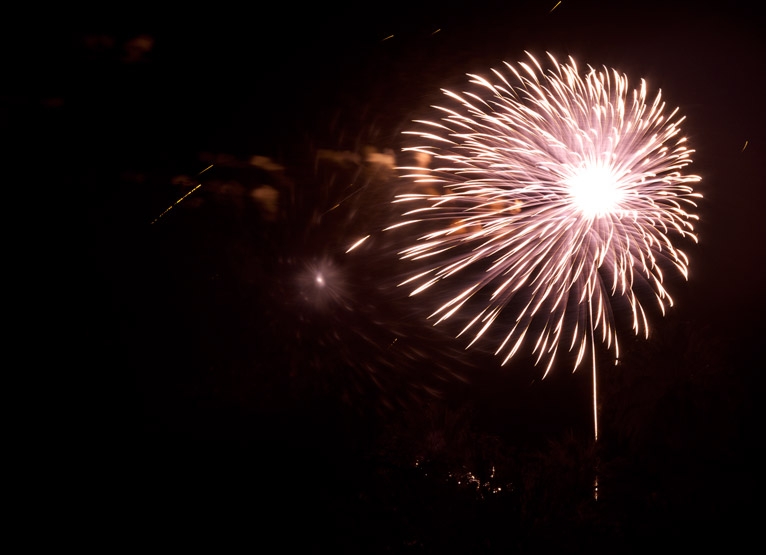
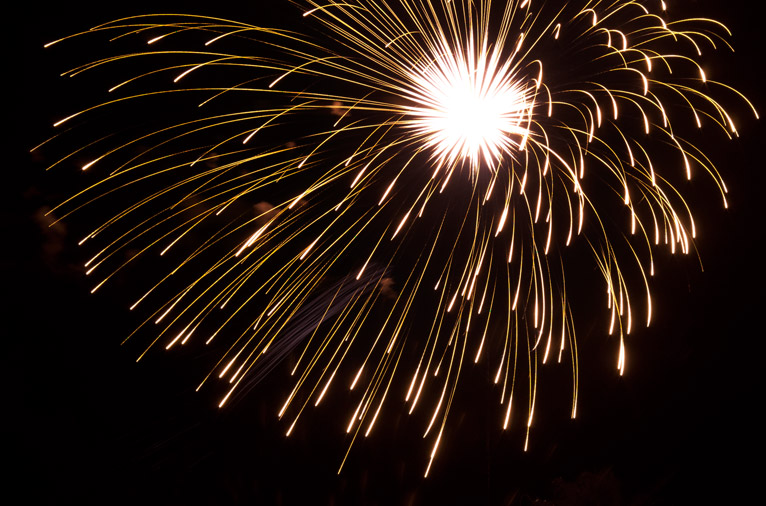
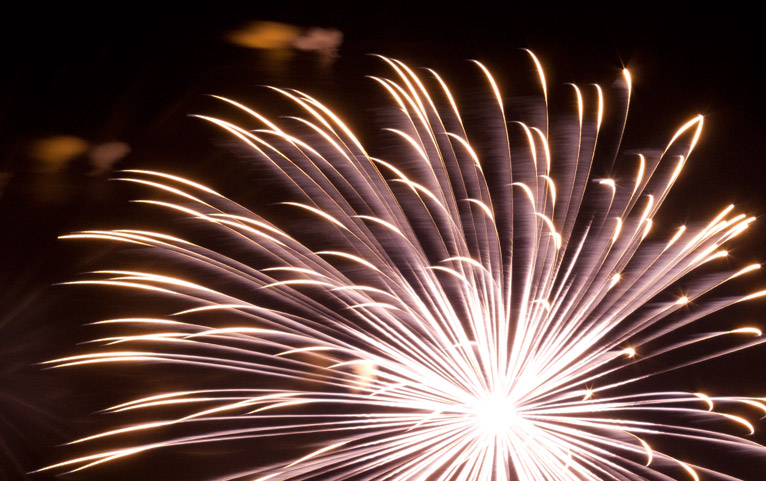
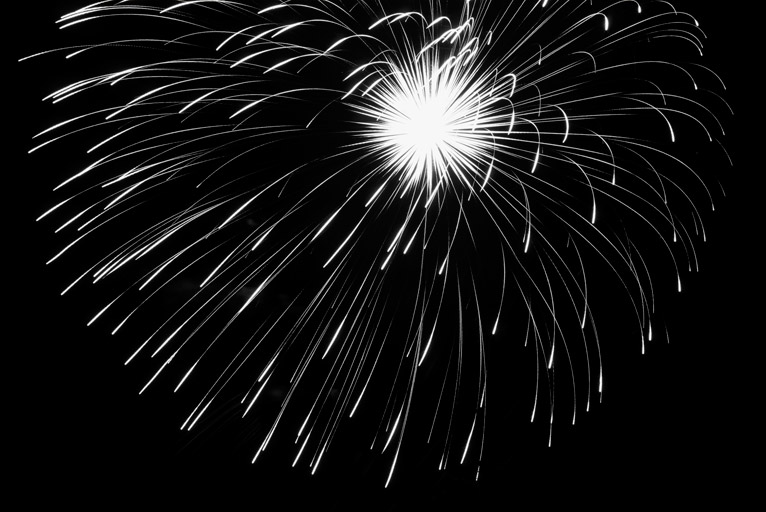
The other problem I encountered was the wind. I was standing on my roof and at times needed to grip the tripod to insure that it didn’t take a tumble. Interestingly, the wind also had an effect of blowing the fireworks. Many didn’t have the traditional firework shape, but rather a skewed , wind-swept look. This was also interesting.
Finally, as with any long exposures on digital cameras, there are some required management of hot pixels. Most modern DSLR’s have internal noise processing, But this requires an equal-length dark exposure for each light exposure. So I prefer to do this off-line using the technique outlined here . Since the exposures were fairly short, the hot pixels are manageable, even by manual removal methods.
I did very little post processing of these images. I set the camera with a custom white balance on a green subject. Most images were posted after a little cropping and re-sizing for the blog format, but not much more than that. I did process several in B&W, since that’s my favorite IR medium. Some photos have a bit of an abstract look to them.
By the time the fireworks show was over, the mosquitoes had found me. So I gathered up my tripod, camera bag, loupe and flashlight and headed off the roof. It all ended well and I enjoyed the experience. I hope you’ll give it a try next year.
Happy 4th of July…


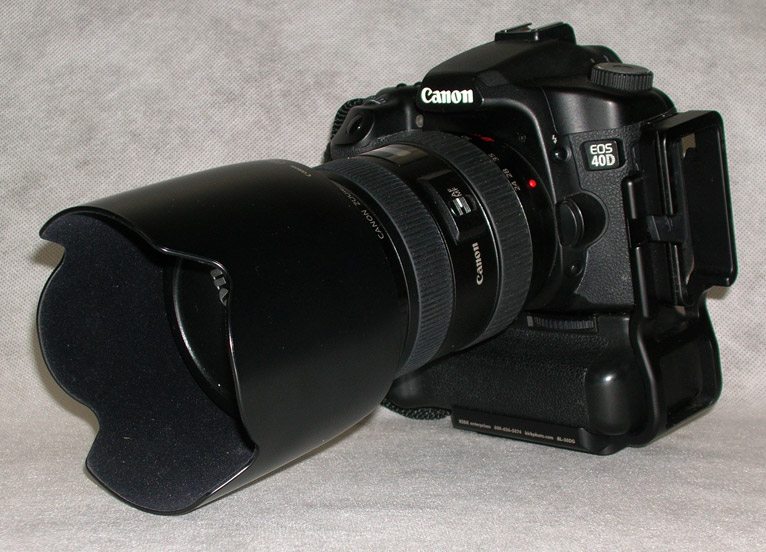


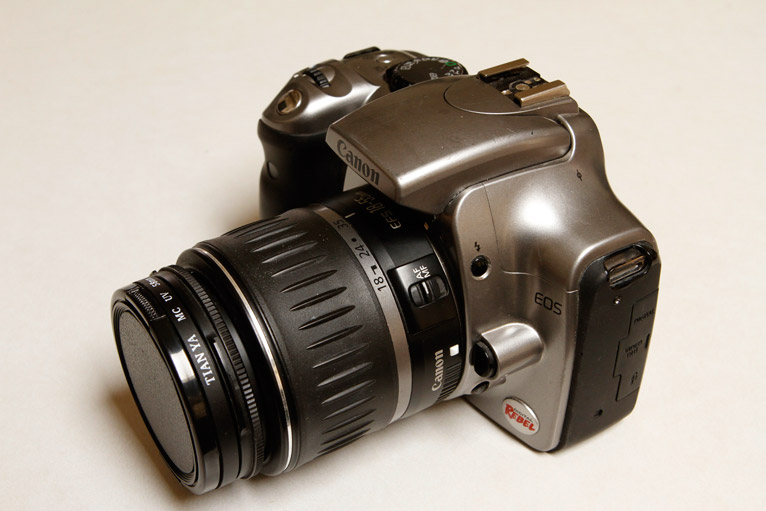 My first modified DSLR for Astrophotography
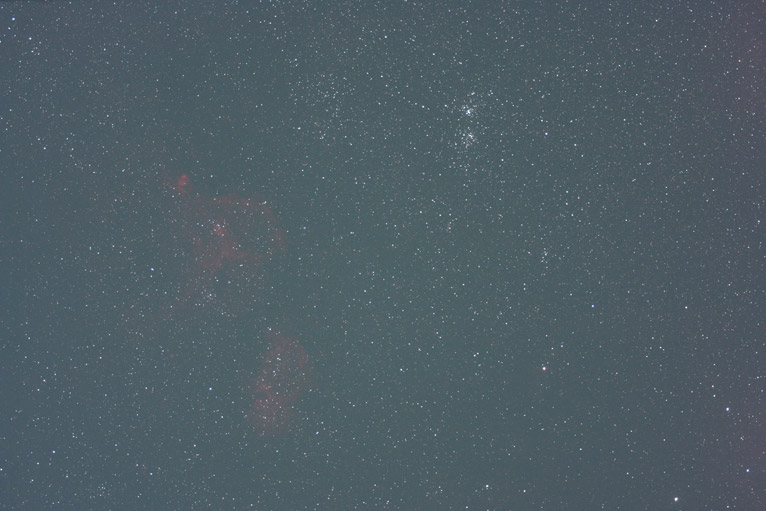 Unprocessed, right out of the camera
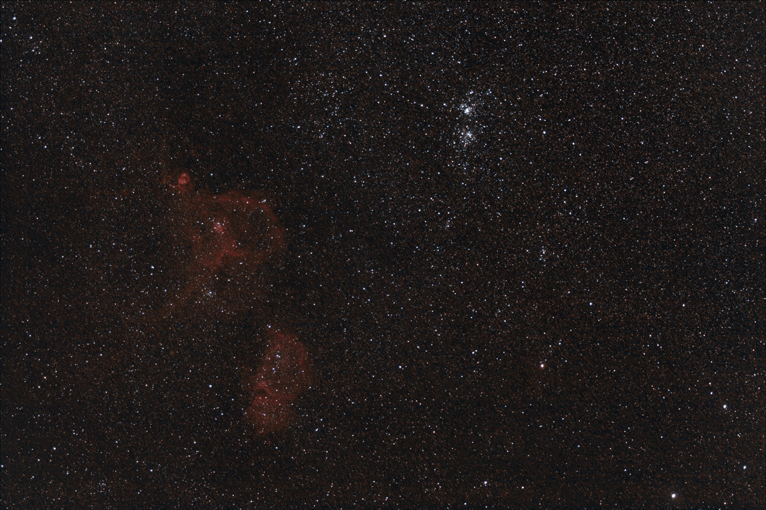 Stacked and post processed
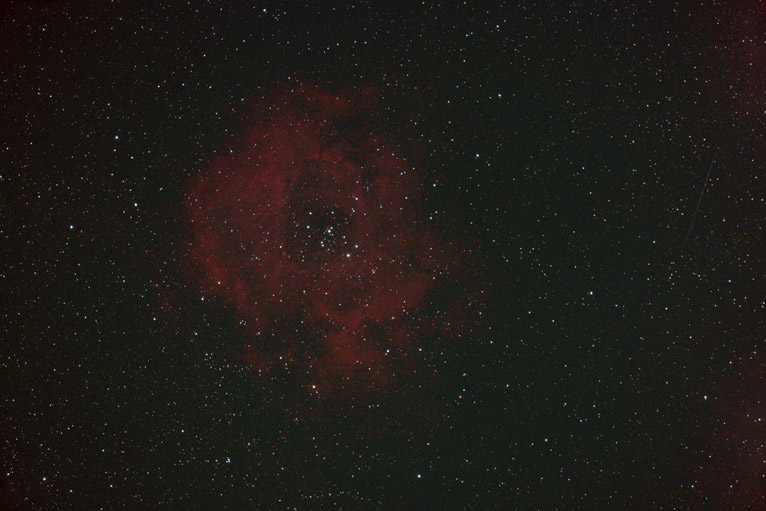
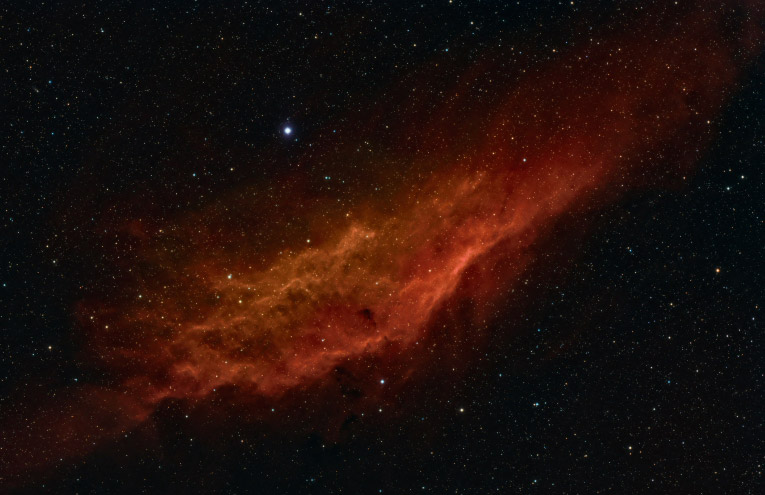
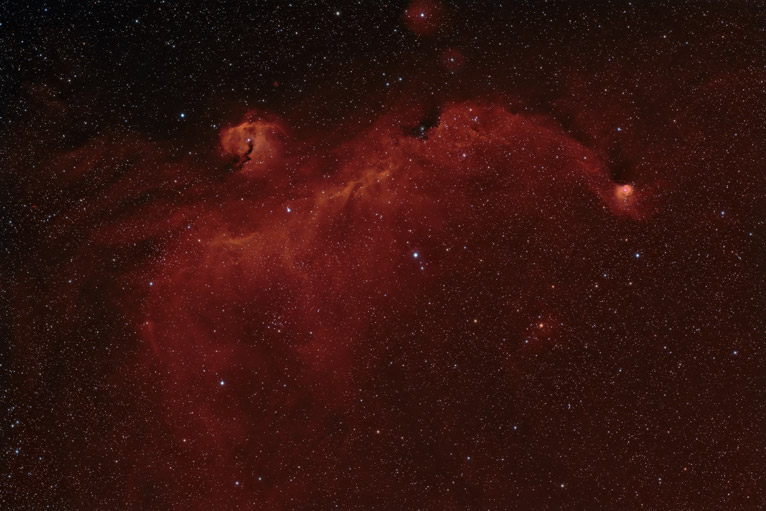
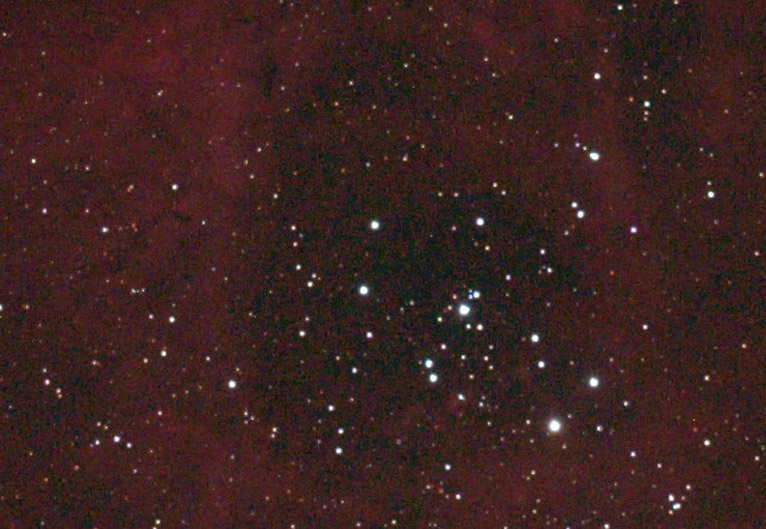 Single Frame and crop of the Rosette Nebula (NGC 2237)
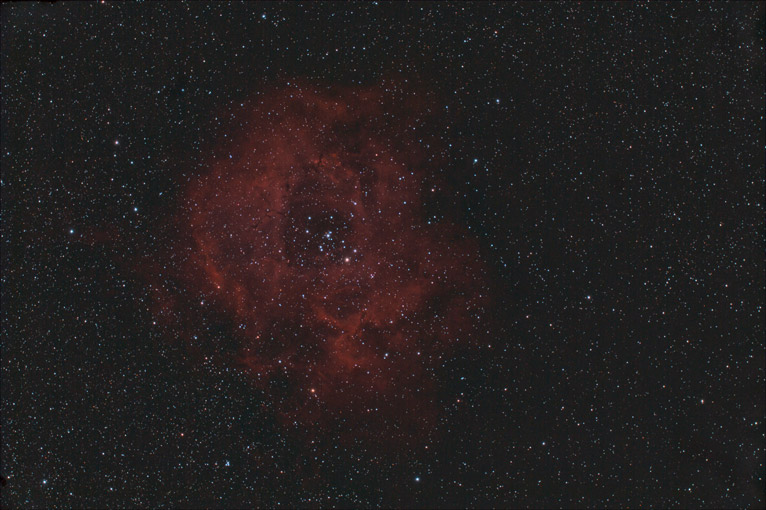
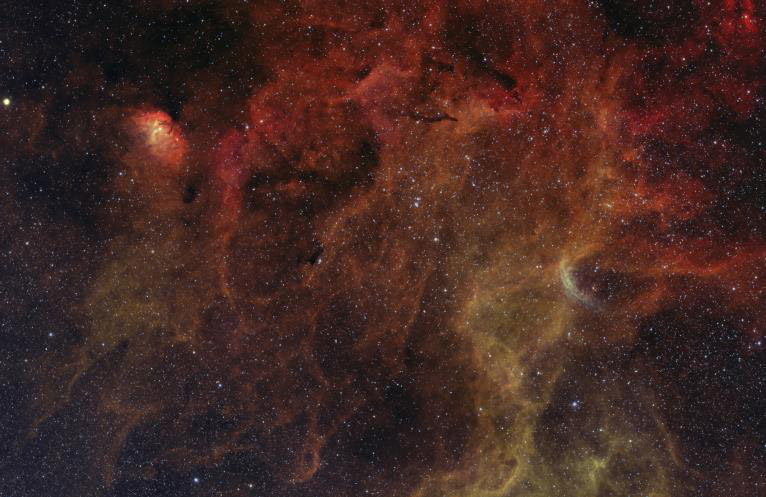
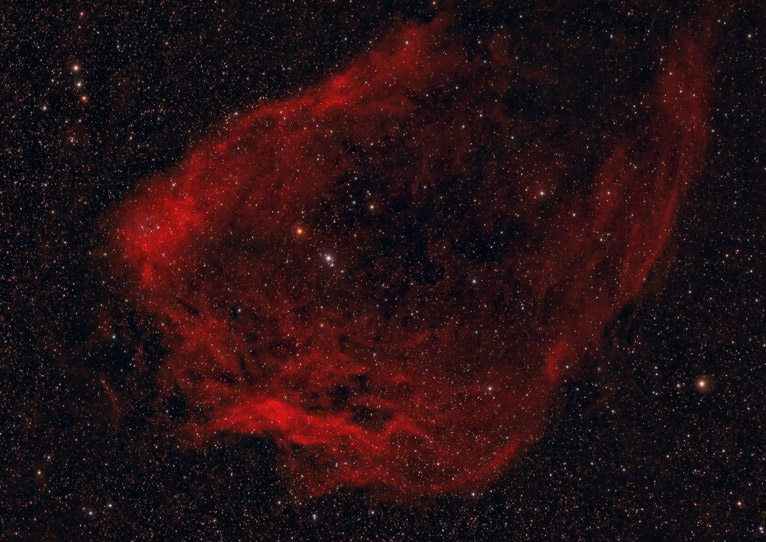
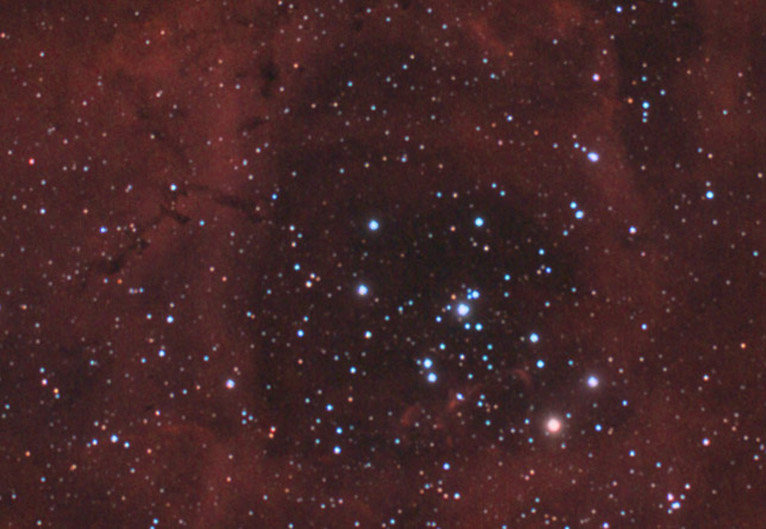 Stack/post processed image and crop of the Rosette Nebula
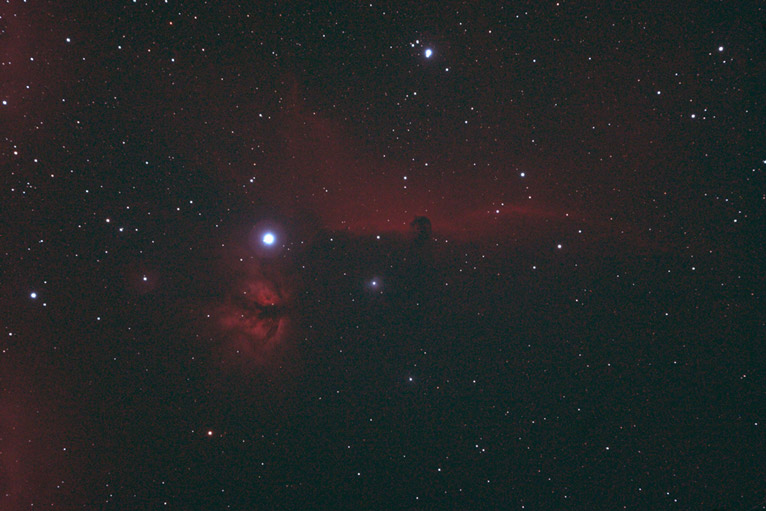
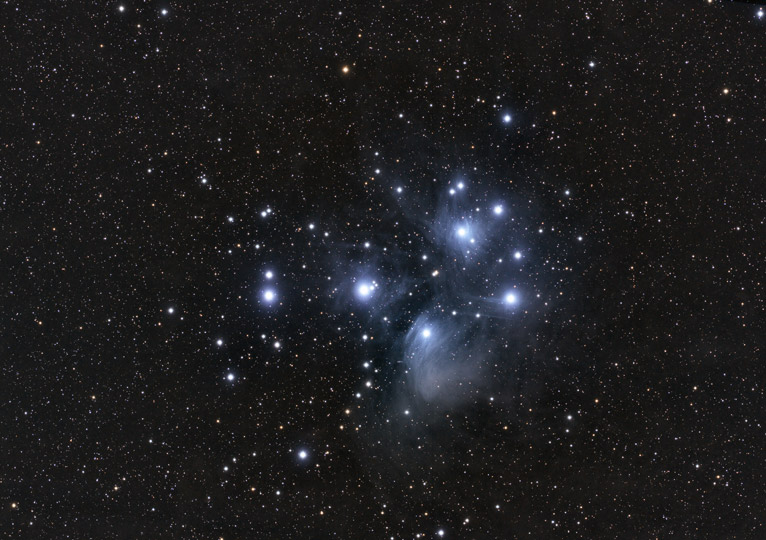
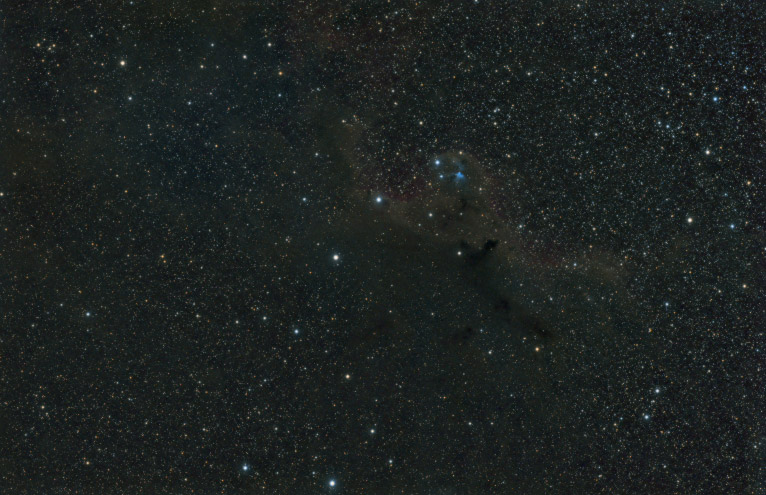
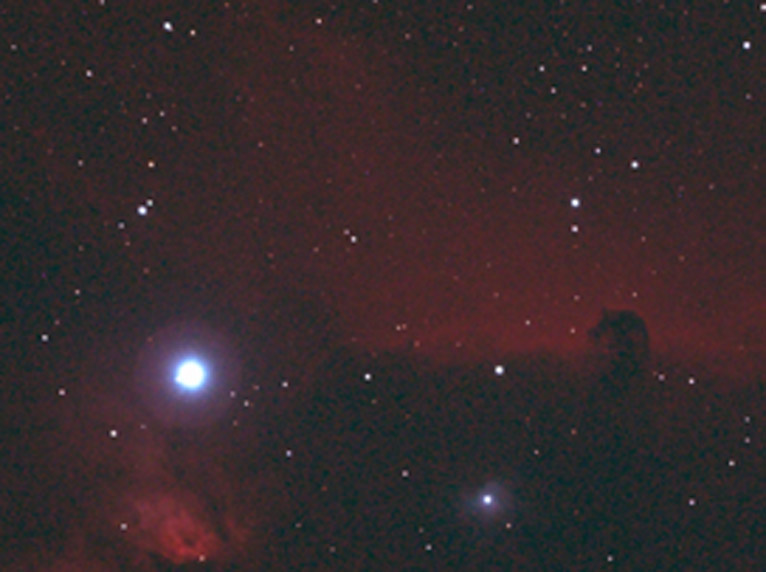 Single Frame and crop
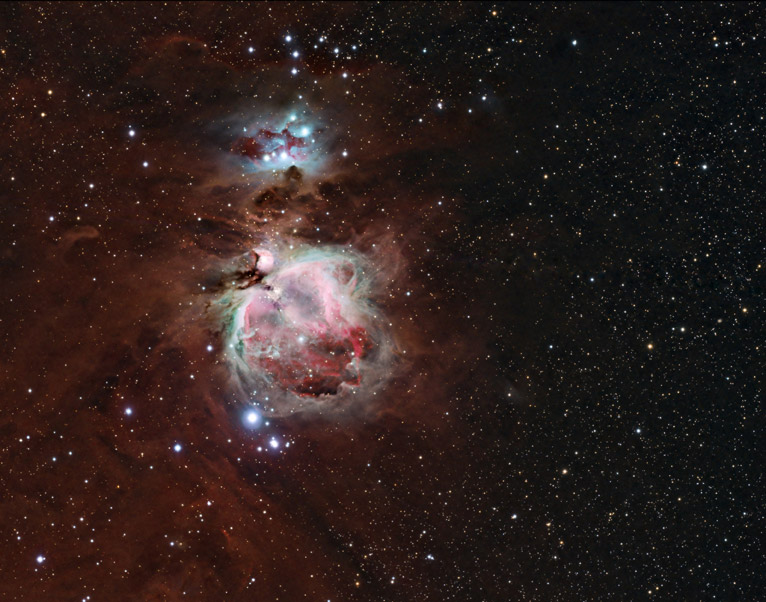
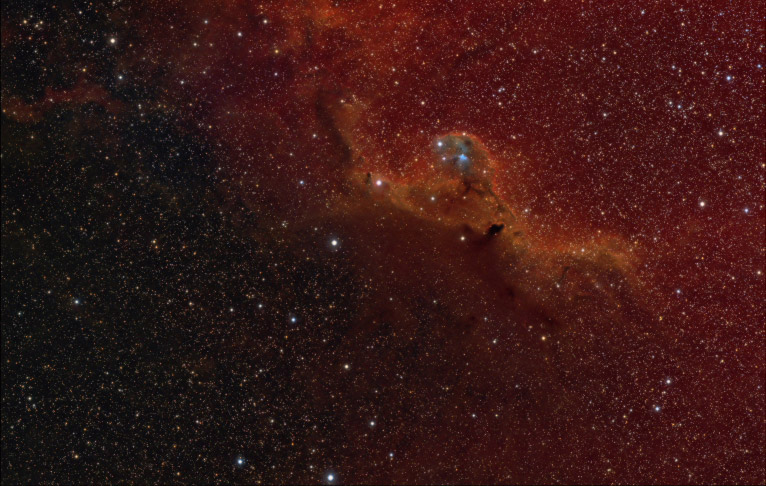
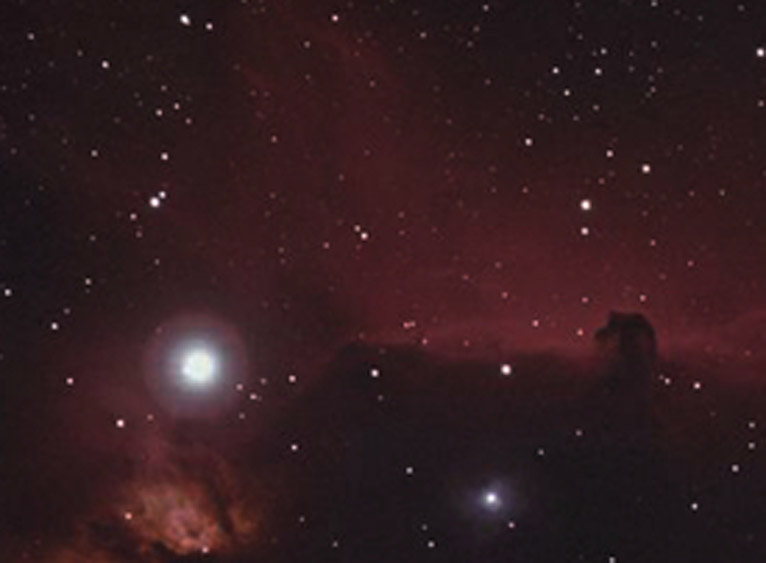 Stack/post processed image and crop