• Cart
  • Checkout
  • My Account

Infrared Conversions, IR Modifications & Photography Tutorials | Life Pixel IR

The world leader in infrared conversions, modifications & DIY IR conversion tutorials. Scratched sensor replacement, UV & Full spectrum conversions.

The world leader in infrared camera conversions

866.610.1710
  • Home
  • → Start Here ←
    • 1 – Introduction
    • 2 – Filter Choices
    • 3 – Focus Calibration
    • 4 – Lens Considerations
    • 5 – Camera Considerations
    • 6 – Start Shopping
  • Galleries
    • Infrared Photography
    • Infrared Time Lapse
    • Infrared Cinematography
    • Infrared Stop Motion
    • Ultraviolet Photography
    • Forensic Photography
  • Education
    • Training Sessions
    • How To Shoot Infrared
    • AR Coated Infrared Filters
    • Lens Hot Spot Database
    • Photoshop Video Tutorials
    • Infrared Issues & Solutions
    • IR Basics in Photoshop
    • Camera Quick Start Guide
    • DIY Conversion Tutorials
    • IR Photography Primer
    • Secondhand Cameras
    • Wall Of Shame
  • Workshops
  • FAQ
  • Blog
    • Tutorials
    • Inspiration
    • Locations
    • Gear
    • News
    • Other
  • Why Choose LifePixel?
    • Submit Your Review
  • Contact
  • Shop

Review: K&F Concept TM2534T Professional Tripod

Often times I open my photo gear reviews by talking about what a great time it is to be a photographer. Really, I should specify that it’s an excellent time to be a buyer of photography products. There’s just simply so many choices out there these days than there was even ten years ago for the budget conscious shooter to obtain high quality tools to help them and their work. This is especially true when it comes to choosing a tripod.

Enter the K&F Concept TM2534T tripod, which is a recent entry to the budget line, but not necessarily budget quality, world of advanced hobbyist to professional grade tripods. I’ve spent the last few weeks working with the TM2534T. I’m going to show you what I liked and didn’t like about this unique tripod offering from K&F.

Out of the Box

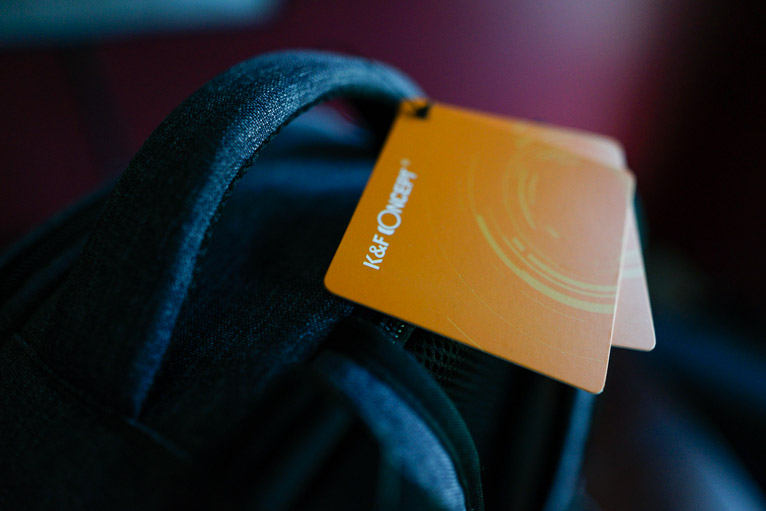
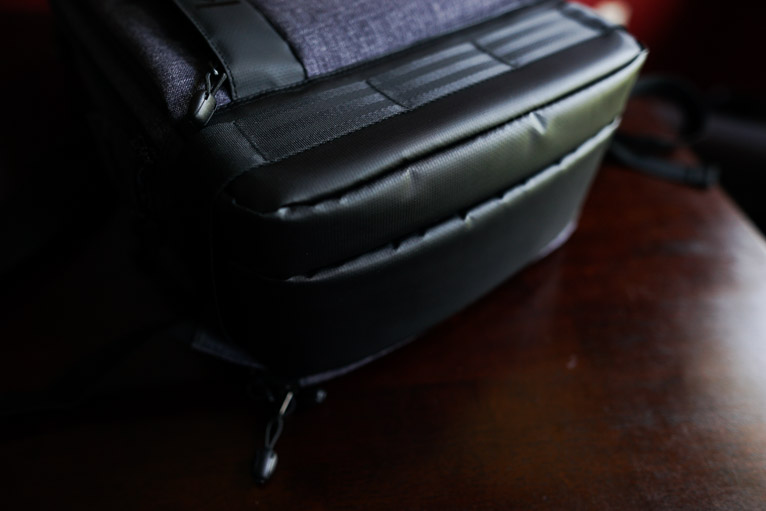
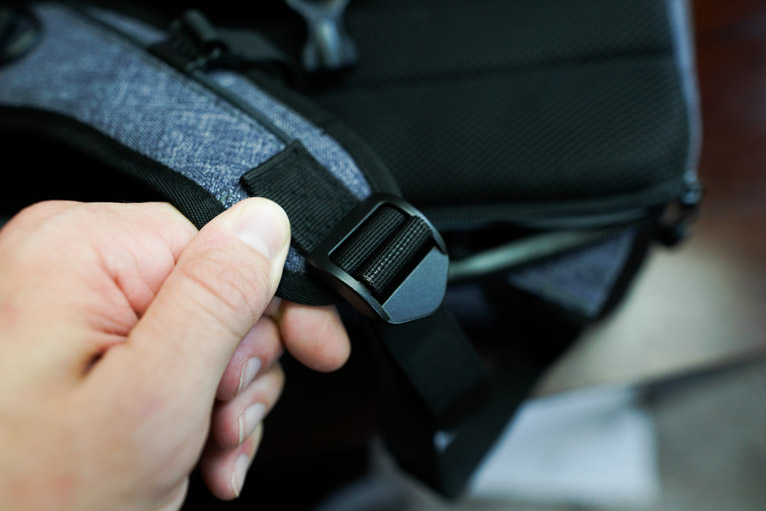
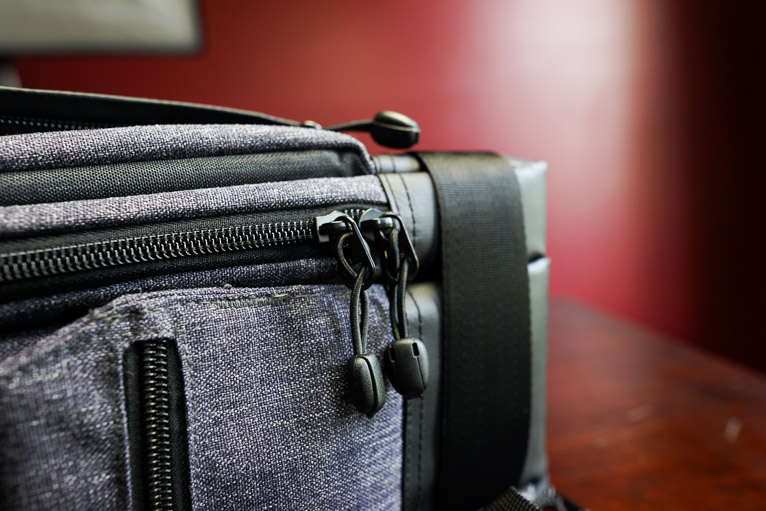
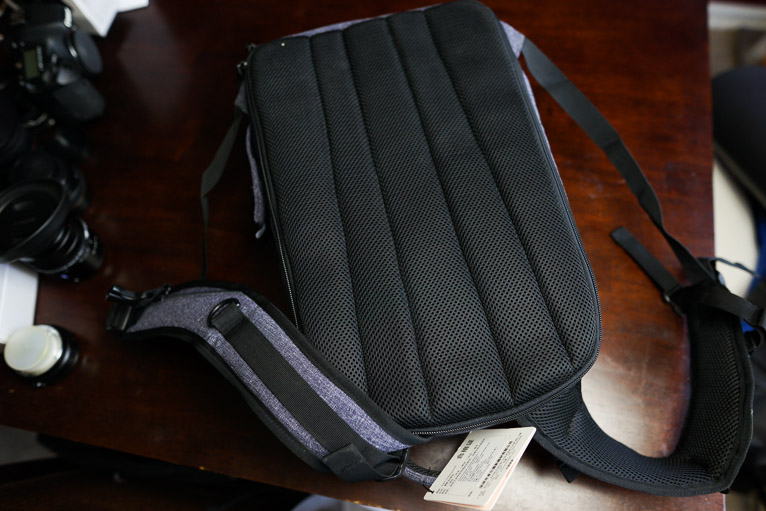
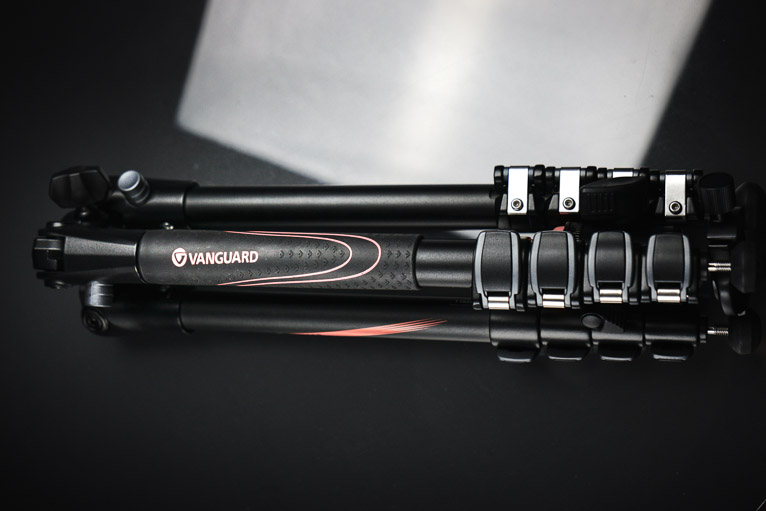
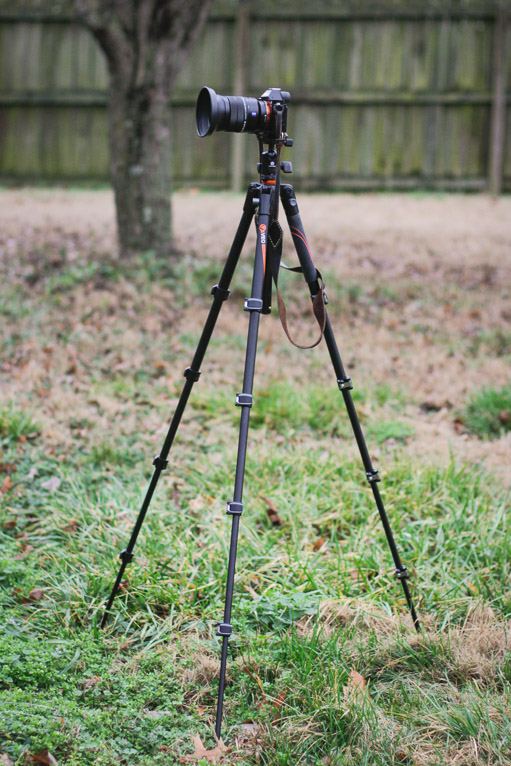
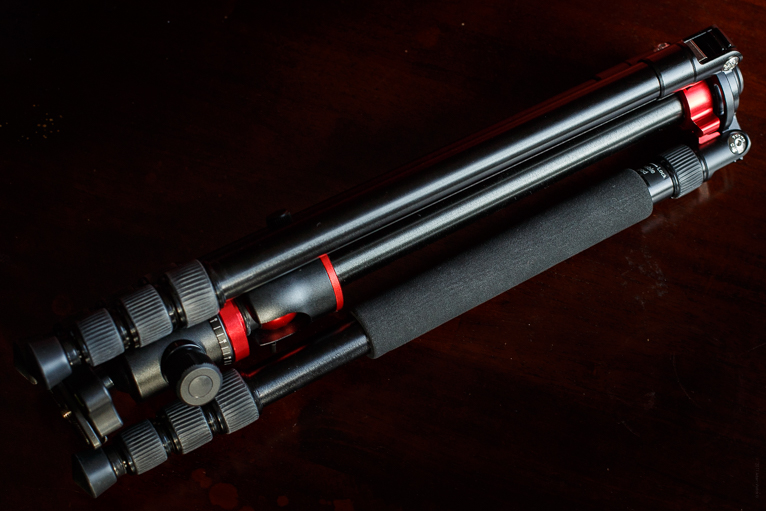
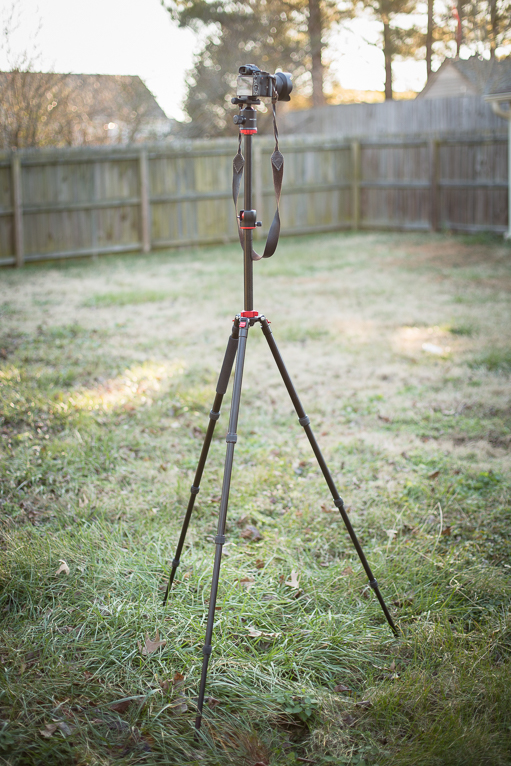
I pleased to immediately see that the tripod comes with it’s own padded transport bag which has an included shoulder strap. The tripod itself looks great with a classy red/black color scheme and discrete logo placement, which I like. For a tripod with an extended height of 72 inches it is quite compact when folded.

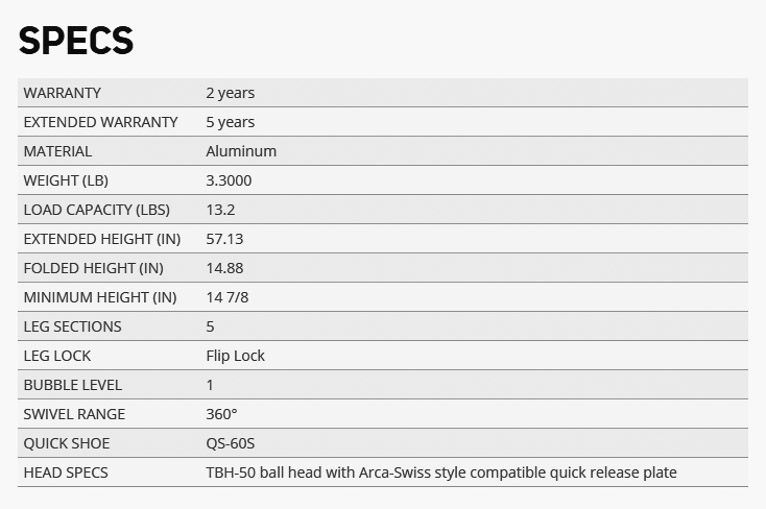
It’s feels solid in hand without being overly heavy. All the paint and finishes on the tripod look very well done. The official specifications from K&F are as follows:

  • Folded height: 14.76in/37.49cm
  • Extended height: 72.24in/183.48cm
  • Weight: 3.48lbs/1.58 kg
  • Load rating: 17.64lbs/8kg

Also included is a short center column conversion attachment with bolt and a nifty storage bag for the ball head.
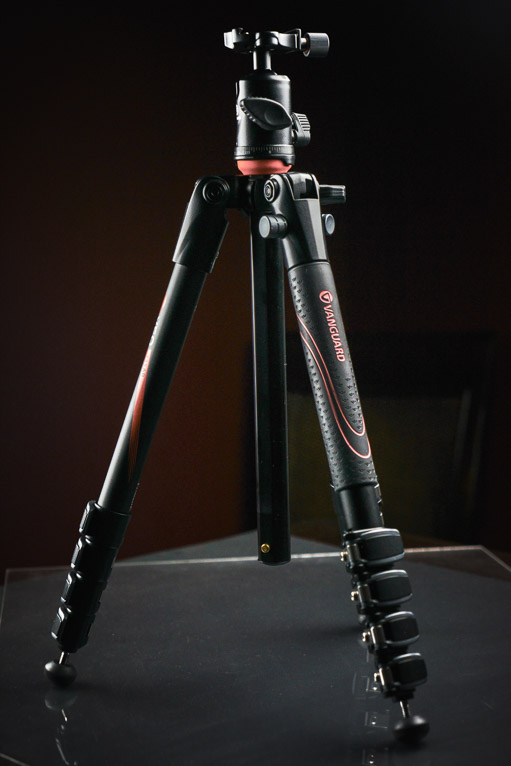
Build

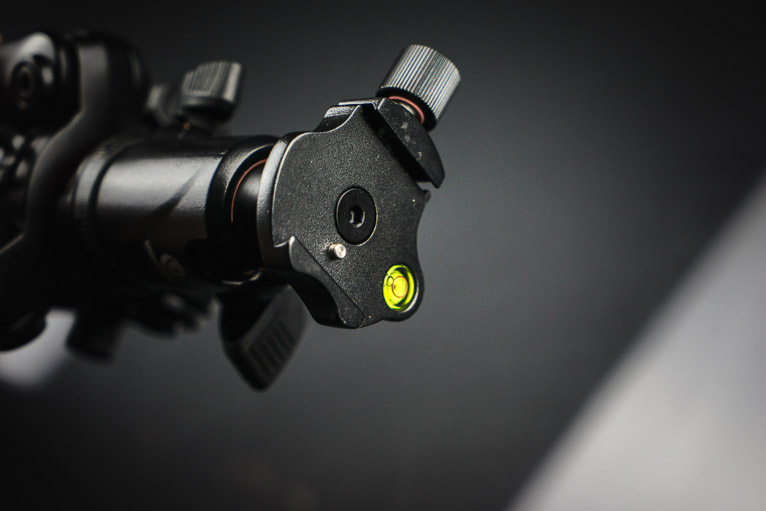
The TM2534T is hefty and it feels quite sturdy with it’s all aluminum construction. The adjustment knobs are solid and lock the ball head in place securely.

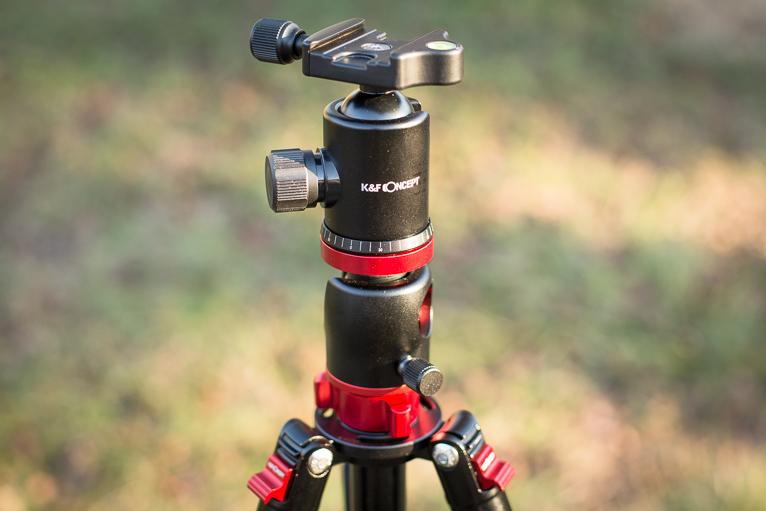
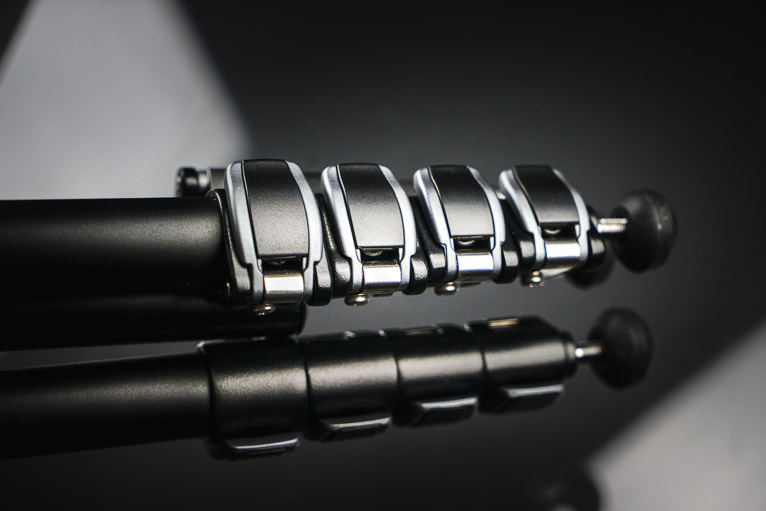
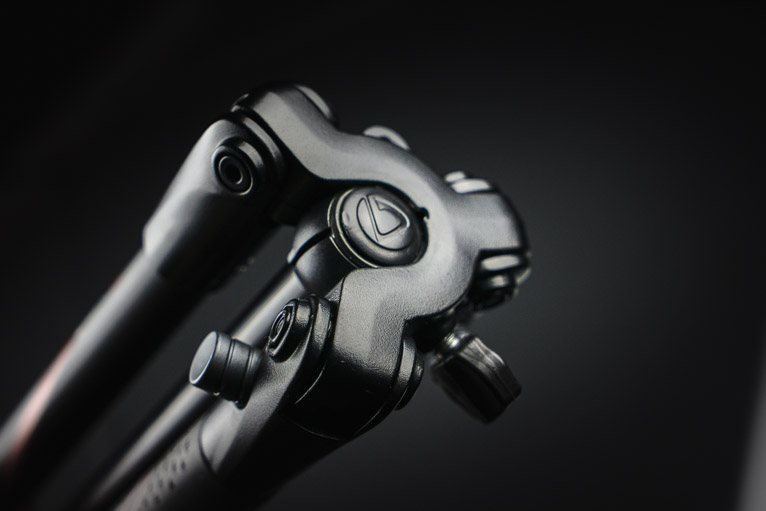
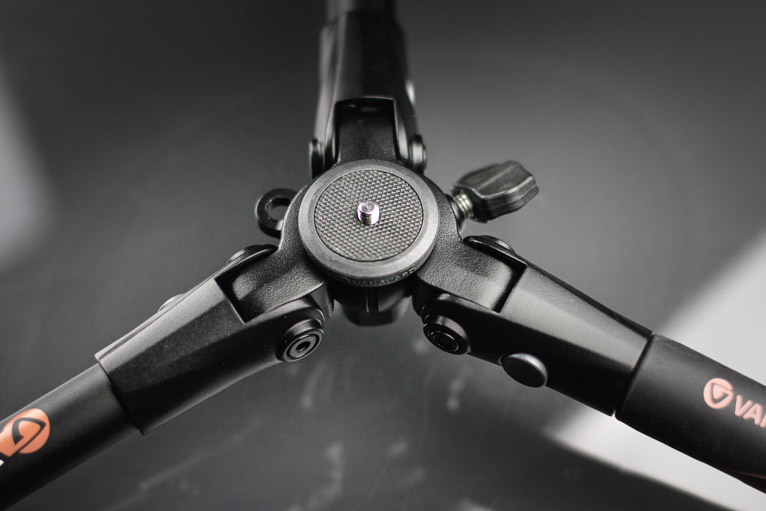
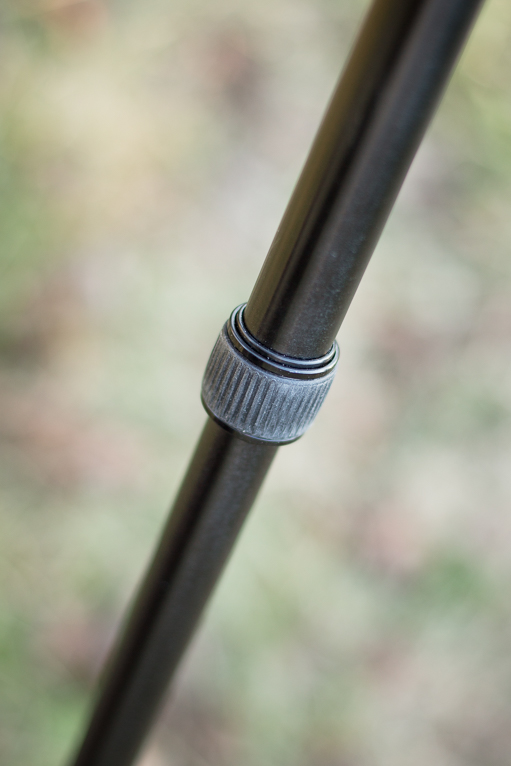
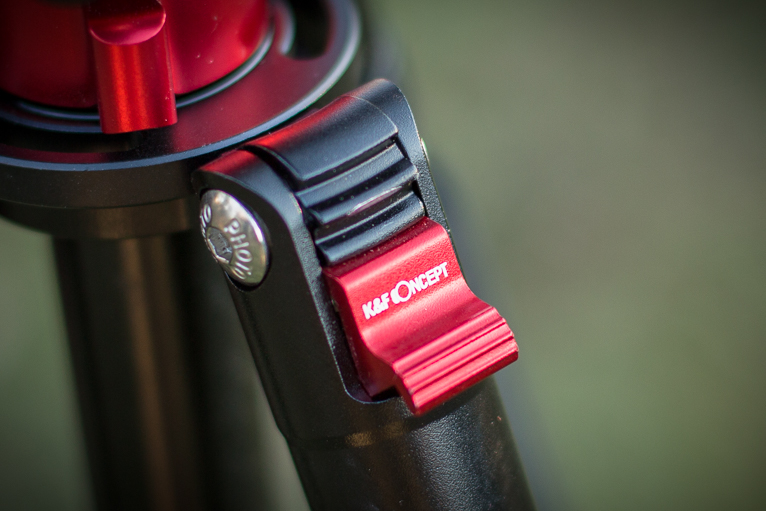
Leg locks are the twist variety and feature rubber seals to protect against sand or dirt entering the locking mechanisms. The locks secure the four section legs securely. There are three angle options for the legs at 25, 50, and 80 degrees. These locks also lock crisply and allow for great versatility for low angle work.

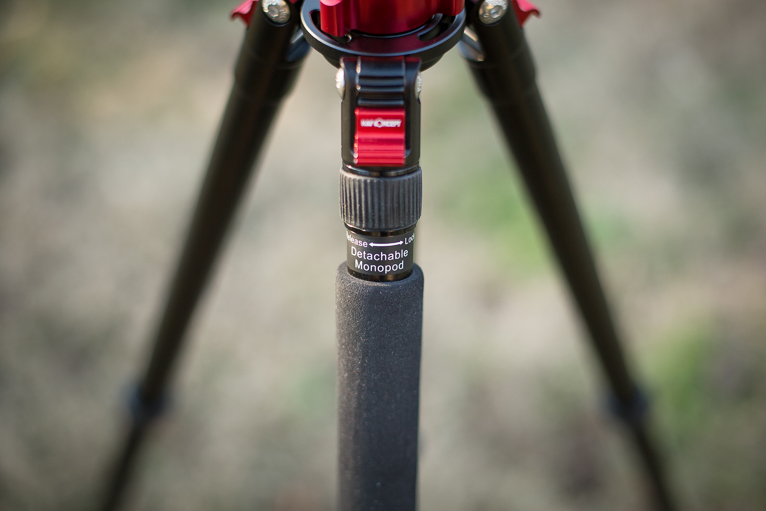
One of the legs is padded and this leg is also the removable monopod. This is a great feature which essentially makes this tripod a two for one deal.

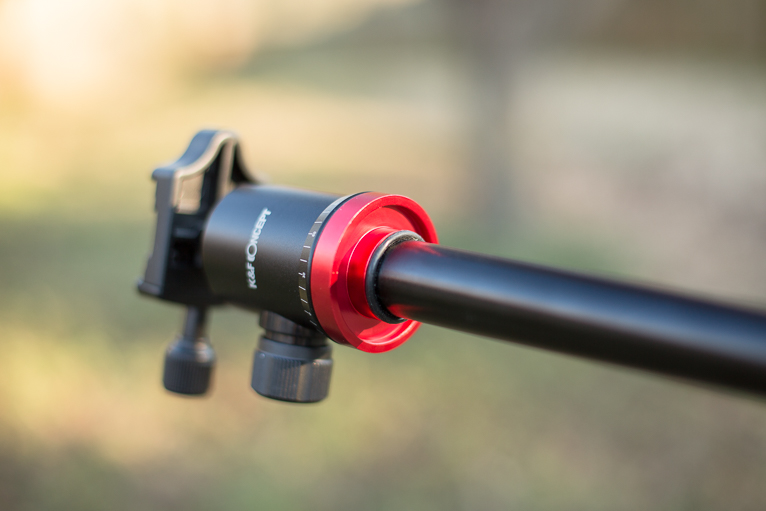
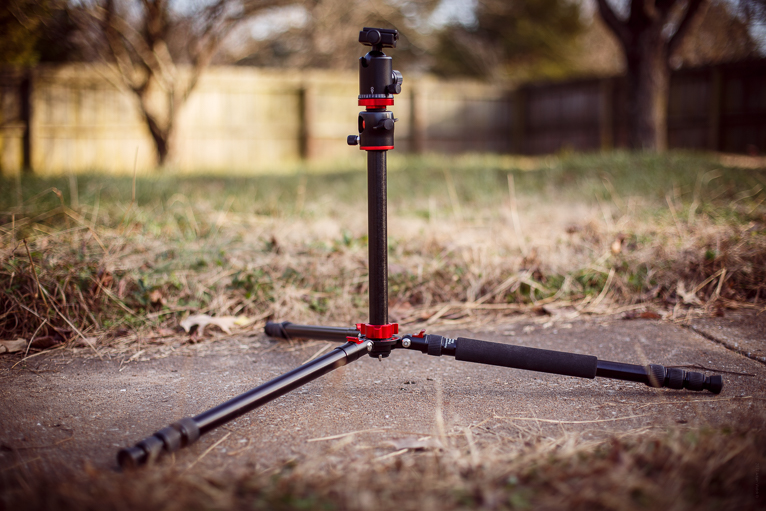
The entire center column assembly can also be attached to the convertible monopod which gives a total height of 77.56in(197cm) if you choose to carry it in this configuration.

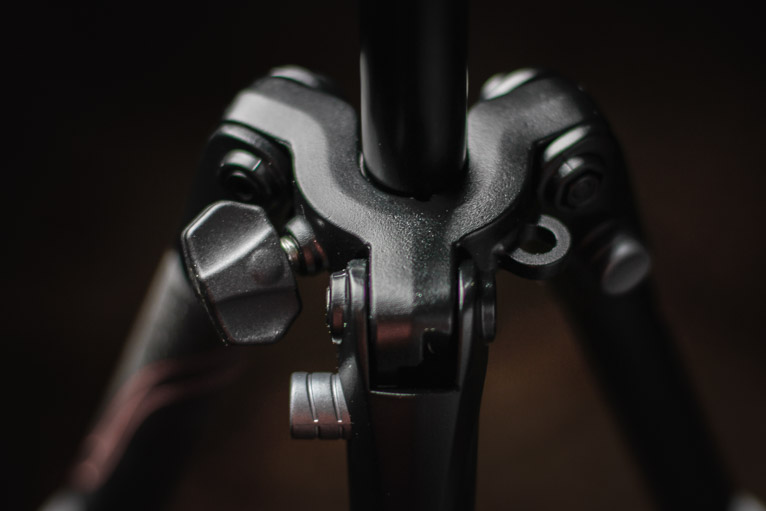
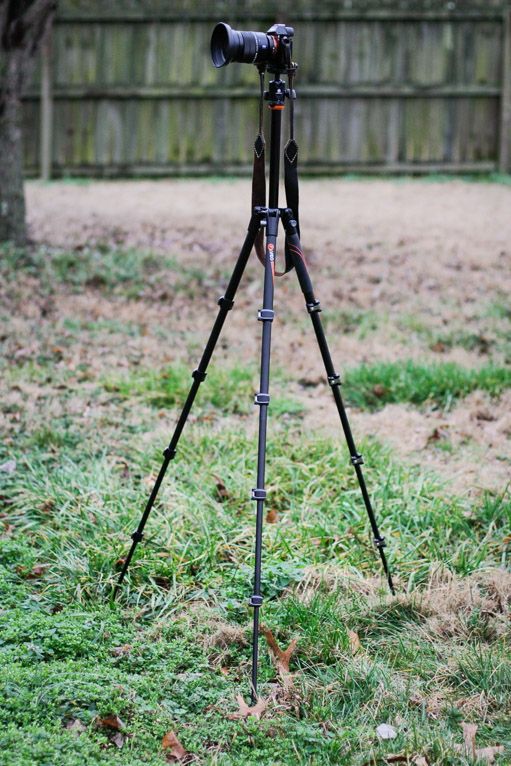
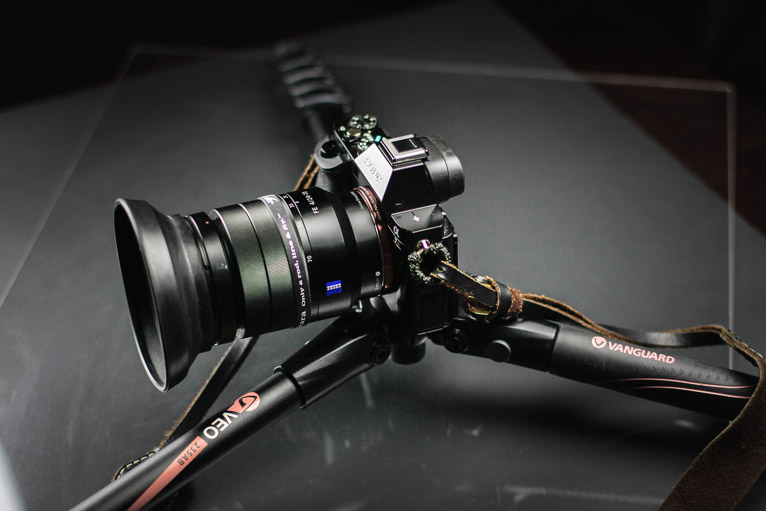
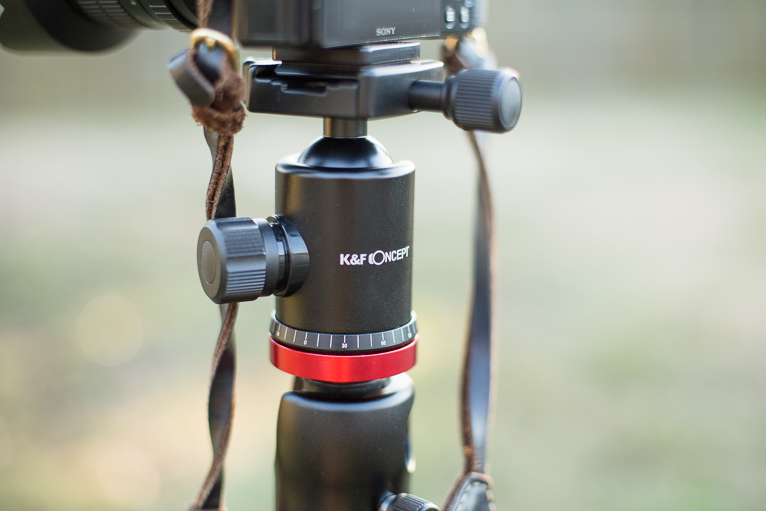
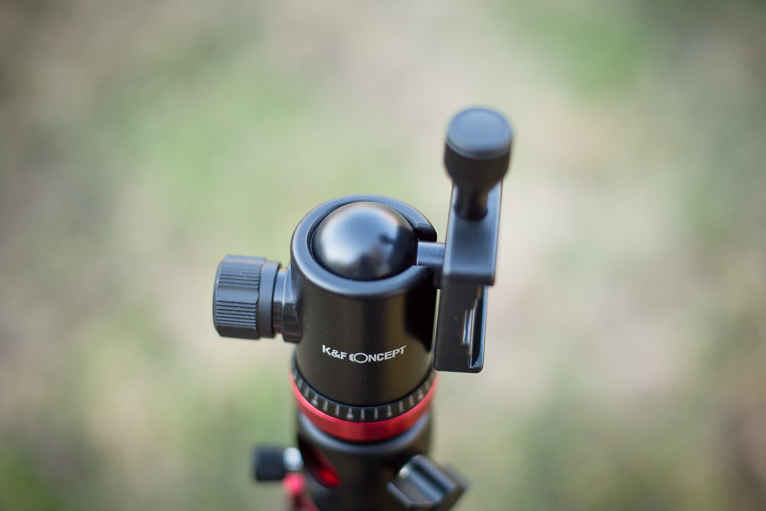
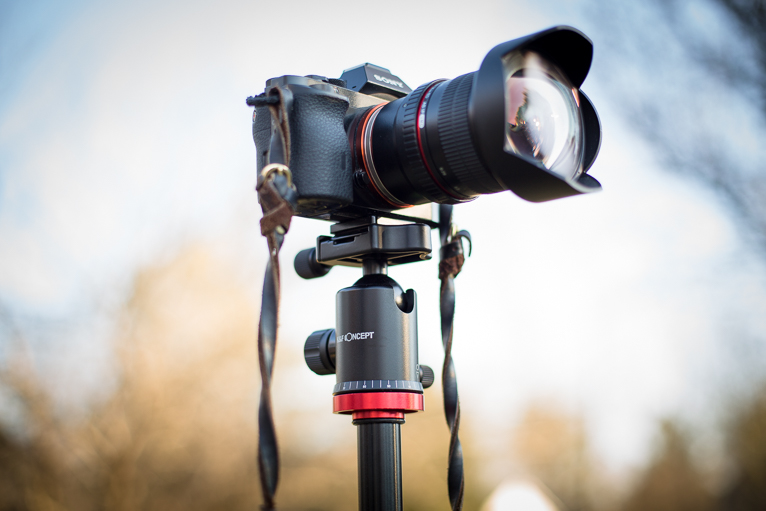
Speaking of the center column assembly, it is somewhat puzzling. It’s not that the concept of the two piece center column isn’t a good idea, in fact, it adds an extreme amount of articulation especially for top-down product photography. The entire ball head and center column gives the user the ability to cover virtually in angle imaginable.

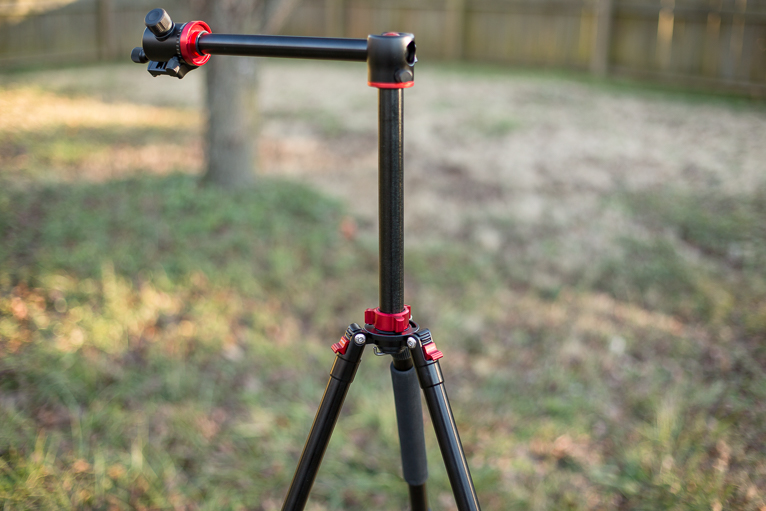
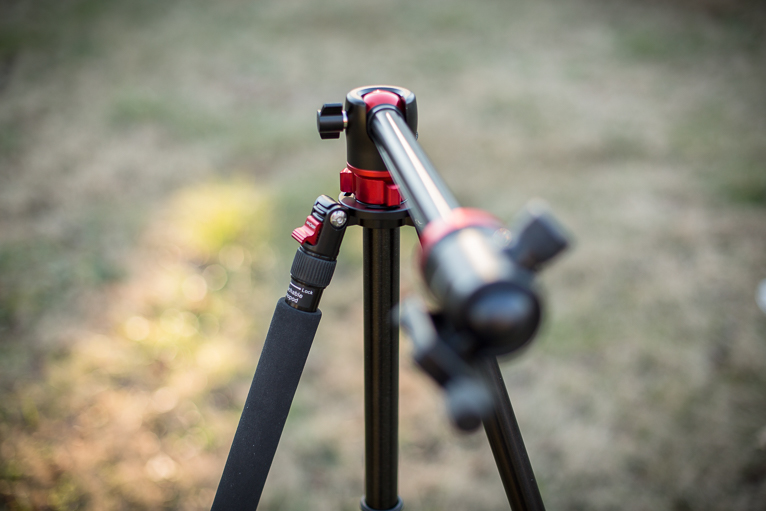
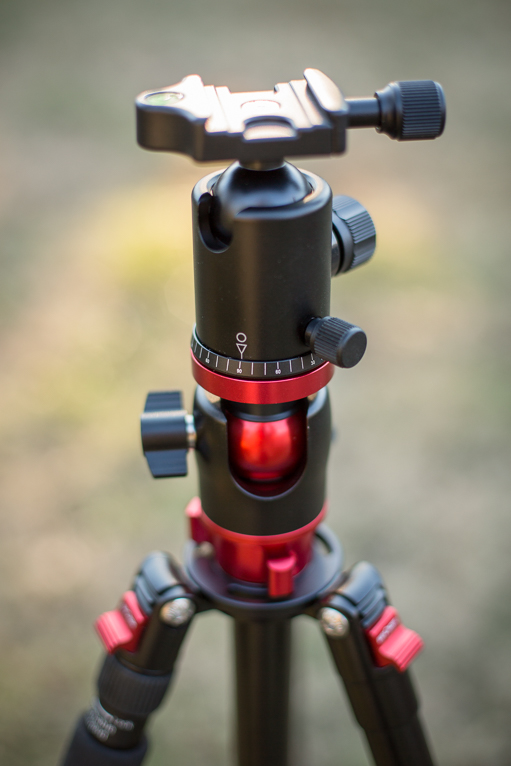
However, from a practicality standpoint the added stress points in the assembly don’t seem to be a worth while feature when you take into account the added weight and possibly stability issues. That being said, the ball head itself works smoothly and offers great fluid motion for panning.

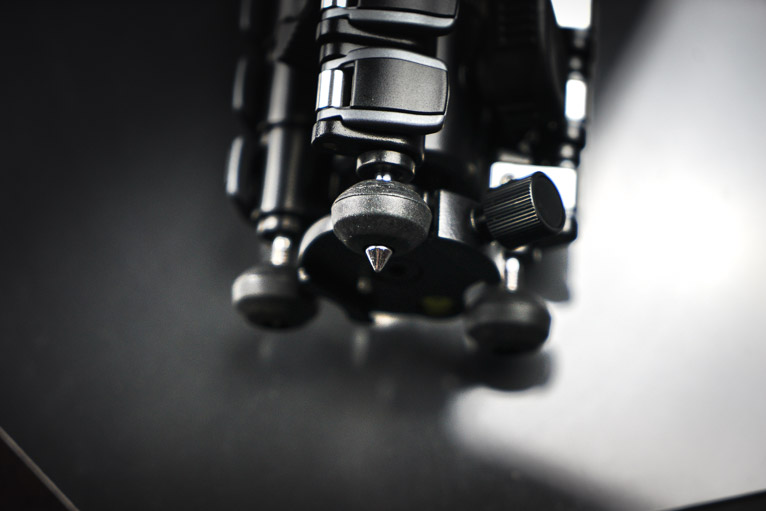
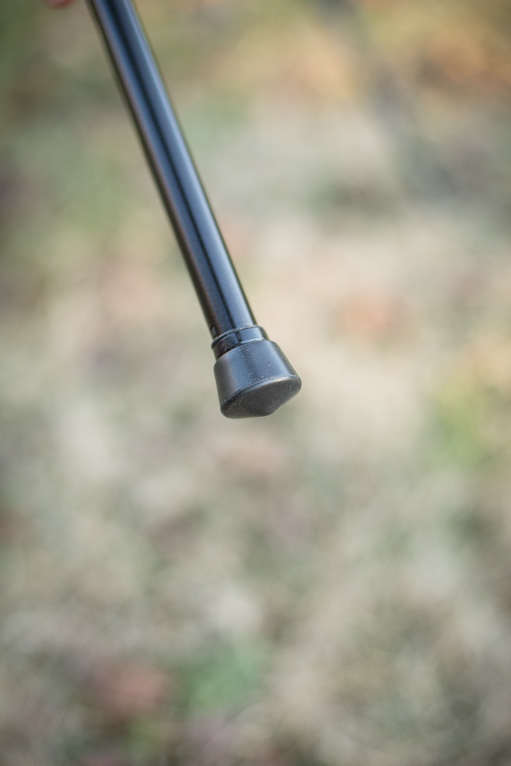
The feet of the tripod legs give a great compromise between stability and variable surface suitability. They are rubber boots that terminate in a point that can dig into soft ground while protecting fragile floor finishes.

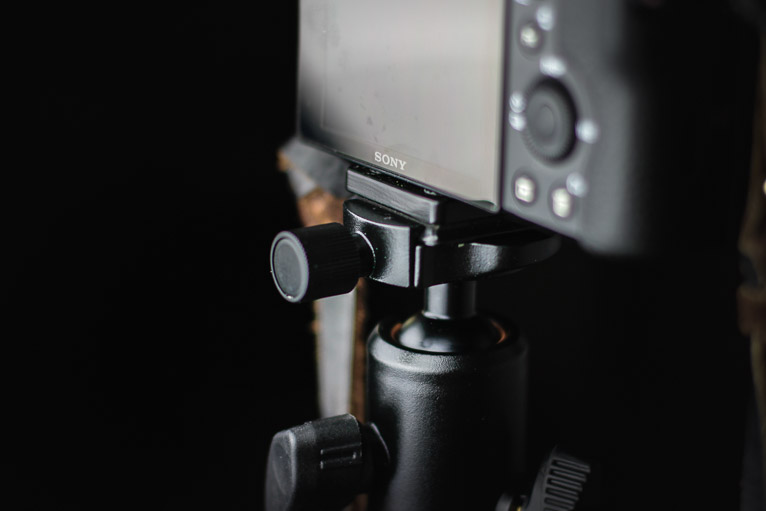
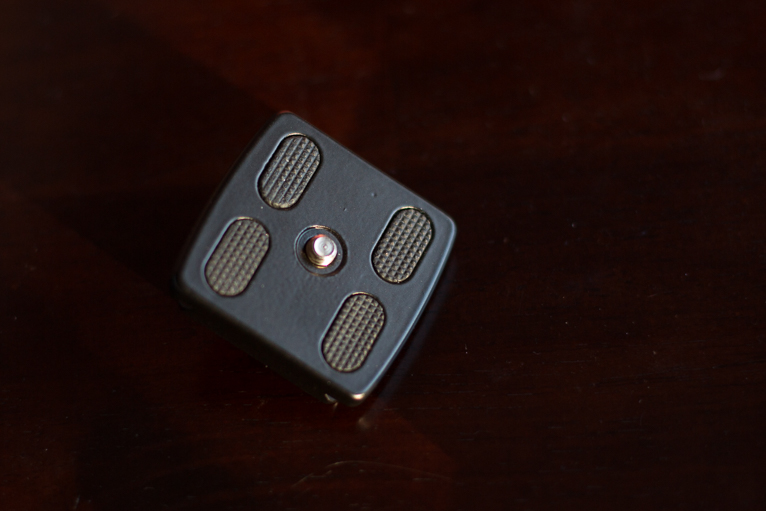
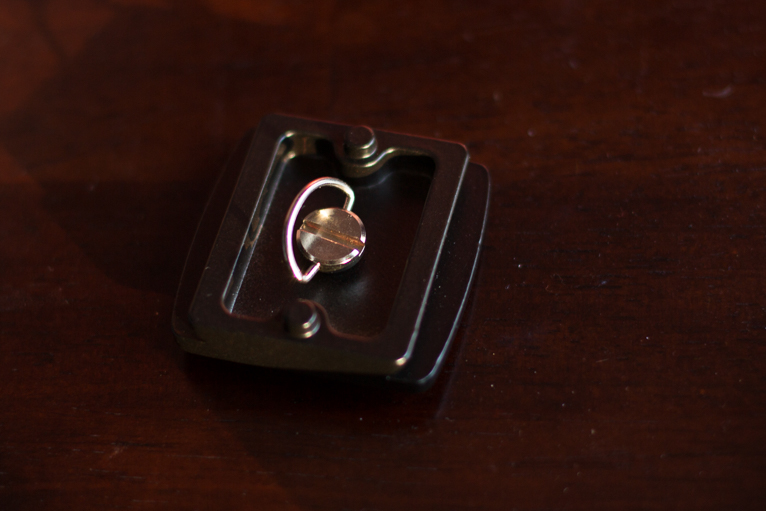
Also worth mentioning is the base plate that included with the tripod. It has rubber cushioning at the attachment surface as well as a “D” ring screw head which makes attaching/removing the plate MUCH easier especially when a coin or screwdriver isn’t readily available.

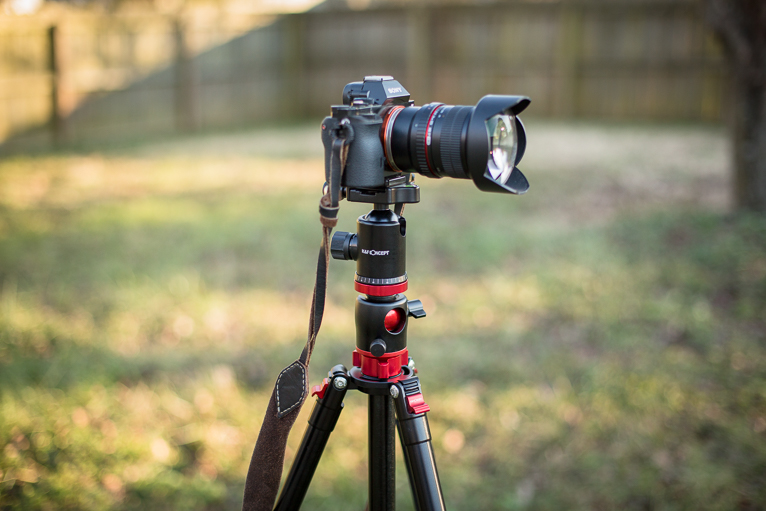
Real World Performance

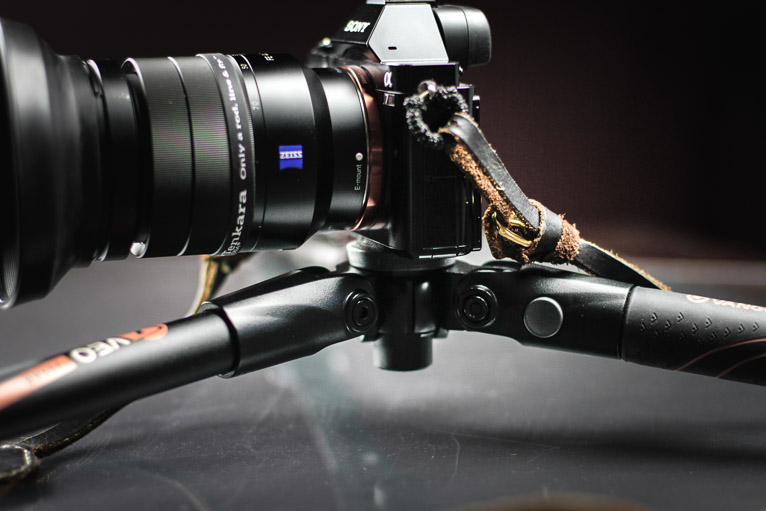
This tripod worked as a tripod should during all my uses. The legs locked securely and remained so during shooting. There was no drift in the ball head during long exposures and all the movements worked smoothly. Something I want to again address is the center column assembly and just how much practical use it adds. The overall height the additional length of the column adds isn’t something most photographers of average height will likely need. Even with the added articulations it allows isn’t enough to justify the added chunkiness and bulk it adds to the total package.


In the time I’ve used this tripod it has held up to indoor and outdoor shooting well, with only a small amount of wear being noticed at the angle adjustment locks which is largely superficial.

I feel that the TM2534T should have no problem in terms of durability during heavy outdoor or studio use.

Final Opinion

For all practical purposed the TM2534T tripod from K&F Concept is solid option for those needed a well made platform for a wide range of shooting situations. It offers great looks, incredible articulation and versatility, all wrapped up in a package that’s great to look at and won’t break the bank. The overly bulky center column isn’t something that I feel is exactly worth it’s added weight and ungainliness but that is something the user will need to decide. Check it out for yourself and see if it fits your particular needs. It’s going for under $150US at Amazon* or the K&F Concept website.

*Note* The Amazon description lists the tripod(TM2534T) height incorrectly as 66in.

Filed Under: Gear Tagged With: camera, cameras, Canon, gear, gear review, K&F, landscape photography, Lifepixel, photo gear, Photographer, Photography, review, tripod, Wildlife photographer

The Great Minor White and Infrared Photography

Born in 1908, Minor White was something different in terms of how and why he photographed. He incorporated as much of his own beliefs and philosophies into his work as he did photographic technique. His work is a mix of his mentality and the emotion he felt towards a scene or subject. He injected a part of himself into all the photographs he made. Bestowed by him are such words as “The photographer projects himself into everything he sees, identifying himself with everything in order to know it and to feel it better.” and one of my personal favorite quotes about us photographer’s mentality “…all photographs are self-portraits”.

Minor White-By Imogene Cunningham

It was with the existential mindset that White approached his photographs and perhaps there was none of his work as idealistically surreal as his adventures into the world of infrared. Not only was he a prolific photographer in the artistic and technical sense but he was one of the early practitioners of infrared photography who brought it’s incredible appeal to the masses. The IR images he made, just like his other works, projected a world blended with both the physical landscape and his own personal creativity.

By Minor White, 1958

By Minor White, 1955

By Minor White, 1955

Minor White and Infrared

How did Minor White make his IR photographs? With magic…. Well no, not exactly magic, but it certainly looked that way. Minor White used black and white infrared film, usually large format 4×5, to capture his dreamlike scenes. The infrared or more accurately “near-infrared” light spectrum falls around the 700-1200nm range and infrared film is manufactured to be sensitive to these wavelengths. However, seeing as IR film is also still sensitive to other wavelengths of light, IR filters must also be attached to the camera lens in order to filter out other types of unwanted light that falls in the more visible spectral range. It’s this filtration of the normally visible light and the inclusion of the near IR spectrum which we generally don’t see which gives IR photography their ghost-like quality. Development of the IR is surprising the same as many other conventional black and white films and requires basic darkroom techniques and chemicals.

IR Lens Filters

IR 35mm film


You may be wondering, “So why can’t I just use an IR filter on my digital camera to make IR photos?” And that’s good question. The answer lies in the very construction of most modern digital cameras themselves. IR wavelengths are generally unwanted and in conventional photography and therefore modern digital cameras have a built in IR filter that is placed in front of the image sensor to block out IR light. Even if an IR filter was placed on the lens the resulting transmitted IR light would in turn be filtered out by the camera’s own internal filter. So, how can you enable your digital camera to make IR photographs? Read on….

IR Photography in the Digital Age

As I mentioned earlier, the largest obstacle that stands in the way of making IR images with your currently digital camera is the built in IR sensor filter inside your camera. So if you want to venture into the world of IR photography this filter must be modified through an infrared camera conversion process.

New IR translucent filter being installed

This means that your camera’s sensor is now sensitive to incoming IR light. There are also many other possibilities to expand your infrared horizons with today’s digital camera bodies. Full spectrum, color IR, and a host of other tailored IR imaging effects can be produced depending on the type of conversion and IR lens filter combinations you happen to choose. The benefits to Find out more about infrared conversion possibilities here.

A Final Word About Minor White and Infrared Photography

The work of Minor White was profound, beautiful, innovative, provocative, and at times quite sad. His ventures into the world of IR photography showed us a the wonderment that is all around us, yet invisible all the same. His images speak volumes to the life he lived and to the way he approached the art of photography.

Today, we have so many ways to practice IR photowork whether it is with film and filters or with our digital cameras through a dedicated IR conversion. If you are considering the latter route, be sure to learn as much as possible about the possibilities and limits of digital IR conversions. Make sure whoever you trust your beloved camera to has the reputation for quality that you and your gear deserve. Read more about IR digital camera conversion here at LifePixel and be sure to check out what people just like you have to say about the level of service offered by the LifePixel team!

Filed Under: Gear, Inspiration, Tutorials Tagged With: black & white, camera, cameras, Canon, filters, full spectrum, gear, Getting started, Infrared, Infrared photography, inspiration, IR, landscape photography, Lifepixel, passion, Photographer, photographers

Real talk: Reasons Your Photography Isn’t Improving

There comes a time when we feel as if our photography has hit somewhat of a creative wall. Our photos seem to have become stagnant. This kind of leveling off of our photo work is frustrating and can lead to self doubt about the quality of our work. In some cases, this self doubt can spiral out of control and leave us questioning our purpose as photographers. But there’s no need to despair! There are so many reasons why our photographs seem to be lacking that same fire they once had or why from a technical standpoint they have become lackluster.

Sometimes the problem with our work is only noticeable to ourselves. After all, each one of is our own worst critic. Whatever the personal reason for the dissatisfaction with our current progress as photo makers I can guarantee you are not the first one to share in the frustration. That being said, finding the cause of the problem requires being honest with yourself and the understanding that you are the only one who can pull yourself out of the rut.

Here a few common causes for why your photographs aren’t of the quality you feel they should be.

You’re not shooting enough

Practice makes perfect. Or if we’re being honest, practice makes “better”. If you find a way to shoot a “perfect” photograph please let me know! But the truth is, the more photographs you make the better your photographs will inevitably become.

Shooting more frequently will refine your craft not only from a technical and compositional standpoint but also in proficiency with our camera gear. Set a goal for yourself to shoot four or five “keepers” every week to keep your mind fresh and your creativity from growing stale.

You’ve become complacent

We all strive for success through our photography. Even though “success” is defined in many different ways all of us seek for a measure of accomplishment with our work; either personally, creatively, or financially. Oddly enough, the problem arises after we have began to achieve our goals and find success due to the fact we can become lazy.

In our minds, reaching a goal can be a culmination and if we don’t set higher and higher goals complacency can weasel it’s way into our work. Always be humble when you receive accolades for your photography and keep pushing yourself to go farther. Don’t ever feel like you have nothing else to learn, nothing else to do, or nothing new to shoot. There’s always a next level.

Not recognizing there’s a problem  

It might seem paradoxical, but never coming to the realization that your work isn’t what it could be is one of the most dangerous pitfalls of all. There’s no shame in understanding that your have more to learn. We all do. We should never blindly believe that we know all there is to know.

Just as with becoming complacent there is no way to move forward with our skill if we feel as if we’ve already reached the highest point we can achieve. Always strive to constantly triage your skills, your gear, and your mindset towards your own work. Again, be honest with yourself and if you see room for improvement actively seek ways to make a change for the better.

In closing….

Pinpointing the reasons why your photography isn’t improving the way you feel it should be begins with being real with yourself. Why do you feel your photos could be better? Are their technical hurdles you need to learn more about? Are you actively applying yourself to your work?

If you do feel like your photos could be more impactful or of better quality don’t be ashamed to admit it to yourself! It’s the only way you can improve. And believe me, every photographer, no matter what their perceived level of skill or experience, always has room to improve some area of their shooting. You are most definitely not alone.

Filed Under: Inspiration Tagged With: black & white, gear, landscape photography, Lifepixel, passion, Photographer, photographers, photography tips

First Look at K&F Concept Large Professional Camera Backpack

When K&F Concept was first brought to my attention I will admit that I had never heard of the company before. The world of camera gear and gadgets is of course, “saturated” to say the least. So, when I took a closer look at K&F, I was pleasantly surprised at the apparent quality of many of their offerings.

I just received their “Large Professional Camera Backback” and after a quick once over I’d like to share my thoughts on this surprisingly outstanding(and affordable) gear bag.

So, grab a snack and take a seat. Hopefully you will be as happily surprised as I was to have a look at this nifty camera bag from K&F Concepts.

First Impressions

After a hurried unboxing, the bag emerged as a welcomingly unassuming backpack.

I was expecting it to be somewhat larger(it is a “large afterall) and I was glad to see it wasn’t bulky. The material itself resembles a stone washed denim and looks great. I like the look of the pack. Urban, casual, and streamlined. It would find itself well at home on the sidewalk during a street photography outing or as a refined travel option when shooting on the go. The bottom of the bag’s exterior is lined in black faux leather that adds not only aesthetic appeal but also protects the part of the bag that is likely to contact the ground the most.

The straps are nice and wide and very comfortable with a mesh backing that works to keep your shoulders cool.

There is an adjustable sternum strap which is awesome for distributing weight when you might overfill the pack. The nice thing about having an adjustable sternum strap is that it works with all manner of body sizes. Lady photographers also won’t have to worry about any unfortable “binding” from the strap.

All the zippers and straps are robust and work smoothly.

Space, space, and more space!

If there’s one thing that stands out with this K&F Concept backpack is the monumental engineering in regard to usable space. The storage real estate on this bag is outstanding. The bag itself is a flip open design which gives you front and rear access to the gear you need. We’ll start with the main compartment….

There are lots of padded partitions to keep your camera, lenses, flashes, and whatever else secured. The two main separators are padded but benefit from the addition of a rigid spine which helps keep larger lenses and camera bodies in place and helps the pack keep it’s shape loaded.

I was able to fit a smorgasbord of odd and end gear into the bag with no problems.

Gear shown: Canon 7D, Sony Zeiss Vario Tessar 24-70mm f4, Nikkor 85mm f1.4, Nikkor 50mm f1.8, Rokinon 14mm f2.8, Sigma MC-11 Converter, Canon 430EX Speedlight…stll lots of room left….

Flipping over to the front compartment we have lots of space for a laptop, tablet, paperwork, you name it.

There is room to hold so much here as well depending on your needs. Everything is secured with a large velcro strap. I was able to fit a 13 inch Chromebook into the pocket and had no worries about it being protected.

Tripod Carrier

Perhaps my absolute favorite feature of this backpack is the inclusion of a tripod carrier. There is strap and nifty fold-down flap(which sports has a zippered pocket) that serves to firmly secure your tripod to the bag.

This will work great with travel sized tripods such as the Vanguard VEO 235AB Travel Tripod I reviewed here LifePixel. The only thing I would have liked to have seen was the inclusion of a quick release clasp on the tripod tripod strap for quicker attachment and release of the tripod.

Closing thoughts….

The K&F Concept Large Professional Camera Backpack appears to be a great option for those who need a stylish gear carrier that can fit a monumental amount of camera equipment into a package which is wonderfully manageable. The appearance and comfort of the pack is great. I look forward to using this pack more in the field but if the initial impression of this pack holds I can highly recommend it for those needing a cost effective backpack-style camera bag.

Filed Under: Gear Tagged With: Bag, camera, cameras, gear, k&f concept, Lifepixel, photogear, Travel photography, tripod

Understanding Basic Lens Anatomy and Terminology

The lens is the eye through which a camera sees. No matter what kind of camera you use, the lens is one of the single most important investments you will make. So in the spirit making wise decisions and minimizing buyer’s remorse the gear-savvy photographer will make it a point to understand the basics of lens anatomy. Not only with understanding the basic ins and outs of your lens make you a better technical shooter, but it will also enable you to squeeze every last drop of performance from whatever glass you happen to be using.

Without a doubt the numbers, markings, and terms often associated with camera lenses can be confusing. The good news is that they don’t have to be! Generally speaking, all those numbers and symbols are actually quite simple to understand. Let’s begin with some terms and names of common lens components you will likely encounter with most camera lenses.

Basic Lens Anatomy

Barrel-The physical outer body of the lens which houses the internal components.

Elements-A term used for the individual internal pieces of glass which make up the optics of a lens.

Bayonet-The end of the lens that attaches to the camera body. Bayonets are designed in different “mounts” based on the camera they are intended to fit.

The bayonet of a Canon EF Mount lens

Zoom Ring-A circular ring which allows the photographer to control the zoom of zoom lenses.

Focus Ring-A ring present on virtually all lenses which allows the shooter to manually adjust focus.

Focus and zoom rings on a modern lens

Aperture Ring(manual lenses)-On fully manual lenses, the aperture ring controls the physical size of the aperture with no selection being made by the camera.

Fully manual lenses often sport an aperture adjustment ring

Basic Lens Terminology

Some of the most confusing aspects about lenses isn’t their physical operation but the terminology used to describe their characteristics. Here is a breakdown of some common terms and phrases you will encounter when talking about camera lenses.

Focal Length-At the risk of oversimplifying the concept, think of this is simply the magnification strength of the lens measured in millimeters. Shorter focal length lenses are deemed “wide-angle” while long focal length lenses are considered “telephoto”.

Prime-When we say that a lens is “prime” it means that the lens is a fixed focal length. Basically speaking, the lens doesn’t “zoom”.

Lens Speed-The speed of a lens is directly connected to aperture. The wider the maximum possible aperture a lens is capable of the “faster” the lens is considered to be. This means that the lens is capable of shooting in lower light situations at faster shutter speeds. Remember, the smaller the F/number of the wider the aperture. Check out “Aperture Simplified”  ,another one my articles here at LifePixel, for a nice and simple breakdown of aperture that will help make since of F/numbers….

What the heck is this symbol ⌀ anyway???-You will likely find this symbol located around the outside front of your lens along with lens speed and focal length information. Fear not, that little guy is just the indication of what circular filter(polarizer, neutral density, etc.) size your lens accepts. It will be accompanied by a measurement in millimeters. If you see a “⌀77” then you will need a 77mm filter. What’s more, if you lose a lens cap, that is also the size for the replacement.

The face of a modern lens showing aperture, focal length, and filter size information

And always remember….

Your lens and camera work as one piece of gear along with you and your creative spark.

Understanding how your lens functions and the basics of lens anatomy will not only make you a better photographer but also a more competent when it comes to acquiring the gear you need.  Arm yourself with all the information you can and build on the basics. Knowledge is power when it comes to lenses.

Filed Under: Tutorials Tagged With: cameras, Canon, gear, Getting started, lens, lenses, Lifepixel, photographers, Photography, photography tips

Review: Vanguard VEO 235AB Travel Tripod

The Vanguard VEO 235AB tripod is a great travel sized option for those on the go who need a lightweight tripod without compromising strength or durability. I’ve been able to evaluate this offering from Vanguard for a couple weeks. In that time I’ve been impressed not only by it’s flawless function and portability but also its versatility. In this review, we will take a closer look at what makes the Vanguard VEO 235AB such an heavy hitter in the world of lightweight tripods. For those who shoot with mirrorless camera systems or smaller sized dSLR’s  is a wonderful alternative to traveling around with a full sized tripod.

Build Quality and Design

The construction of the tripod is of solid aluminum. The center column of the tripod folds down underneath for compact transport and makes the folded height of this tripod a mere 14.88inches(37.79cm). The legs each extend in five sections with four adjustable tension flip locks. The flip locks seem that secure the legs into place feel extremely secure.

The legs also feature a rubber foot/spike design. When indoors or on solid ground the rubber feet do a great job of providing traction for the tripod. When the terrain turns muddy the rubber feet can be screwed upward to reveal traction spikes that bite into unable ground quite well to ensure the tripod stays put.

The overall maximum height with center column extended is 57.1 inches(145cm.)


The legs of the Vanguard VEO 235AB are capable of being positioned independently at three separate angles depending on your needs. There is a button at the top of each leg that is used to set the legs at the desired position. These buttons feel very secure and lock the legs with a very satisfying “click.” A rubber wrapping on one of the legs also provides a sure grip when in the rain or during extremely cold conditions.

Included with the tripod is a TBH-50 ball head. The ball head features an Arca-Swiss compatible quick release plate which also incorporates a stop pin on the connector plate to prevent your precious camera from slided sideways off the mount should the lock become loose. The ball head is very smooth in movement and locks down extremely securely. The tripod and ball head are rated to support just over 13lbs(5.9).

Here’s a complete list of specifications courtesy of Vanguard…

Also worth mentioning is the included “low angle” adapter. This is essentially a way to bring the camera as close to the ground as possible with a solid low-perspective platform. You lose the flexibility of the ball head but gain a much lower perspective now that the center column is removed. The change out is very easy and might be of use to some.

What You’ll Like

With all the strong points about this tripod here are a few that make the 235AB standout:

  • The weight is feather-like. For an aluminum tripod of this size and load capacity I found the Vanguard to be exceptionally lightweight at just over 3lbs.
  • Rock solid flip locks. I have no concerns whatsoever of these locks failing under normal use.
  • Super fast setup. With the “swing under” design of the center column deployment is efficient and quite fast. Makes for a streamlined package for transport.
  • Quality Ball Head included. The ball head works wonderfully and I have experienced no drift even with my heavier lenses.

What You Might Not Like

It’s difficult to find anything that I don’t like about the Vanguard 235AB. One thing that have been noted by some is the lack of a d-ring on the base plate screw. If you don’t have a coin or tool on hand installing the plate can be a challenge. Other than that, at the time of this writing I have no other negative comments to remark about the performance of the tripod.

Final Thoughts

The main reasons why I purchased the Vanguard 235AB was because I needed a sturdy, lightweight tripod that is packable and easy to carry. I can find no area where the Vanguard falls short of my needs. The weight to height ratio is amazing and it is more than capable of handling the load of my camera setup. It’s small enough to pack into carry-on luggage as well. At it’s price point of around $149US on Amazon you will be hard pressed to find a more capable travel tripod to accompany you on all your adventures.

Filed Under: Gear Tagged With: gear, Photography, tripod, vanguard

Blog Topics

  • Tutorials
  • Inspiration
  • Locations
  • Gear
  • News
  • Other/Misc

What our customers say:

Life Pixel has been a life-changer for me. Continue reading
Eric GConnecticut
Read more reviews
I am more than satisfied with the service I received Continue reading
Christopher JCanada
Read more reviews
I am more than pleased with the conversion job that you did Continue reading
LOUIS MWaco, Texas
Read more reviews
I am VERY impressed with his knowledge of your products and his patience in explaining it to a novice like me. Continue reading
Lynn FEssex, Maryland
Read more reviews
Things will only get better from here thanks to all of you. Continue reading
Phillip FRedding, California
Read more reviews
The Lifepixel newsletter reminds me of not having expressed my gratitude for the excellent job you made. Continue reading
Michael GGermany
Read more reviews
Your staff went above and beyond the call of duty to make sure everything was handled in an excellent manner. Continue reading
Paige RPearland, Texas
Read more reviews
It has given my old camera a new life, I will enjoy using it again. Continue reading
William PAustralia
Read more reviews
Excellent service and the camera works just great Continue reading
Hans FairhurstAustralia
Read more reviews
I just got my converted camera back from you guys. THANK YOU!!!! Continue reading
Anne CutlerForest Knolls, CA
Read more reviews
infrared_filter_choices_sidebar
ir_conversions_explained_sidebar
----------- Watch More Videos -----------
infrared_quick_start_guide

Ready to start shooting Infrared?

Convert My Camera

Subscribe To Our Newsletter

Receive updates, tips, cool tutorials, free stuff and special discounts.

Learn the Basics

  • Video
  • Start Here
  • Filter Choices
  • Focus Calibration
  • Lens Considerations
  • Camera Considerations
  • Place Your Conversion Order

Resources

  • Galleries
  • Lens Hot Spot Database
  • IR Tutorials
  • FAQ
  • Infrared Filter Choices
  • Infrared Photography Guide
  • Infrared DIY Tutorials

Company

  • Why Choose Us
  • Get In Contact
  • Job Openings
  • Write For Us
  • Affiliate Program
  • Terms of Use
  • Privacy Policy
  • Home
  • Start Here
  • Galleries
  • Tutorials
  • FAQ
  • Blog
  • Why Choose LifePixel?
  • Shop
  • Contact

Copyright © 2025 Life Pixel Infrared - All rights reserved - LifePixel Infrared Photography IR Conversion, Modification & Scratched Sensor Repair