For a few years I have been using a Lumix G6 which had been converted to IR by LifePixel. It’s been great. But, I decided I wanted a pro level camera. As new models came out from Lumix such as the G9 and Olympus OM-D E-M1 Mark III I saw my Lumix GH4 starting to gather dust on the shelf. I sold my G6 and sent in the newer camera to be converted.
Conversion
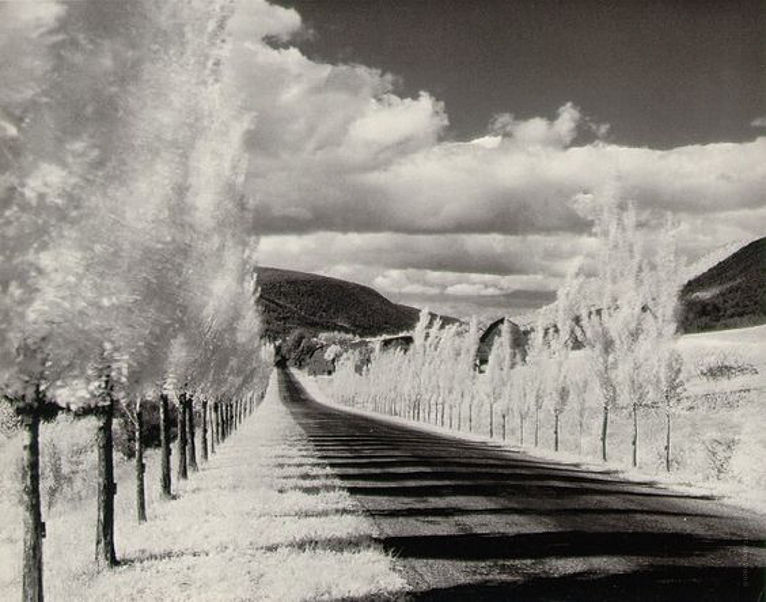
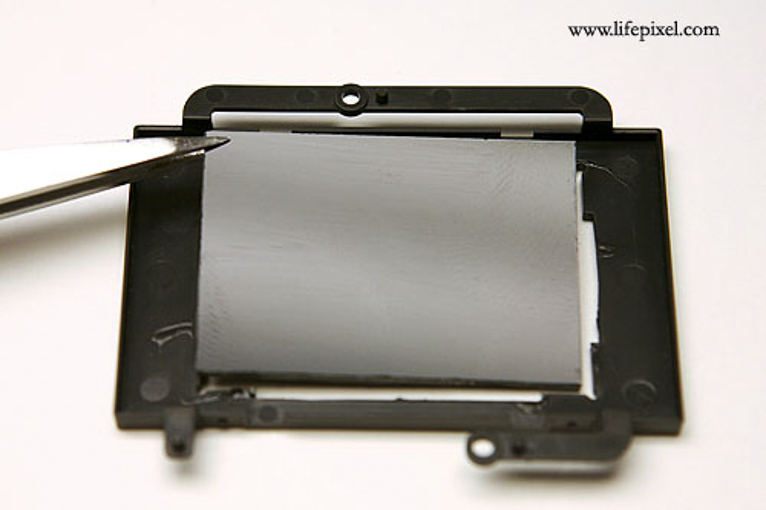
I’m kind of old school when it comes to IR so I opted for the 720NM on both conversions. The traditional IR look that I can create that replicates my experiences from the film days. Of course with live view cameras and the ability to see the image in black and white are wonderful. In addition, not having to reset focus and seeing the BW result is a far superior IR capture experience. If you have a camera collecting dust an IR conversion puts it back into play.
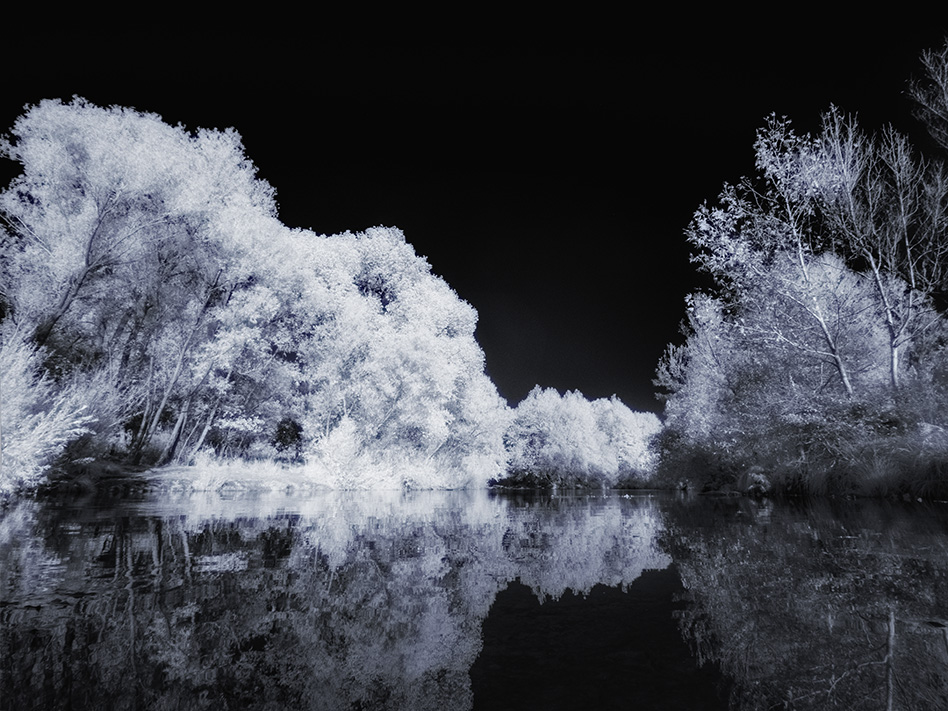
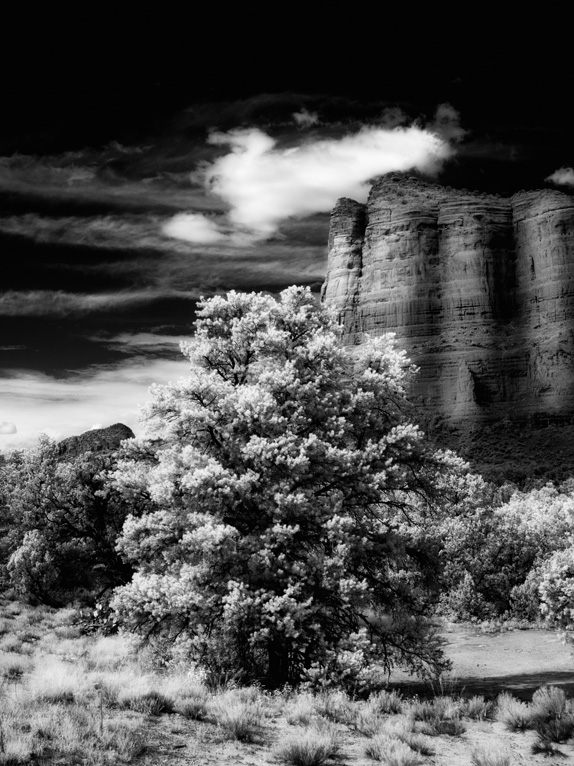
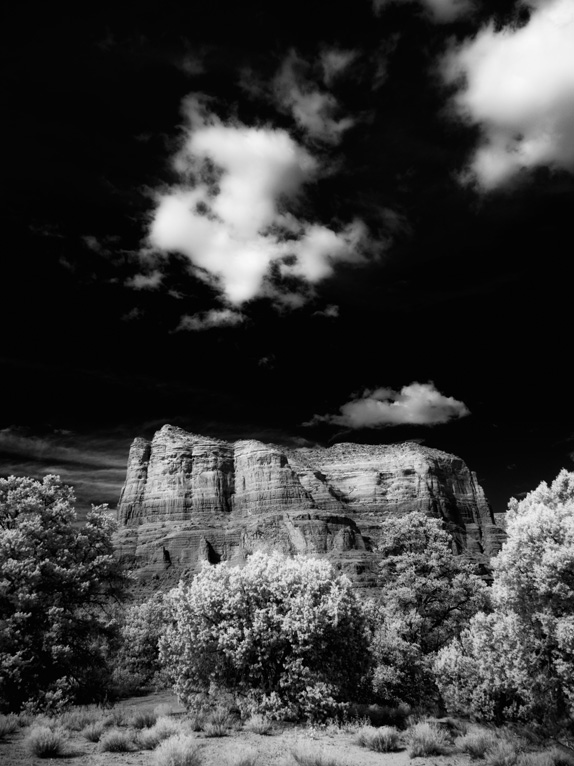
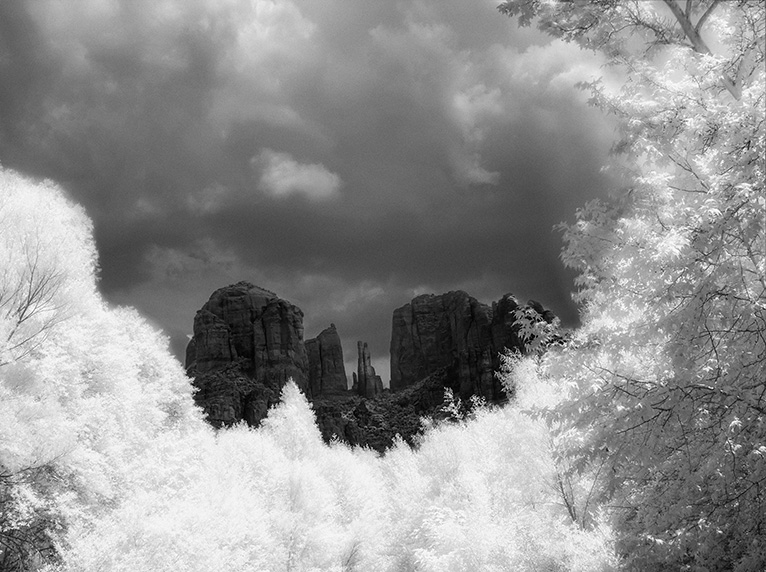
While I’m not a big fan of color IR I do like to tone my images for a different feel. This is a cyan tone vs the image below which is sepia tone.
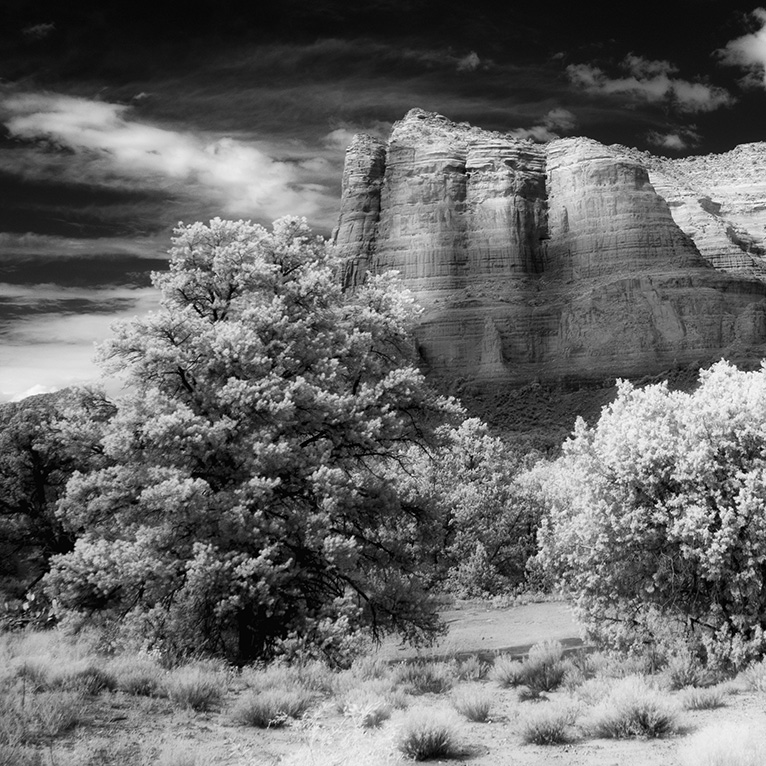
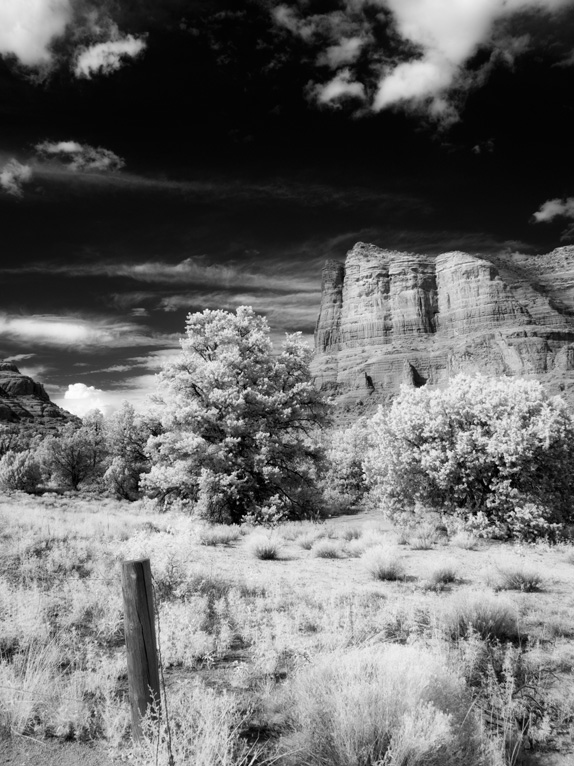
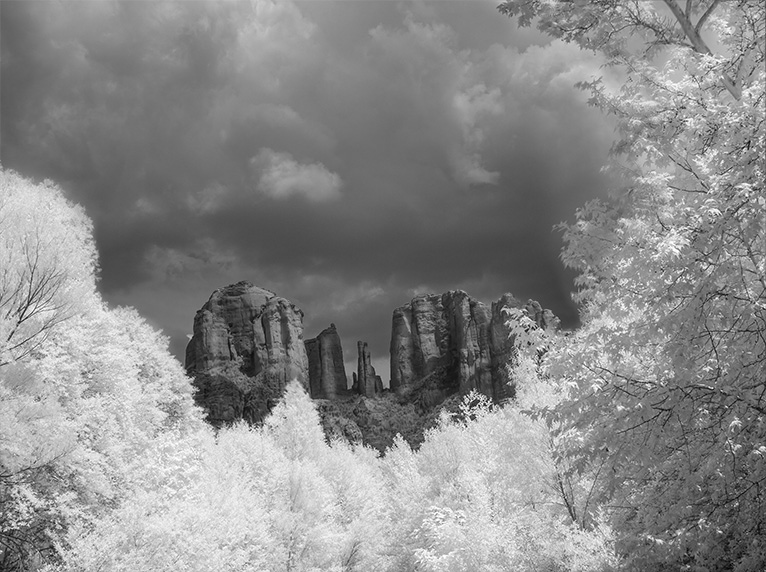
Oak Creek
I found some time to go shoot what I thought was going to be the last of the fall colors nearby on Oak Creek here in Sedona, AZ. Fortunately I brought the IR camera ‘just in case’ and was quite glad I did. The fall color was past prime and I probably would have headed home. The IR converted camera came to the rescue to allow me to keep shooting.
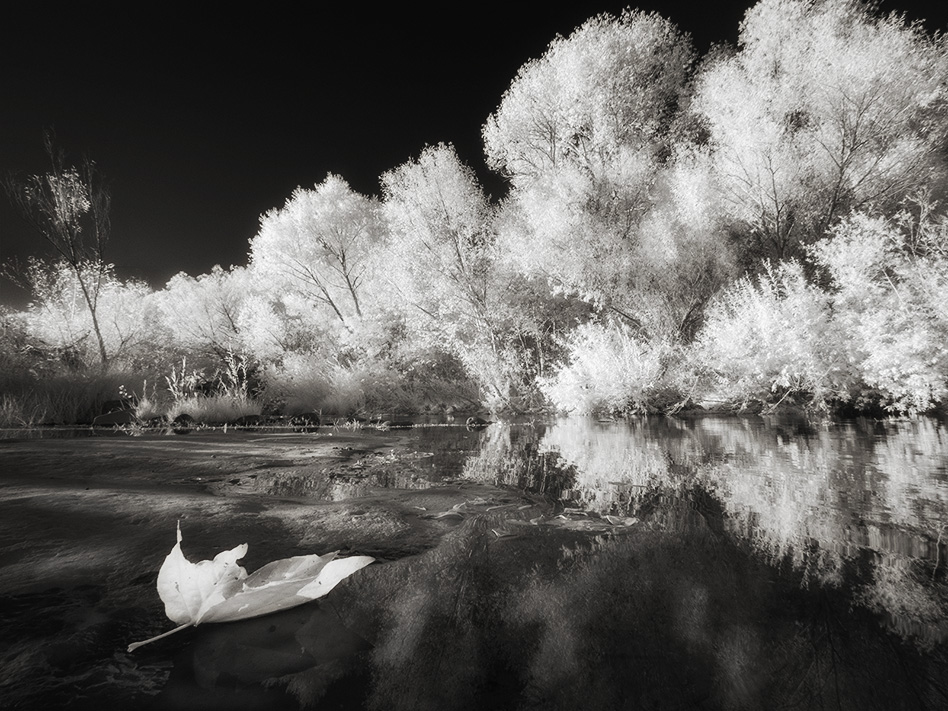
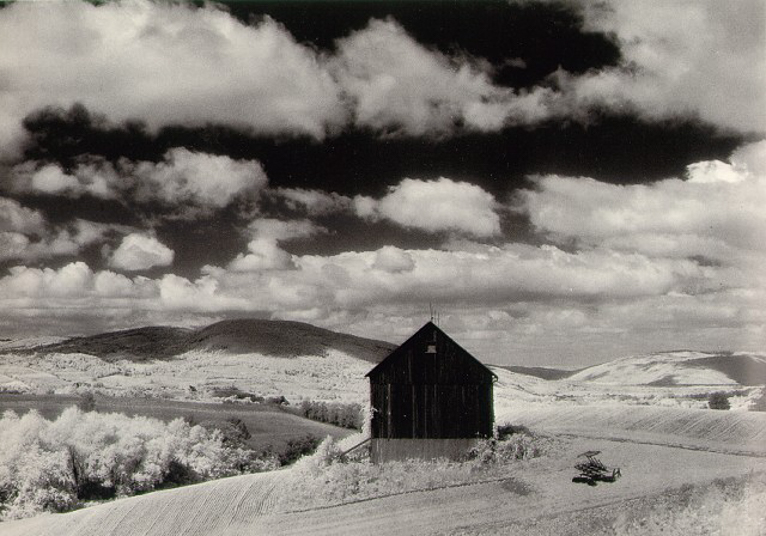
This is my favorite image from the day. The lone leaf in the corner is what makes it for me.
Platypod tripod
I now always carry a Platypod tripod from a carabiner clip attached to my shooting lens pouch. It acts as a second tripod when I want to do time lapse images , when I want to get really close to the ground, or when I don’t want to have haul my regular tripod. The low angle helped me get the composition and reflections right where I wanted them. A flip screen on your camera is perfect for using this configuration. Keeps you from doing the lay on the belly thing.
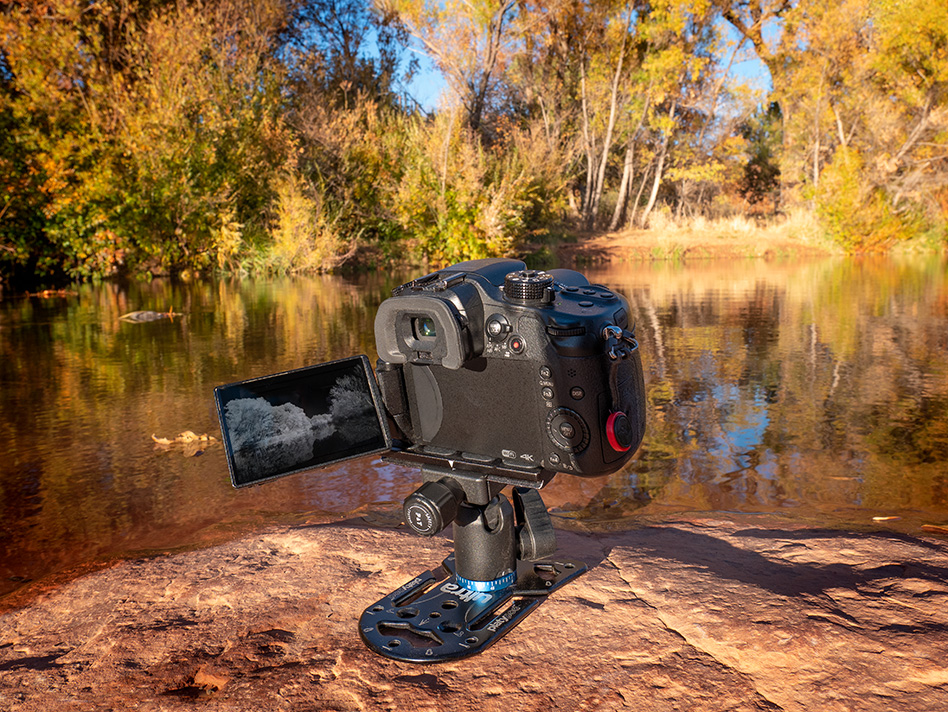
Platypod Ultra resting on the rock shelf near the creek. If there was a more uneven surface there are machined bolts that can help level the plate.
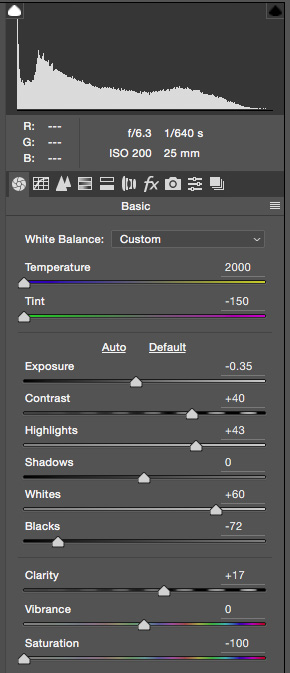
If I can answer any questions, let me know. In the not so distant future I’ll show you haw I processed these images in Adobe Camera RAW, Photoshop and NIK Filters.
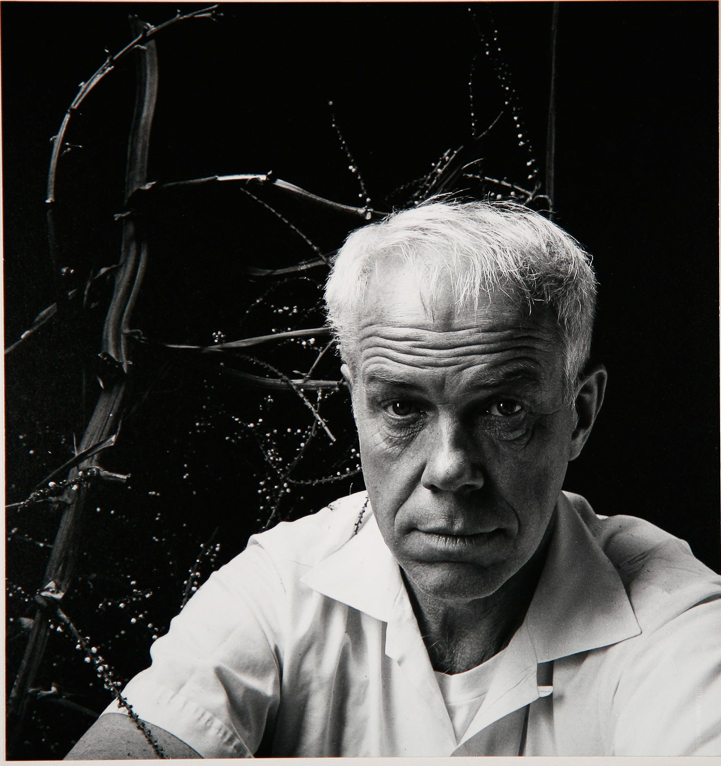
Yours in Creative Photography, Bob