Born in 1908, Minor White was something different in terms of how and why he photographed. He incorporated as much of his own beliefs and philosophies into his work as he did photographic technique. His work is a mix of his mentality and the emotion he felt towards a scene or subject. He injected a part of himself into all the photographs he made. Bestowed by him are such words as “The photographer projects himself into everything he sees, identifying himself with everything in order to know it and to feel it better.” and one of my personal favorite quotes about us photographer’s mentality “…all photographs are self-portraits”.
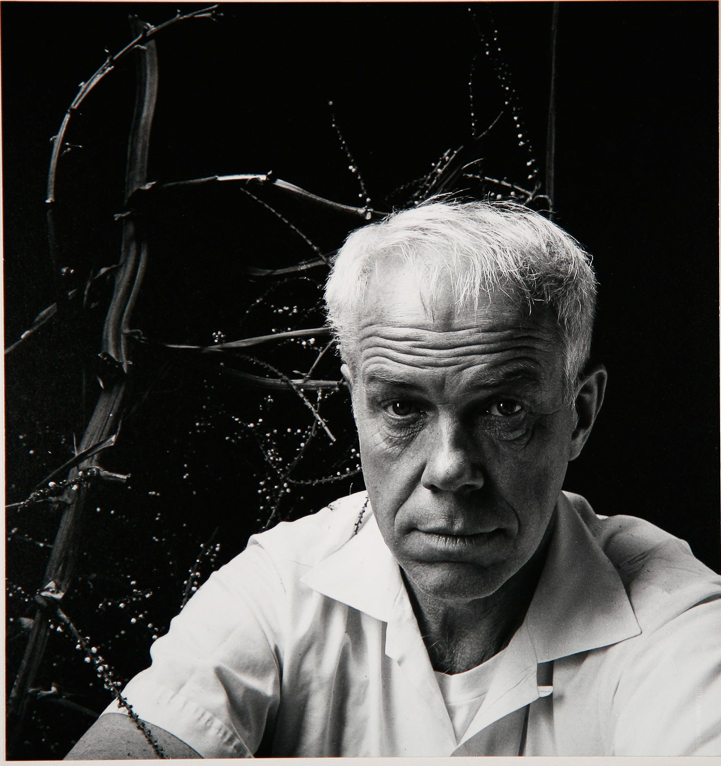
Minor White-By Imogene Cunningham
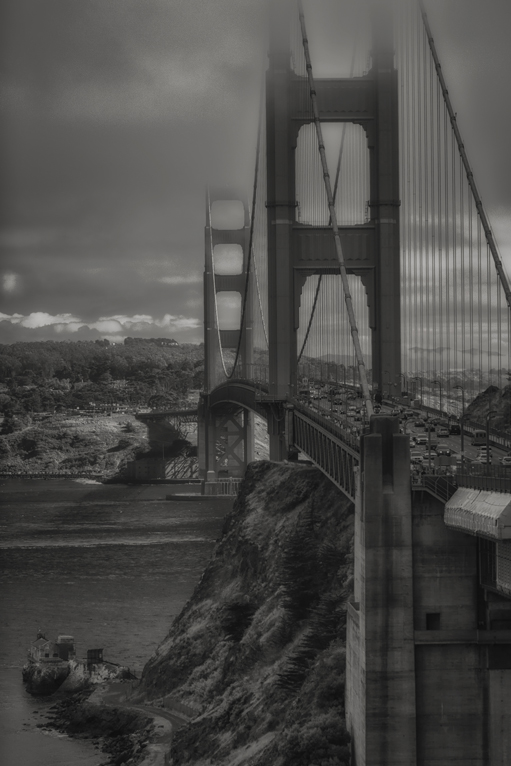
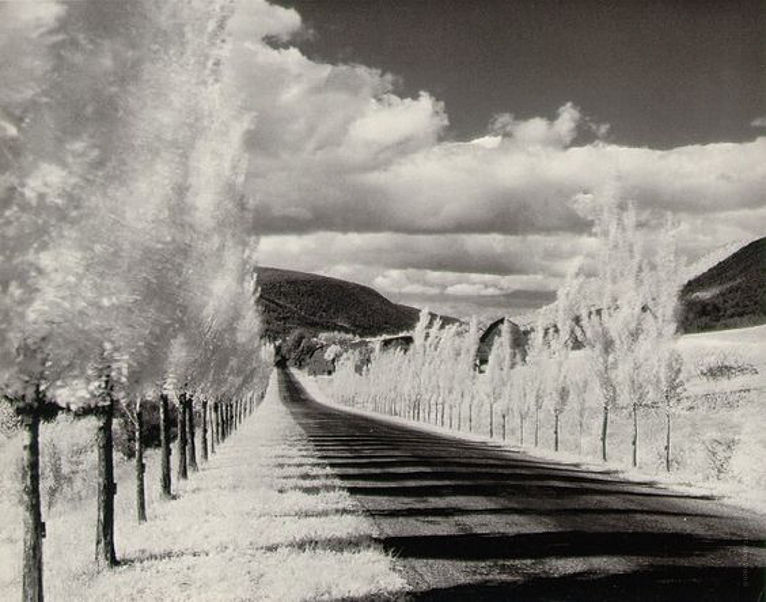
It was with the existential mindset that White approached his photographs and perhaps there was none of his work as idealistically surreal as his adventures into the world of infrared. Not only was he a prolific photographer in the artistic and technical sense but he was one of the early practitioners of infrared photography who brought it’s incredible appeal to the masses. The IR images he made, just like his other works, projected a world blended with both the physical landscape and his own personal creativity.

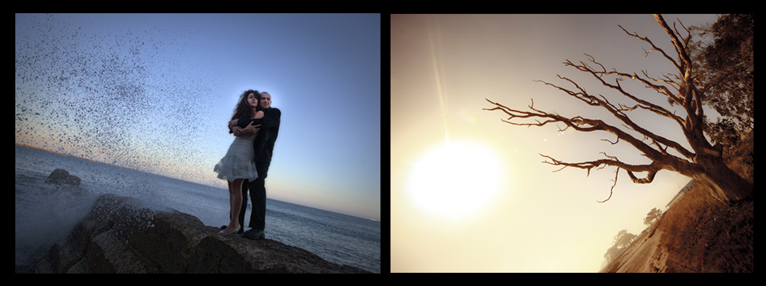
By Minor White, 1958
By Minor White, 1955
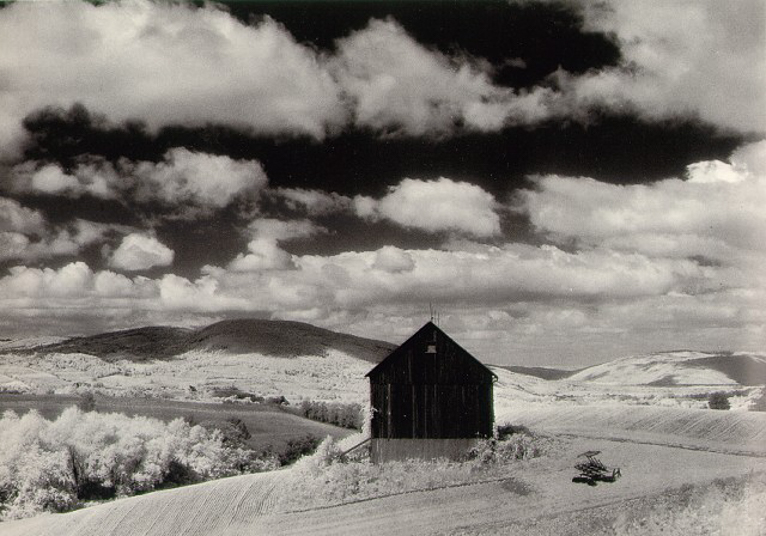
By Minor White, 1955
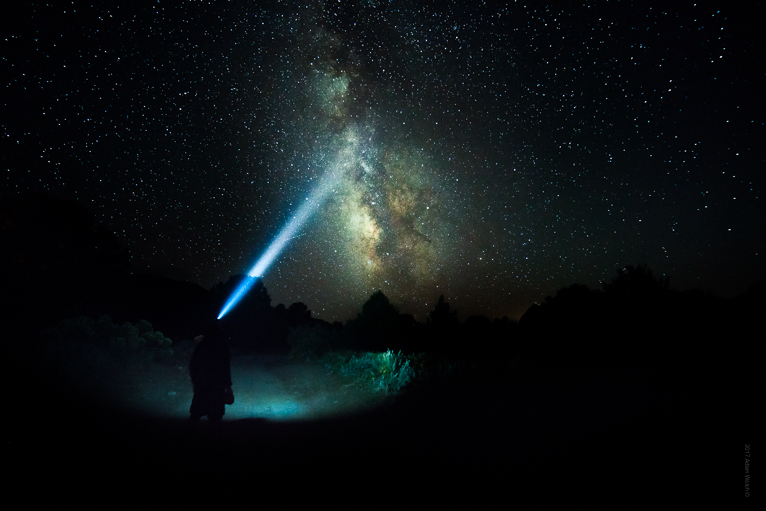
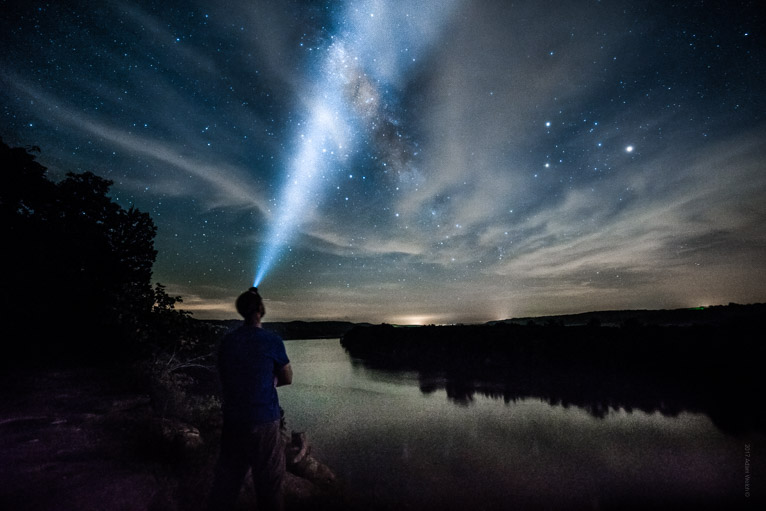
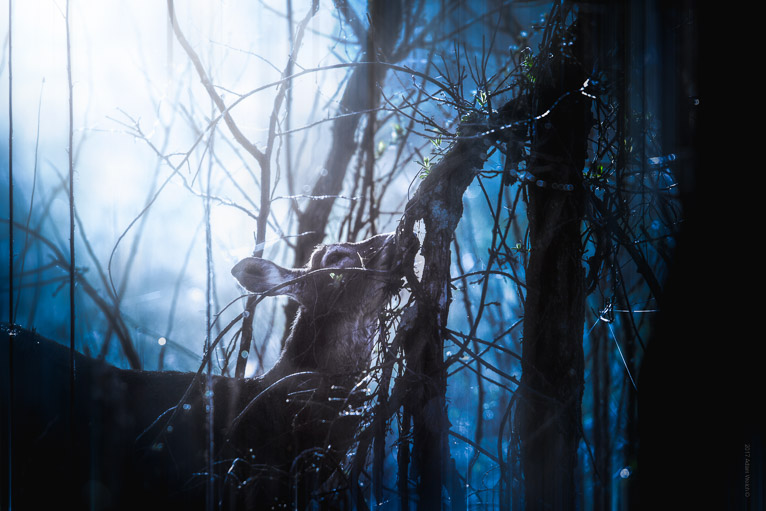
Minor White and Infrared
How did Minor White make his IR photographs? With magic…. Well no, not exactly magic, but it certainly looked that way. Minor White used black and white infrared film, usually large format 4×5, to capture his dreamlike scenes. The infrared or more accurately “near-infrared” light spectrum falls around the 700-1200nm range and infrared film is manufactured to be sensitive to these wavelengths. However, seeing as IR film is also still sensitive to other wavelengths of light, IR filters must also be attached to the camera lens in order to filter out other types of unwanted light that falls in the more visible spectral range. It’s this filtration of the normally visible light and the inclusion of the near IR spectrum which we generally don’t see which gives IR photography their ghost-like quality. Development of the IR is surprising the same as many other conventional black and white films and requires basic darkroom techniques and chemicals.
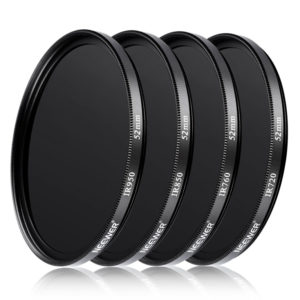
IR Lens Filters
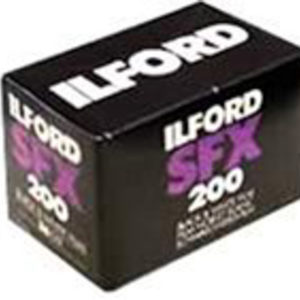
IR 35mm film
You may be wondering, “So why can’t I just use an IR filter on my digital camera to make IR photos?” And that’s good question. The answer lies in the very construction of most modern digital cameras themselves. IR wavelengths are generally unwanted and in conventional photography and therefore modern digital cameras have a built in IR filter that is placed in front of the image sensor to block out IR light. Even if an IR filter was placed on the lens the resulting transmitted IR light would in turn be filtered out by the camera’s own internal filter. So, how can you enable your digital camera to make IR photographs? Read on….
IR Photography in the Digital Age
As I mentioned earlier, the largest obstacle that stands in the way of making IR images with your currently digital camera is the built in IR sensor filter inside your camera. So if you want to venture into the world of IR photography this filter must be modified through an infrared camera conversion process.
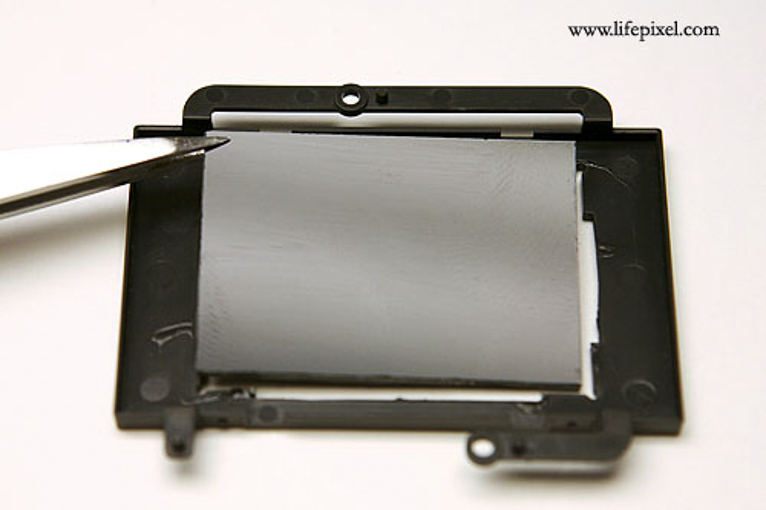
New IR translucent filter being installed
This means that your camera’s sensor is now sensitive to incoming IR light. There are also many other possibilities to expand your infrared horizons with today’s digital camera bodies. Full spectrum, color IR, and a host of other tailored IR imaging effects can be produced depending on the type of conversion and IR lens filter combinations you happen to choose. The benefits to Find out more about infrared conversion possibilities here.
A Final Word About Minor White and Infrared Photography
The work of Minor White was profound, beautiful, innovative, provocative, and at times quite sad. His ventures into the world of IR photography showed us a the wonderment that is all around us, yet invisible all the same. His images speak volumes to the life he lived and to the way he approached the art of photography.
Today, we have so many ways to practice IR photowork whether it is with film and filters or with our digital cameras through a dedicated IR conversion. If you are considering the latter route, be sure to learn as much as possible about the possibilities and limits of digital IR conversions. Make sure whoever you trust your beloved camera to has the reputation for quality that you and your gear deserve. Read more about IR digital camera conversion here at LifePixel and be sure to check out what people just like you have to say about the level of service offered by the LifePixel team!