The world of photography has certainly moved on from the days of black-and-white film photographers. But there is still a great deal that can be learned from capturing photos in black-and-white. Monochrome photos are incredibly difficult to master. Without the addition of colour, it makes your subject even more vital to the composition. But if you’ve never taken black-and-white photographs you should certainly try as you may be surprised by how much you enjoy the process. To help you on your way here are 6 tips for capturing better black-and-white photographs.
Shoot in colour and in RAW
This might sound weird but for black-and-white photographs, you should actually be photographing in colour. Even back in the days of Black-and-white film photography photographers used colour filters and subsequently a darkroom process called dodging and burning to capture black-and-white photos. Nowadays you can set your camera to capture black-and-white photos. But what the camera is really doing is converting colours into different shades of grey. Ideally, you should also be photographing in RAW format rather than jpeg. It is the best quality and file format for photography. This will then allow you to convert your colour image into monochrome in post-processing.

See in black-and-white
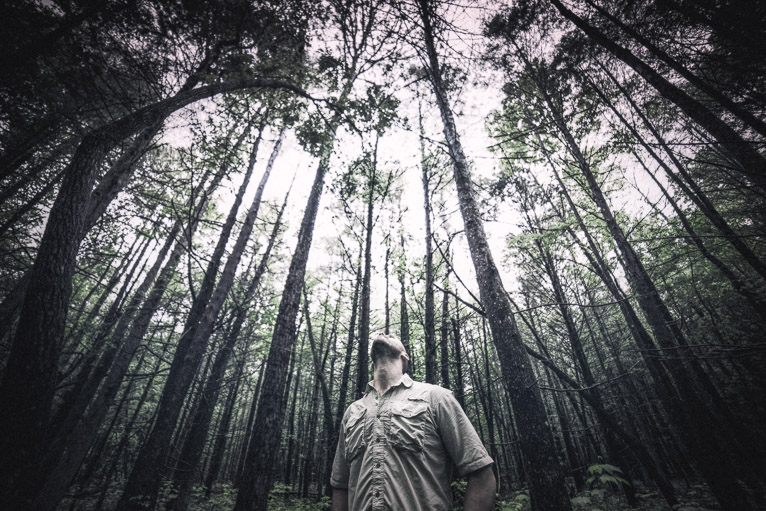
Even though you are going to be shooting in colour what you need to do is to train yourself to be able to see the world in black-and-white. The big difference between black-and-white photography as opposed to normal colour photography is that you are relying far more on contrast, shape and texture rather than colours. This means that when you have complementary colours that are converted to monochrome you need to have enough tonal contrast to make the subject stand out. Without this contrast, your images will begin to look flat and uninteresting. You can, of course, adjust these tones in editing software to introduce some tonal contrast. But as a good starting point is to try to find subjects that give you the contrast, to begin with.
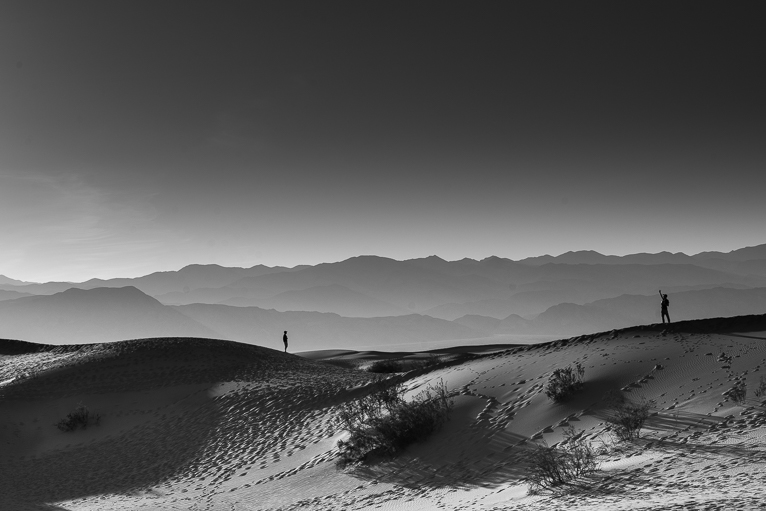
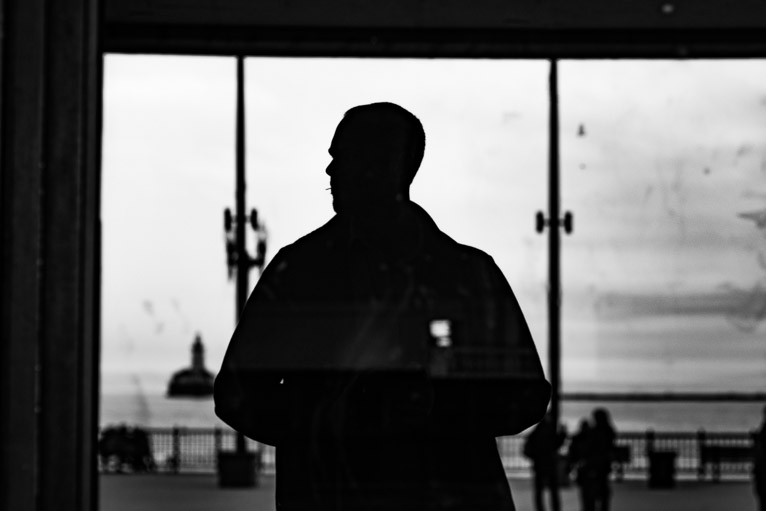
Simple composition
The biggest challenge when it comes to black and white photography is to ensure that your main subject stands out. To be able to do that in a busy scene requires skill and a lot of practice. So to start with look for simple compositions. Frame your subject using something like the rule of thirds and learn how the different tones appear in a black-and-white image. As you become more and more comfortable with black and white photography you can tackle more complex scenes.
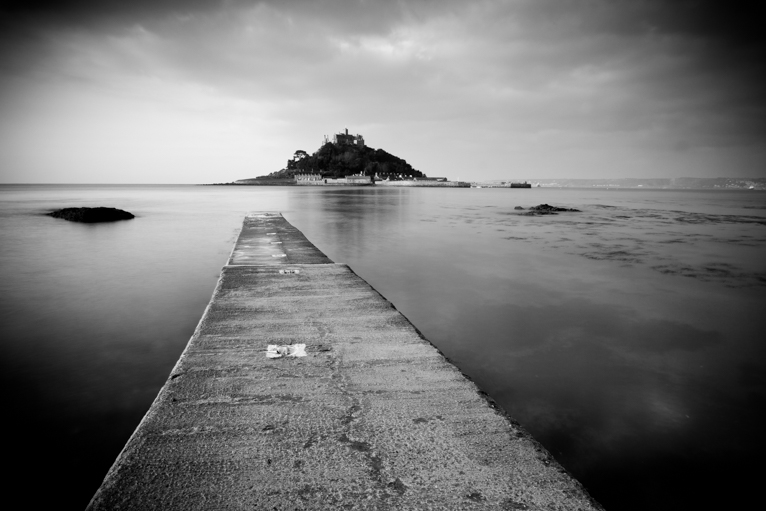
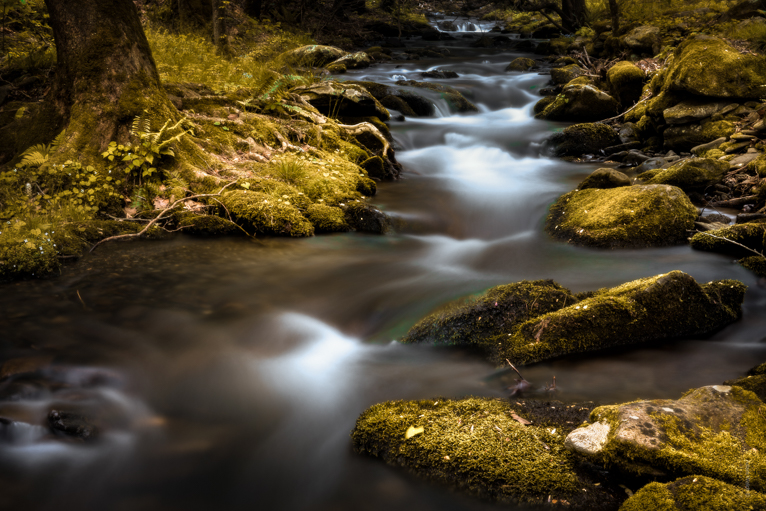
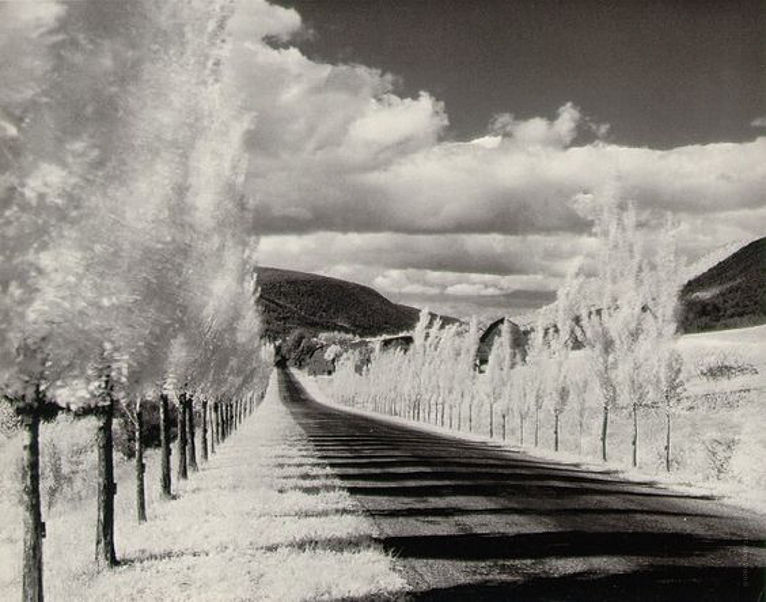
Long exposures and black-and-white photos
One of the best techniques to use for monochrome photography is long exposure. This works really effectively when you have soft areas in your image to contrast versus hard, sharp edges. For example, photographing rocks in the water or moving clouds against a cityscape can have fantastic effects in black-and-white photography. Long exposures in monochrome photography give you a really good contrast between bright areas and dark areas. But remember that in order to capture long exposure photos you will need to use a tripod and possibly filters. For example, if you are photographing during the day you’ll need a neutral density filter to help darken the scene to allow you to have a slow enough shutter speed to be able to capture a long exposure.
Learn to use editing software
As we have already discussed you should be photographing in colour and then converting into black-and-white in editing software. So this means that you will need to learn how to manipulate the image and turn it from a colour photo to monochrome. Whether you use Adobe Photoshop, Lightroom or another editing software, you will need to take your time to adjust the image using the various colour channels, brightness, contrast and other sliders to give you the desired result. Don’t just turn an image from colour to monochrome and leave it. More often than not this will just give you a pretty flat black and white image with not a lot of contrast.
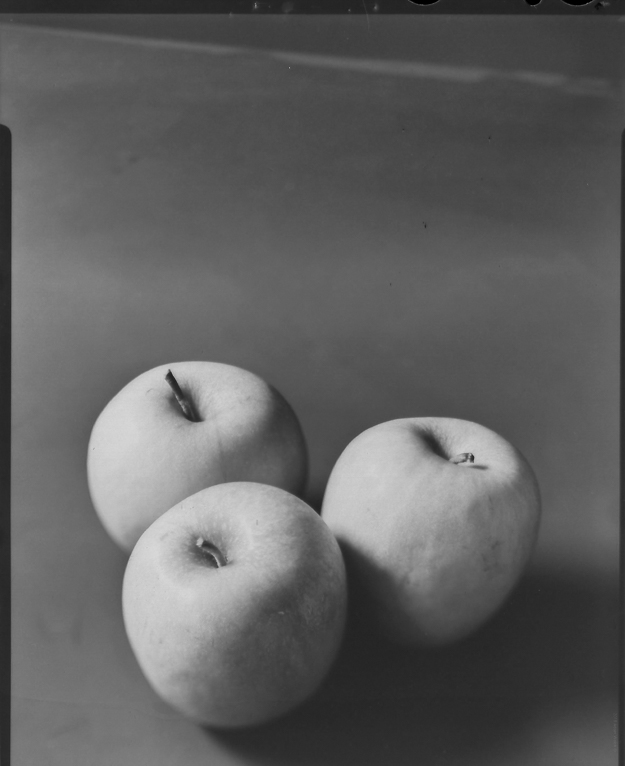
This is an image just converted to monochrome and no adjustments added. As you can see it looks flat and uninteresting.
Selective editing
Back in the days of darkrooms and traditional film photography photographers used techniques known as dodging and burning to brighten or dark in certain areas of the photo. Burning will darken parts of the image and dodging will lighten them. For example, if you find that your highlights like the sky are too bright, you may choose to darken them using the burn tool. Or alternatively, if you have photographed a subject and it is too dark you may choose to lighten it by using the dodge tool. this is an incredibly powerful post-processing tool that can really take your photos to the next level.

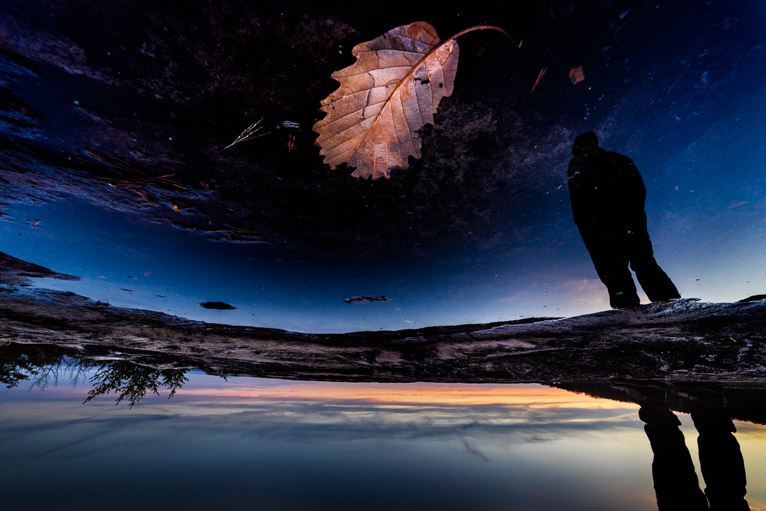
Monochrome or black-and-white photography is a difficult art to master. But often what you will find is that if you can become a better black-and-white photographer your colour photos will also improve. Black-and-white photography makes you have to think more around the subject, the shapes and textures and so you begin to see the world with a different eye. If done well, a black-and-white photograph can look stunning anywhere. With the tips above and practice, you too can capture stunning black-and-white photos.
Photo credits: Kav Dadfar – All rights reserved. No usage without permission.


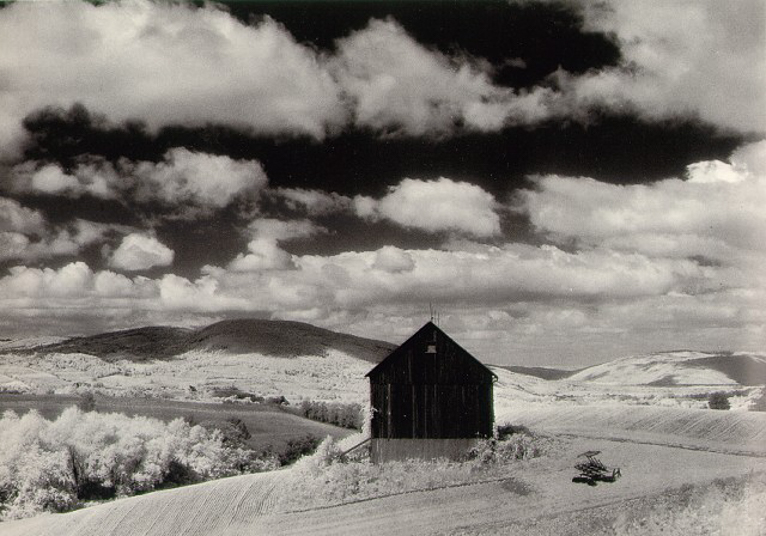


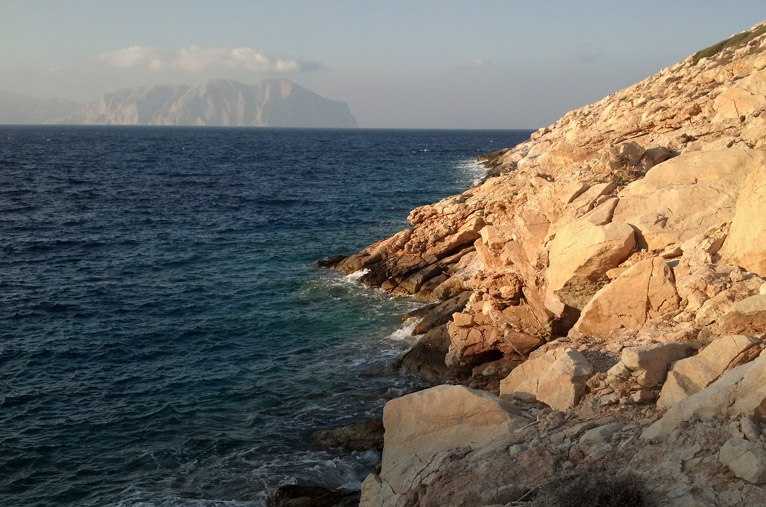 A scene photographed with a color camera showcasing the haze on the distant mountains.
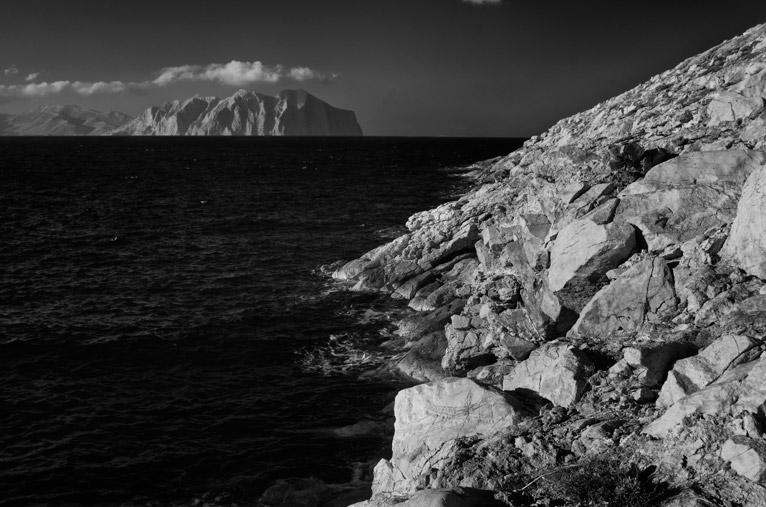 The same scene photographed at 740nm. Notice the reduction in haze and improved detail.
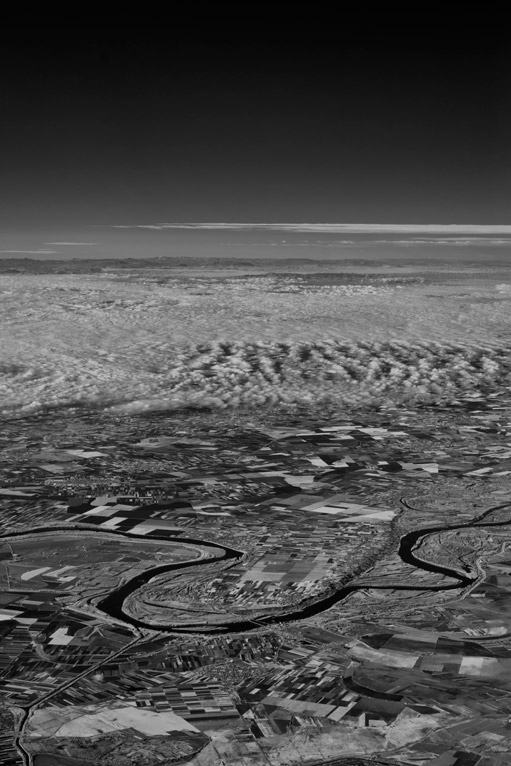
 Visible Light photo West of Austin Texas
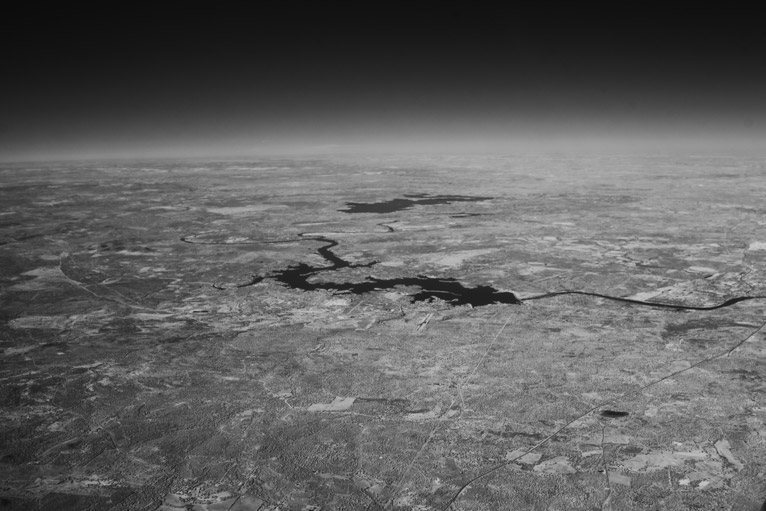 Same photo in 740nm IR
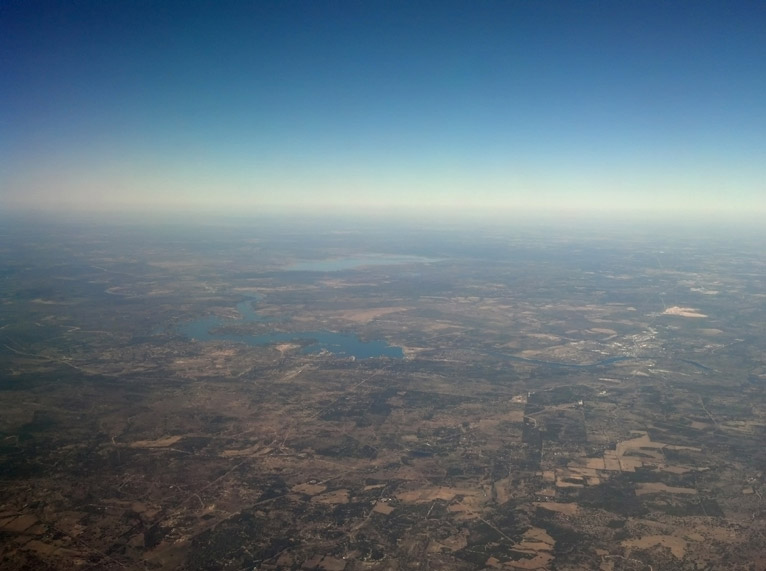
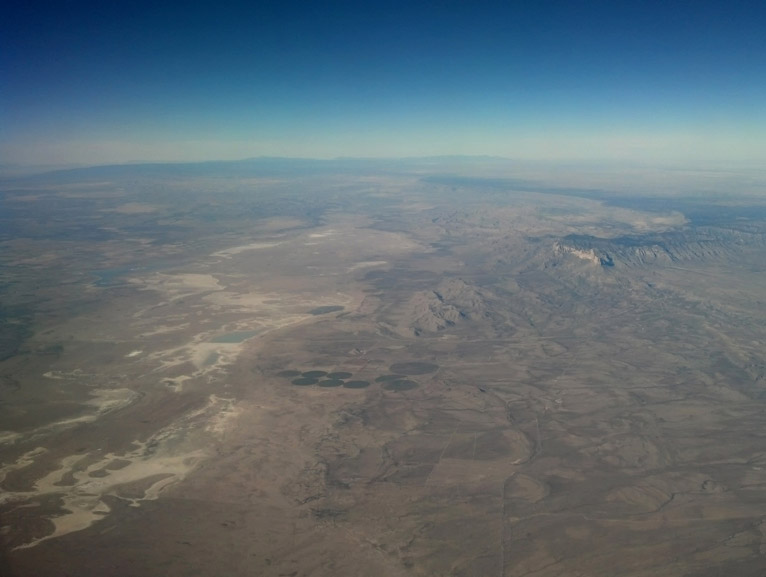 Visible light photo of West Texas, including Guadalupe peak (upper RH side) and Salt Flats.
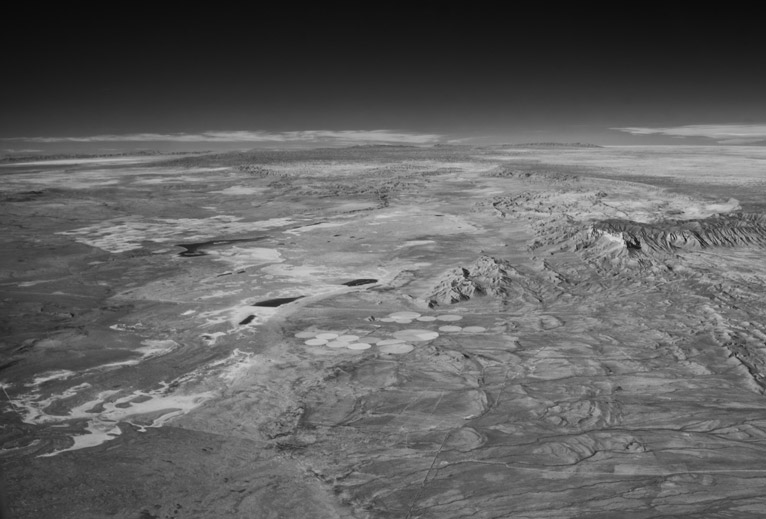 Same photo in 740nm IR. White Sands National Monument is visible in the upper LH portion of the image, more than 100 miles away.