For those of us that shoot IR photos, we already have a glimpse into what the world looks like illuminated in the invisible light of infrared. It has fascinated me that photos photographed in this light can have such interest and depth. Similarly, I have seen things in the heavens that only those with the appropriate telescope and imaging equipment have seen. I say “seen”, but it in reality, our eyes are not sensitive enough to actually see these magnificent & hidden astroscapes.
In this series, I’ll be showing a few of my deep sky astrophotos. These were all shot with my widefield imaging equipment. First covered will be the nebula shot in “color”. The camera (a cooled, full frame CCD) is monochrome. So the color is assembled by shooting through a series of filters and assembling the color images in Photoshop. There are a couple RGB images that contain only red green and blue light and others shot through narrowband filters. You can also review my Astrophotography series, for more detail on some of this, including shooting with a DSLR.
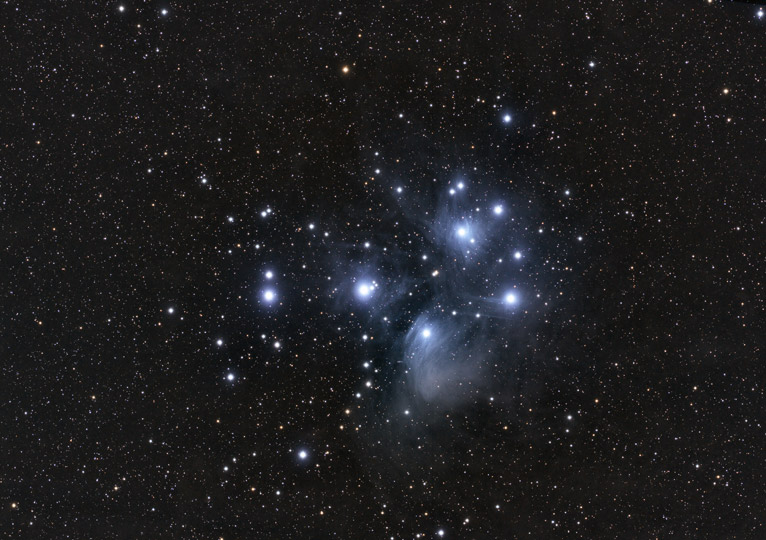
M45 – The Pleiades
M45 is a beautiful open cluster that’s a little difficult to photograph. It’s a reflection nebula, which means the dust that is visible is being reflected from the nearby starlight. It needs to be imaged with RGB filters, instead of narrow band filters. So it is much more affected by light pollution. Even so, this image was shot from my backyard in a fairly heavily light polluted area. There is much more dust and nebulosity to be seen here when imaged from darker skies.
Tulip Nebula
If your eyes were much more sensitive, the night sky would look very different. Most of these images represent a field of view of about 4 x 8 full Moons. So the features are large and would be prominent in the night sky. Imagine looking out your window and seeing the Tulip Nebula rising from the East.
A telescope’s main function is to gather light. This is one of the purposes for larger and larger telescopes. Resolution is also improved, but let’s just look at the light gathering ability. Compare the diameter of a telescope’s aperture with the pupil in your eye. This large aperture gathers many times more photons than your eye alone. The larger the diameter, the better the light gathering and the easier it is to see faint objects.
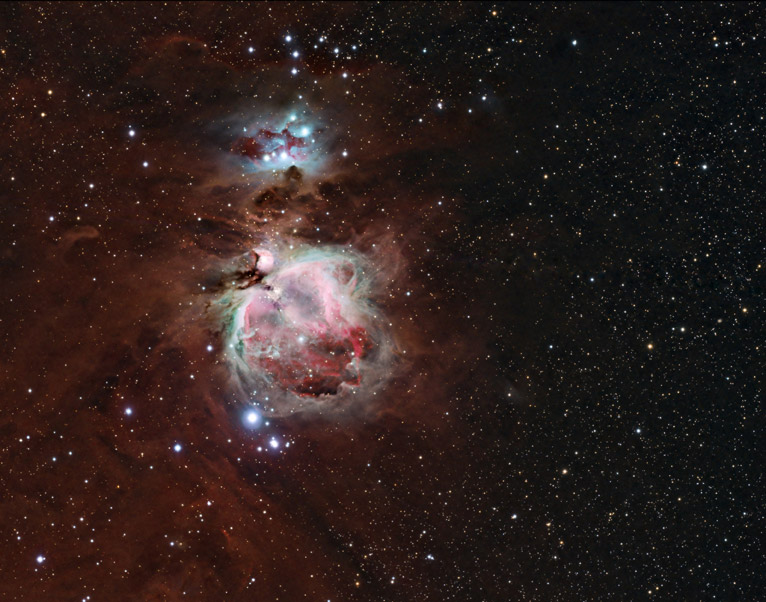
M42 _The Great Orion Nebula
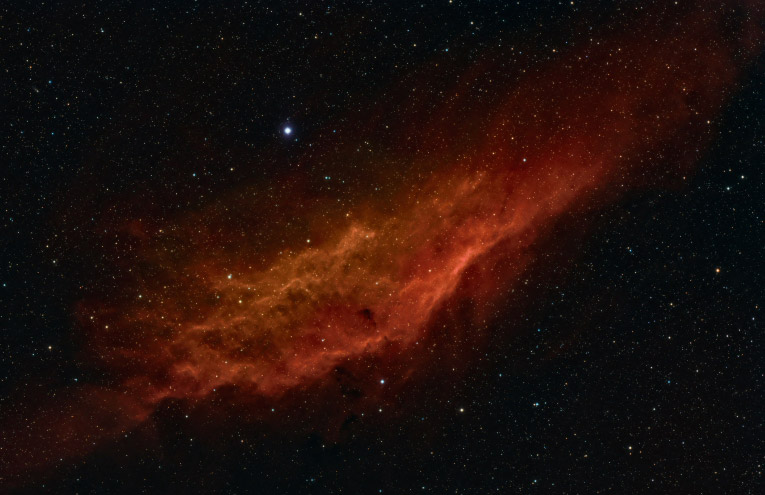
With the exception of the Orion nebula (shown above), most of the objects in photos shown here are not visible to the naked eye. The additional light gathering ability of the telescope helps to increase the visibility. Long exposures improve the image depth and visibility even more. This basically stacks more and more photons on the film or CCD until the image is visible. All of the images shown here contain at least several hours of integration time. As an example, the California Nebula was photographed with 6 filters, RGB and 3 narrow band filters over a period of 7 nights. This resulted in a total integration time of 18 hours. This may seem excessive, but image stacking helps significantly reduce the image noise. Even images from a modified DSLR produce fantastic results.
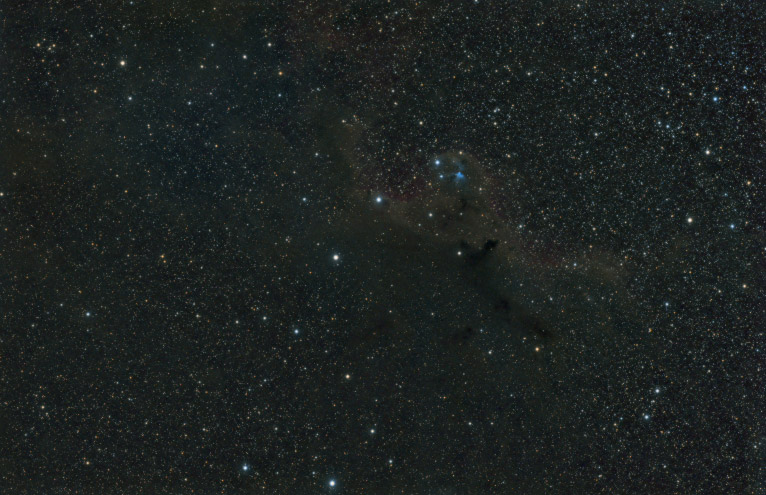
RGB Barnard 30 & Sh2-264
The image above was shot only with RGB filters and exposures of 5 and 10 minutes. The total integration time was 2.5 hours. I wanted to point out the difference of this image and the one directly below, which also includes data from 3 additional filters, Hydrogen Alpha (H-Alpha), Oxygen III and Sulphur II (narrowband filters). Each narrow band exposures were 30 minutes in length. Many were recorded over several nights bringing the total exposure integration time to nearly 20 hours. As you can see with longer the exposures, much more detail is visible.
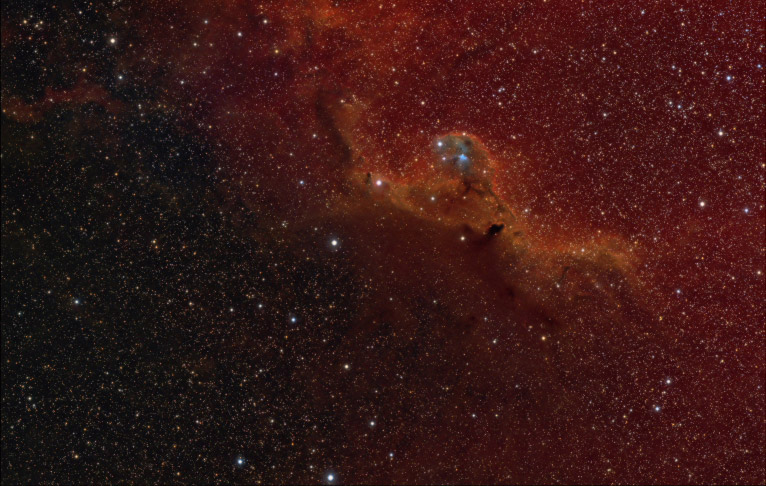
HaRGB Barnard 30 + Sh226
Each of these images also requires a significant amount of processing time. The individual monochrome image stacks needed to be processed. Then the data from each filter color needed to be color mapped, aligned and overlayed. Some final processing is done and the image is complete. At least, that’s the way it’s supposed to work. I always found that I never seemed to actually finish any image. I’d continually tweak and adjust until I was happy, each time thinking it was done.
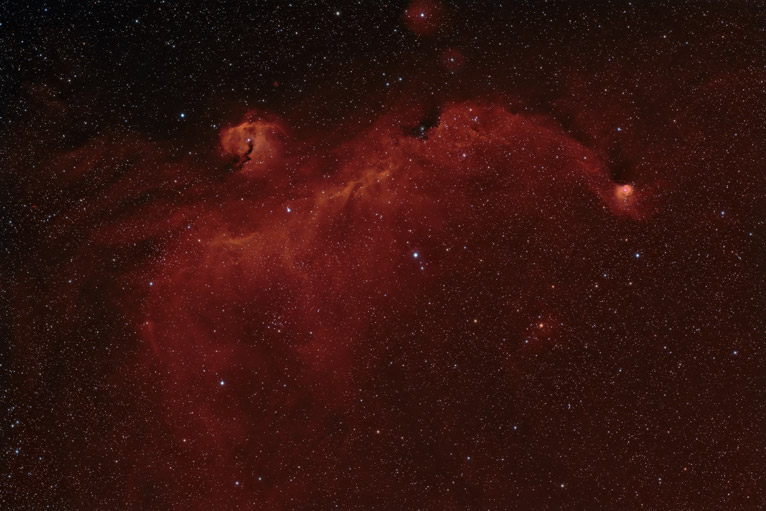
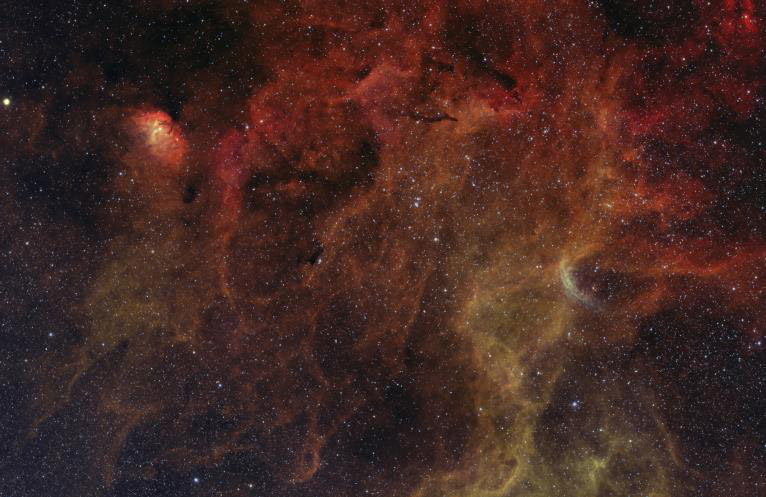
IC2177 – The Seagull Nebula
My imaging telescope is considered widefield (530mm f/5). It provides lower magnification, in favor of wider views of the night sky. Although slightly magnified, the images would still appear fairly large if you could see with super sensitivity.
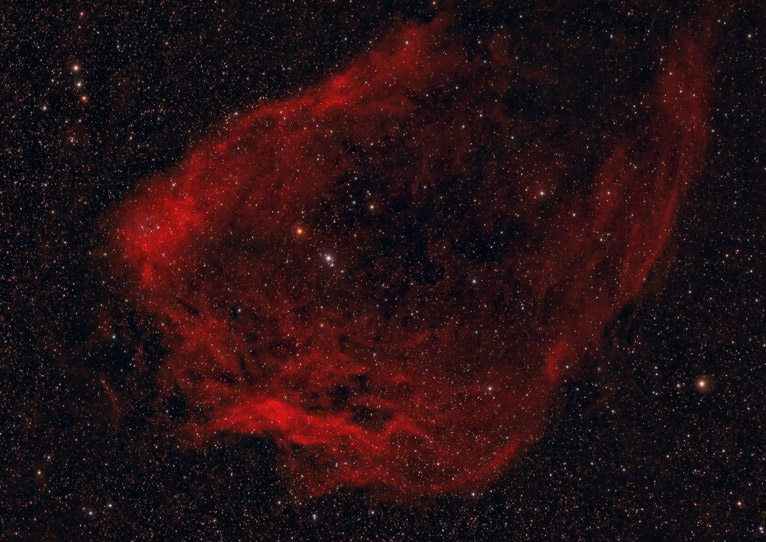
SH2-129 – The Flying Bat Nebula
In the next part of this short series, we’re going to take a look at similar celestial views. However, these images were recorded using only a single filter. I’ll share some of my all-time favorites in my favorite formats. Stay tuned.
Aside: Did you know that Life Pixel does camera modifications for astrophotography? As I described in an earlier astrophotography blog , most stock cameras need to be modified to be able to see the all-important hydrogen-alpha emission. This emission is deep red and is blocked by most stock camera UV/IR cut filters. Replacing this filter with a modified version that passes the H-alpha emission is very important for the highest sensitivity and best results. Alternatively, the camera can be modified for full spectrum use and external filters added for astrophotography use. You can find details in the links below:
