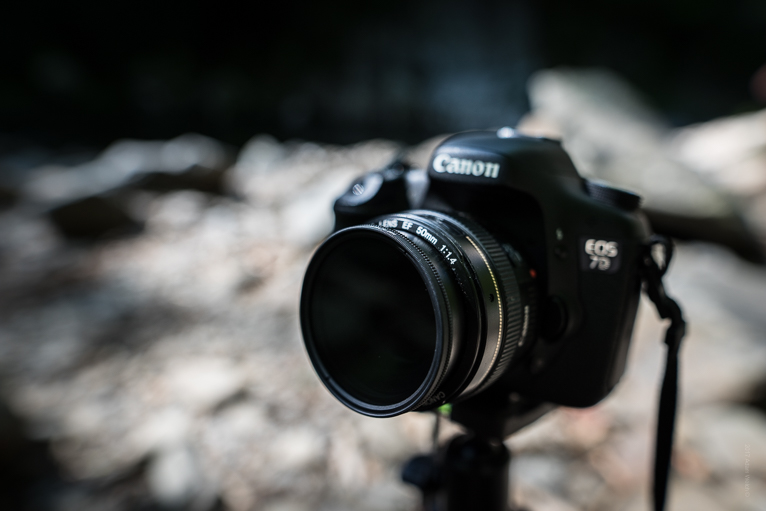
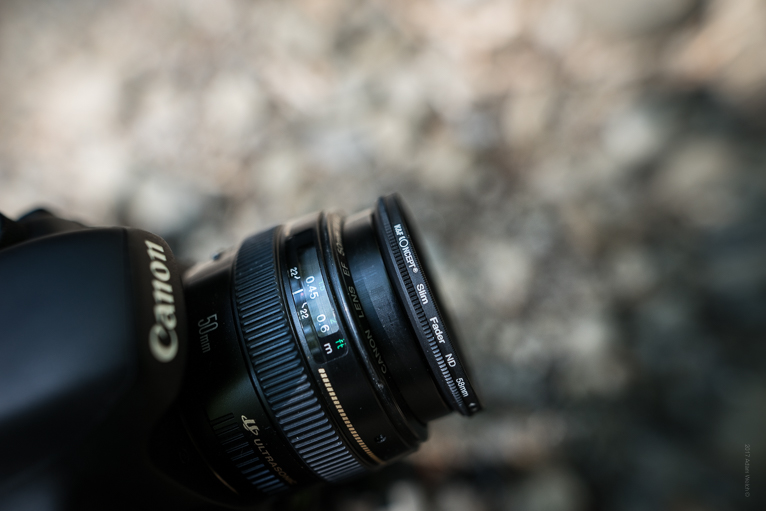
In the world of photography, light is a very unpredictable thing. It can destroy a photo if the photographer is not able to control and utilize it. Thankfully, there are filters that you can attach to the end of your camera lens that can help you control light. These filters work to reduce the amount of light that is allowed to reach the image sensor. Using the correct filter for a scene you are trying to capture can enhance the right aspects of your photo to make it as vivid and alive as it was when seen with your own eyes. In this article, we will cover four of the most popular filters that you will find useful in your photography.
Polarizer filter
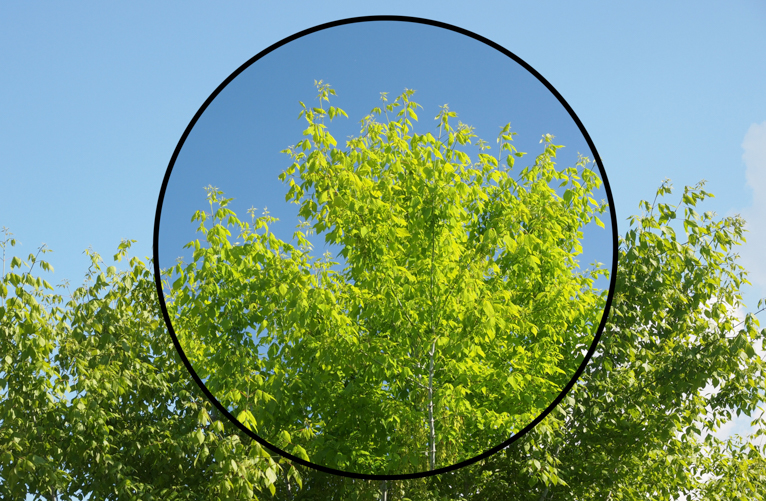
Polarizers work effectively to allow you to enhance the contrast and saturation of your photo (particularly greens and blues). These kinds of filters can significantly reduce reflections and atmospheric haze, keeping your colours rich and vibrant. Imagine looking down onto the surface of the water on a sunny day. A polarizer blocks the reflective light on the surface to avoid those harsh white areas you might see without one. Making use of a polarizer can be advantageous in certain situations more so than others, but it’s easy to remember the way it works if you’ve ever worn polarized sunglasses.
Landscape photography – if you have ever taken a photo with your camera of a landscape scene without any filters on your lens, you may have struggled with being able to capture the richness of the colours. Perhaps you noticed a slightly hazy look washed over your photo as if a thin layer of light is blocking the view. A polarizer can help you to darken a bright sky and bring out the colour depth.
Reflection reduction – any reflective surfaces (like water or glass) that can reflect light would otherwise be a headache to photograph if it weren’t for a polarizer.
Colour enhancement – sometimes the main focus of your photo is to enhance the colours of a subject. If you’re taking a picture outdoors in the daytime of someone, light rays can still affect the brightness of your subject and wash them out. A polarizer can fix that problem without you having to adjust things in post-production.
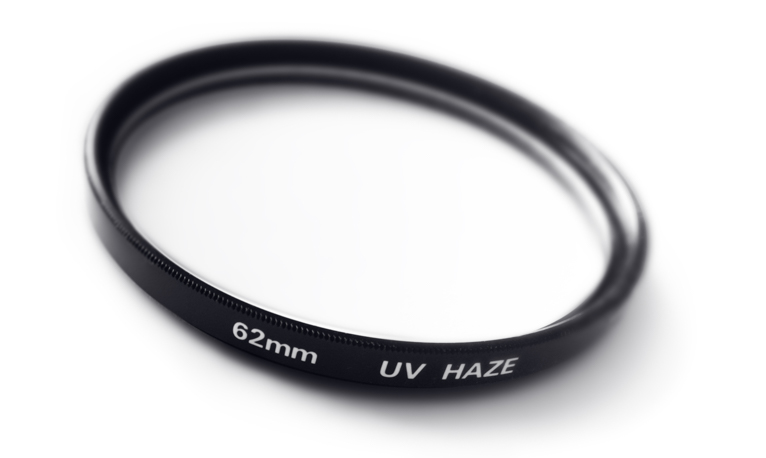
UV Filter
Although it isn’t visible in any way, UV light can affect your photos in specific ways. Without a UV filter, you could run into the problem of a moisture-induced haze. The light easily reflects into your image sensor if you are photographing near bodies of water or in the snow, influencing the contrast and saturation.
A UV Filter is also widely used to protect the camera lens from the possibilities of micro-scratches, dust, smudges, and other lens nightmares. This filter can be kept on your camera lens at all times as it is much cheaper to buy a replacement filter than repairing a scratched lens glass.
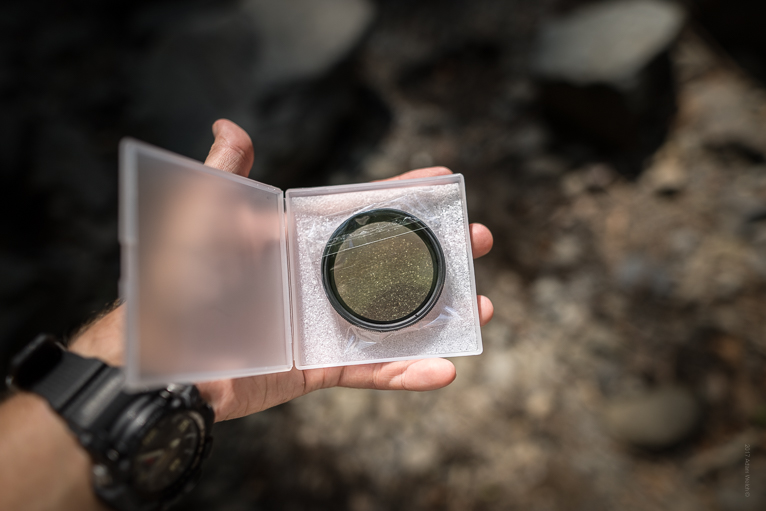
Neutral density filter
Like the other filters, a neutral density filter works to reduce the amount of light entering the camera. This filter doesn’t affect the colours at all but eases the brightness by a chosen amount. There are different strengths of ND filters, giving you control over how little or how much light you want to let into your photo. The darker the filter is the less light that enters the camera.
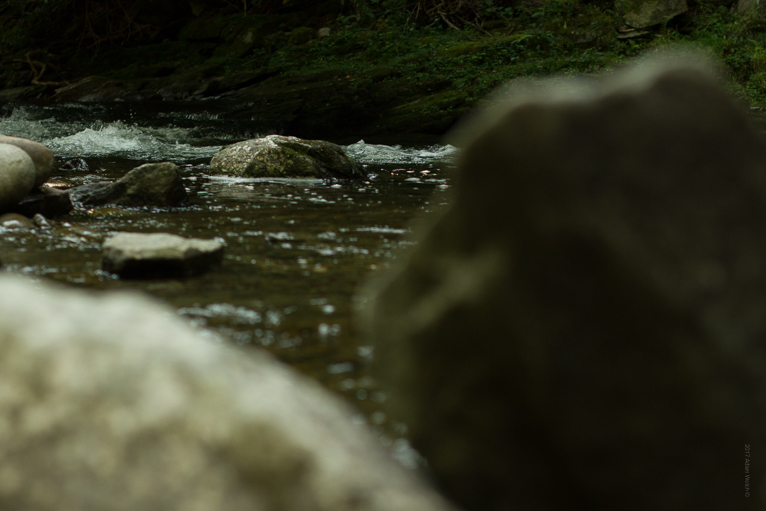
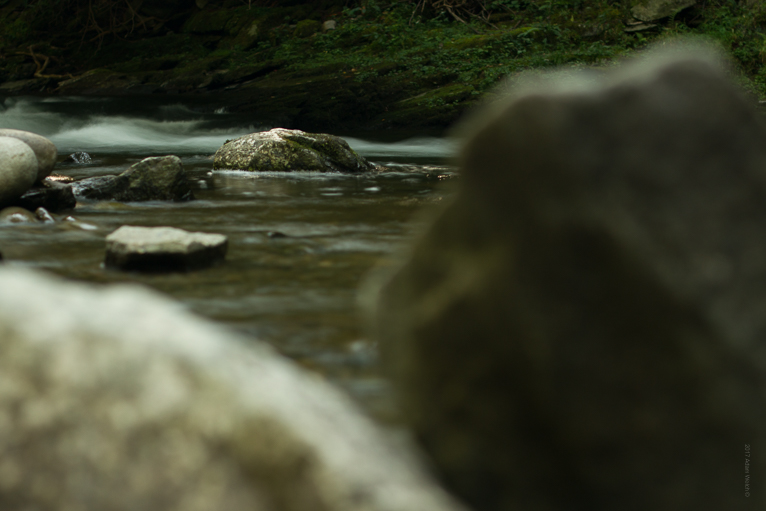
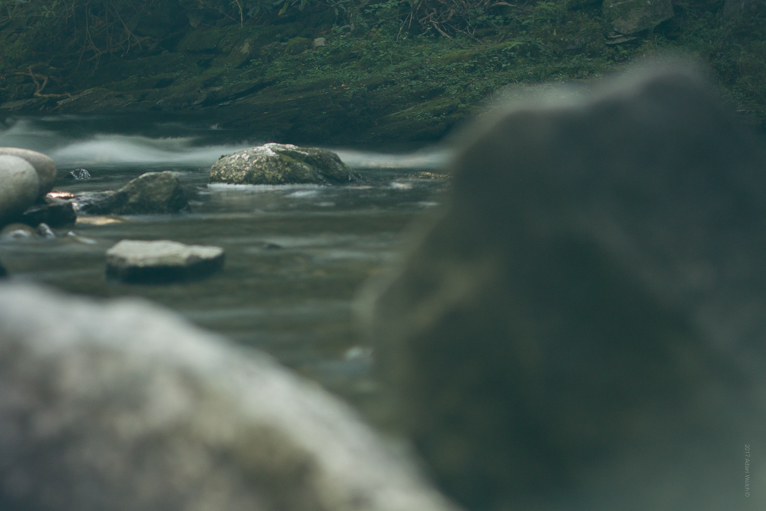
A neutral density filter is pretty useful because you can create some interesting photographs that capture motion at times when it is too bright. For this effect, you need a slow shutter speed which means more light is let into the camera. Without a filter, this can pose the risk of totally blowing out your photo. An ND filter is the perfect tool to use in bright conditions for capturing motion, giving you that blurred effect of something while preserving the colours, contrasts, and details.
Movement
Capturing movement with this filter can be creative, and the possibilities are endless. With a dark enough filter, you could essentially set up a tripod on a busy street with stationary buildings and objects. Then you can slow your shutter speed and get an image where people who are walking are blurred out completely giving a completely empty scene. It can be pretty unique if done correctly.
For a scene where everything in view is motionless, you can create a beautiful effect of movement with the clouds in the sky.
Graduated neutral density filter
These are ND filters that have a gradual light to dark shade. The advantage of a graduated neutral density filter is that they help to balance a photo that is heavier of light on one side. There are two types. One has a more gradual fade that looks natural (soft grad). The other type darkens quicker, with a more noticeable line of change (called a hard grad). There are also some filters where the dark area is in the centre of the filter and is ideal when the sun is low in the sky.
Split-Scene
The GND filter is often used in split-scene photos. An example of a split-scene image would be in a landscape where the sky has too much light. You have to be careful with this filter, though, because if something in the foreground crosses the split, it will extend into the darkened half of the filter. But with careful adjustment of the filter, you will be able to get a balanced shot. I can honestly say that I would rarely ever take a landscape shot without a graduated ND filter.
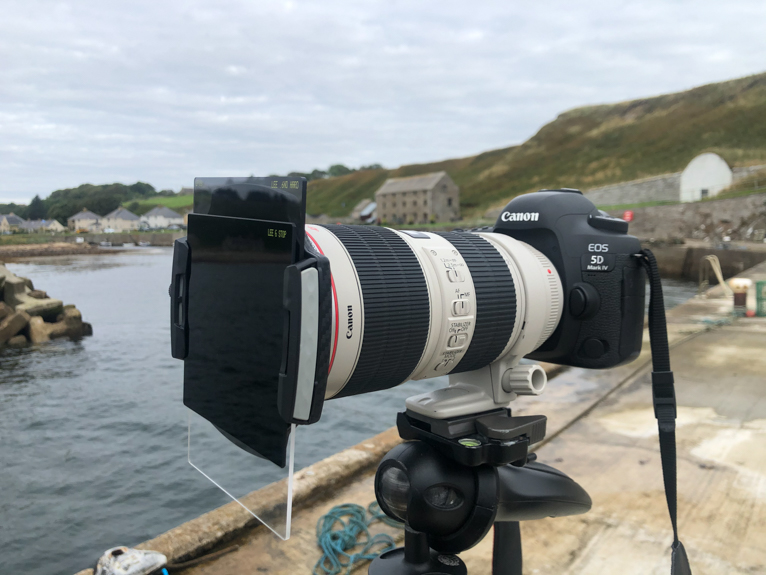
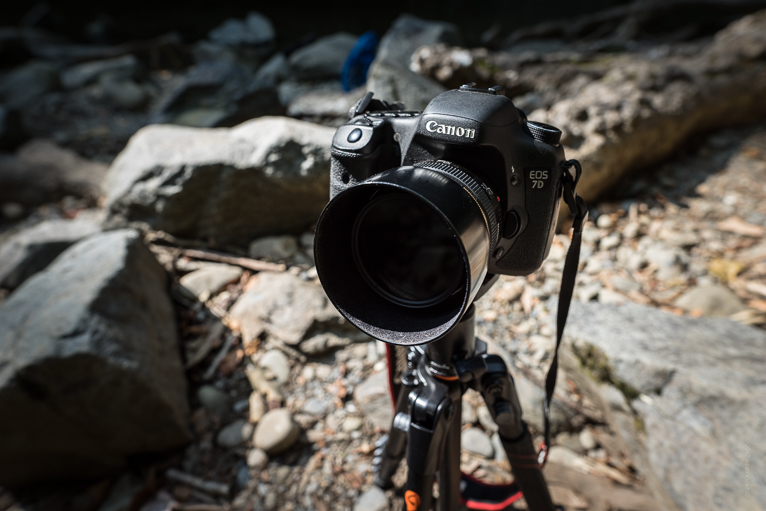
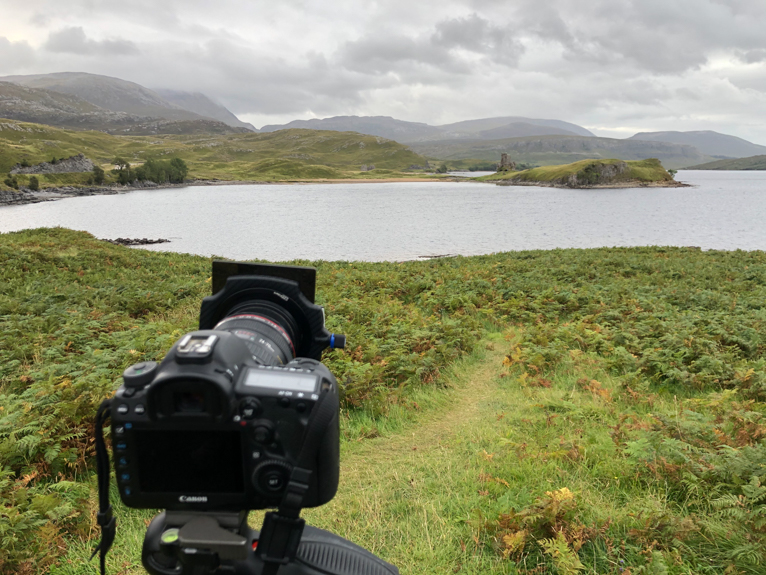
You can also stack filters when needed. Here is an ND filter in front of a GND filter.
If you’re unfamiliar with when to use filters, start with a polarizer or neutral density one. Take a test photo to see how the filter affects the lighting of the image, and adjust from there, whether it is the aperture or shutter speed. Keep in mind that cheaper plastic filters can have a detrimental effect on your photos by reducing sharpness and also creating colour casts. So try to invest in good quality glass filters from reputable brands such as Lee.
Photo credits: Kav Dadfar – All rights reserved. No usage without permission. Dreamstime.