• Cart
  • Checkout
  • My Account

Infrared Conversions, IR Modifications & Photography Tutorials | Life Pixel IR

The world leader in infrared conversions, modifications & DIY IR conversion tutorials. Scratched sensor replacement, UV & Full spectrum conversions.

The world leader in infrared camera conversions

866.610.1710
  • Home
  • → Start Here ←
    • 1 – Introduction
    • 2 – Filter Choices
    • 3 – Focus Calibration
    • 4 – Lens Considerations
    • 5 – Camera Considerations
    • 6 – Start Shopping
  • Galleries
    • Infrared Photography
    • Infrared Time Lapse
    • Infrared Cinematography
    • Infrared Stop Motion
    • Ultraviolet Photography
    • Forensic Photography
  • Education
    • Training Sessions
    • How To Shoot Infrared
    • AR Coated Infrared Filters
    • Lens Hot Spot Database
    • Photoshop Video Tutorials
    • Infrared Issues & Solutions
    • IR Basics in Photoshop
    • Camera Quick Start Guide
    • DIY Conversion Tutorials
    • IR Photography Primer
    • Secondhand Cameras
    • Wall Of Shame
  • Workshops
  • FAQ
  • Blog
    • Tutorials
    • Inspiration
    • Locations
    • Gear
    • News
    • Other
  • Why Choose LifePixel?
    • Submit Your Review
  • Contact
  • Shop

Smarter Sharpening with the High Pass Filter in Photoshop

Share
Pin
Tweet
Email
Share

What if I told you that sharpening as we know it in photography isn’t real? That might be a little hard to believe but the truth is that it is actually impossible to make an image physically sharper after it has already been made. Sharpening a photo is simply an illusion. We can make a photograph appear to be sharper. Our digital images can be made to look sharper by adjusting the contrast of the pixels around the edges of shapes within the photo and this is what we are going to talk about today. We will look at how you can easily make your photos more sharp quickly using the high pass filter in Photoshop.

What is the High Pass Filter?

The high pass filter is just a method of creating a sharpening effect to your photo based on the pixels surrounding the contrasted edges of the elements within the image. While Photoshop has some dedicated sharpening tools(unsharp mask, smart sharpening) the high pass filter is the method I tend to use the most because I love the total control it gives me over my sharpening.

Using the High Pass Filter

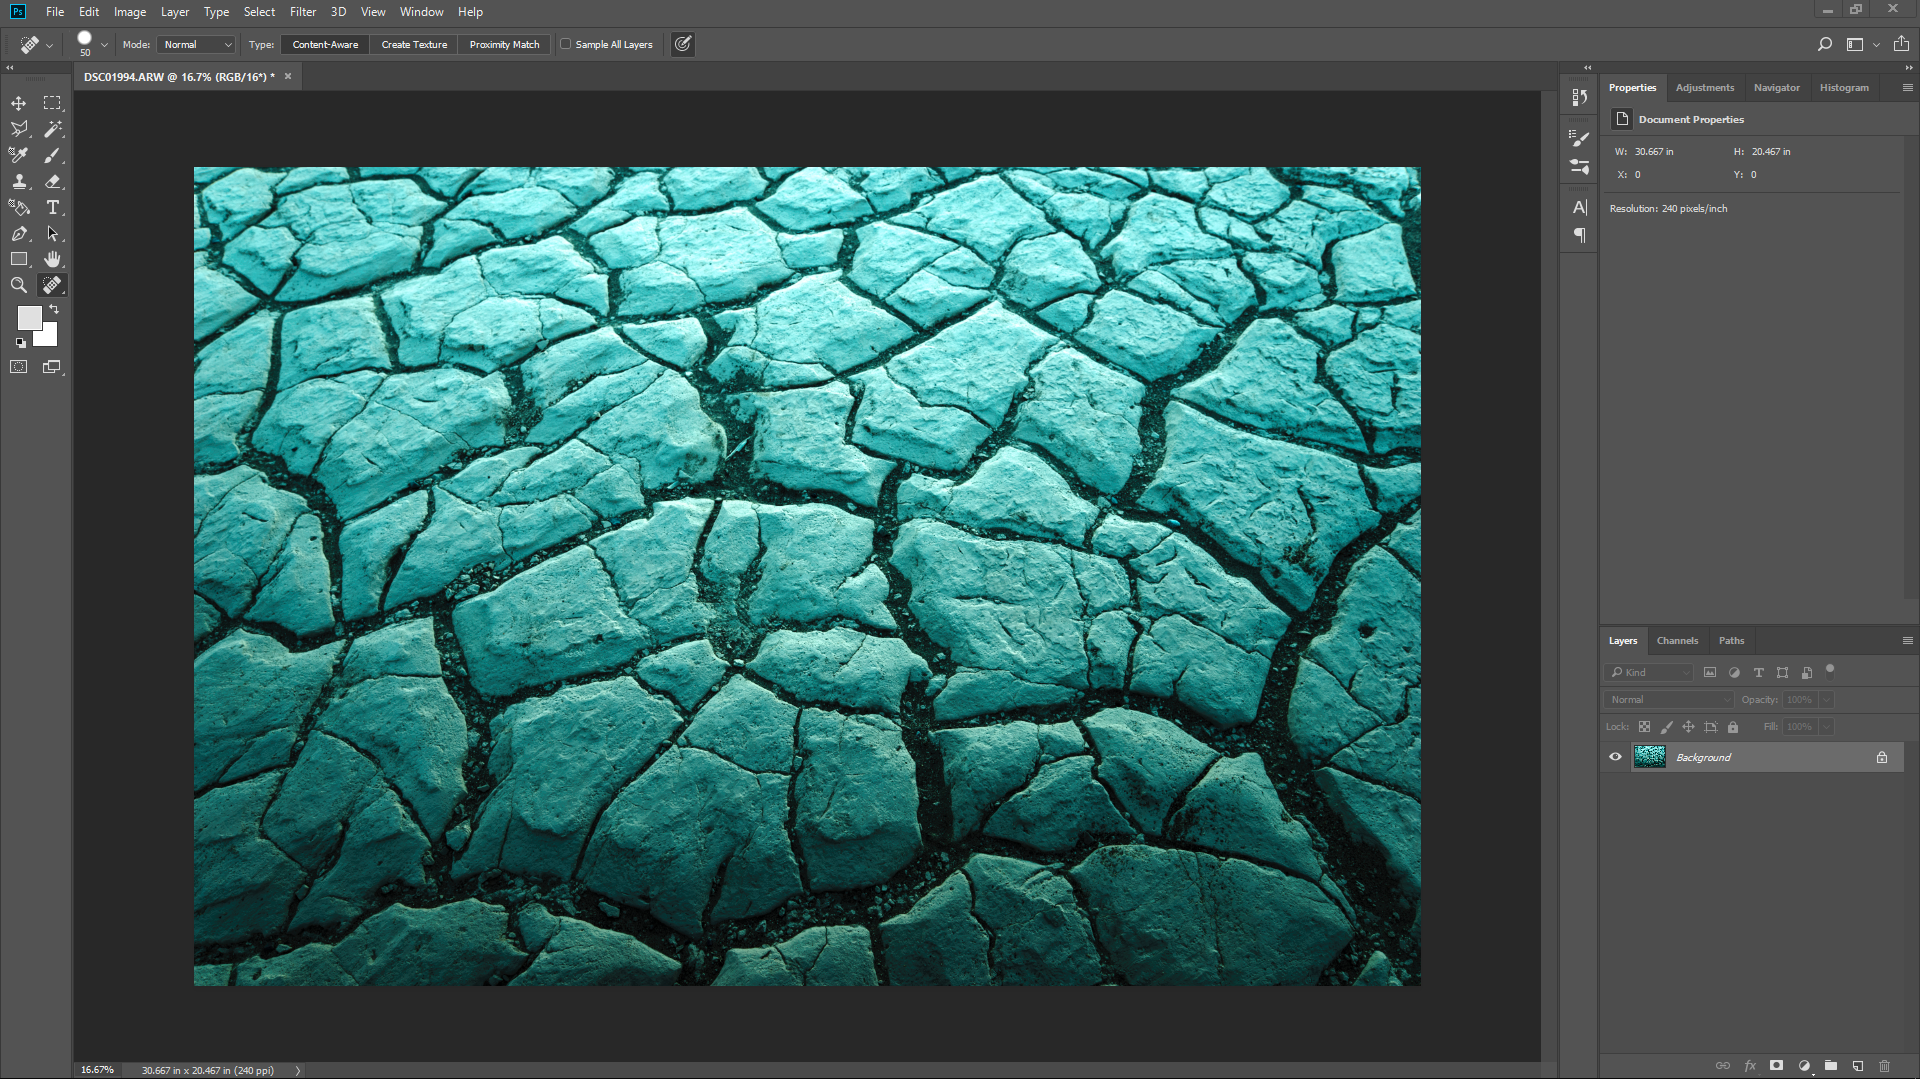
To get started with sharpening using the high pass filter it is highly recommended that you complete ALL of your edits prior to performing the sharpening. This means that if you’re like me and do most of your processing in Lightroom and then export to Photoshop for finishing you will leave your high pass sharpening for the very last step. When you’re ready to sharpen, open your image in Photoshop.

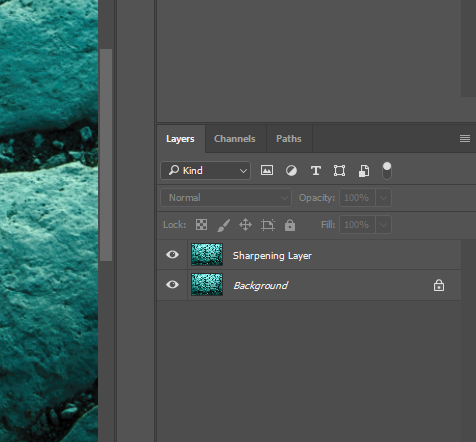
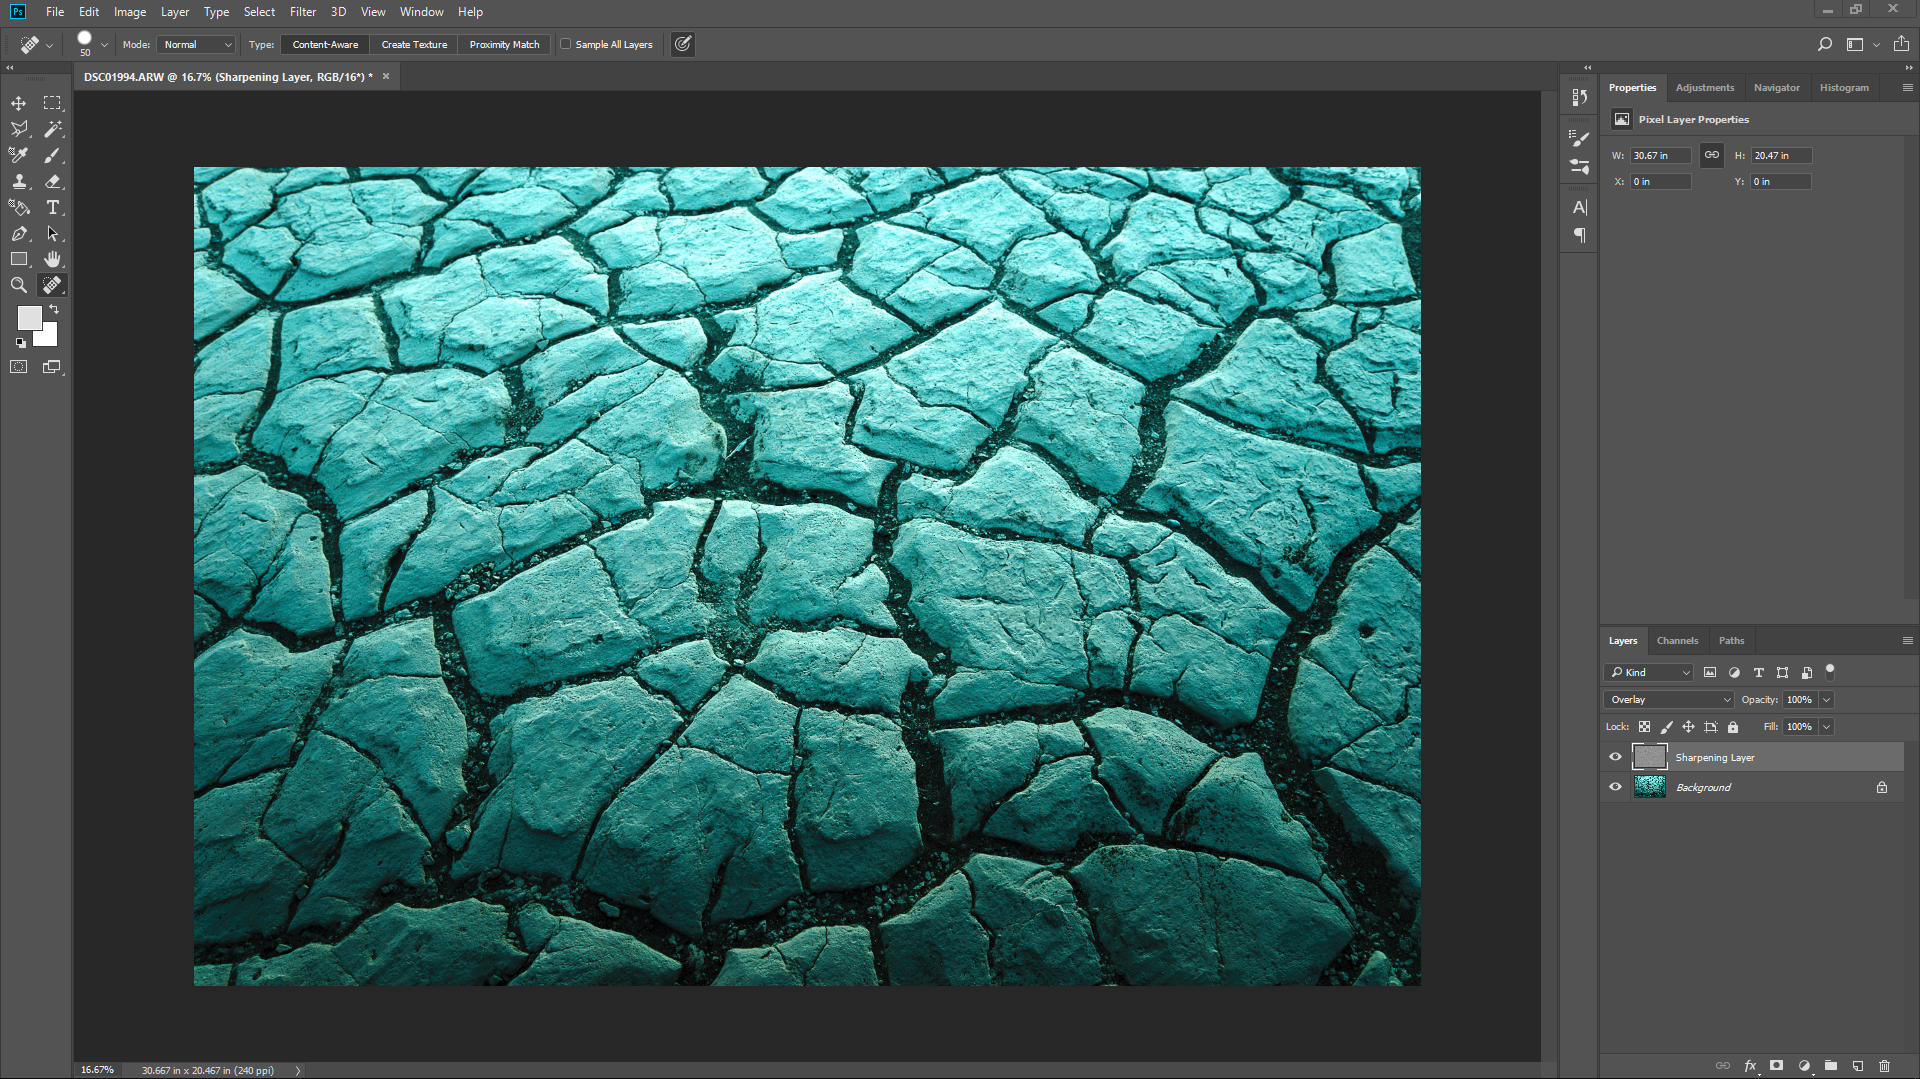
Next, duplicate the layer by using keyboard shortcut Ctrl+J(Cmd+J for Mac). This is the layer where the high pass filter will be applied. I’ve renamed it “High Pass Layer” so it’s easier to see.


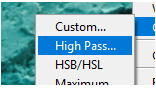
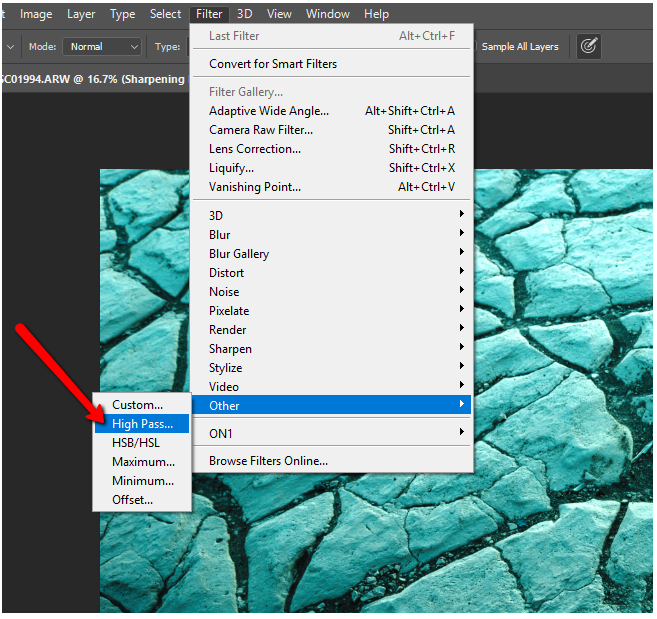
Make sure the new high pass layer is selected and then click on the ‘Filter’ tab and then ‘Other’ and lastly select ‘High Pass’.

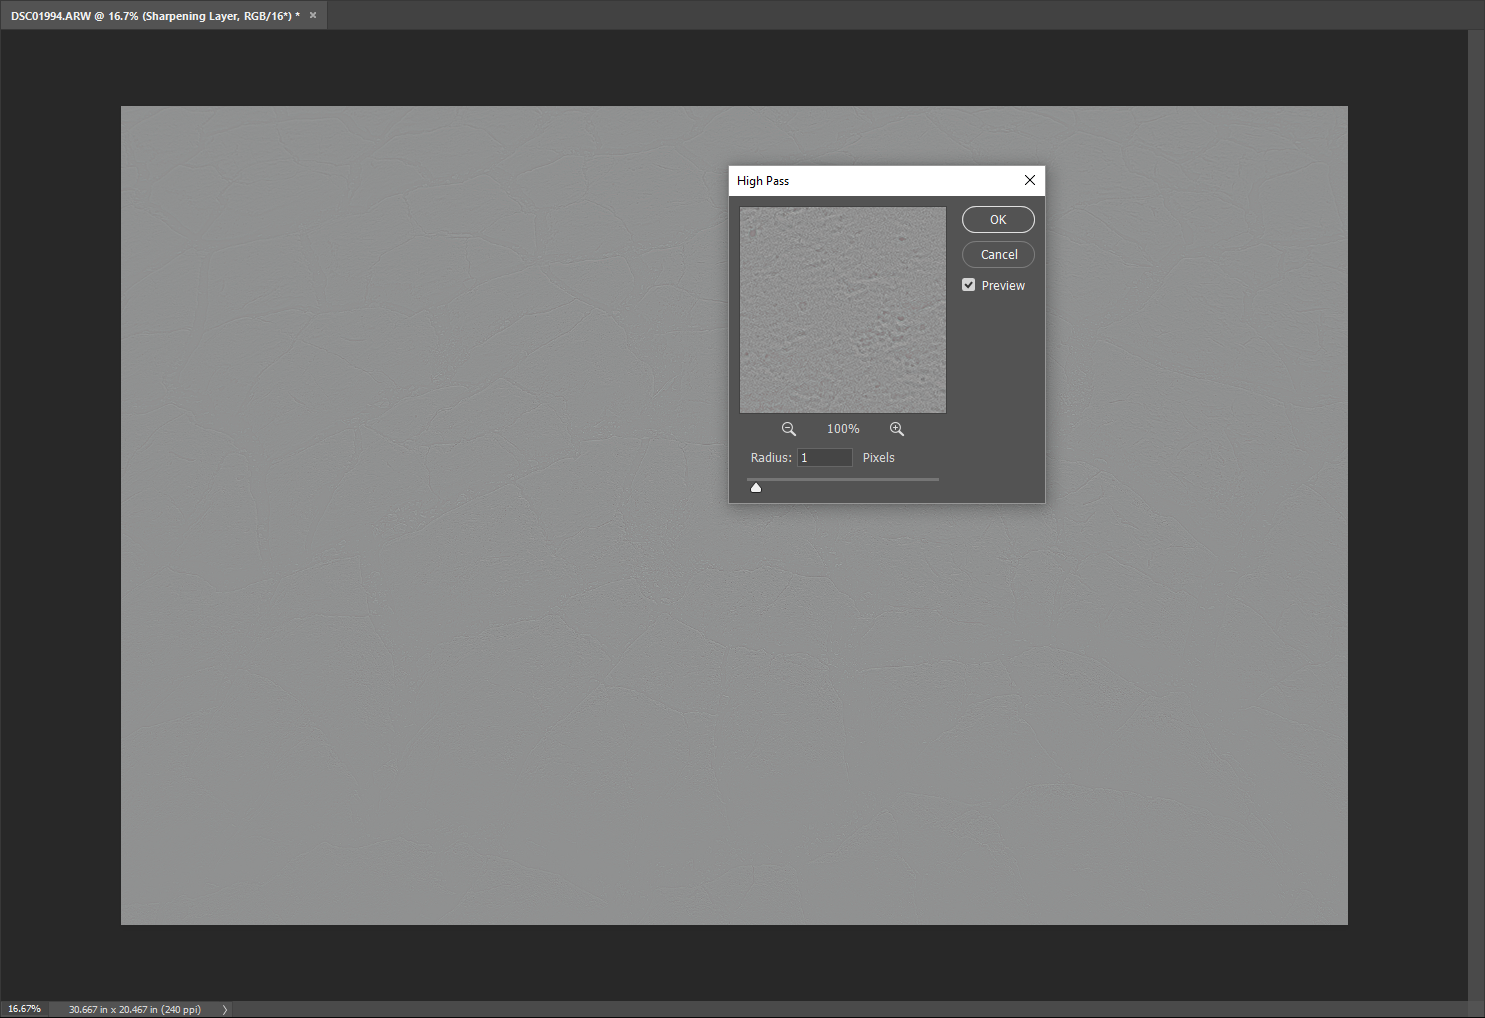
You’ll notice an abrupt change to your image. It will essentially go completely grey. Don’t panic because this is exactly what we want to happen. But we have a choice to make and that is what radius we set for the high pass filter.

The radius controls the amount of pixels which are targeted around the edges where the sharpening will be applied. There’s a lot of wiggle room here and it generally is based on the resolution of your camera. The higher megapixel your camera the higher you can set the radius without causing unsightly effects such as halos and glowing edges. Let me show you what I mean. Here is the high pass filter with a radius of ‘1’…

And now here it is with a radius of ‘36’.

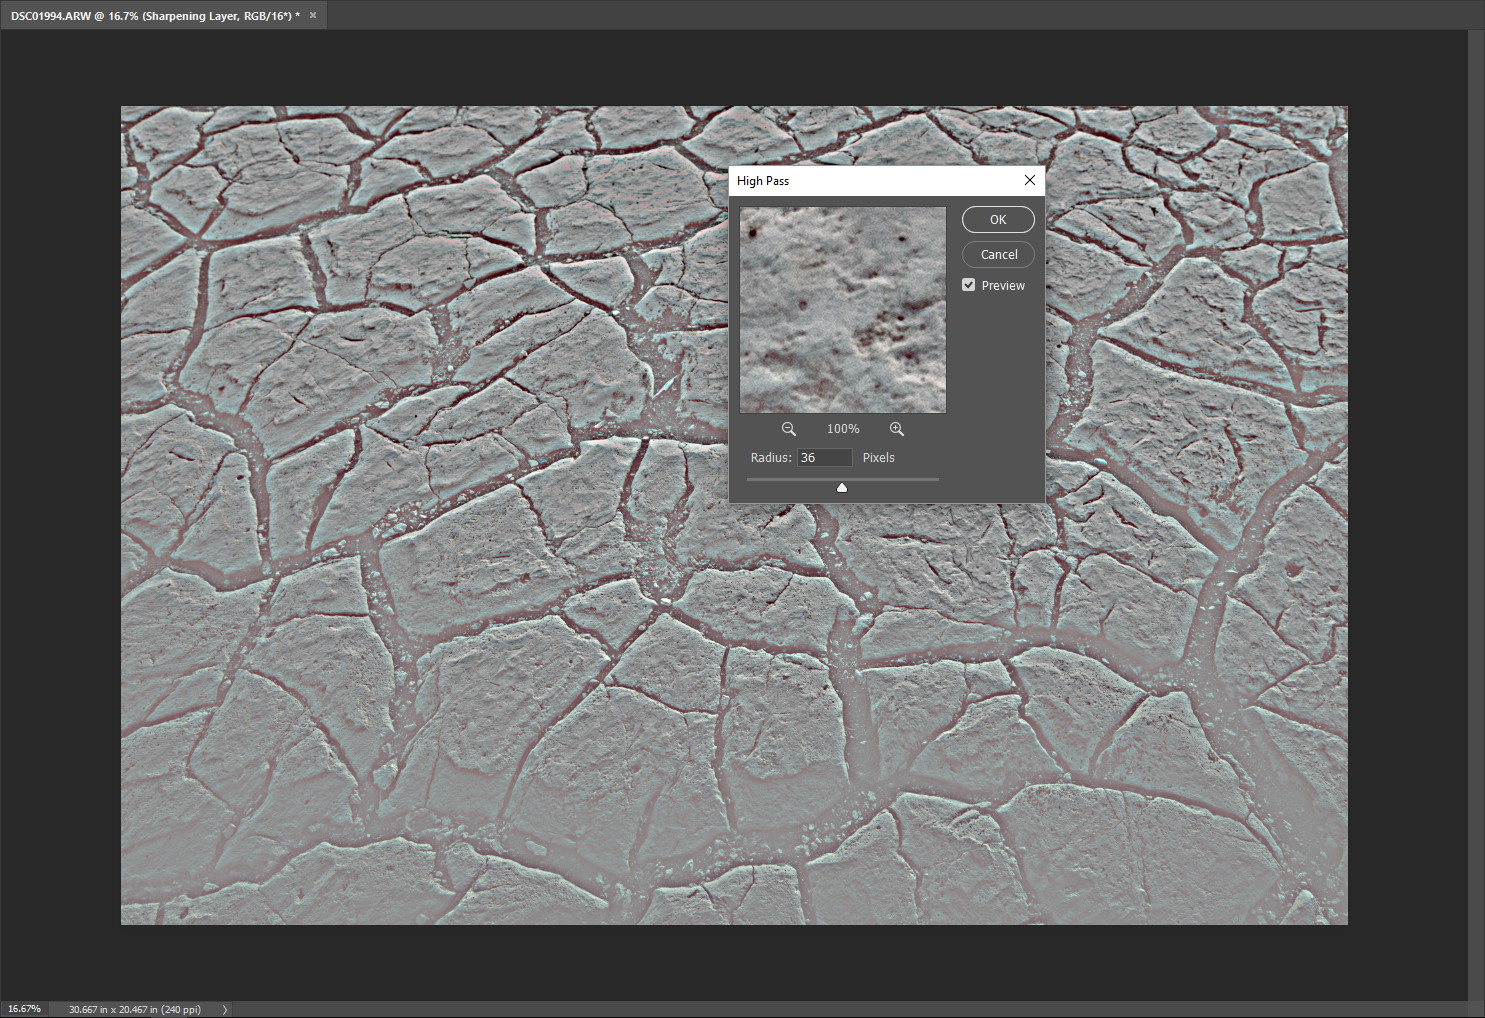
The higher the radius the more of the image will be affected. This particular photo was made with a 36.4 megapixel camera and I find a radius of ‘4’ to be the proverbial sweet spot. Adjust your radius accordingly.

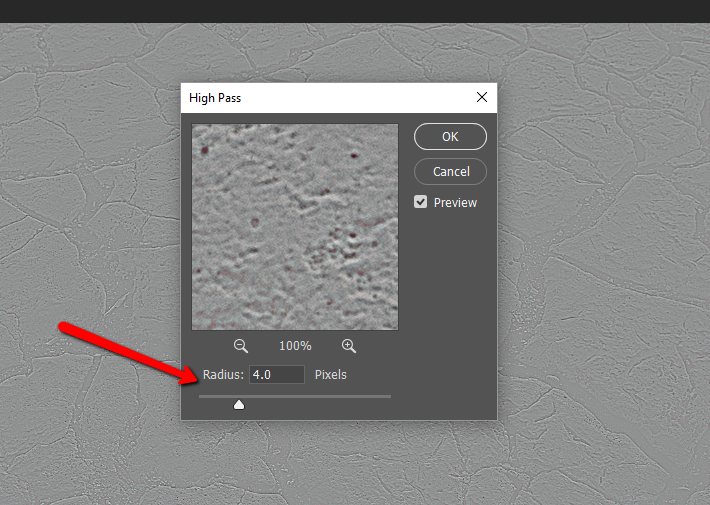
Click ‘OK’ to apply the high pass.

But wait, this still looks horrible and gray and not at all what we want.

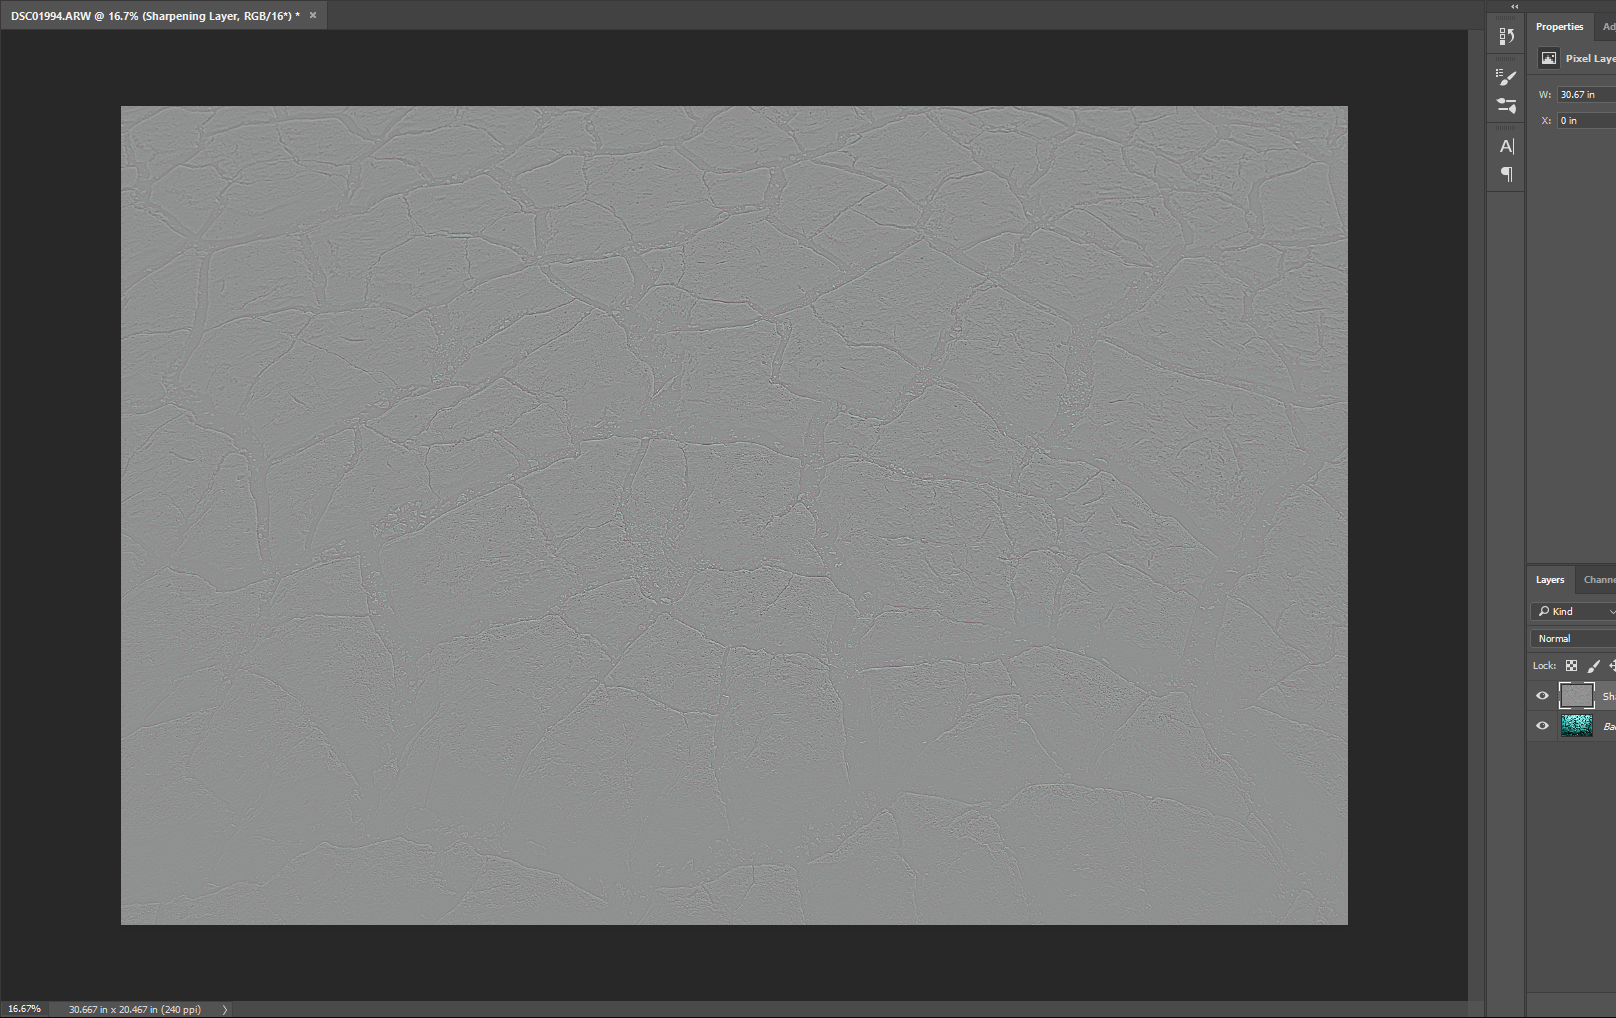
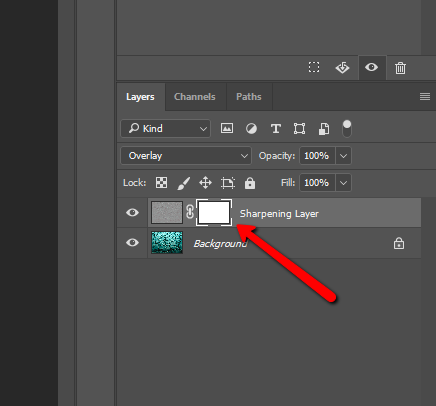
The next step is key. We have to change the blend mode of our sharpening layer. There are multiple choices here but the ‘Overlay’ option tends to work best with virtually all images and is the blend mode I use. After the overlay blend mode is selected we have what is essentially our final sharpened image.

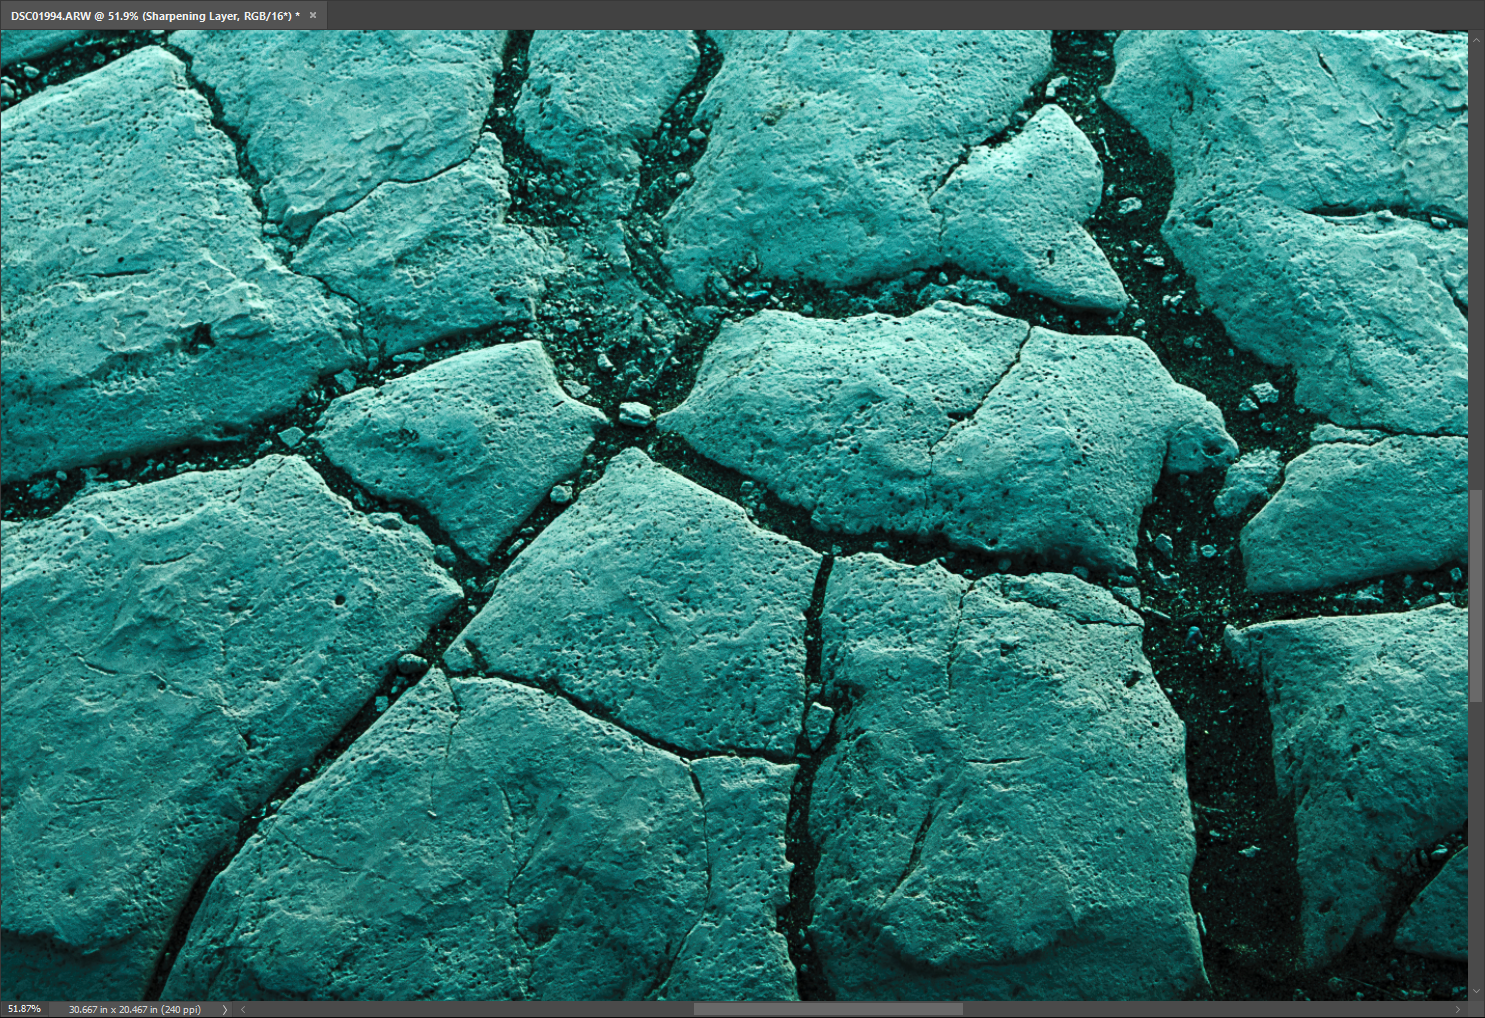
Have a look at the difference the high pass filter has made in terms of sharpness. Here is the unsharpened photo….

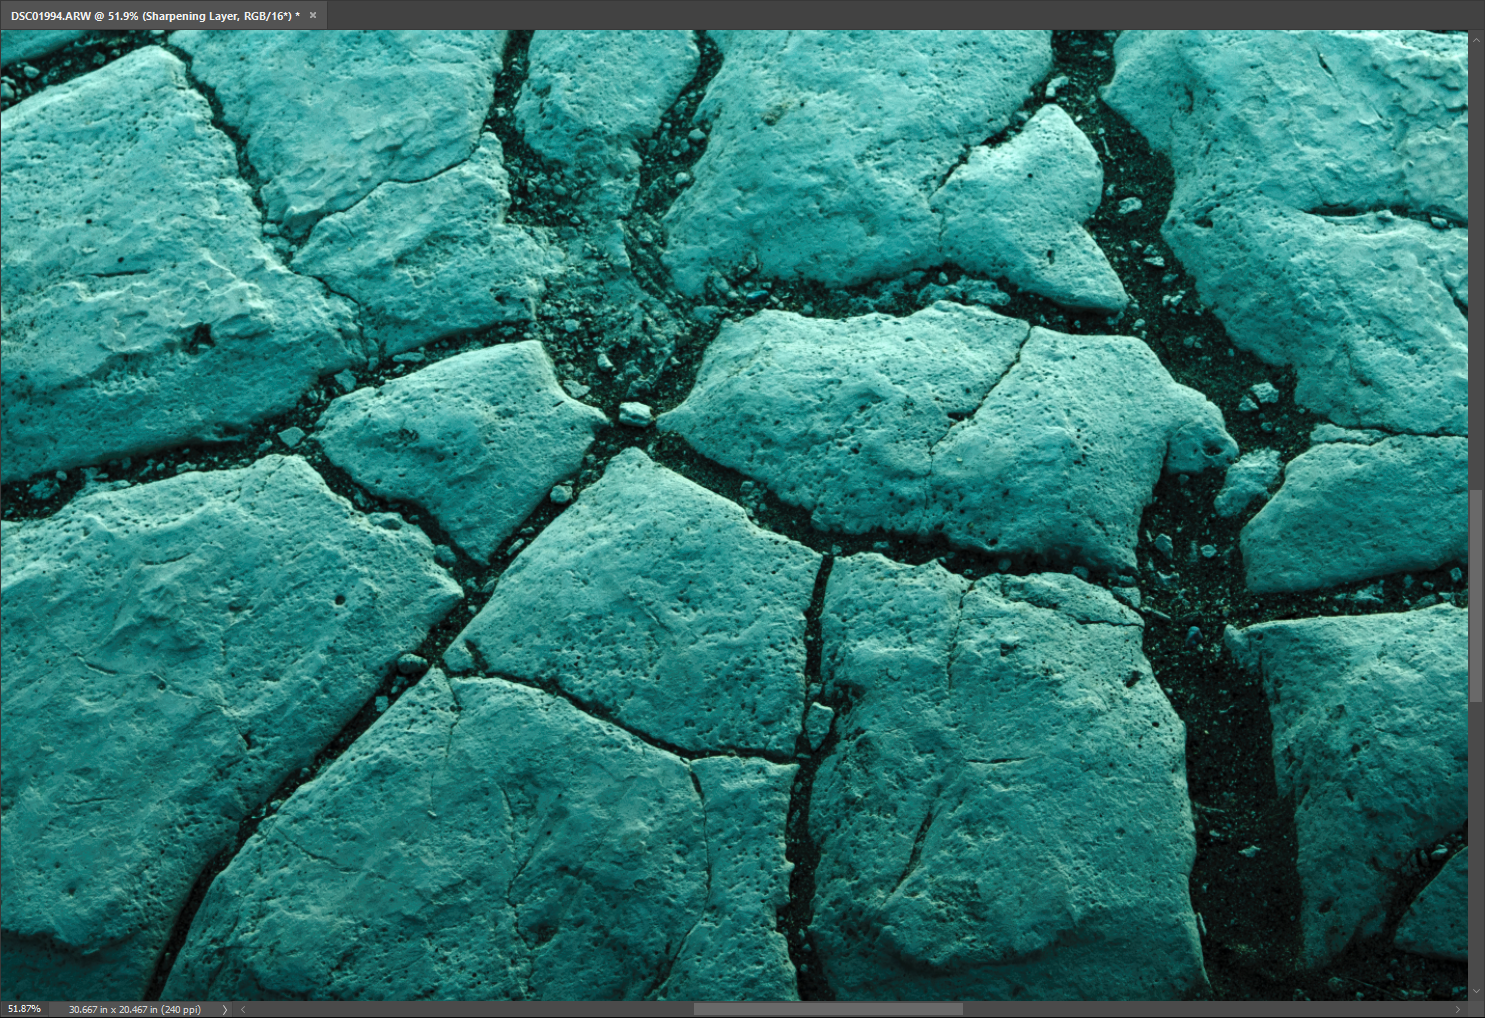
And now the freshly sharpened version….

Closing Thoughts on Sharpening with the High Pass Filter

Don’t forget, not only can the high pass filter be applied easily but like any other layer adjustment in Photoshop the opacity can be adjusted until you reach the exact level of desired sharpness. Furthermore, adding in a layer mask to the sharpening layer can allow you to take complete control over the sharpening effect and only apply it to the areas of the photo you choose.

The best bit of advice when it comes to sharpening an image using any method is that less is usually more. Always remember that an over sharpened image is often less appealing than one that is slightly soft. Enjoy using the high pass filter in Photoshop!

  • Latest Articles
  • Author Bio
Adam Welch

Latest articles by Adam Welch (see all articles)

  • Bare Bones Photography: What Gear Do You Really Need? - May 13, 2018
  • A Simple Explanation of Aperture - May 13, 2018
  • The Case for Black and White Photography - May 13, 2018
Adam Welch

Adam Welch

Photo maker, author, and adventurer currently based in the western portion of his home state of Tennessee. You can usually find him on some distant trail making photographs or at his computer writing about all the elegant madness that is photography. Follow his sometimes controversial Blog on everything related to photography and then check out his cozy home on Instagram.

Adam has also authored one of the most comprehensive guide books on using Adobe Lightroom Classic CC.  You can get your copy of Lightroom Mastery:
A COMPLETE GUIDE TO WORKING IN LIGHTROOM CLASSIC CC HERE!


See All Articles by Adam Welch
Share
Pin
Tweet
Email
Share

Related Posts

  • 10 Tips to Help You Get Started in Photography
    10 Tips to Help You Get Started in Photography
  • 8 Tips to Improve Your Mountain Photos
    8 Tips to Improve Your Mountain Photos
  • 6 Tips For Photographing Waterfalls
    6 Tips For Photographing Waterfalls
  • Using the “3 Picture Story” Technique to Improve Your Story Telling Images
    Using the “3 Picture Story” Technique to Improve Your Story Telling Images

Filed Under: Tutorials Tagged With: adobe, landscape photography, Lifepixel, lightroom, Photographer, Photography, photography tips, photoshop, processing, tutorial

Comments

  1. Matt says

    August 9, 2019 at 5:36 am

    I found out that applying Overlay *before* High Pass allows me to see live the sharpening and allows me to adjust accordingly.

    Reply
  2. Robert Thompson says

    June 21, 2018 at 2:25 am

    I found this post to be very informative and helpful. I will have to recommend you to my friends. I am very thankful to you for giving this post.

    Reply
  3. David Reade says

    March 14, 2018 at 4:01 pm

    One more suggestion – convert the sharpening layer to a smart object – that way the radius can be adjusted at any time.

    Reply
  4. Gordon Bain says

    February 21, 2018 at 11:06 am

    Good to see this sharpening method being used. I only ever use this method and a couple of very nice things about it is the fact that it is non-destructive and you can go back to the file at any time and tweak it or get rid totally.

    Overlay blending works well but, as Adam points out, do try other blending modes; I normally use Hard Light. It all depends on personal taste.

    I heartily encourage the use of this method.

    Reply

Leave a Reply Cancel reply

Your email address will not be published. Required fields are marked *

Blog Topics

  • Tutorials
  • Inspiration
  • Locations
  • Gear
  • News
  • Other/Misc

What our customers say:

Life Pixel has been a life-changer for me. Continue reading
Eric GConnecticut
Read more reviews
I am more than satisfied with the service I received Continue reading
Christopher JCanada
Read more reviews
I am more than pleased with the conversion job that you did Continue reading
LOUIS MWaco, Texas
Read more reviews
I am VERY impressed with his knowledge of your products and his patience in explaining it to a novice like me. Continue reading
Lynn FEssex, Maryland
Read more reviews
Things will only get better from here thanks to all of you. Continue reading
Phillip FRedding, California
Read more reviews
The Lifepixel newsletter reminds me of not having expressed my gratitude for the excellent job you made. Continue reading
Michael GGermany
Read more reviews
Your staff went above and beyond the call of duty to make sure everything was handled in an excellent manner. Continue reading
Paige RPearland, Texas
Read more reviews
It has given my old camera a new life, I will enjoy using it again. Continue reading
William PAustralia
Read more reviews
Excellent service and the camera works just great Continue reading
Hans FairhurstAustralia
Read more reviews
I just got my converted camera back from you guys. THANK YOU!!!! Continue reading
Anne CutlerForest Knolls, CA
Read more reviews
infrared_filter_choices_sidebar
ir_conversions_explained_sidebar
----------- Watch More Videos -----------
infrared_quick_start_guide

Ready to start shooting Infrared?

Convert My Camera

Subscribe To Our Newsletter

Receive updates, tips, cool tutorials, free stuff and special discounts.

Learn the Basics

  • Video
  • Start Here
  • Filter Choices
  • Focus Calibration
  • Lens Considerations
  • Camera Considerations
  • Place Your Conversion Order

Resources

  • Galleries
  • Lens Hot Spot Database
  • IR Tutorials
  • FAQ
  • Infrared Filter Choices
  • Infrared Photography Guide
  • Infrared DIY Tutorials

Company

  • Why Choose Us
  • Get In Contact
  • Job Openings
  • Write For Us
  • Affiliate Program
  • Terms of Use
  • Privacy Policy
  • Home
  • Start Here
  • Galleries
  • Tutorials
  • FAQ
  • Blog
  • Why Choose LifePixel?
  • Shop
  • Contact

Copyright © 2025 Life Pixel Infrared - All rights reserved - LifePixel Infrared Photography IR Conversion, Modification & Scratched Sensor Repair