When K&F Concept was first brought to my attention I will admit that I had never heard of the company before. The world of camera gear and gadgets is of course, “saturated” to say the least. So, when I took a closer look at K&F, I was pleasantly surprised at the apparent quality of many of their offerings.
I just received their “Large Professional Camera Backback” and after a quick once over I’d like to share my thoughts on this surprisingly outstanding(and affordable) gear bag.
So, grab a snack and take a seat. Hopefully you will be as happily surprised as I was to have a look at this nifty camera bag from K&F Concepts.
First Impressions
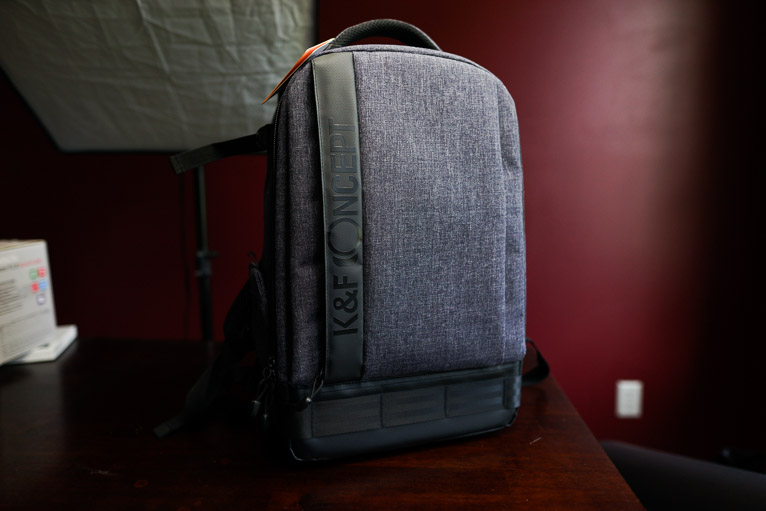
After a hurried unboxing, the bag emerged as a welcomingly unassuming backpack.
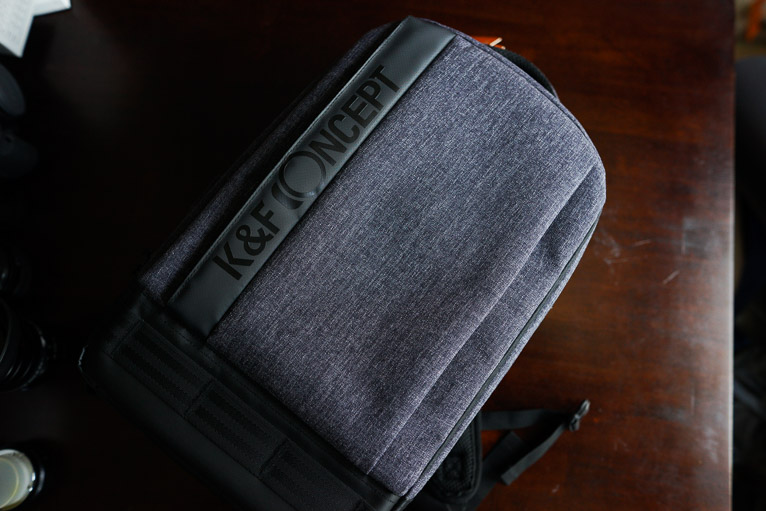
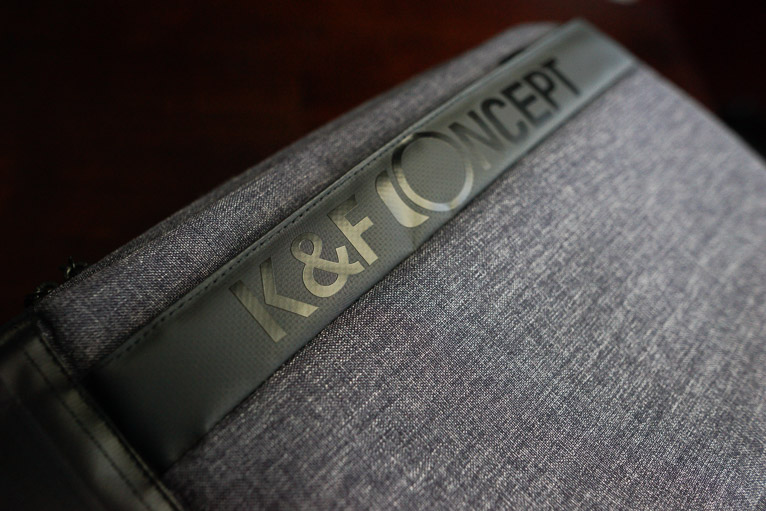
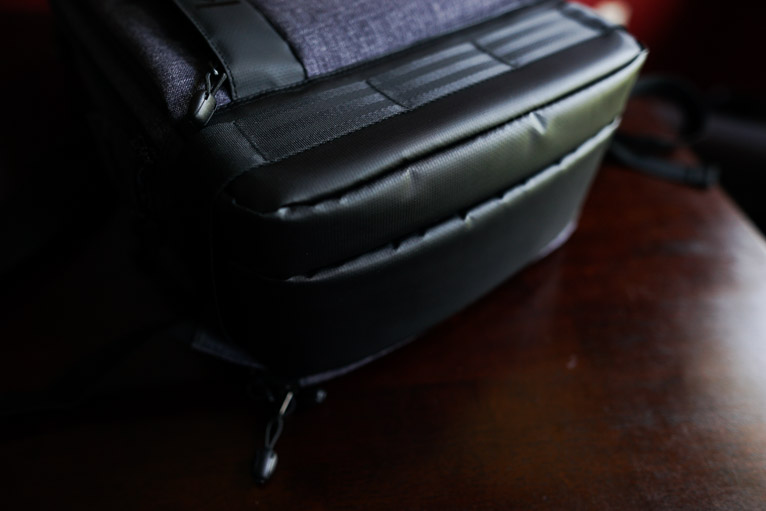
I was expecting it to be somewhat larger(it is a “large afterall) and I was glad to see it wasn’t bulky. The material itself resembles a stone washed denim and looks great. I like the look of the pack. Urban, casual, and streamlined. It would find itself well at home on the sidewalk during a street photography outing or as a refined travel option when shooting on the go. The bottom of the bag’s exterior is lined in black faux leather that adds not only aesthetic appeal but also protects the part of the bag that is likely to contact the ground the most.
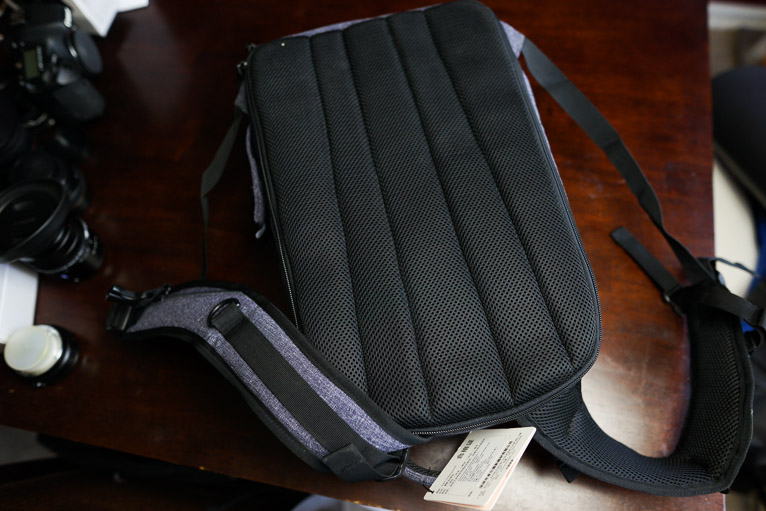
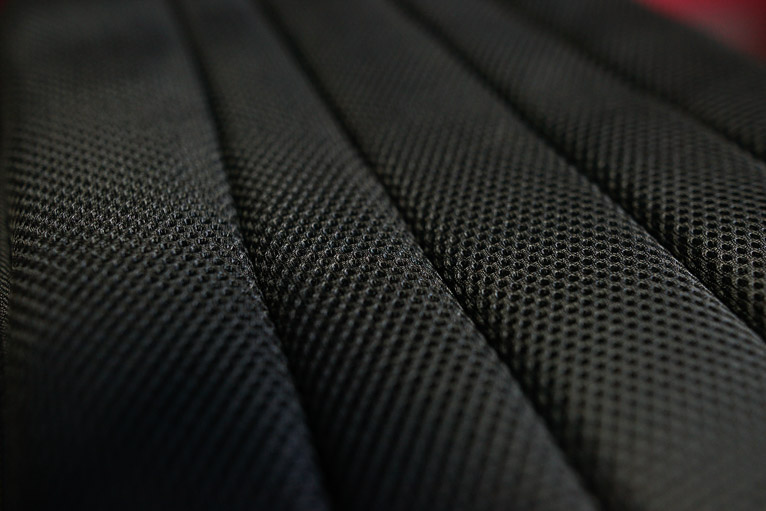
The straps are nice and wide and very comfortable with a mesh backing that works to keep your shoulders cool.
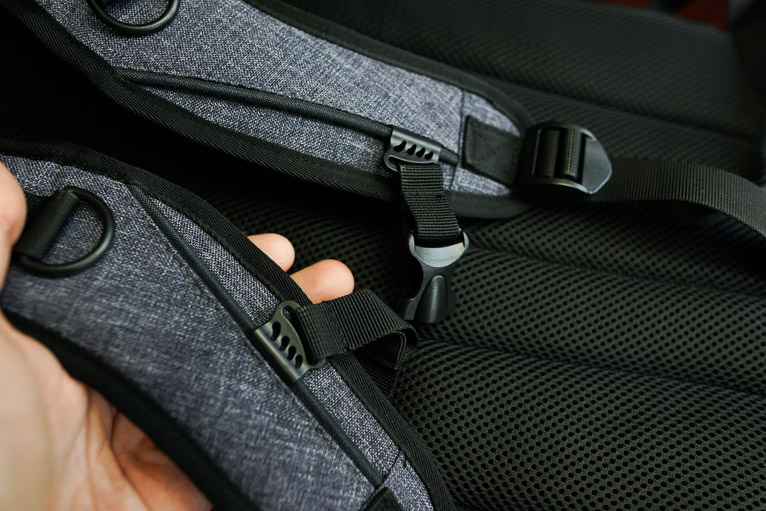
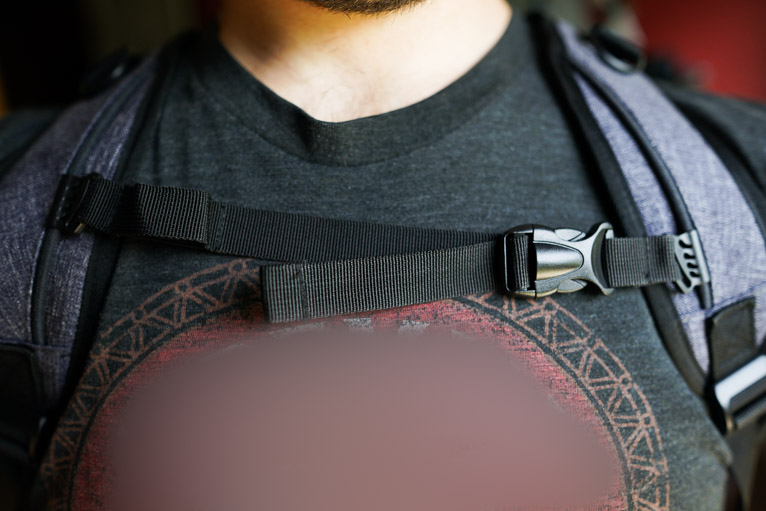
There is an adjustable sternum strap which is awesome for distributing weight when you might overfill the pack. The nice thing about having an adjustable sternum strap is that it works with all manner of body sizes. Lady photographers also won’t have to worry about any unfortable “binding” from the strap.
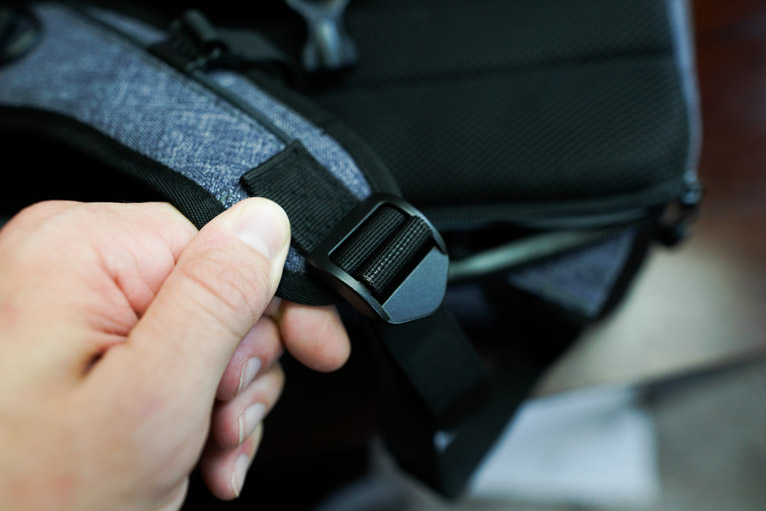
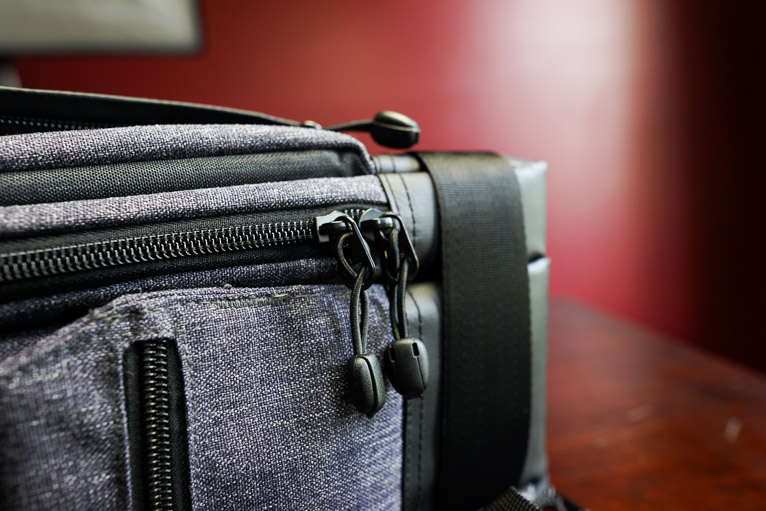
All the zippers and straps are robust and work smoothly.
Space, space, and more space!
If there’s one thing that stands out with this K&F Concept backpack is the monumental engineering in regard to usable space. The storage real estate on this bag is outstanding. The bag itself is a flip open design which gives you front and rear access to the gear you need. We’ll start with the main compartment….
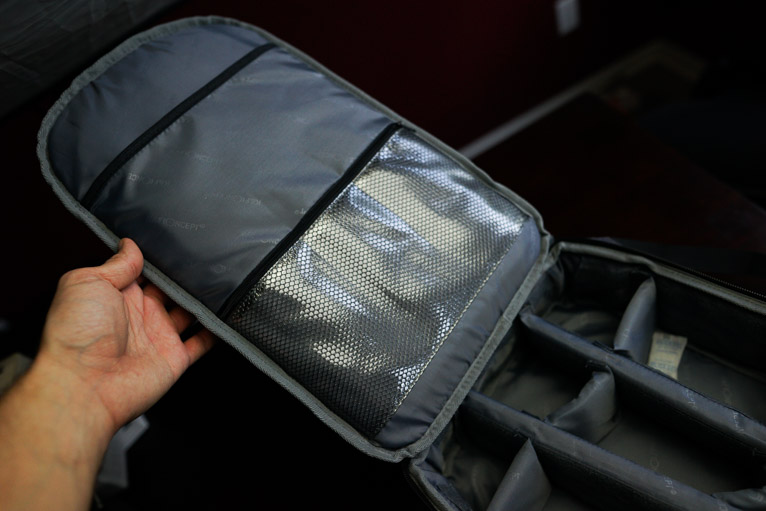
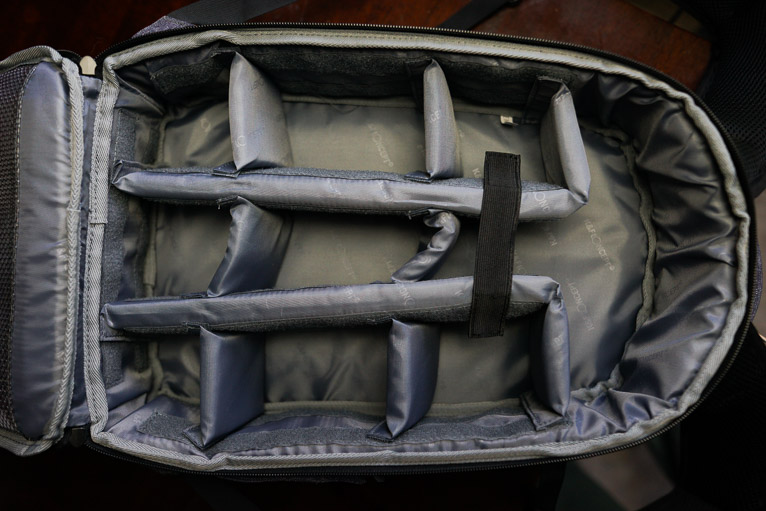
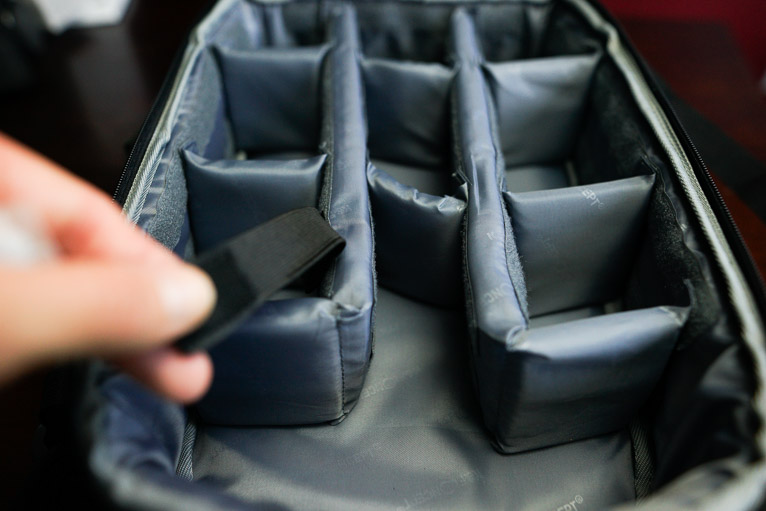
There are lots of padded partitions to keep your camera, lenses, flashes, and whatever else secured. The two main separators are padded but benefit from the addition of a rigid spine which helps keep larger lenses and camera bodies in place and helps the pack keep it’s shape loaded.
I was able to fit a smorgasbord of odd and end gear into the bag with no problems.
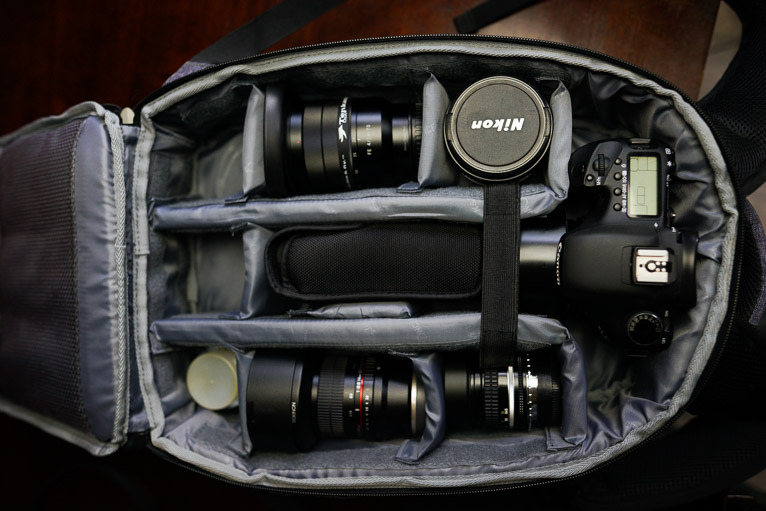
Gear shown: Canon 7D, Sony Zeiss Vario Tessar 24-70mm f4, Nikkor 85mm f1.4, Nikkor 50mm f1.8, Rokinon 14mm f2.8, Sigma MC-11 Converter, Canon 430EX Speedlight…stll lots of room left….
Flipping over to the front compartment we have lots of space for a laptop, tablet, paperwork, you name it.
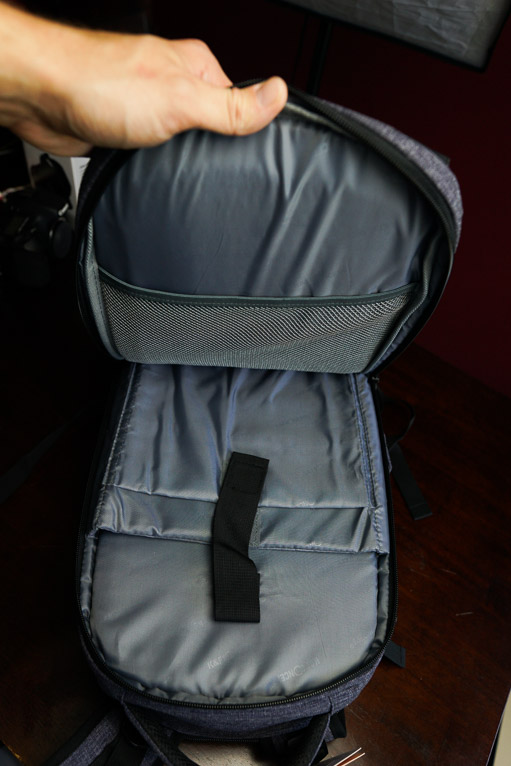
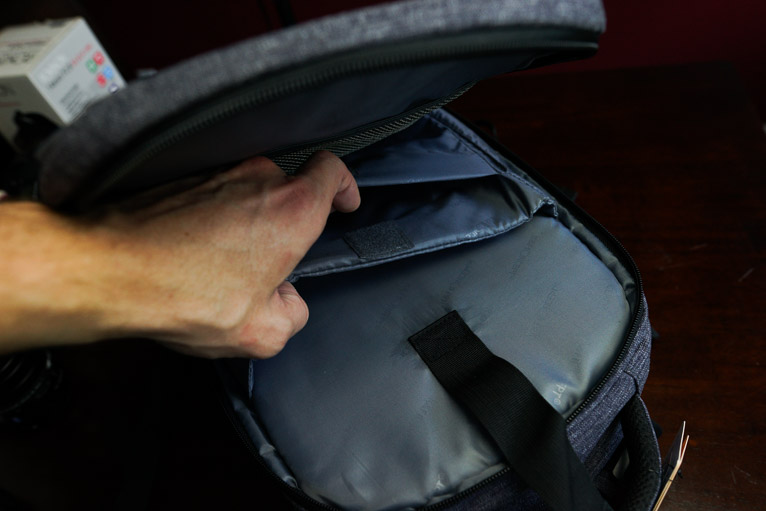
There is room to hold so much here as well depending on your needs. Everything is secured with a large velcro strap. I was able to fit a 13 inch Chromebook into the pocket and had no worries about it being protected.
Tripod Carrier
Perhaps my absolute favorite feature of this backpack is the inclusion of a tripod carrier. There is strap and nifty fold-down flap(which sports has a zippered pocket) that serves to firmly secure your tripod to the bag.
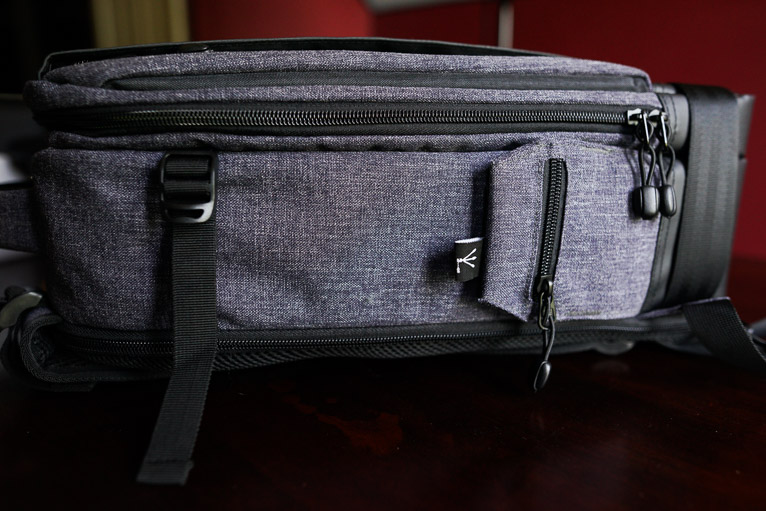

This will work great with travel sized tripods such as the Vanguard VEO 235AB Travel Tripod I reviewed here LifePixel. The only thing I would have liked to have seen was the inclusion of a quick release clasp on the tripod tripod strap for quicker attachment and release of the tripod.
Closing thoughts….
The K&F Concept Large Professional Camera Backpack appears to be a great option for those who need a stylish gear carrier that can fit a monumental amount of camera equipment into a package which is wonderfully manageable. The appearance and comfort of the pack is great. I look forward to using this pack more in the field but if the initial impression of this pack holds I can highly recommend it for those needing a cost effective backpack-style camera bag.


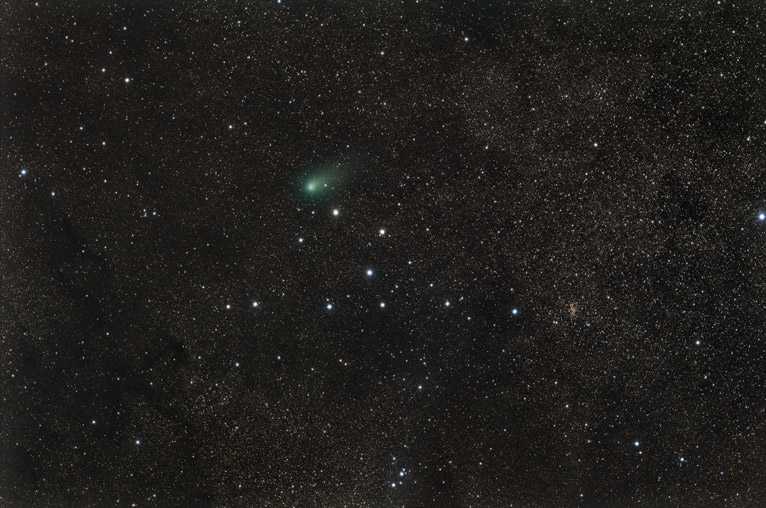
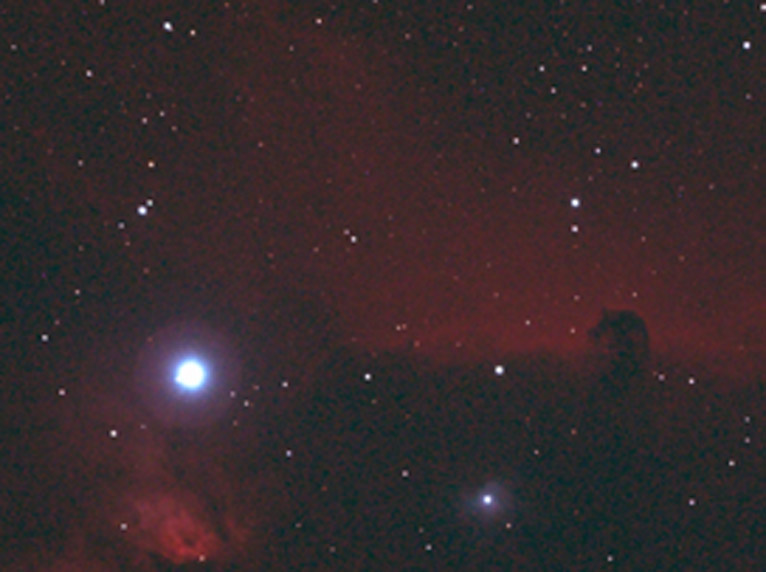
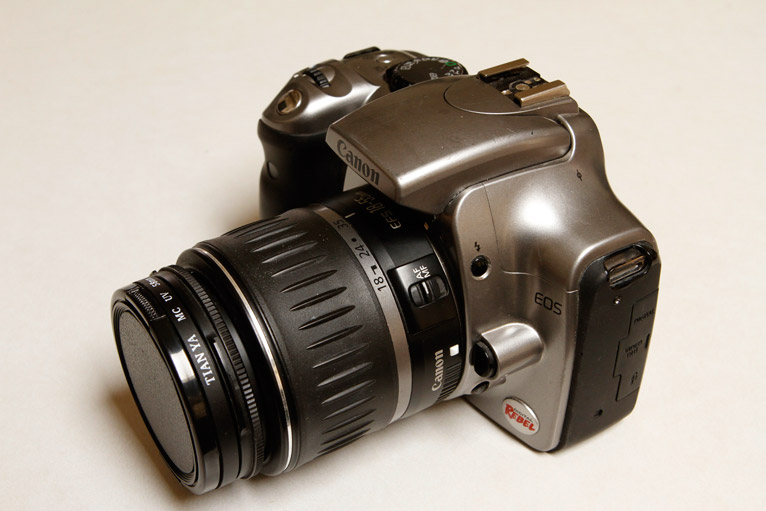 My first modified DSLR for Astrophotography
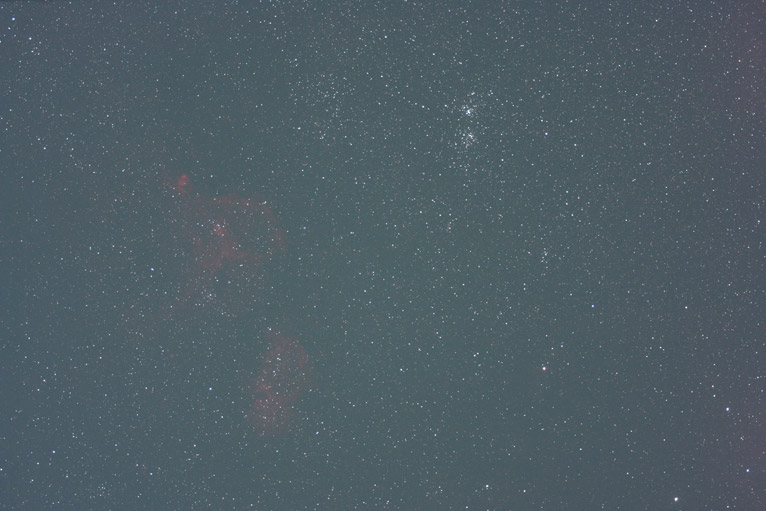 Unprocessed, right out of the camera
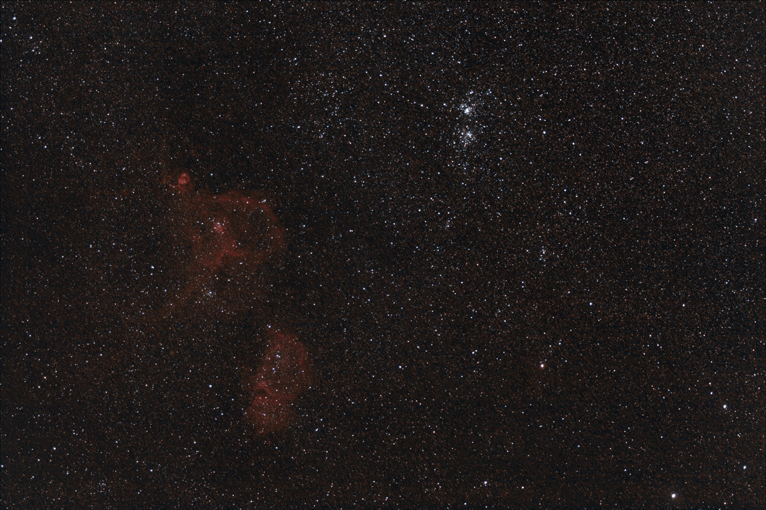 Stacked and post processed
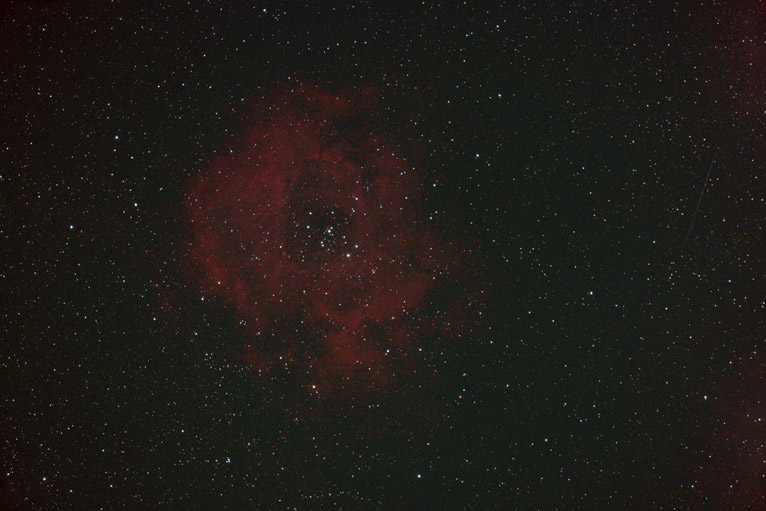
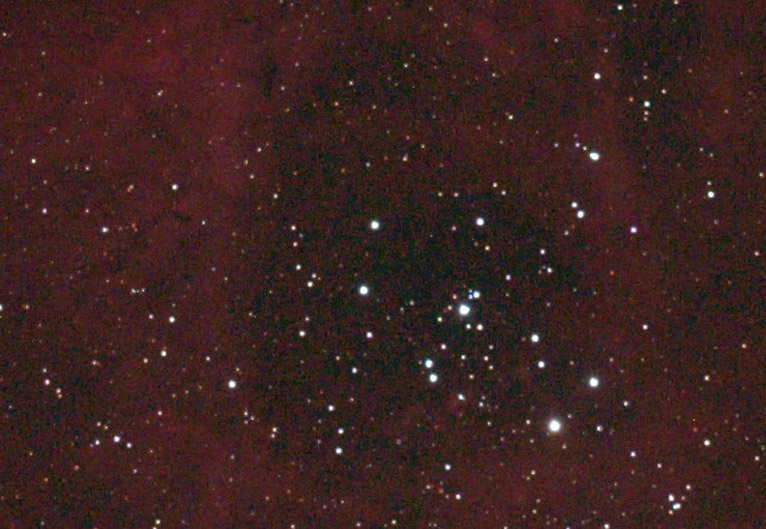 Single Frame and crop of the Rosette Nebula (NGC 2237)
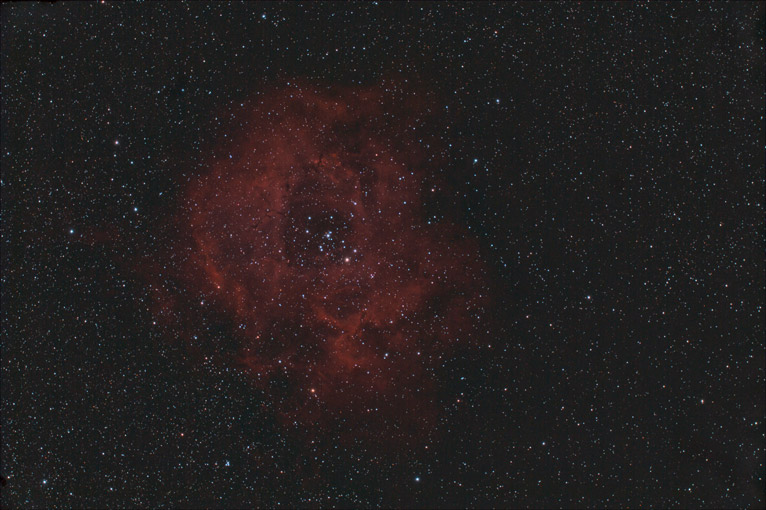
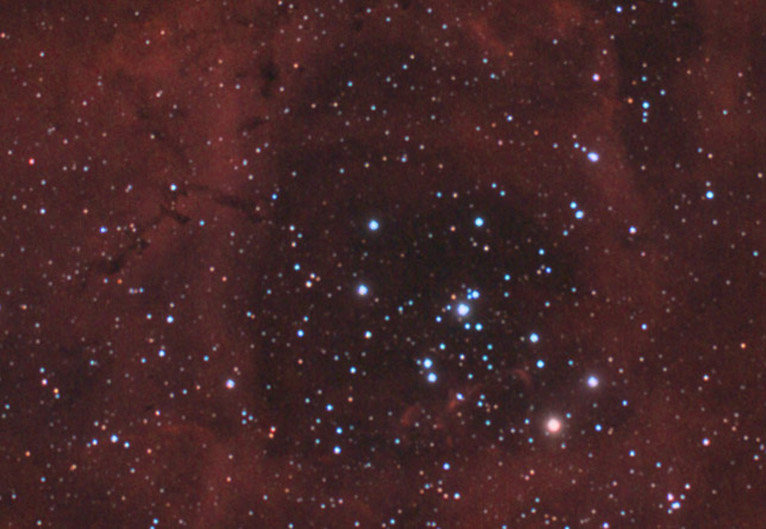 Stack/post processed image and crop of the Rosette Nebula
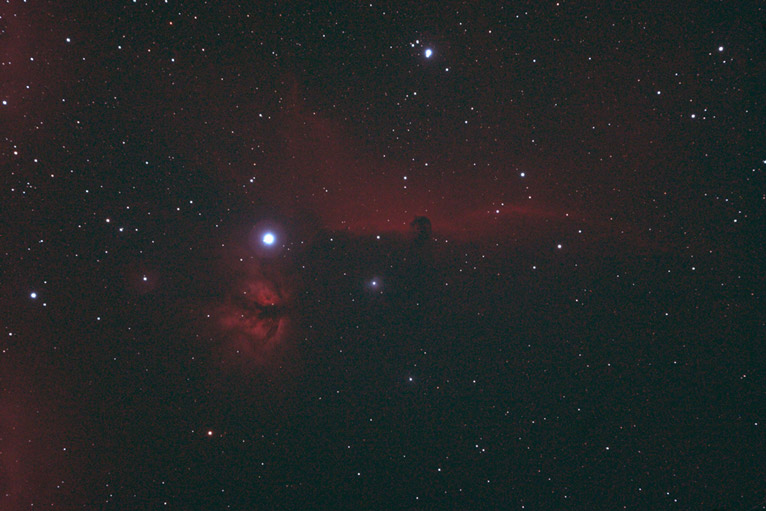
 Single Frame and crop
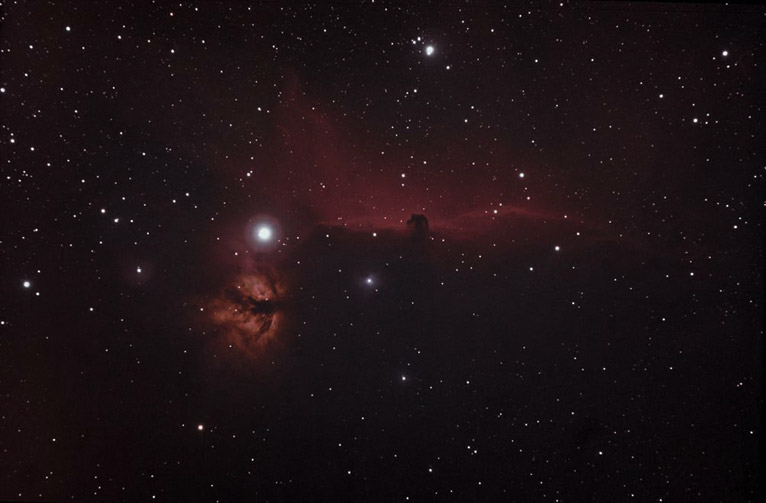
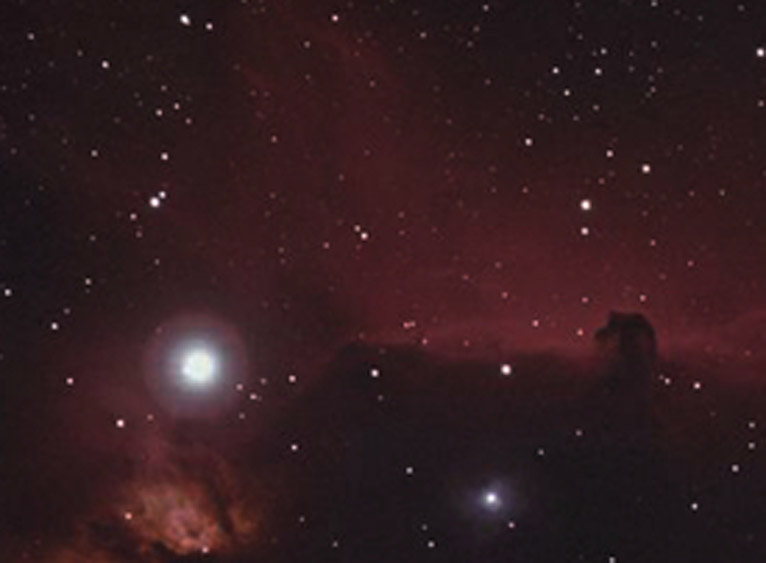 Stack/post processed image and crop