“There is a perfect time to photograph anything”. It is one of the earliest things that I was taught as a photographer. But for anyone photographing outdoors, you will certainly know that you can’t always photograph things at the perfect time. Be it the weather or even a lack of time, sometimes you have to try and do your best to capture the best possible photo you can in the conditions you are presented with. So if you have struggled to capture the photos that you want to take at the “wrong” time, then this short guide will help you.
What is the “wrong” time?
One of the common questions that I get asked is “what do you mean by the wrong time”? This can mean several things. For example, the wrong time can be at a certain time of the day when the light doesn’t fall correctly on the subject. Or it could be at the wrong time of the year when for example the conditions are not right (i.e. flowers haven’t blossomed). There’s also the factor around the colour and intensity of light that changes throughout the day. All of these are an example of when you may potentially be photographing something at the wrong time.
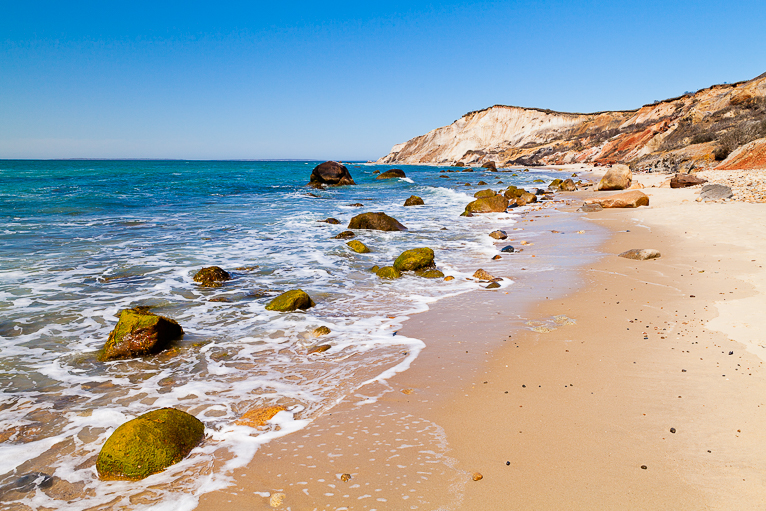
Point away from the harsh light
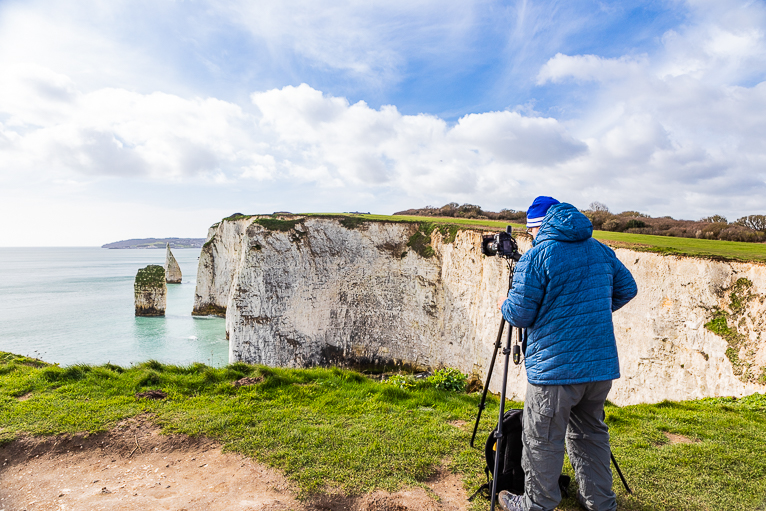
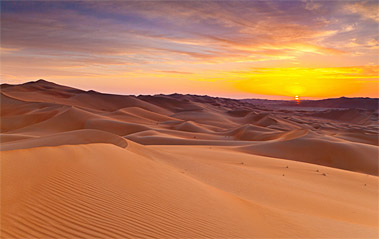
One of the issues of photographing during what might be perceived as the wrong time is the harsh light that you might encounter. This is something that you might experience, say around the middle of the day. With the sun being overhead, it creates a harsh light that will wash out shadows and create a flat scene. But you can still capture good photos during this time. You just need to ensure that you are pointing away from the light source. For example, if the sun is overhead but slightly to one side, photograph something so that the sun is behind you. You can often still capture nice shot if you do this but just avoid looking in the direction of the harsh light.
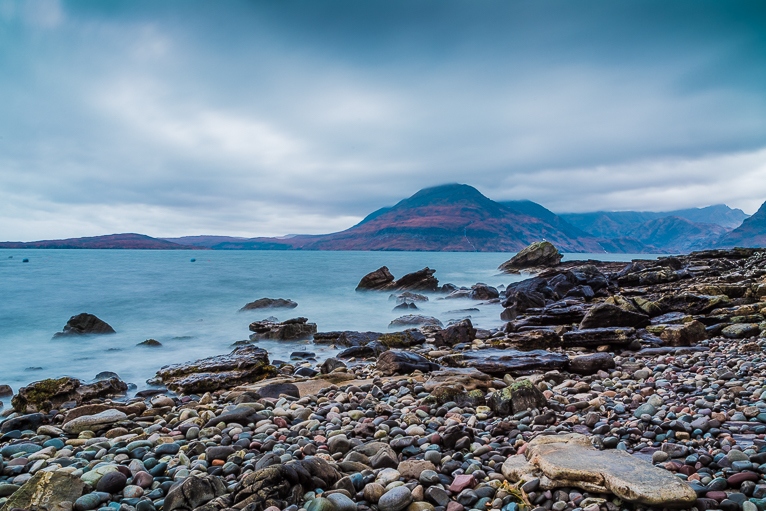
Bring out details in the clouds
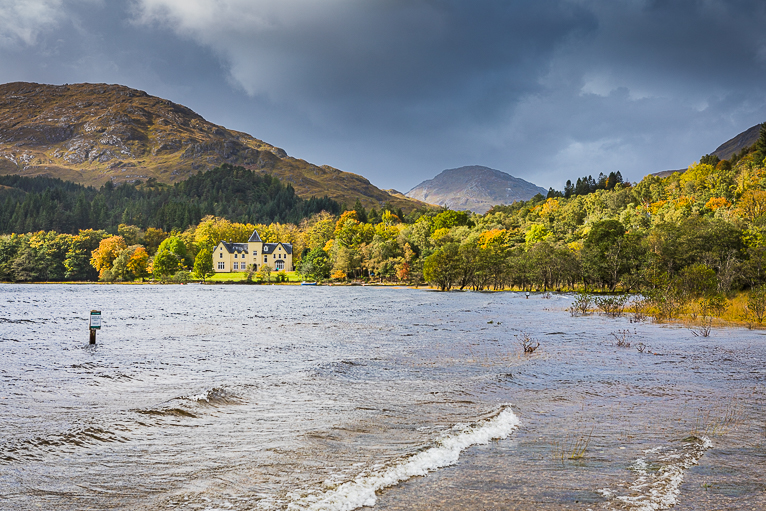
A real bugbear of any outdoor photographer is overcast cloudy conditions. The blanket of cloud acts as a diffuser that mutes colours and removes shadows and so it can make a scene seem flat and uninteresting. Incidentally, this is a great time to take photos of food and also portraits of people. The flat light allows you to capture an even exposure across the subject which is perfect for food and people photography where you want to avoid harsh shadows. But if you are photographing a landscape scene for example the flat light can be very frustrating.
One way that you can liven the scene up a little is by trying to bring to life the details in the sky. Often overcast skies will have tones of greys which can help you add some depth to your image. If you are lucky enough to have some storm clouds, then even better. The best way to bring out the details of the skies is to use graduated neutral density filters to darken that area whilst keeping for foreground brighter. You can then push this a little further by selectively editing in post-production.
Switch your composition
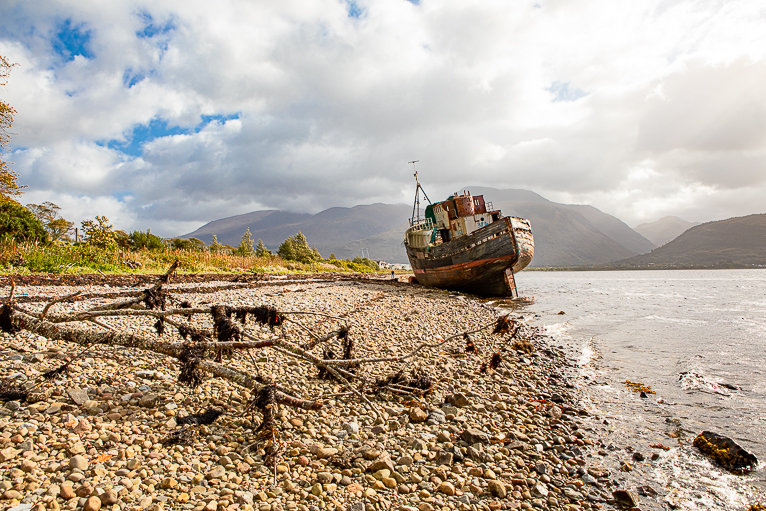
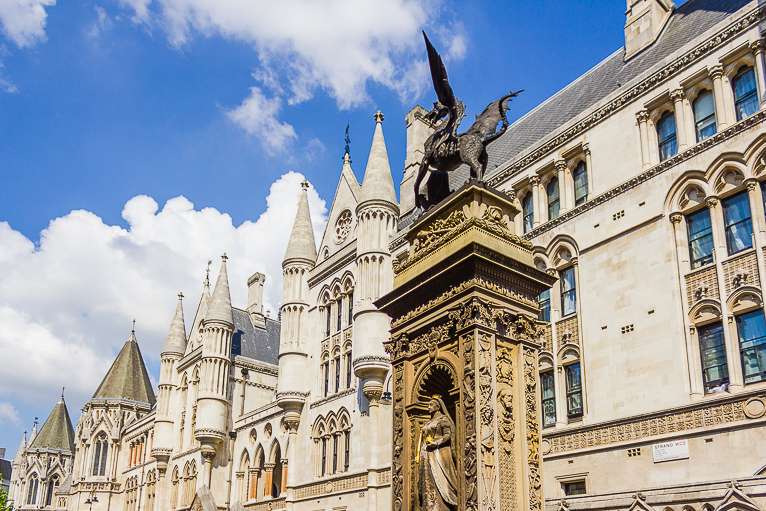
While a blanket of white cloud can be frustrating, so can a completely clear sky in the sunshine. You often have to think carefully about your composition when there is no interest in the sky. In this case, your foreground becomes more important as you may have to position your horizon line near the top of your image (to minimise the sky). This will help eliminate the boring blue sky and hopefully allow you to feature some interesting foreground points of interest. Things like rivers, rocks, buildings, trees, people and even roads can be more interesting than just a blue sky.
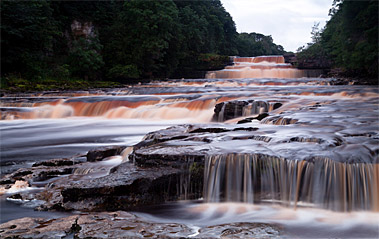
Go for a really long exposure
A good technique for some occasions when the conditions are not perfect is to look at doing something more creative. Long exposure photography is a really interesting way of adding some extra dynamism to your images. For example, you may be able to get some streaks in the clouds which can bring the sky to life. Or if there is moving water in the scene, the long exposure will blur and soften it out. Even the movement of cars and people can help add an extra element to your photos.
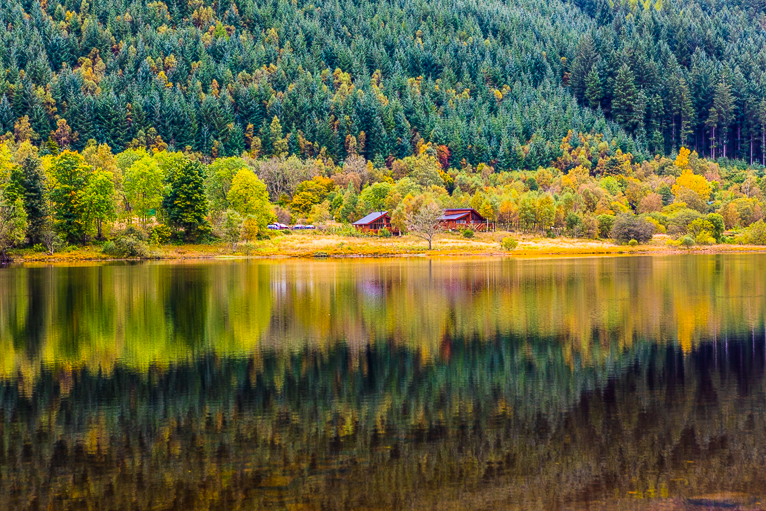
Zoom into a section
One way that you can almost take the conditions out of the equation is by zooming into a small section of a bigger scene. This works well if you some interesting colours or patterns like the image below. The colours of the trees make this image interesting even when the light was pretty flat.
Give your photo a different treatment
If you are efficient in using photoshop, Lightroom or any other post-processing software, you can always look to give your photo a different treatment to what you do normally. For example, you can mute colours so that only certain ones pop out. You can convert to monochrome or even bleach a photo to give it a different look. Don’t be afraid to play around in post-production on your images, you never know, you may just turn a photo that you didn’t think much of into something great.
In an ideal world, you will always be able to photograph things at the best time in the best possible light. However, that isn’t always possible for an outdoor photographer. Even as a professional photographer you won’t have unlimited time to be able to capture the shots you need. So sometimes you just have to try and make things work. The good news is that you can take great pictures in any condition. Use the tips above and you’ll begin to discover how.
Photo credits: Kav Dadfar – All rights reserved. No usage without permission.
Latest articles by Kav Dadfar (see all articles)
- How To Photograph Street Performers - April 26, 2022
- Profiled Photographers – Ben McKechnie - August 24, 2021
- Profiled Photographers – Jim Maher - August 24, 2021
is the founding editor of JRNY Travel Magazine as well as a professional travel photographer and writer based in the UK. His images have been used by clients such as Condé Nast, National Geographic, Lonely Planet, Rough Guides and many others. Kav is also the co-founder of That Wild Idea, a company specializing in photography workshops and tours both in the UK and around the world.
See All Articles by Kav Dadfar

Leave a Reply