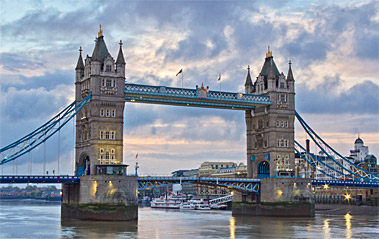
Skylines are often one of the most defining visuals of a city. Every city has its own unique skyline and should be on every travel photographer’s shot list for any location. However, capturing great skyline photos isn’t easy and requires planning and perseverance. Here are a few simple tips to help you capture great photographs of skylines.
The Right Location
The big advantage of photographing skylines is that the majority of the time there are pretty well established vantage points around the city that offer great views of the city skyline. However, this does mean that as a photographer you have to work harder and think more creatively to be able to capture unique photos. Like most types of photography, you will need to plan and research in advance to find the right location. There are various websites to help and the likes of Google Maps make it easier than ever to plan your skyline photos.
Start by looking at existing photos of the city online to get a sense of what already exists and the angles that are available on view. Then using a map, plot points around the city where you have a good clearance in front of you such as a river or large park. But keep in mind that you will need to be a fair distance away to ensure you capture a wide photo and also to keep the vertical lines of the buildings straight in your photo. Finally, when you get to the city, be prepared to scout the locations out and try to find new ones. Speaking to locals or even looking at local post cards can often give you a good indication of any locations you might have not thought about.
Take Your Equipment
Whenever possible I try not to carry too much equipment with me, after all there’s nothing worse than having to walk around all day in the heat with a load of unneeded camera equipment. However, when you are photographing skylines there are a few things that you will most certainly need so it’s best to ensure you have them with you. These include:
- A tripod, if you are photographing early morning, late afternoon or at any other time that you might need long exposure times
- A wide angle lens is usually what you would need, but there might also be occasions where you would need a telephoto lens if you are very far away from the skyline
- An array of filters – these could be anything from Neutral Density filters to Polarizing filters
- Cable release to ensure that you don’t touch the camera if you are going to take photos using long exposure as this could cause camera shake
- Waterproof layers for you and something to cover your camera equipment if there is a chance of rain
- Warm clothes – even during the summer some places can be cold early morning or late in the evenings
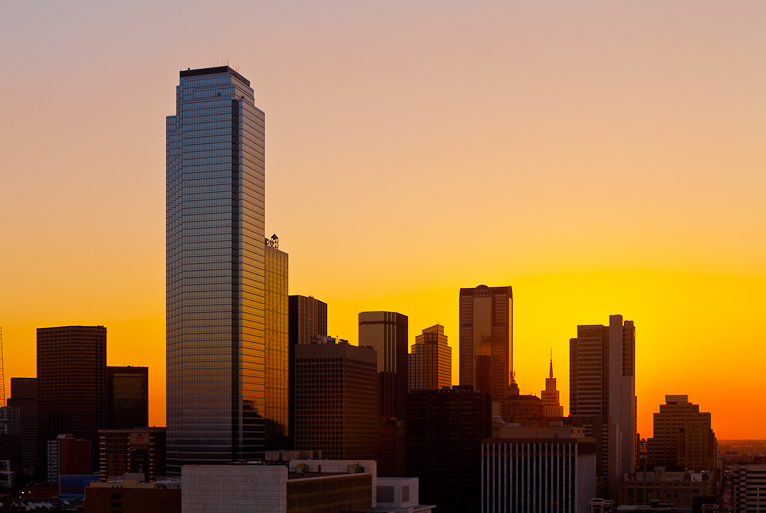
Use Early Morning or Late Afternoon Light
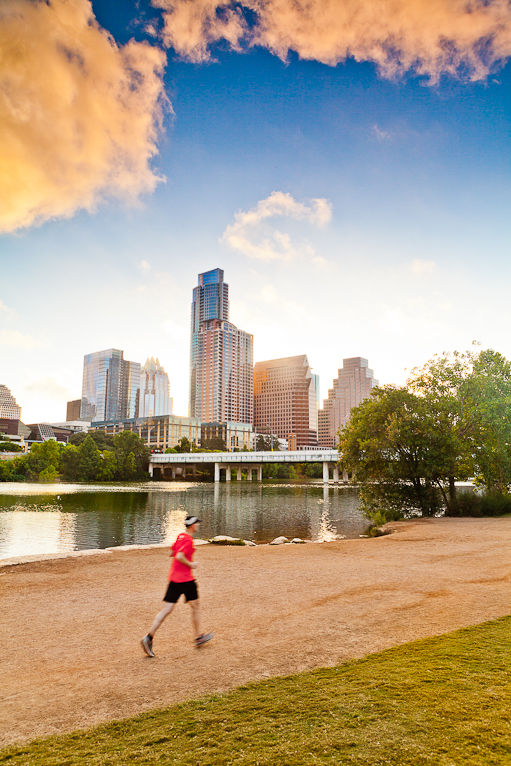
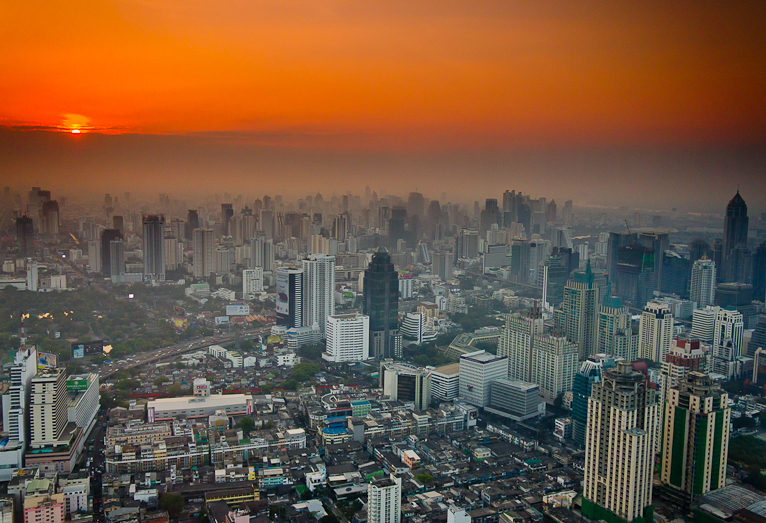
It’s not a secret that most of the landscape photos that we usually find stunning are usually taken at dawn or dusk. The hour after sunrise and the hour before sunset give a beautiful light, which when mixed with interesting cloud formations or weather can transform a mundane scene into a magnificent vista. In fact, you can get two very contrasting photos taken from the same place at different times of the day depending on the light and weather. The key is to always leave yourself enough time in your trip but also during that day to return to the location if you need to.
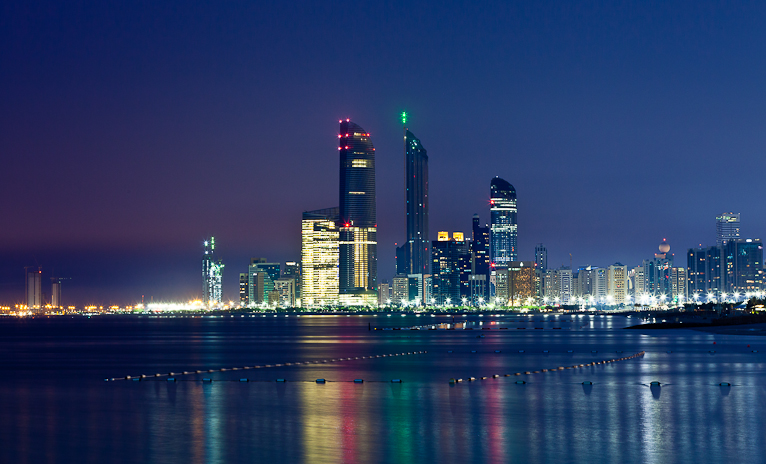
Wait For Night
It’s so easy to pack up and go home after sunset especially if you’ve had a long day, but often cities come to life in the evening. When the building lights and street lamps illuminate the city, this is arguably when the skyline is at it’s most visually striking. So instead of packing up after sunset, wait around for an hour or so and you can capture the city skyline at it’s best. You will definitely need a tripod if you are planning to photograph at night, as you will have long exposure times, so make sure not to leave it behind.
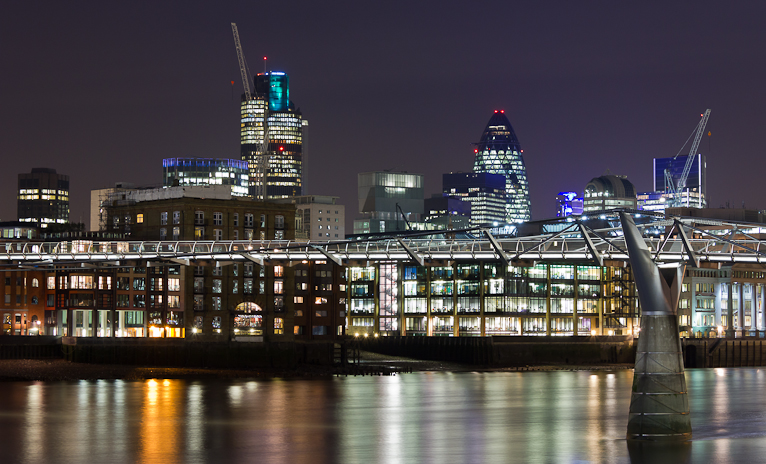
Zooming In Is OK
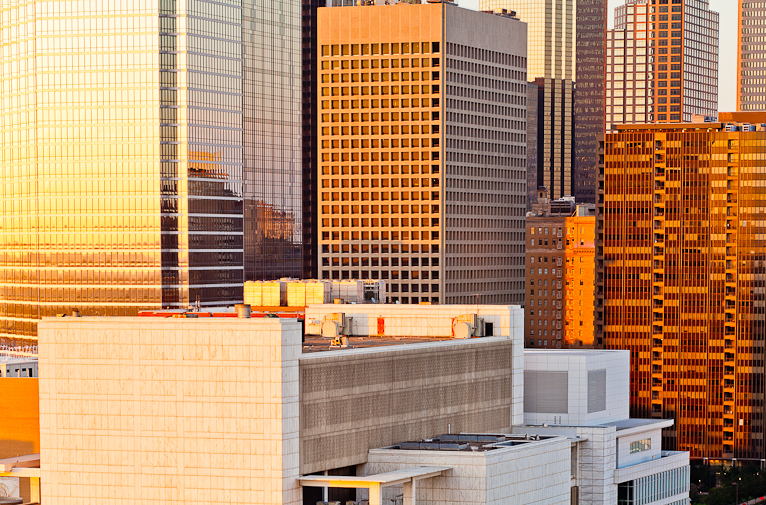
Sometimes it’s impossible to capture the entire skyline because you are either too close to it or too far away. After all, a photograph of a city skyline where the majority of the photos is plain sky and water with a very thin strip for the skyline isn’t going to work. Or it could be that you are actually too close and can’t capture the entire skyline. In these situations you may need to either zoom into the scene to just capture a small selection of the view or simply focus on one part of the scene. For example, this might be a bridge in the foreground or an interesting building. Sometimes zooming into a scene with lots of different architecture can give you an abstract photo, which helps diversify your portfolio.

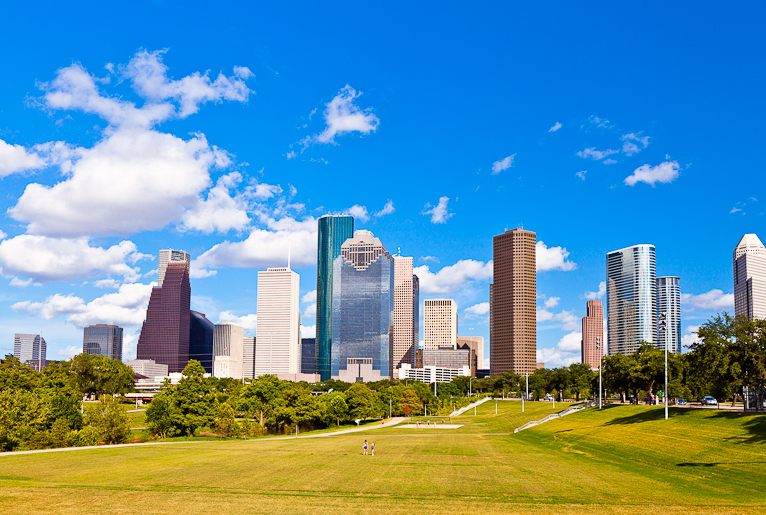
Think About The Rule Of Thirds
One of the big pitfalls of photographing skylines is having too much “dead space” where nothing interesting is taking place. Too much plain white overcast sky and the photo looks dull and interesting, and too much of a plain foreground could also have the same effect, so it is important to think about all aspects of your composition and not just the skyline part. This is where the rule of third can help by helping you reduce this “dead space” and helping you add points of interest when the photo needs it. Try to position your horizon either 1/3rd up from the bottom of the photo (if you have an interesting sky) or 2/3rd up if you have an interesting foreground with a point of interest. This way you are maximizing the interesting elements in the scene and minimizing the elements that don’t enhance the photo.
Make The Most Of Your Hotel
Believe it or not, one of the best places to photograph city skylines is from hotels and roof top bars, because these are often positioned to give their customers the best view of the city. And if you are lucky enough to be staying at one of these hotels, you can get great photos right from your doorstep. Research is key, so prior to booking your hotel room, keep this in mind, and when you arrive at your hotel always ask if they have a room with a view of the skyline. I have lost count of the number of times I was able to take skyline shots from my hotel – and sometimes even from my room!
There is no doubt that skylines can provide some incredibly striking photographs which can be stand-out shots on their own but can also work as part of a portfolio. The most important factor is researching and planning to maximize your time. Vantage points are often dotted around a city so you need to ensure you are fully prepared for where to be and at what time. Once you are there the challenge is to capture unique shots that can do the scene justice.
Photo Credits: Kav Dadfar (All rights reserved).
Latest articles by Kav Dadfar (see all articles)
- How To Photograph Street Performers - April 26, 2022
- Profiled Photographers – Ben McKechnie - August 24, 2021
- Profiled Photographers – Jim Maher - August 24, 2021
is the founding editor of JRNY Travel Magazine as well as a professional travel photographer and writer based in the UK. His images have been used by clients such as Condé Nast, National Geographic, Lonely Planet, Rough Guides and many others. Kav is also the co-founder of That Wild Idea, a company specializing in photography workshops and tours both in the UK and around the world.
See All Articles by Kav Dadfar

Leave a Reply