There are some people who prefer not to make any dramatic changes to their images and that is fine. On the other hand, some people look at their photos in the same way as an artist paints a piece of art. So, manipulating a photo is something they will want to do. Whatever your personal preference is will be up to you. What is for certain is that editing software gives a whole world of opportunity. So here are 6 ideas for ways to edit your photos to give it completely different looks.
Crop
One of the quickest and easiest ways to transform an image is by simply cropping it differently. The great thing about digital photography is that you can crop as much as you want and always return to the previous version. So, don’t be afraid to give it a try and keep in mind that it doesn’t always have to be in a 4:3 ratio. For example, cropping in a panoramic ratio can make a photo look very different.
If you are using Lightroom, simply press “R” on your keyboard and you’ll be able to start trying out different crops. A useful tip to know is that when you have pressed “R” if you then press “O” you can toggle through different overlays (i.e. rule of thirds, golden ratio etc).
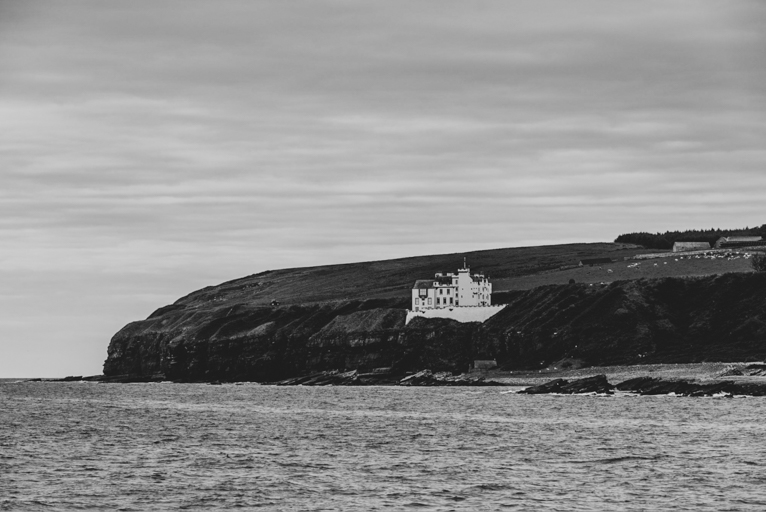
Black & white
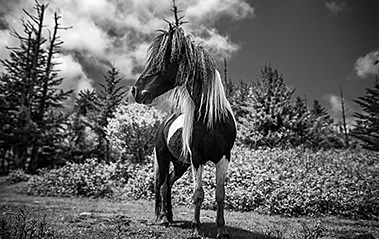
Another quick but dramatic change to a photo can be made by switching the photo to monochrome (i.e. black and white). You will need to adjust some of the settings after converting to black and white as the image might look a little flat. Black and white images generally work best if there is some contrast in the shot so you may find boosting these will give a more pleasing result. Keep in mind that some images will work better in black and white than others but there is no harm in simply trying it out. You can always revert back to the previous colour version.
Low saturation
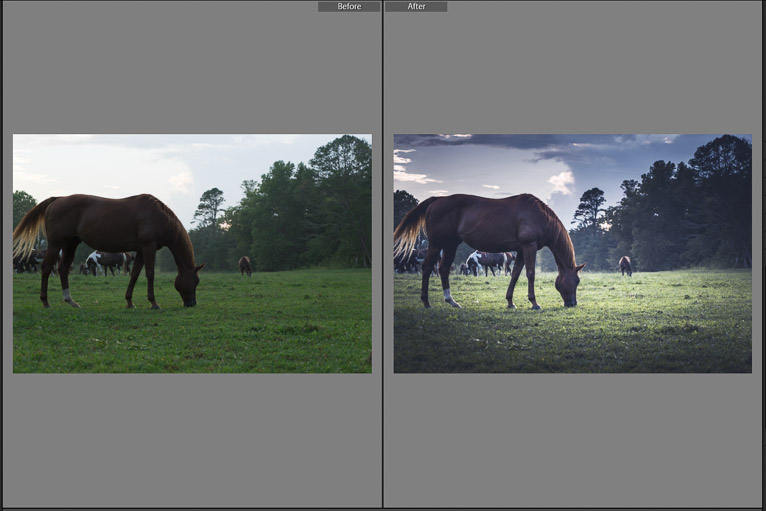
There are lots of different ways in which you can treat a photo. Most photographers tend to boost saturation and vibrancy as RAW files will generally be more muted in colours. So, boosting saturation will often give a pleasing result. But there are times when reducing the saturation for a more muted look will look great. This works well in shots where you have flat colours like landscapes on a cloudy day. Don’t pull the sliders all the way to the left as this will basically make your photo monochrome.
You can also combine (or instead) of this “global” saturation and vibrancy, use the sliders in the “HSL” section in Lightroom to selectively add or remove saturation from specific colours. Play around and see what you can come up with.

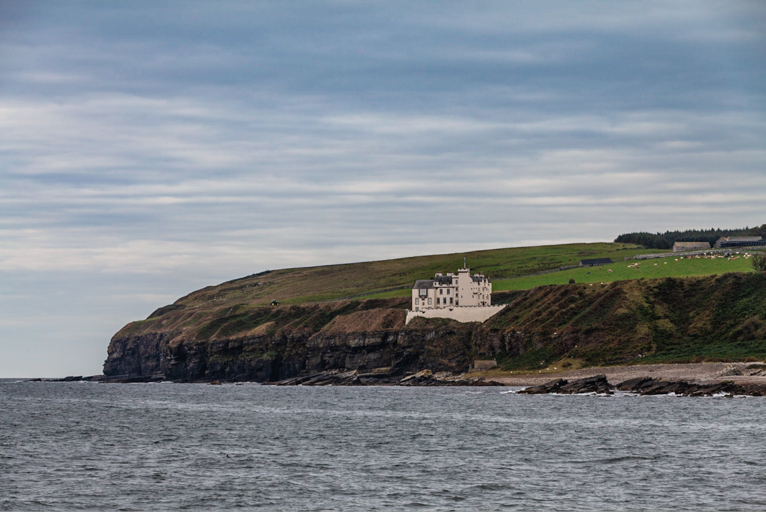
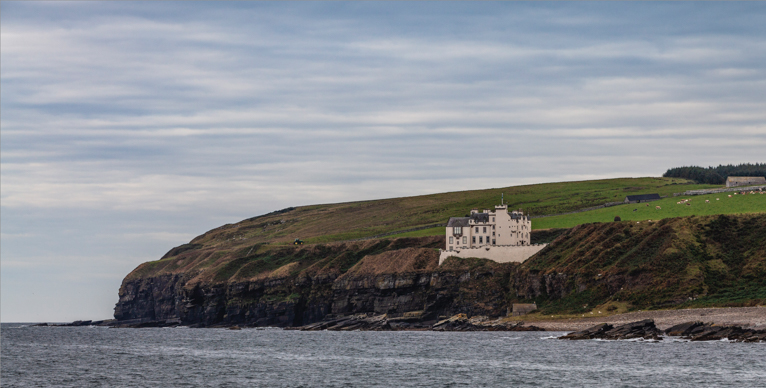
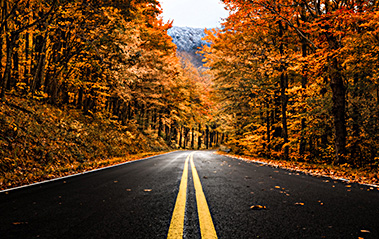
Hue
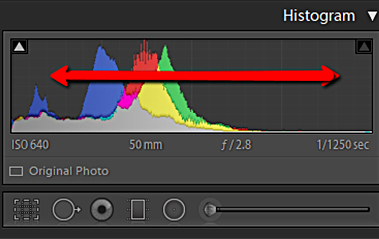
These sliders in editing software basically move a colour tone from one to another. For example, the Blue slider can make blues look purple or aqua at either end of the slider. While this might seem useless as most of the time these extremes make photos look unrealistic, sometimes a little bit of movement can really help an image.
Say for example you have a scene with yellow, dried grass. Moving the yellow slider to the right will make the grass appear greener. But keep in mind that if other parts of your image also have yellows in it, it will also make them green. You can use these sliders to make some subtle (or more dramatic) changes to your images.
An example of how using the Hue sliders can change an image. Here I’ve added more green to the grass areas.
Vignettes
Vignettes are another easy and quick way to add a little something extra to a photo. While the change won’t be dramatic with vignettes, it will still make a photo look different. Vignettes are great for occasions when you want to bring more focus on the subject in the centre of the shot. For example, in portrait photography, vignettes can work really nicely.
The important thing when using vignettes is subtlety. I have often seen examples of really dark vignettes of almost black, which for me seem to take away the focus from the subject. So my advice would be to just add a small amount, but ultimately it will be down to you and your desired effect.

Sky replacement
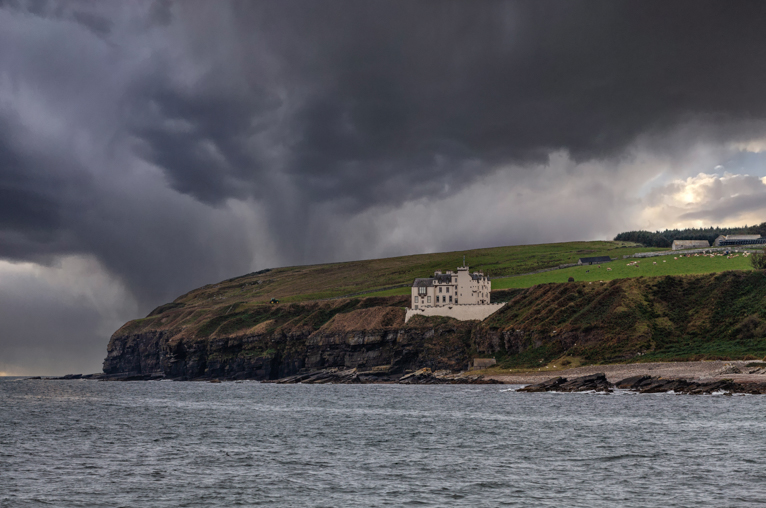
Replacing skies in photos isn’t something new. Luminar have had the function for a number of years. Now Photoshop has also introduced it to their interface. Obviously changing sky has always been possible in Photoshop, but the new automated function does make things a lot easier. Like any kind of editing, whether you are OK with replacing a sky will come down to your personal preference and the purpose of the photo.
If it’s just for personal use, then there’s no issue about replacing a sky. But for example, if you want to enter the photo into a competition you will find that replacing a sky isn’t allowed. But what the sky replacement technique does give you is a completely new way to show a photo.
There is no harm in trying it out. Make sure you have an image open in Photoshop then click Edit => Sky Replacement. It is self-explanatory from that point onwards.
Editing is an important part of the photography process. While like most photographers I would advocate that you get as much correct when taking a photo, there is nothing wrong with using editing techniques to achieve the desired effect. Photography is after all an art and an expression of your creativity. At the very least you can play around with the techniques above to see what you can come up with.
Photo credits: Kav Dadfar – All rights reserved. No usage without permission.
Latest articles by Kav Dadfar (see all articles)
- How To Photograph Street Performers - April 26, 2022
- Profiled Photographers – Ben McKechnie - August 24, 2021
- Profiled Photographers – Jim Maher - August 24, 2021
is the founding editor of JRNY Travel Magazine as well as a professional travel photographer and writer based in the UK. His images have been used by clients such as Condé Nast, National Geographic, Lonely Planet, Rough Guides and many others. Kav is also the co-founder of That Wild Idea, a company specializing in photography workshops and tours both in the UK and around the world.
See All Articles by Kav Dadfar

Leave a Reply