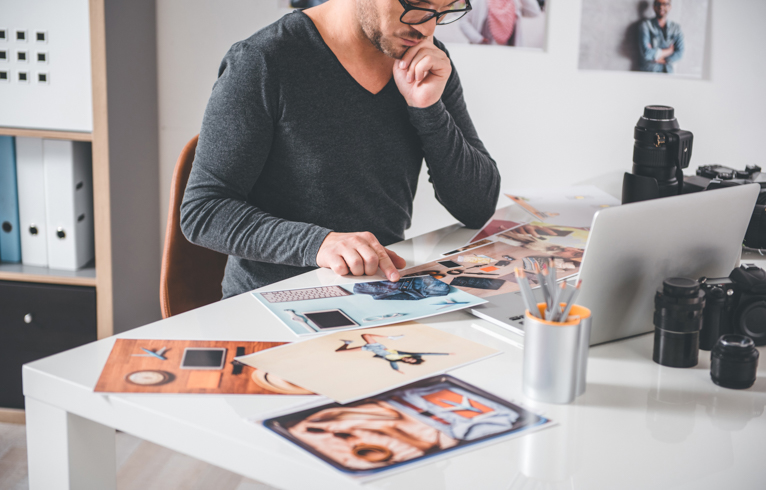
One of the most common questions I get asked is how do I take better travel photos? Whilst there isn’t just one rule that you can apply that will automatically get you amazing results, over the years I have learnt that these 10 simple rules will dramatically improve most people’s photos. But you should view these as a starting point and continuously learn, experiment and practice to improve your photography. So here are 10 Golden rules for better travel photography to help you get started.
Know what you are doing
If you want to capture great photos you have to be willing to put some time into learning the basics. This is the technical stuff that often people forego in favour of the automatic or program settings on the camera. No one is saying that you should never use automatic mode. But if you know what those settings are and how they work, it will give you more options and more creative control over the picture-taking process. You need to understand the exposure triangle which is ISO, shutter speed and aperture and how they affect and interact with each other.
Beyond photography theory, you should also learn how to use your photography equipment. For example, how do you mount your camera on your tripod correctly and safely? Or which lenses to use when and how do you change them quickly? If you have a flash, what is the best way to use it to avoid your scene looking flat? Once you know the technical and practical parts of photography you can actually concentrate on capturing better photos and worrying less about how to do it.
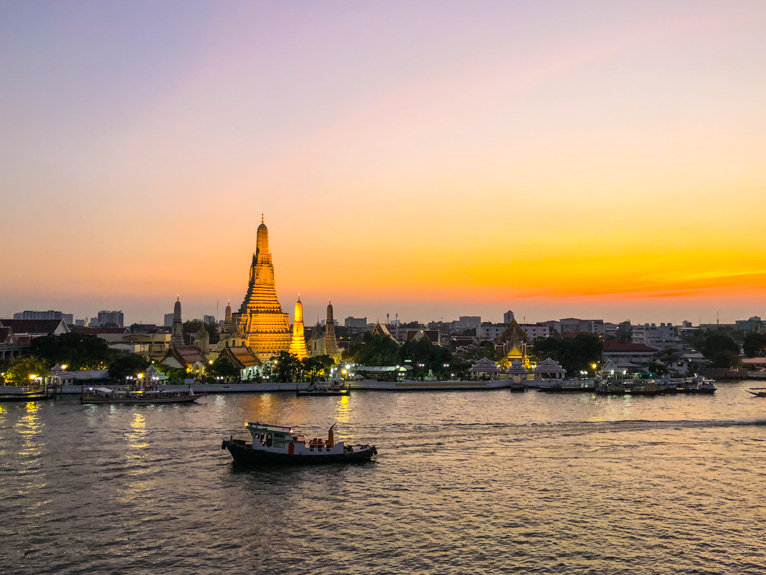
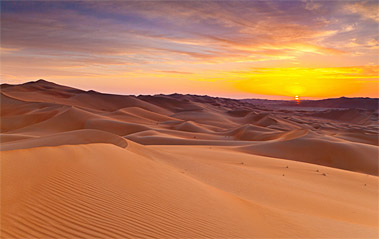
Learn how light transforms a scene
Light is one of the most important elements in any photo. Even the most amazing scene will look dull and uninteresting If you haven’t got great light to work with. Often what transforms an ordinary photo to an extraordinary one is the right light. You need to learn how light differs at different times of the day. Things like intensity, direction and even colour can all make a huge difference to a photo. It’s no secret that the best light is in the early morning and late afternoon. This is when the soft warm light can enhance shadows, textures and shapes. Always remind yourself that there is a best time to photograph anything. So be prepared to wait or even come back for that best light.
Don’t shoot in anything other than RAW files
If your camera has the function to shoot RAW files, then you shouldn’t use in any other file format. RAW files are not processed by the camera’s software which often compresses data and will make permanent adjustments which are embedded in the photo. A RAW file is essentially what the camera captures with nothing else added to it. Any adjustments such as white balance, exposure, contrast, saturation and even sharpness can be added by the photographer subsequently on a post-processing software. This allows for greater control on an image by image basis. Simply put if you want the very best file format to work with for your photos you should shoot in RAW.

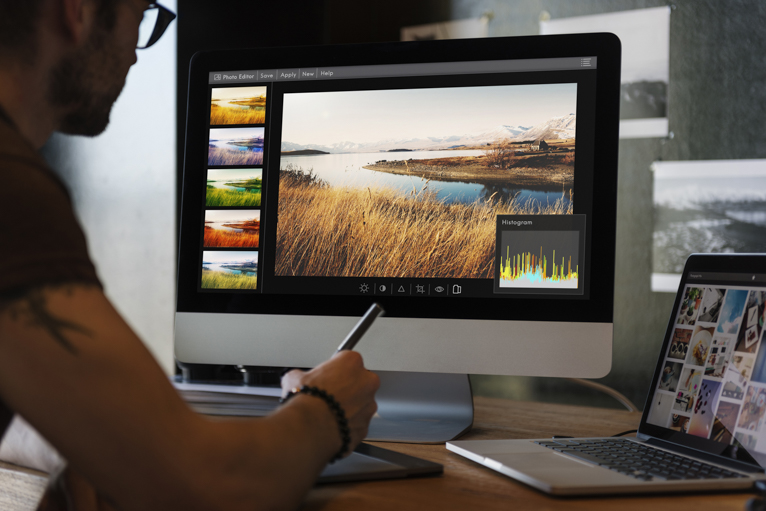
Know how to use editing software
Often one of the excuses people use to justify not using editing software is that they don’t believe photos should be edited. The thing is that if you are shooting in RAW files your photos will have to be post-processed in some way to be able to use day to day. Even if you simply convert them to JPEGs you are still adding a layer of post-processing to the photo. RAW files are fantastic but they are just that, RAW files. So to bring them to life and actually give them the best possible look and feel you have to add some adjustments to the photo. That could be as little as simply adjusting contrast and brightness. Or vibrancy and saturation. At the very least you should ensure that your photos are straight, cropped well and the white balance is corrected. But don’t be afraid to use post-processing to enhance your photos. It’s not cheating.
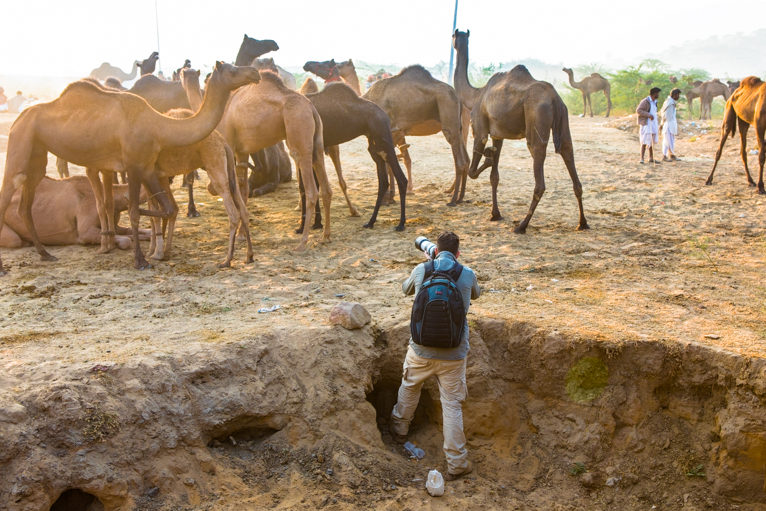
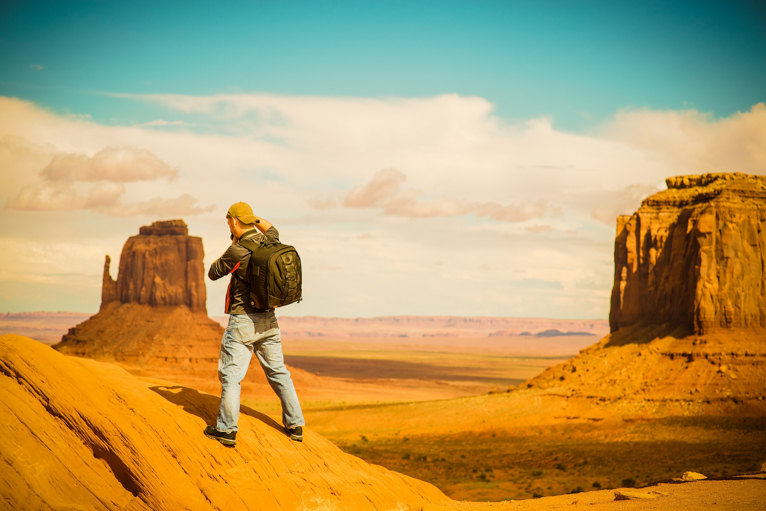
Be the most informed tourist in town
Research and planning are vital if you want to capture the very best photos. You have to know where to be at the best time of the day. the more you plan and research any destination the better your chances will be of capturing fantastic photos. Always remember that a photographer will need more time at a location then your average tourist. So don’t try and cram in too much into your shot list. It’s always best to allow more time than to find yourself rushing around. For example, you might get to a location and find that the sun has gone in behind clouds. Or there might be someone or something in your way like a van parked in your composition. Give yourself enough time and it shouldn’t be an issue. The reality is that most times when you get to a location you will have to wait to capture the photo you want.
Practice as much as you can
Photography is like any other skill or hobby. The more you practice the better you will become. So once you have the technical stuff sorted out and understand some of the theory, get out there and actually shoot as much as you can. Nothing will make you learn and practice what you have learnt better than actually doing it. You will make mistakes along the way or you might experience scenarios that you’re not prepared for, but this is part of the learning process. You will learn from your mistakes and you will become a better photographer because of it.
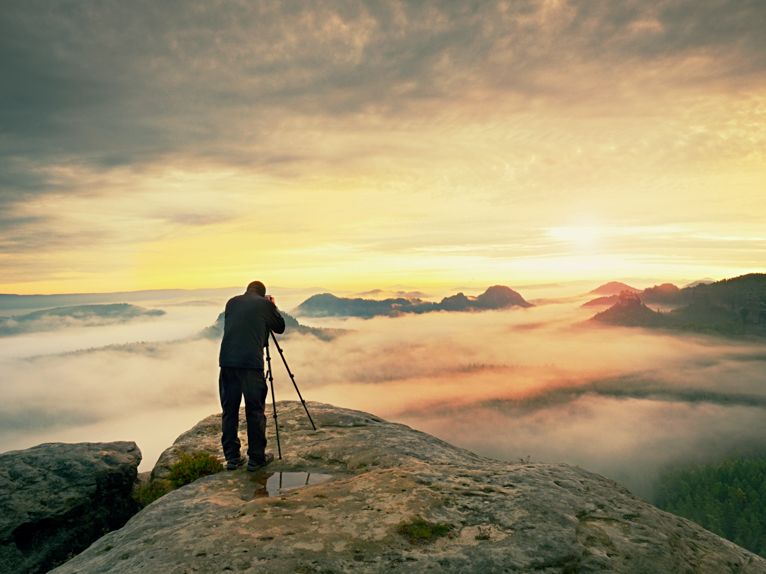
Commit to the image
Often one of the main reasons that professional travel photographers capture the fantastic images that you see in magazines and newspapers is because they have waited for the perfect moment. In other words, they committed to capturing that image as long as it took. Once you have got to a location and you have your settings and your composition sorted, set yourself the task to not leave until you have captured the very best photo. If you can’t capture the photo that you want then be prepared to come back. Of course, there will be times when this won’t be possible because of limited time. But if you have the option of giving up or persisting in order to capture a photo, there shouldn’t really be a decision for you to make.
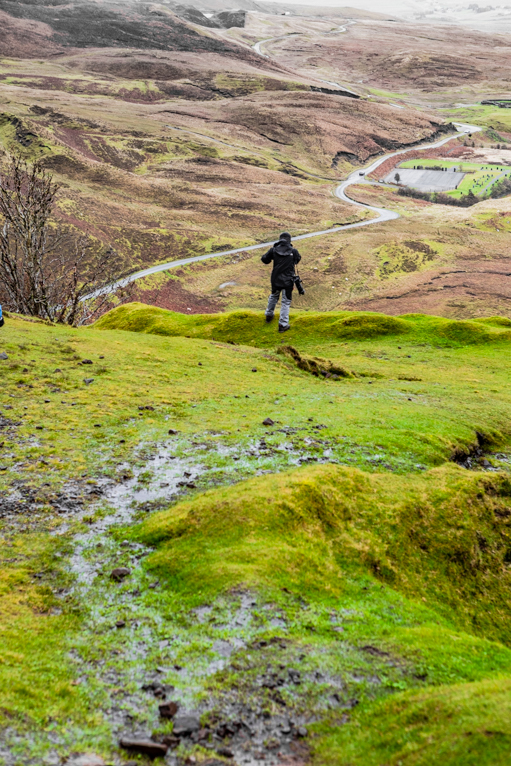
Walk as much as you can
One of the best ways to capture great photos is to experience a destination in the same way as locals do. For example, if you get a taxi everywhere you go then you’re going to miss so much of a city. Instead of getting taxis or private transfers, if it’s safe to do so walk around. If you have to get transport from one place to another try to get buses or metros. This will give you much more of an insight into a destination and can present you with far more photo opportunities.
Be your own critic
It is often difficult to critique your own work. You tend to have a sense of nostalgia. You might select photos that may not be as good as you think simply because of the effort it took to capture them. But if you really want to have great photos in your portfolio, you have to be willing to put all feelings aside and judge your work on its merits, not sentiment. One good trick is to scroll through your photos and the ones that make you pause for a moment or two are possibly worth keeping in your portfolio. It’s always great to also get a second opinion. So ask someone else what they think. Do they agree with your choices? Treat this period as assessment and reflection on your work. Could you have done anything better? Did you make mistakes? Often you will learn much more from your mistakes then you will learn from your successes.

Find your own style
Over time most photographers will develop their own style. By that, I mean that if you looked at the collection of their work it all looks like it’s come from the same person. The subject may be different the destinations will vary and some photos will look different. But as an overall set of work, you can tell they belong together. There is no right or wrong here it’s just what works for you and the sort of composition, lighting, colours and styles that catch your eye. So try to develop your own style over time. Once in a while put out some of your work in front of you. Does it all look like it’s comes from the same person? You can, of course, look at other people’s work and be inspired. The key is not to copy but rather be inspired to find your own style.
Travel photography is a wonderful profession or hobby to have. To capture great photos you have to be willing to put the time and effort in. By using the tips above you will be on your way to capturing great travel photos.
Photo credits: Kav Dadfar – All rights reserved. No usage without permission. Dreamstime.
Latest articles by Kav Dadfar (see all articles)
- How To Photograph Street Performers - April 26, 2022
- Profiled Photographers – Ben McKechnie - August 24, 2021
- Profiled Photographers – Jim Maher - August 24, 2021
is the founding editor of JRNY Travel Magazine as well as a professional travel photographer and writer based in the UK. His images have been used by clients such as Condé Nast, National Geographic, Lonely Planet, Rough Guides and many others. Kav is also the co-founder of That Wild Idea, a company specializing in photography workshops and tours both in the UK and around the world.
See All Articles by Kav Dadfar

Leave a Reply