• Cart
  • Checkout
  • My Account

Infrared Conversions, IR Modifications & Photography Tutorials | Life Pixel IR

The world leader in infrared conversions, modifications & DIY IR conversion tutorials. Scratched sensor replacement, UV & Full spectrum conversions.

The world leader in infrared camera conversions

866.610.1710
  • Home
  • → Start Here ←
    • 1 – Introduction
    • 2 – Filter Choices
    • 3 – Focus Calibration
    • 4 – Lens Considerations
    • 5 – Camera Considerations
    • 6 – Start Shopping
  • Galleries
    • Infrared Photography
    • Infrared Time Lapse
    • Infrared Cinematography
    • Infrared Stop Motion
    • Ultraviolet Photography
    • Forensic Photography
  • Education
    • Training Sessions
    • How To Shoot Infrared
    • AR Coated Infrared Filters
    • Lens Hot Spot Database
    • Photoshop Video Tutorials
    • Infrared Issues & Solutions
    • IR Basics in Photoshop
    • Camera Quick Start Guide
    • DIY Conversion Tutorials
    • IR Photography Primer
    • Secondhand Cameras
    • Wall Of Shame
  • Workshops
  • FAQ
  • Blog
    • Tutorials
    • Inspiration
    • Locations
    • Gear
    • News
    • Other
  • Why Choose LifePixel?
    • Submit Your Review
  • Contact
  • Shop

6 Things To Consider When Buying A Tripod

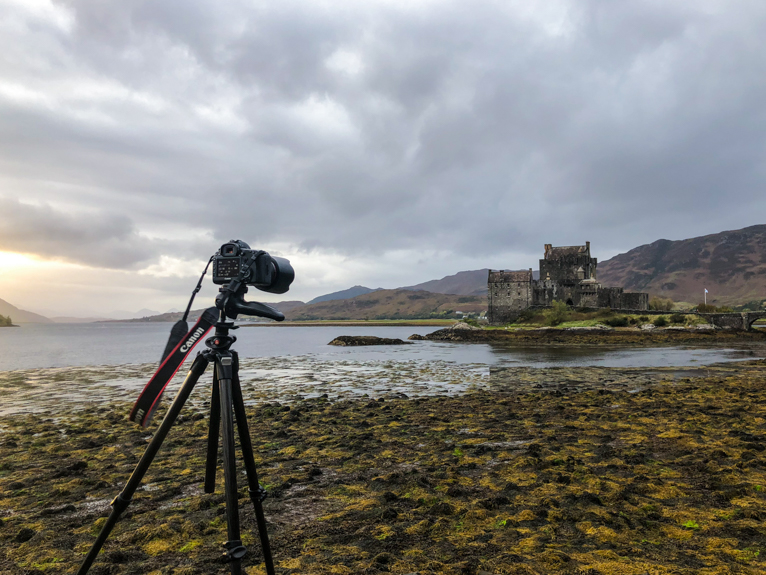
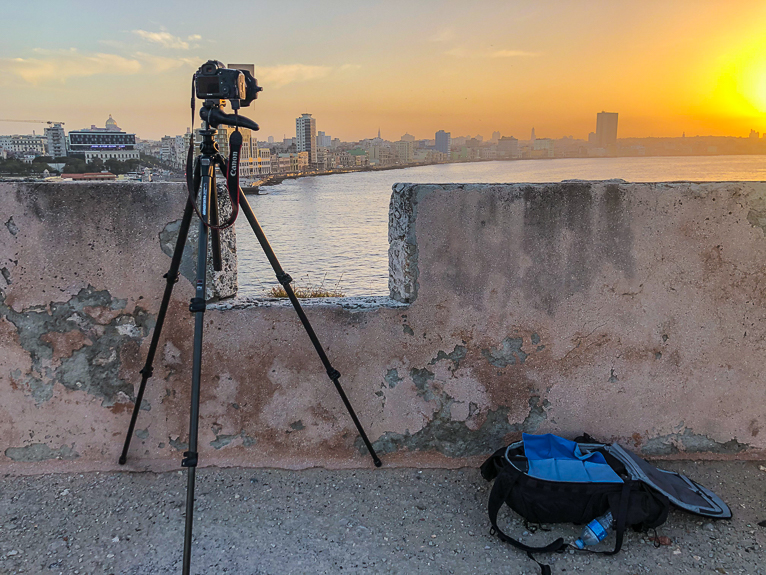
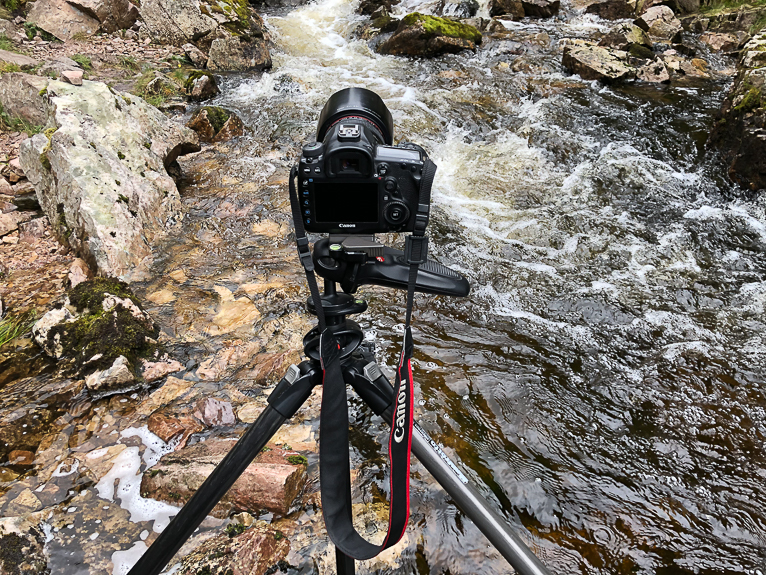
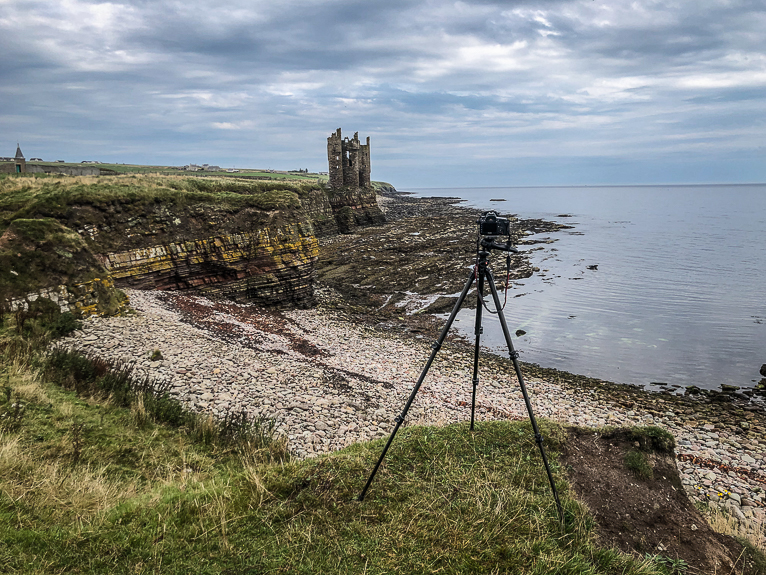
A tripod is arguably the single most important accessory that a photographer has. Without a tripod, some photos will not be possible at all because a tripod isn’t just to take photos when it’s dark. Basically, any time that you want to capture something using a slow exposure you need a tripod. You won’t have the option of raising your ISO for these types of shots as you need the long exposure like for example capturing the smooth water effect. A tripod is an essential part of a photographers kit and as such, you should spend time really considering the different options before purchasing one. So here are 6 things to consider before buying a tripod.

Tripod_buying_tips

Is it sturdy?

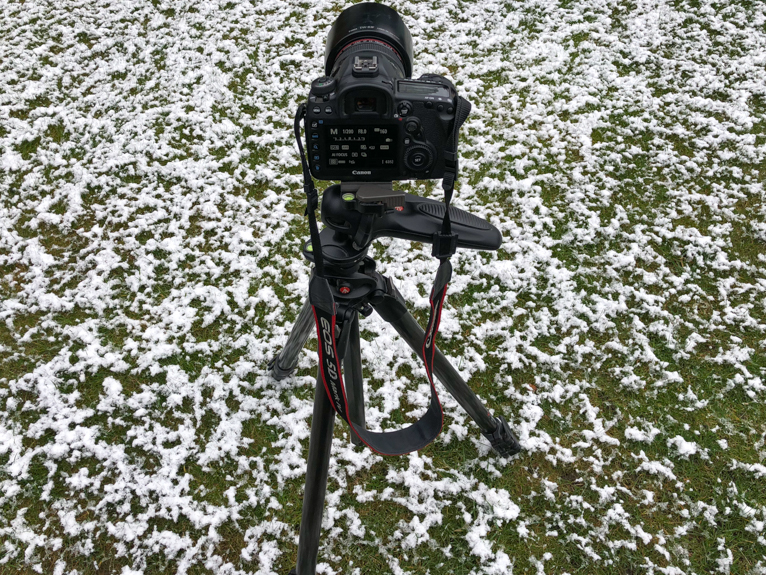
The number of times that I have seen people with expensive and heavy cameras using a flimsy tripod is astonishing. In fact, I can recall an incident when someone’s tripod fell forwards breaking their lens glass due to the fact that their camera was too heavy for their tripod. So the first and most important thing that you need to check is that your tripod can handle the weight of your camera. All tripods will have this information on their technical specifications but if you are unsure check with the manufacturer. Keep in mind that you are not always going to have a level surface and calm conditions. So if you find that your camera isn’t completely stable don’t risk it and buy a more sturdy and better quality tripod.

Tripod_buying_tips

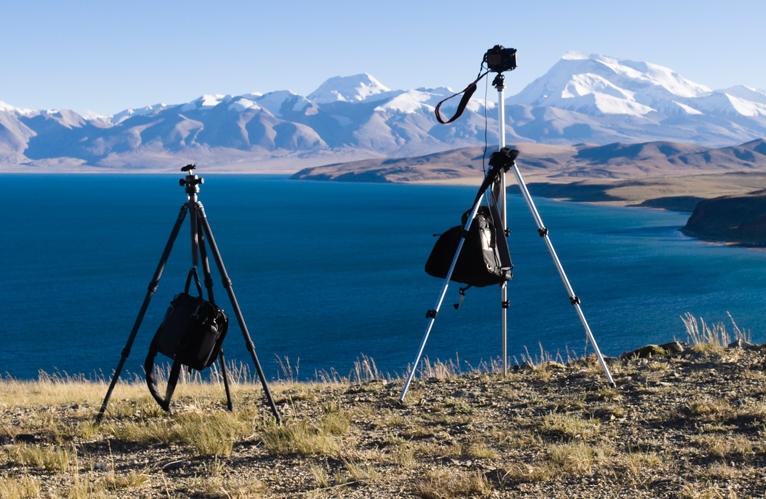
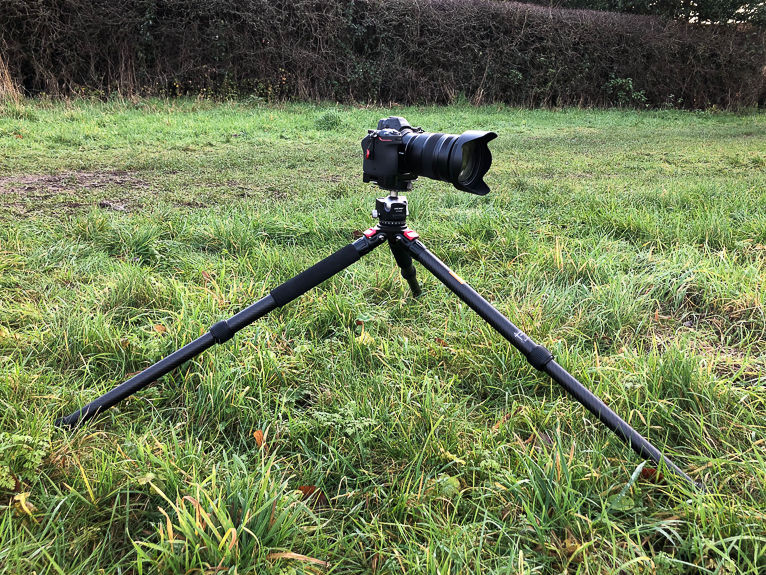
How big and heavy is it?

Following on from above, this doesn’t necessarily mean that you should buy the most expensive and heavy tripod that you can find. On the contrary, often the best tripod for most people for everyday use is a slightly smaller and more lightweight model. After all, you have to carry it around all day so anything big and cumbersome is more tempting to leave at home. How small and lightweight the tripod can be will ultimately depend on what you are photographing and your camera. For example for landscape photography when at times you might be faced with very windy conditions, you’ll need something more heavy-duty. But if you are a city photographer you can get away with something smaller.

Tripod_buying_tips

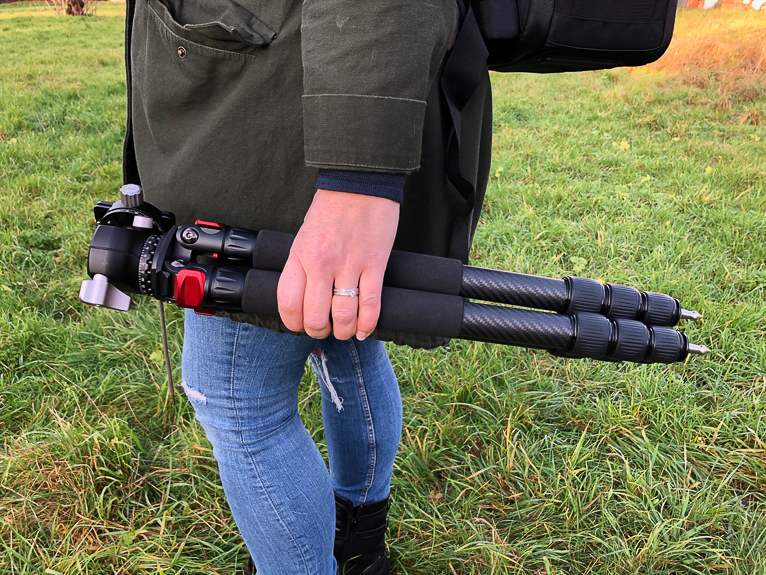
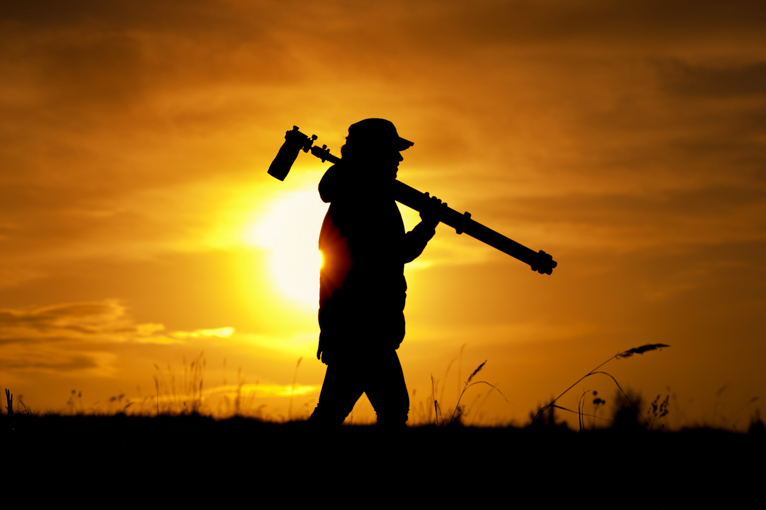
Can you carry it easily?

This might seem irrelevant but how easy it is to carry your tripod is a really important aspect to think about. Often the reason that amateur photographers give for not taking their tripod is that they are heavy and difficult to carry around. This might seem like a poor excuse but if you are hiking somewhere for hours, the last thing that you want is to have to carry an extra object. A good way to avoid having the excuse of carrying a tripod is to be able to carry it effortlessly like strapping it to your bag or even inside your bag if it’s small enough. Some camera bags these days allow you to strap a tripod onto them. So check out your bag and try to buy a tripod that can be strapped to your camera bag (or possibly buy a new bag that can carry your tripod).

Tripod_buying_tips

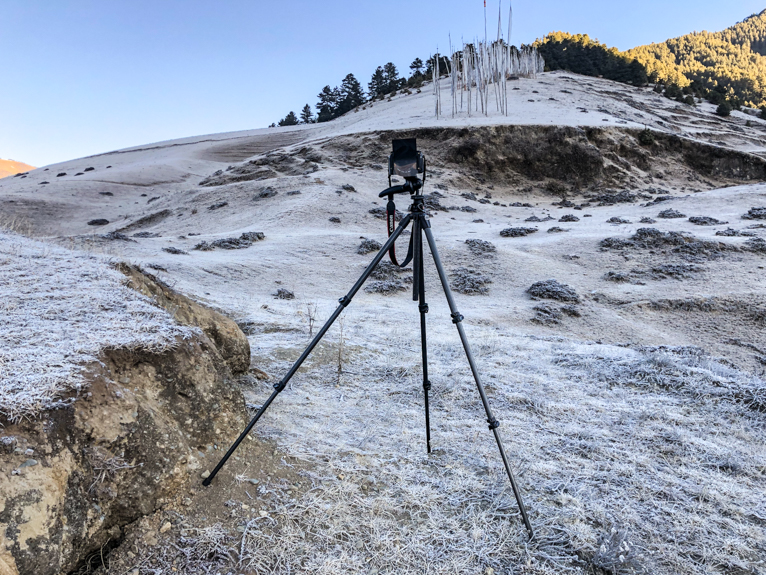
What about vibrations?

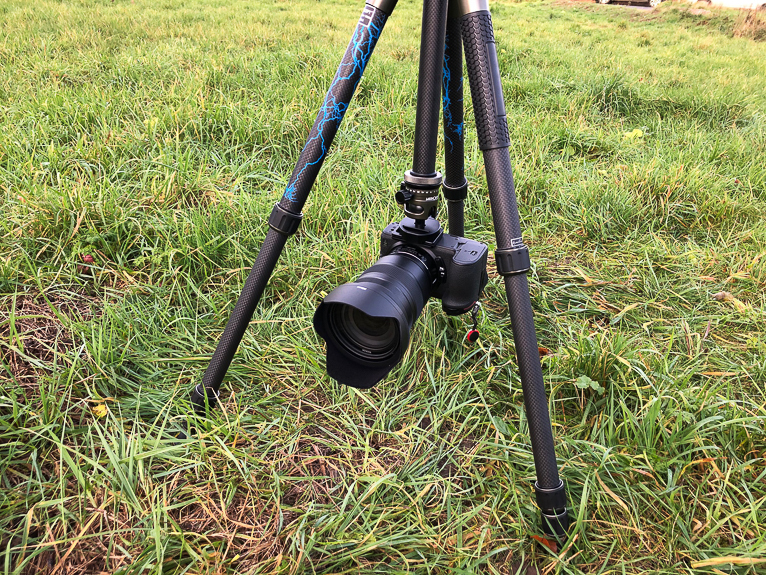
I was recently asked a question by a newbie photographer about why his images were blurred even though he was using a tripod. I asked if he had made some of the commons mistakes that people make when using a tripod to which he answered no. It turned out that he was using an aluminium tripod rather than a carbon fibre one. What’s the difference? Well, aluminium tripods are generally cheaper than carbon fibre tripods but are also heavier in weight. But the key difference is that aluminium tripods can sometimes suffer from vibrations which in slow exposure photography result in camera shake (or blurred photos). So, if you can afford it, I would always recommend buying a carbon fibre tripod over an aluminium one.
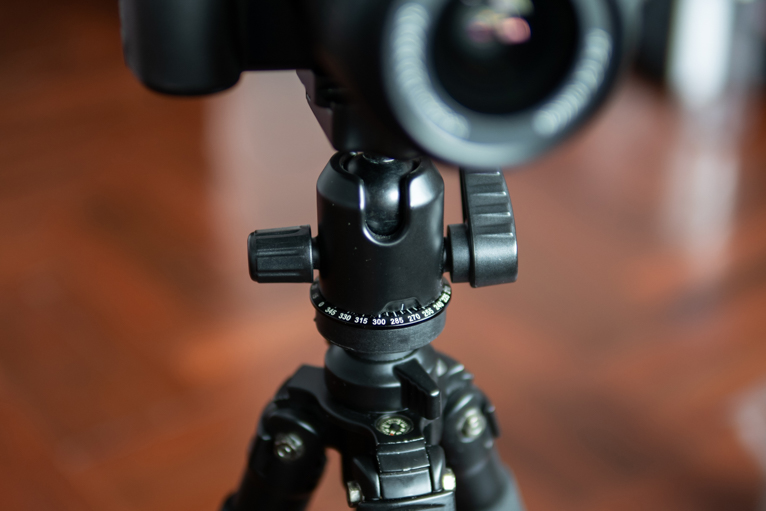
Tripod_buying_tips

Twist or clips?

You have probably seen that some tripod legs are extended by twisting the locking mechanism on each section, whilst some tripods use clips. Both have pros and cons and also their own dedicated users who prefer one over the other. Personally, I prefer the clips to twist option as I find it quicker and easier to extend and collapse the legs. But the disadvantage of the clips is that over time they because much stiffer to use. Of course, depending on your tripod choice you may not have the option of choosing one or the other. But it is something else worth thinking about before buying a new tripod.

Tripod_buying_tips

Does it have a centre column?

The centre column isn’t something you should use all the time as it can mean camera shake and so blurred photos. But sometimes it can be useful and necessary in some types of shots. For example, if you to capture over the top shots of objects or food. It isn’t something that is a necessity and you can remove the centre column when not needed to reduce the weight of the tripod, but it’s worth having one just in case you need one.

Tripod_buying_tips

A tripod is an essential piece of equipment and as such, you should take your time and do your homework before purchasing one. A good tripod will last you for years (I’ve had mine for over 10 years) so even though it might be an expense you could do without now, it’s an investment that will last a while. Use the tips above to help you buy the right tripod for you.

Photo credits: Kav Dadfar – All rights reserved. No usage without permission.

Filed Under: Tutorials Tagged With: photography equipment, Photography with tripod, tripod

6 Mistakes To Avoid When Using A Tripod

It was almost as if it was slow motion. The camera fell towards the ground where a big rock and muddy puddle awaited it. Luckily the camera missed the rock and landed in the muddy puddle instead. As I picked it up in sheer terror anticipating the worst, I discovered it still worked! With a bit of cleaning up, I was ready to shoot again. It was a lucky escape that resulted in me not ensuring my camera was properly secured to my tripod as I photographed a waterfall. Had the camera landed a little more to the right it would have no doubt smashed. A bit further to the left and it would have probably been floating away in the river. This happened to me a few years ago and taught me a valuable lesson to always ensure that my camera and tripod are secure and steady when taking a photo.

I often see many amateurs and even pro photographers using their tripod in a way that can not only ruin their photos but also put their camera at risk. So, here are 6 mistakes to avoid when using a tripod to ensure your camera and photos are safe.

use-tripod-correctly

Avoid raising the centre column

I have lost count of the number of times that I have seen people taking photos of landscapes with the centre column fully extended. The thing about the centre column on your tripod is that it can actually be detrimental to the sharpness of your photos. The reason is that it isn’t actually that secure. So even the slightest of movements will rattle the column and thus mean your shots might be blurred (especially in low light conditions).

So what is the purpose of that centre column you may ask? Well; usually the reason that photographers use that central column is to take shots where the camera needs to be facing down fully. Like for example taking an overhead shot of food. By extending the column and tilting it over it allows the photographer to take an over the top shot without capturing the tripod legs.

use-tripod-correctly

Make sure tripod insert is tight

The tripod shoe or insert is what tightens to the bottom of your camera and then subsequently clicks onto your tripod. This small apparatus is what keeps the camera on top of the tripod. If it isn’t correctly screwed in or tightened it could mean camera movement which in turn mean blurred photos.

Always make sure that you are using the correct size screw (most tripods will come with a small metal addition screw that can make the shoe connect to bigger camera holes). Also, check that when you have screwed in the shoe to your camera the arrow at the bottom is pointing in the direction of your lens.

use-tripod-correctly

Mount the camera properly

This is the error that almost cost me my camera. When I mounted the camera onto the tripod, it hadn’t fitted in properly and so it wasn’t secure. As soon as I let go, the camera fell. When you mount your camera, make sure that the connection has closed and is secure. A good habit to get into is to just gently move the camera once you have mounted it to make sure it doesn’t come out. Then you can let go.

use-tripod-correctly

Position the legs correctly

This is often the most common mistake that I see people make. Even if your camera is straight, by not positioning the legs correctly you could find that you tripod falls over with the slightest breeze. It’s all about making sure that the weight of the camera is distributed evenly across the frame of the tripod. Ideally, you should use the spirit level on your tripod to try and get your centre column to be as straight as possible. Sometimes that means lowering one of the legs so that you can do this. But you also should be aware of the need for a potential counterweight that might be needed to stop your tripod falling over.

For example, if you are photographing food with an overhead shot (i.e. your centre column is extended and tilted over), when you mount a camera on, the tripod will immediately start falling over at the camera end. So to ensure it doesn’t you need to hang a sandbag to one of the legs (on the opposite side) to counter the weight balance.

Always look to set up your tripod first and check that it is secure before mounting your camera on. Be especially careful when there is wind as a strong gust can easily knock over a tripod.

use-tripod-correctly

Extend the top legs first

Another potential mistake that you might be making that you don’t even know about it how you extend the legs. All tripods legs come in different sections that are thicker and more sturdy near the top to thinner the lower you get. This is simply so that the tripod legs can be retracted into the upper sections. Naturally, the thicker and more sturdy section of the legs is nearer the top. So if you find yourself needing to only extend you tripod partly, always start with the top section first. On higher end and more heavyweight tripods, you should see any issues even if using the lower part but it’s still worth getting into the habit of using the tripod correctly.

use-tripod-correctly

Be careful how you carry it

It amazes me how often I see people carrying their tripod incorrectly. If your tripod is extended you should always carry it over your shoulder. Even if you have your camera mounted on there, over your shoulder will keep it much safer than any other way. Avoid carrying the tripod by your side as not only there is more chance of you knocking your camera on things but also more risk to others who may trip or be it by the legs.

use-tripod-correctly

Always remember that your tripod is what is holding up your expensive camera and lenses so if it isn’t secure you are risking a potential fall and damage to your camera. But there is also the potential risk to your photos as well. A tripod that isn’t properly set up will move and shake your camera which will mean blurred photos.

Photo credits: Kav Dadfar – All rights reserved. No usage without permission. Dreamstime.

Filed Under: Tutorials Tagged With: Long exposure, Photography with tripod, Slow exposure, tripod, Using a tripod

Blog Topics

  • Tutorials
  • Inspiration
  • Locations
  • Gear
  • News
  • Other/Misc

What our customers say:

Life Pixel has been a life-changer for me. Continue reading
Eric GConnecticut
Read more reviews
I am more than satisfied with the service I received Continue reading
Christopher JCanada
Read more reviews
I am more than pleased with the conversion job that you did Continue reading
LOUIS MWaco, Texas
Read more reviews
I am VERY impressed with his knowledge of your products and his patience in explaining it to a novice like me. Continue reading
Lynn FEssex, Maryland
Read more reviews
Things will only get better from here thanks to all of you. Continue reading
Phillip FRedding, California
Read more reviews
The Lifepixel newsletter reminds me of not having expressed my gratitude for the excellent job you made. Continue reading
Michael GGermany
Read more reviews
Your staff went above and beyond the call of duty to make sure everything was handled in an excellent manner. Continue reading
Paige RPearland, Texas
Read more reviews
It has given my old camera a new life, I will enjoy using it again. Continue reading
William PAustralia
Read more reviews
Excellent service and the camera works just great Continue reading
Hans FairhurstAustralia
Read more reviews
I just got my converted camera back from you guys. THANK YOU!!!! Continue reading
Anne CutlerForest Knolls, CA
Read more reviews
infrared_filter_choices_sidebar
ir_conversions_explained_sidebar
----------- Watch More Videos -----------
infrared_quick_start_guide

Ready to start shooting Infrared?

Convert My Camera

Subscribe To Our Newsletter

Receive updates, tips, cool tutorials, free stuff and special discounts.

Learn the Basics

  • Video
  • Start Here
  • Filter Choices
  • Focus Calibration
  • Lens Considerations
  • Camera Considerations
  • Place Your Conversion Order

Resources

  • Galleries
  • Lens Hot Spot Database
  • IR Tutorials
  • FAQ
  • Infrared Filter Choices
  • Infrared Photography Guide
  • Infrared DIY Tutorials

Company

  • Why Choose Us
  • Get In Contact
  • Job Openings
  • Write For Us
  • Affiliate Program
  • Terms of Use
  • Privacy Policy
  • Home
  • Start Here
  • Galleries
  • Tutorials
  • FAQ
  • Blog
  • Why Choose LifePixel?
  • Shop
  • Contact

Copyright © 2025 Life Pixel Infrared - All rights reserved - LifePixel Infrared Photography IR Conversion, Modification & Scratched Sensor Repair