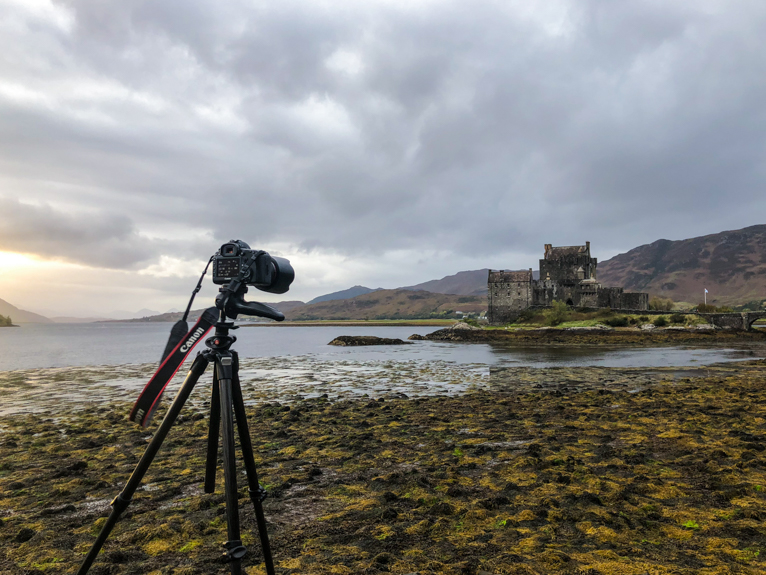
It was almost as if it was slow motion. The camera fell towards the ground where a big rock and muddy puddle awaited it. Luckily the camera missed the rock and landed in the muddy puddle instead. As I picked it up in sheer terror anticipating the worst, I discovered it still worked! With a bit of cleaning up, I was ready to shoot again. It was a lucky escape that resulted in me not ensuring my camera was properly secured to my tripod as I photographed a waterfall. Had the camera landed a little more to the right it would have no doubt smashed. A bit further to the left and it would have probably been floating away in the river. This happened to me a few years ago and taught me a valuable lesson to always ensure that my camera and tripod are secure and steady when taking a photo.
I often see many amateurs and even pro photographers using their tripod in a way that can not only ruin their photos but also put their camera at risk. So, here are 6 mistakes to avoid when using a tripod to ensure your camera and photos are safe.
Avoid raising the centre column
I have lost count of the number of times that I have seen people taking photos of landscapes with the centre column fully extended. The thing about the centre column on your tripod is that it can actually be detrimental to the sharpness of your photos. The reason is that it isn’t actually that secure. So even the slightest of movements will rattle the column and thus mean your shots might be blurred (especially in low light conditions).
So what is the purpose of that centre column you may ask? Well; usually the reason that photographers use that central column is to take shots where the camera needs to be facing down fully. Like for example taking an overhead shot of food. By extending the column and tilting it over it allows the photographer to take an over the top shot without capturing the tripod legs.
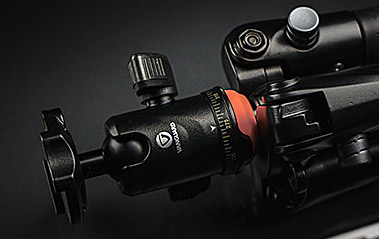
Make sure tripod insert is tight
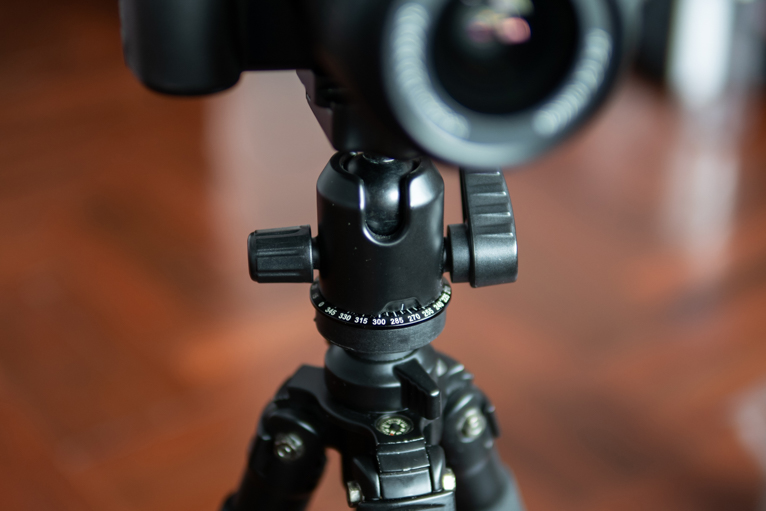
The tripod shoe or insert is what tightens to the bottom of your camera and then subsequently clicks onto your tripod. This small apparatus is what keeps the camera on top of the tripod. If it isn’t correctly screwed in or tightened it could mean camera movement which in turn mean blurred photos.
Always make sure that you are using the correct size screw (most tripods will come with a small metal addition screw that can make the shoe connect to bigger camera holes). Also, check that when you have screwed in the shoe to your camera the arrow at the bottom is pointing in the direction of your lens.
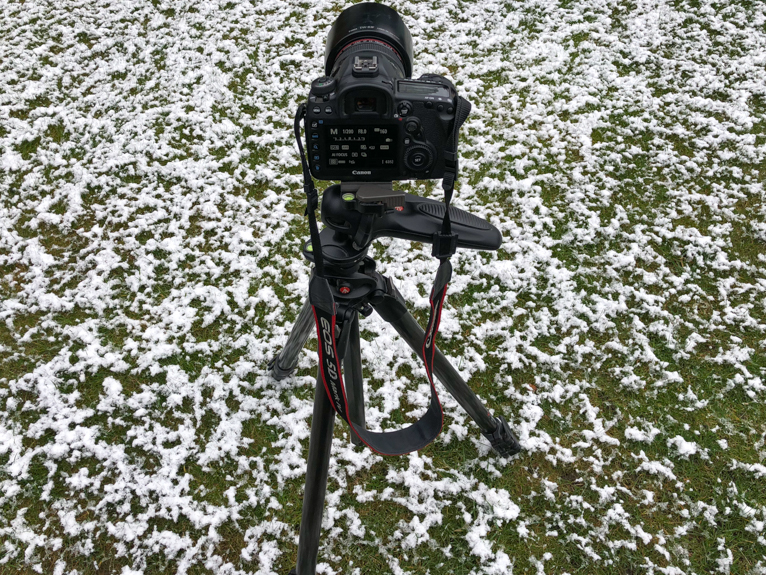
Mount the camera properly
This is the error that almost cost me my camera. When I mounted the camera onto the tripod, it hadn’t fitted in properly and so it wasn’t secure. As soon as I let go, the camera fell. When you mount your camera, make sure that the connection has closed and is secure. A good habit to get into is to just gently move the camera once you have mounted it to make sure it doesn’t come out. Then you can let go.

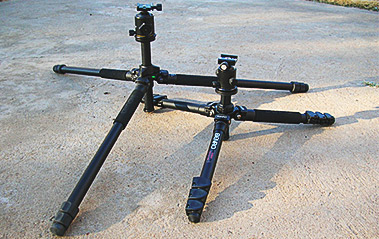
Position the legs correctly
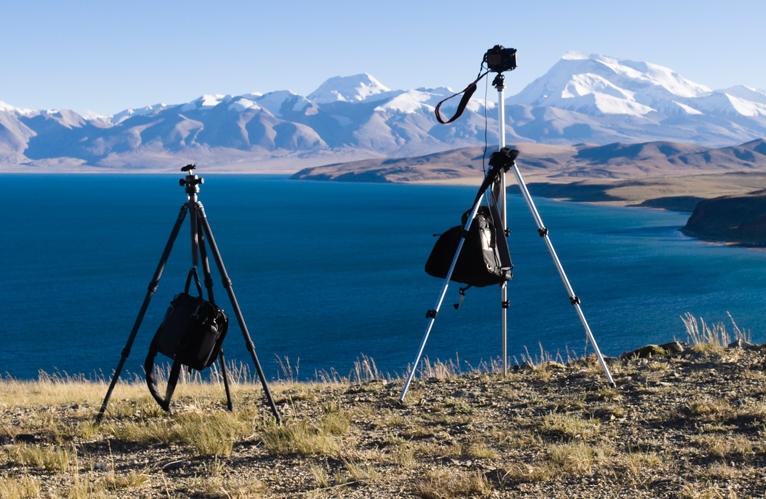
This is often the most common mistake that I see people make. Even if your camera is straight, by not positioning the legs correctly you could find that you tripod falls over with the slightest breeze. It’s all about making sure that the weight of the camera is distributed evenly across the frame of the tripod. Ideally, you should use the spirit level on your tripod to try and get your centre column to be as straight as possible. Sometimes that means lowering one of the legs so that you can do this. But you also should be aware of the need for a potential counterweight that might be needed to stop your tripod falling over.
For example, if you are photographing food with an overhead shot (i.e. your centre column is extended and tilted over), when you mount a camera on, the tripod will immediately start falling over at the camera end. So to ensure it doesn’t you need to hang a sandbag to one of the legs (on the opposite side) to counter the weight balance.
Always look to set up your tripod first and check that it is secure before mounting your camera on. Be especially careful when there is wind as a strong gust can easily knock over a tripod.
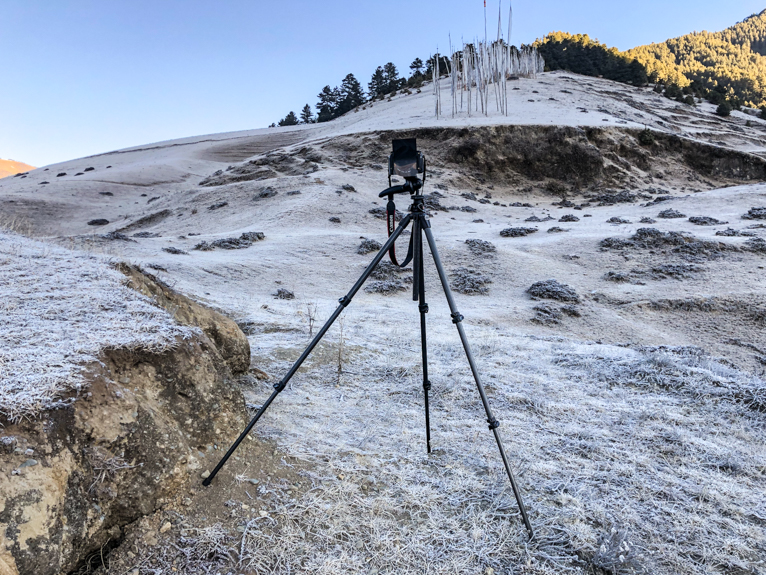
Extend the top legs first
Another potential mistake that you might be making that you don’t even know about it how you extend the legs. All tripods legs come in different sections that are thicker and more sturdy near the top to thinner the lower you get. This is simply so that the tripod legs can be retracted into the upper sections. Naturally, the thicker and more sturdy section of the legs is nearer the top. So if you find yourself needing to only extend you tripod partly, always start with the top section first. On higher end and more heavyweight tripods, you should see any issues even if using the lower part but it’s still worth getting into the habit of using the tripod correctly.
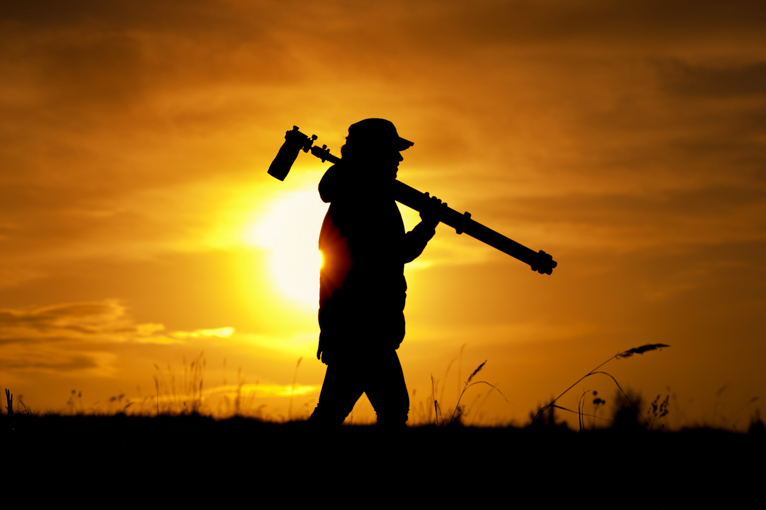
Be careful how you carry it
It amazes me how often I see people carrying their tripod incorrectly. If your tripod is extended you should always carry it over your shoulder. Even if you have your camera mounted on there, over your shoulder will keep it much safer than any other way. Avoid carrying the tripod by your side as not only there is more chance of you knocking your camera on things but also more risk to others who may trip or be it by the legs.
Always remember that your tripod is what is holding up your expensive camera and lenses so if it isn’t secure you are risking a potential fall and damage to your camera. But there is also the potential risk to your photos as well. A tripod that isn’t properly set up will move and shake your camera which will mean blurred photos.
Photo credits: Kav Dadfar – All rights reserved. No usage without permission. Dreamstime.
Latest articles by Kav Dadfar (see all articles)
- How To Photograph Street Performers - April 26, 2022
- Profiled Photographers – Ben McKechnie - August 24, 2021
- Profiled Photographers – Jim Maher - August 24, 2021
is the founding editor of JRNY Travel Magazine as well as a professional travel photographer and writer based in the UK. His images have been used by clients such as Condé Nast, National Geographic, Lonely Planet, Rough Guides and many others. Kav is also the co-founder of That Wild Idea, a company specializing in photography workshops and tours both in the UK and around the world.
See All Articles by Kav Dadfar

Leave a Reply