• Cart
  • Checkout
  • My Account

Infrared Conversions, IR Modifications & Photography Tutorials | Life Pixel IR

The world leader in infrared conversions, modifications & DIY IR conversion tutorials. Scratched sensor replacement, UV & Full spectrum conversions.

The world leader in infrared camera conversions

866.610.1710
  • Home
  • → Start Here ←
    • 1 – Introduction
    • 2 – Filter Choices
    • 3 – Focus Calibration
    • 4 – Lens Considerations
    • 5 – Camera Considerations
    • 6 – Start Shopping
  • Galleries
    • Infrared Photography
    • Infrared Time Lapse
    • Infrared Cinematography
    • Infrared Stop Motion
    • Ultraviolet Photography
    • Forensic Photography
  • Education
    • Training Sessions
    • How To Shoot Infrared
    • AR Coated Infrared Filters
    • Lens Hot Spot Database
    • Photoshop Video Tutorials
    • Infrared Issues & Solutions
    • IR Basics in Photoshop
    • Camera Quick Start Guide
    • DIY Conversion Tutorials
    • IR Photography Primer
    • Secondhand Cameras
    • Wall Of Shame
  • Workshops
  • FAQ
  • Blog
    • Tutorials
    • Inspiration
    • Locations
    • Gear
    • News
    • Other
  • Why Choose LifePixel?
    • Submit Your Review
  • Contact
  • Shop

How To Photograph Street Performers

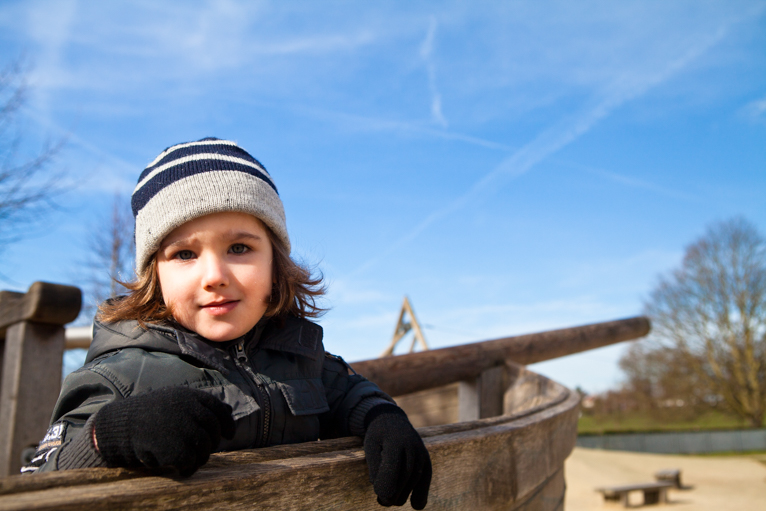
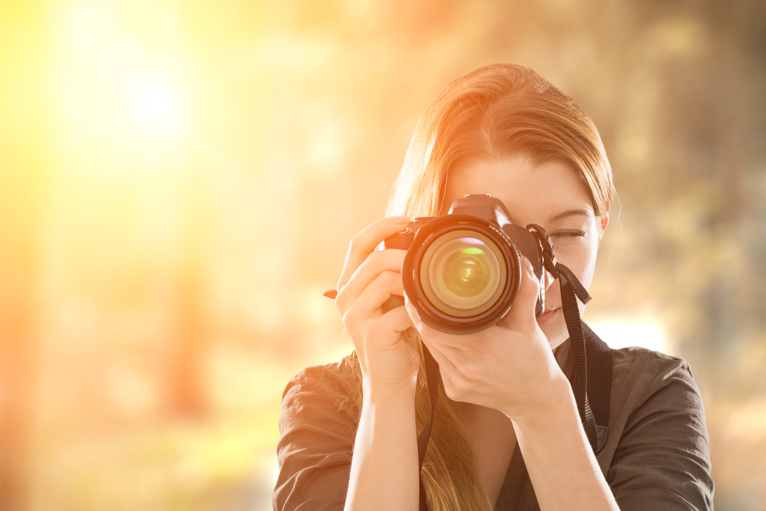
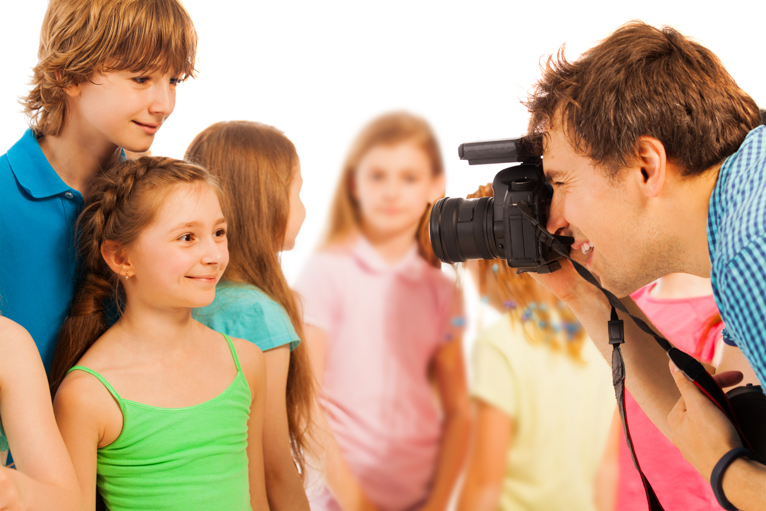
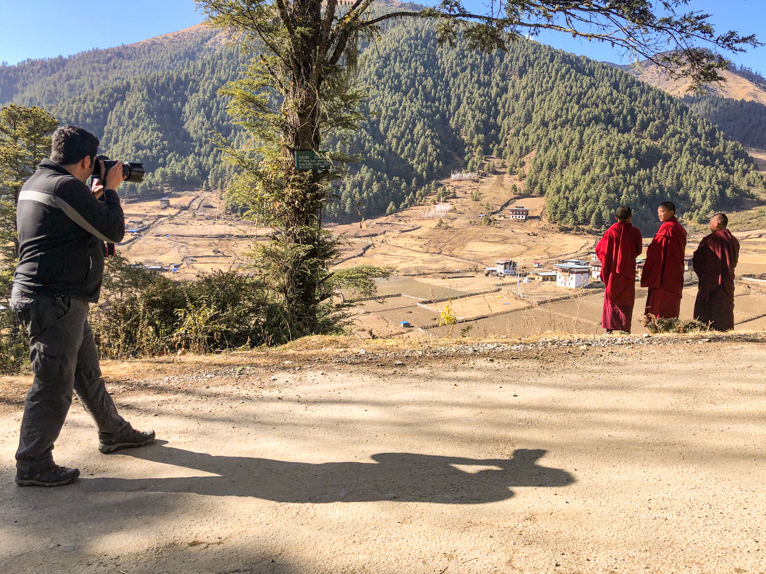
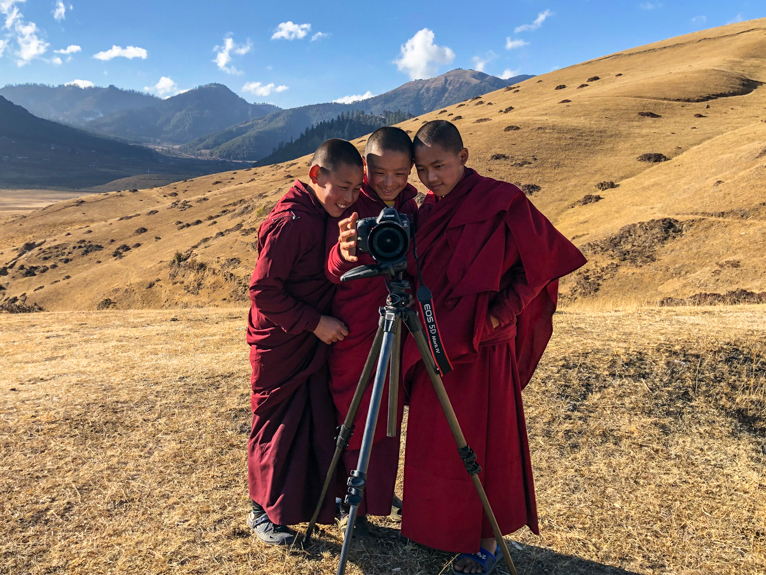
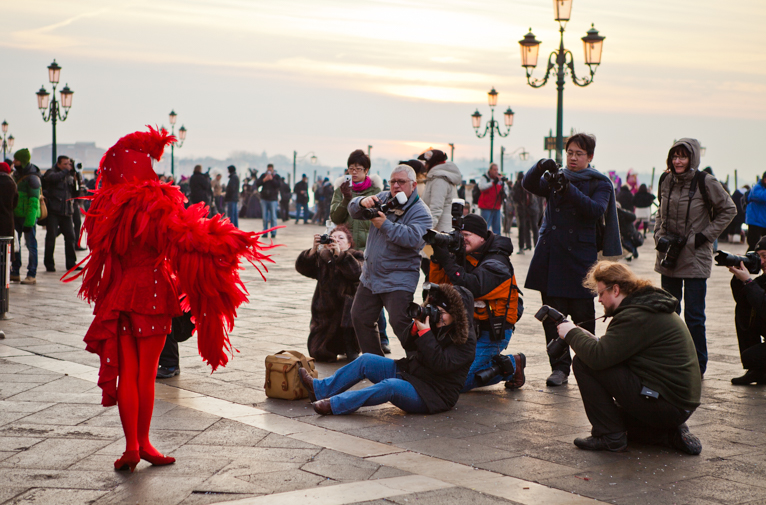
Every city has them. Street performers are a big part of a city and can often provide great photo opportunities. In some cities, these performers do this as full-time job and actually want people to photograph them. Others may just be trying to spread their name or doing what they love. Whatever the reasons are, you should keep your eyes open for any opportunities to photograph them as you capture some great photos.

Establish the rules

Before you even start to lift your camera to photograph a street performer, you should establish the rules. Firstly, if you are allowed to photograph the person. Obviously if the performer has put signs down asking not to be photographed, respect that and don’t try to sneak a photo. If there are no signs and you see others photographing, then it will probably be OK for you to photographing them as well.

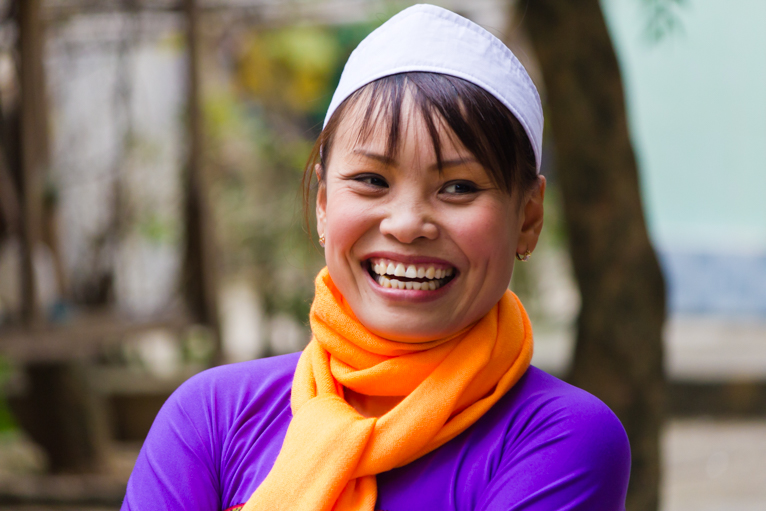
In some places, it is also important to know if the person being photographed expects a fee. For example, in Havana Old Town, the women who wear the colourful outfits are happy to be photographed for a small fee. It is best to establish if this is the case and how much the performer expects. Knowing this before you shoot will save you being charged an extortionate fee after you have taken photos.

Have a think before shooting

One of the tough parts of photographing street performers is avoiding the crowd that will inevitably gather. Sometimes there is no way to avoid the crowd and you have to integrate them into the shoot. At other times you may be able to change your angle to avoid other people in your shot. Or there might be times when you can simply wait for the right moment to capture the performer in an area that is crowd free.

So, before you start shooting, spend a few minutes thinking about the shoot and how best to photograph that performer.

Know your settings

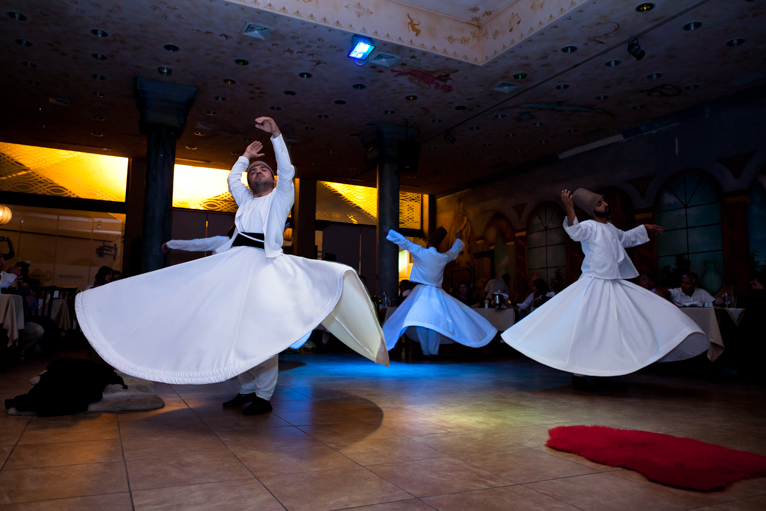
Your camera settings for photographing street performers will vary hugely depending on the scenario and what type of shot you are capturing. For example, a head and shoulder portrait of some will naturally mean you can settle of a slower shutter speed and shallower depth of field. But on the other hand, if for example you are photographing a dancer you will need to have a much faster shutter speed.

If you are unsure about what settings you should select, my advice would be to always overcompensate with your shutter speed and go for something faster than you initially think. I would also recommend selecting burst mode and continuous focus if there is movement involved.

Don’t forget to zoom in

Often when photographing a performer, we are all guilty of only capturing shots of the entire scene showing the performer in their entirety. While you should certainly capture these types of shots, it is also a really good idea to capture some close-up shots showing specific details of the person or even their clothing.

For example, this could be a close-up of a musician’s hands as they play their instrument. Or it could be a piece of jewellery the performer is wearing. These types of shots not only look great, but they also offer much more variety to your portfolio.

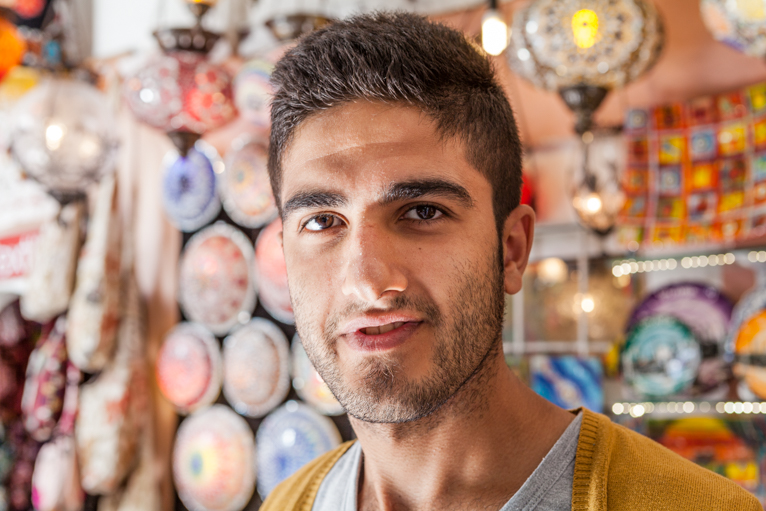
Don’t be afraid to talk to them

One of the great things about photographing street performers is that you won’t be disturbing them in the middle of doing something (obviously providing you don’t interrupt them in the middle of when they are performing). This will sometimes allow you to ask them to pose or even move them slightly to a new spot so that you can capture the perfect shot.

But beyond all this, it will also help you build a connection with that person rather than seeming like you are just another tourist with a camera.

A generous gesture

If the performer you are photographing has been happy for you to photograph them without asking any money, be courteous and say thank you and maybe offer to email them a copy of the photo. Or even better give them a small tip. It is a small gesture that says thank you but will also mean a lot to the performer.

Street performers are great subjects to photograph. Not only will you usually find them more than willing to be photographed but sometimes they may even pose or even stand where you want them to, allowing you to direct your shoots to capture the perfect shot. So next time you are out and about, keep your eyes open for street performers that you may be able to photograph. And then use the tips above to help you capture great photos.

Filed Under: Tutorials Tagged With: environmental portraits, photographing people, street photography

10 Tips for Getting People to Naturally Smile When Being Photographed

How is it that the moment people are placed in front of a camera, a nervous air suddenly washes over them, making it incredibly difficult to capture a natural smiling shot. It can be quite a challenge to take great pictures of people when photo time makes them feel awkward and uncomfortable.

We all know the “say cheese” trick; however, it always seems to produce an ingenuine looking smile. It’s unbelievable how different a natural smile and a fake smile are, and people can tell. Fortunately, there are a few foolproof tricks that can help you to get people to feel natural and relaxed in front of the camera. Try these ten helpful tips for getting people to smile as naturally as possible when being photographed.

Natural-Smile-portrait-photography

1. Create an emotionally safe environment

People tend to be highly attuned and reactive to other peoples’ emotional states, meaning that the overall “vibe” of the environment you are photographing may reflect on your subjects’ emotions, and their ability to produce a natural smile. To provide an extreme example, imagine trying to get an entire football team to smile for a group photo when they’re debriefing in the locker room after losing a match only moments before. The emotional state of the environment is simply not right for capturing a natural smiling shot, and you will likely be unable to get the image you want.

Although not always something that the photographer can control, you may be able to influence the emotional state of the environment by taking control of the situation, keeping everyone involved, and staying positive and patient.

2. Mirror the emotion you would like to capture

Ever wondered why smiling at a baby will often result in the baby smiling right back at you? There is some science at play behind this reaction. Specifically, something called ‘mirror neurons.’ Mirror neurons are described as “a special class of brain cells that fire not only when an individual performs an action, but also when the individual observes someone else make the same movement.” Mirror neurons allow us to simulate peoples’ actions and even the emotions behind those actions.

If you’re trying to get people to smile as naturally as possible when they are being photographed, simply smile yourself. Everyone will likely react to your warm, natural, smiley demeanour and start to smile naturally themselves.

3. Fake laugh

People need to be comfortable and relaxed to produce a natural smile. An excellent way to break down people’s feelings of discomfort is to try something silly like asking them to fake laugh. Set the challenge for your subjects to see who has the most outrageous phoney laugh. With a bit of luck, your subjects’ facial expressions after hearing the simultaneous roar of fake laughter should be of genuine happiness. Just make sure you’ve got your finger on that shutter button.

4. Compliment them!

Often the reason that people feel uncomfortable behind the camera is due to a lack of confidence. So, what a better way to make them feel more confident and relaxed than to offer them a genuine compliment. The options are endless when you compliment—for example, their hair, their outfit, or their jewellery. Better yet, if you can compliment them on their natural smile, then chances are that those natural smiles will just keep coming. Be sure that your compliments are genuine and don’t feel forced, as this may have the reverse effect.

Natural-Smile-portrait-photography

5. “Say….”

As touched on earlier, we all know the “say cheese” line. We half expect to hear the photographer say it each time we pose for a photo. As a photographer, you can use the historical overuse of this term as a tactic for triggering some natural smiles. Throw your subjects a curveball, and they will likely crack a smile or even a giggle if you’re lucky. Instead of “say cheese,” use the line “say…” followed with a random word that you think might entertain your subjects. Take into account the age of your subjects, any jokes or funny situations that may have occurred earlier during the session, and use your discretion to pick an appropriate word.

Natural-Smile-portrait-photography

6. Bemusement

People become quite bemused when they are posing for a photo, and the photographer asks them to simply “look at each other.” The vagueness of these instructions creates a sense of confusion among a group of people. It often will result in laughter or smiling natural reactions as people look around seeking validation from their peers as to what they are being asked to do. This technique is great for capturing candid shots and can be followed up by tip 7 below to get a more classical smiling picture.

Natural-Smile-portrait-photography

7. “Look at me”

While your subjects are still smiling following the confusion caused by your earlier instructions to “look at each other,” follow up with the new directions, “everyone, look at me” to capture those natural smiles before they dissipate.

Natural-Smile-portrait-photography

8. Trigger a special memory

This tip is most suitable when photographing couples or people you may know well. By asking your subjects to recall a particular moment in their relationship (e.g., their first date, first kiss, or engagement) or history, you’ll help them feel more relaxed and attuned to each other. This method is likely to result in those loving natural smiles you want.

Natural-Smile-portrait-photography

9. Try not to laugh

Here’s one for when you’re photographing groups of children. Have you ever challenged a group of children to try not to laugh, and the exact opposite happens? The longer the children stare each other down, trying not to laugh, the more their lips quiver, and all of a sudden, they’re all bursting into fits of laughter. This idea is an incredibly simple but almost foolproof way to get natural smiles out of children.

Natural-Smile-portrait-photography

10. Tongues out

To finish off the list, here is one more simple tip for getting natural smiles out of children. Sometimes, sticking your tongue out at children is all you need to get some giggles out of them. Hopefully, you’ll be able to catch some natural smiling shots before they stick their tongues back out at you.

Natural-Smile-portrait-photography

With these tips, you’ll be in good stead to go out there and get those natural, smiling, photographs that you’re seeking. Just remember to stay positive, be patient, and adjust your techniques appropriately.

Photo credits: Kav Dadfar – All rights reserved. No usage without permission. Dreamstime.

Filed Under: Tutorials Tagged With: people photography, photographing people, portrait photography, portraits

6 Ideas To Give Your People Photos More Variety

Photographing people is a wonderful genre of photography. It can often lead to fantastic photos that connect the viewer to a world that they may not ever get to see. But like any form of photography, it is important to ensure that your images of people have variety. Not only will this keep you more interested rather than repeating the same things over and over again, but also ensure that your portfolio is not repetitive. If you are struggling to think of different ways of photographing people, here are 6 ideas to help you get started.

photographing-people

Head and shoulder portraits

These are the standard people photos that most photographers think about when you talk about people photography. They can range from functional corporate type of headshots to dramatic lighting and interesting faces. The key with any head and shoulder portraits are the eyes. They need to be 100% sharp and in focus. If the eyes are not sharp the whole photo will look soft and won’t work.

For portraits such as these, you will need a shallow depth of field as ideally, you should try to isolate your subject against the background. So by using a shallow depth of field, you can blur the background so that your subject stands out. This should mean that your shutter speed should be fast enough so that you don’t have to worry about camera shake. If you do find that your shutter speed is too slow, raise your ISO slightly.

photographing-people

Environmental portraits

The next step from the traditional head and shoulder portraits is environmental portraits. For these types of photos, you need to try and capture some of the surrounding areas around your subject. This will give the photo more context about what the person is doing which in turn will give it more context.

Environmental portraits can be a little more tricky at times because you are potentially having to extend your depth of field. In addition to this, you may also sometimes be faced with low light conditions (i.e. if you are photographing a market for example). This might mean that your shutter speed will begin to be too slow for handheld photography. The only way to get around this issue is to raise your ISO so that you can take the picture at the desired depth of field and shutter speed. The key to good environmental photos is the composition. So rather than rushing in, spend a bit of time thinking about it and the story that you want to tell.

photographing-people

Festivals or religious gatherings

Nothing conveys the spirit of humanity more so than festivals, religious events or gatherings. Some of these gatherings can be the most spectacular and colourful scenarios to photograph. People just lose themselves in the moment and that makes it a wonderful scenario to photograph. But capturing these events can be difficult. Not only is each one different with its own unique set of challenges, but often they are all incredibly busy and full of other photographers. The key is to do your research so that you know exactly where to be and when because you may only get one chance to capture the photo you want.

photographing-people

A point of interest

It’s easy to always think that the person in your photo has to be central, but sometimes they can simply be a point of interest. For example, if you are capturing a landscape shot, a person can help give a sense of scale or even tell more of a story about a scene. You will, of course, need to compose your shot so that the person works as part of the whole image and doesn’t look like they are placed there deliberately.

The great thing about these sort of scenarios is that as you are photographing outdoors, you shouldn’t have too many issues with your settings. Even when using a greater depth of field you will usually find that you can handhold the camera (unless photographing in low light conditions). But if you find that you need to use slower shutter speeds, than make sure you use a tripod.

photographing-people

Movement or action

Another great way to capture photographs of people is when they are in action. Anything from sport to dance or even just people going about their everyday life will look fantastic and give variety to your portfolio. But capturing people in action is probably the hardest of all people photography to master. Not only will you have to ensure that you are focusing on a moving subject, but you will also have to ensure that you use a fast enough shutter speed to freeze the action (if that is what you want to achieve). These two combinations are often something that amateur photographers struggle with. Really the only way to improve and be able to “nail that shot” is through practice.

Using continuous focus will help you be able to focus easier as the camera can track your subject and keep focusing (as long as you are holding down your focus button). But in terms of shutter speed, it will really come down to how fast the movement of what you are photographing is. For example, someone running will require a faster shutter speed than someone walking. Keep practising and you will get better at photographing movement.

photographing-people

Moments

One of the great things about photography is that a photo can capture a moment that might otherwise be lost. These unique moments can be incredibly photogenic. It might be someone just looking deep in thought. Or enjoying an amazing view in front of them. It might be someone laughing, crying, being scared or even talking. Sometimes these will be fleeting moments that will disappear and at other times you will have more time. The key to capturing these moments is to be ready but more importantly to keep your eyes open. Because you never know, around every corner might be one of these unique moments.

photographing-people

Capturing great pictures of people can offer some of the most stunning and unique photographs. Whether it is in a studio, or in far away land photographing the locals, people can bring to life a destination or stories that cannot be told otherwise. For most amateur photographers, once they overcome their fear of shyness, they will end up with a set of images that they can be proud of. The only danger is that your images will look repetitive, but use these 6 ideas and you’ll end up with a diverse collection of people photos.

Photo credits: Kav Dadfar – All rights reserved. No usage without permission.

Filed Under: Tutorials Tagged With: environmental portraits, people photography, photographing people, portraits

Blog Topics

  • Tutorials
  • Inspiration
  • Locations
  • Gear
  • News
  • Other/Misc

What our customers say:

Life Pixel has been a life-changer for me. Continue reading
Eric GConnecticut
Read more reviews
I am more than satisfied with the service I received Continue reading
Christopher JCanada
Read more reviews
I am more than pleased with the conversion job that you did Continue reading
LOUIS MWaco, Texas
Read more reviews
I am VERY impressed with his knowledge of your products and his patience in explaining it to a novice like me. Continue reading
Lynn FEssex, Maryland
Read more reviews
Things will only get better from here thanks to all of you. Continue reading
Phillip FRedding, California
Read more reviews
The Lifepixel newsletter reminds me of not having expressed my gratitude for the excellent job you made. Continue reading
Michael GGermany
Read more reviews
Your staff went above and beyond the call of duty to make sure everything was handled in an excellent manner. Continue reading
Paige RPearland, Texas
Read more reviews
It has given my old camera a new life, I will enjoy using it again. Continue reading
William PAustralia
Read more reviews
Excellent service and the camera works just great Continue reading
Hans FairhurstAustralia
Read more reviews
I just got my converted camera back from you guys. THANK YOU!!!! Continue reading
Anne CutlerForest Knolls, CA
Read more reviews
infrared_filter_choices_sidebar
ir_conversions_explained_sidebar
----------- Watch More Videos -----------
infrared_quick_start_guide

Ready to start shooting Infrared?

Convert My Camera

Subscribe To Our Newsletter

Receive updates, tips, cool tutorials, free stuff and special discounts.

Learn the Basics

  • Video
  • Start Here
  • Filter Choices
  • Focus Calibration
  • Lens Considerations
  • Camera Considerations
  • Place Your Conversion Order

Resources

  • Galleries
  • Lens Hot Spot Database
  • IR Tutorials
  • FAQ
  • Infrared Filter Choices
  • Infrared Photography Guide
  • Infrared DIY Tutorials

Company

  • Why Choose Us
  • Get In Contact
  • Job Openings
  • Write For Us
  • Affiliate Program
  • Terms of Use
  • Privacy Policy
  • Home
  • Start Here
  • Galleries
  • Tutorials
  • FAQ
  • Blog
  • Why Choose LifePixel?
  • Shop
  • Contact

Copyright © 2025 Life Pixel Infrared - All rights reserved - LifePixel Infrared Photography IR Conversion, Modification & Scratched Sensor Repair