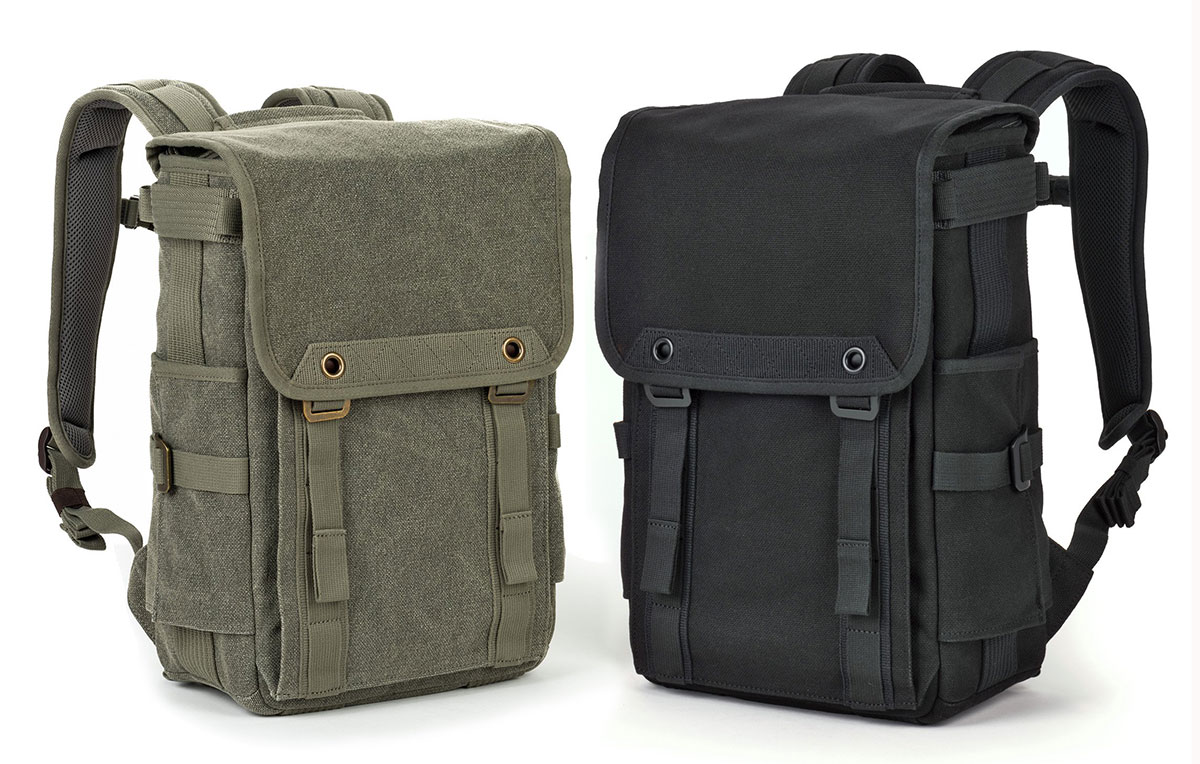
Back a long time, one month ago, I took a trip to Moab, Utah for my workshop at Arches National Park. On this journey, I brought my new ThinkTank Photo backpack, the Retrospective Backpack 15 for a trial run. If you’re familiar with ThinkTank, you know they have had the Retrospective series for years. They can best be described as the most un-camera bag looking camera bag ever made. They are made of a rugged canvas material treated with DWR to repel the elements. I’m not one for form over function, but the Retrospective series has both; it looks good, but not like a camera bag and it is versatile. When I heard they had developed a backpack, I couldn’t wait to get my hands on it. I selected Pinestone because the earth-toned colors made it look even less like a camera backpack.
Right about now, you’re probably wondering why I’m doing a review of this gear when we are all stuck inside. Well, I had intended to wait and write this after everything was over and we were all once again outside until I noticed this morning that ThinkTank Photo has everything 20%OFF. So I thought you might appreciate reading this now.
I’ve been going to Moab for a few years and have worked out exactly what I need for a shoot like this. This is what I’ve found works best for me.
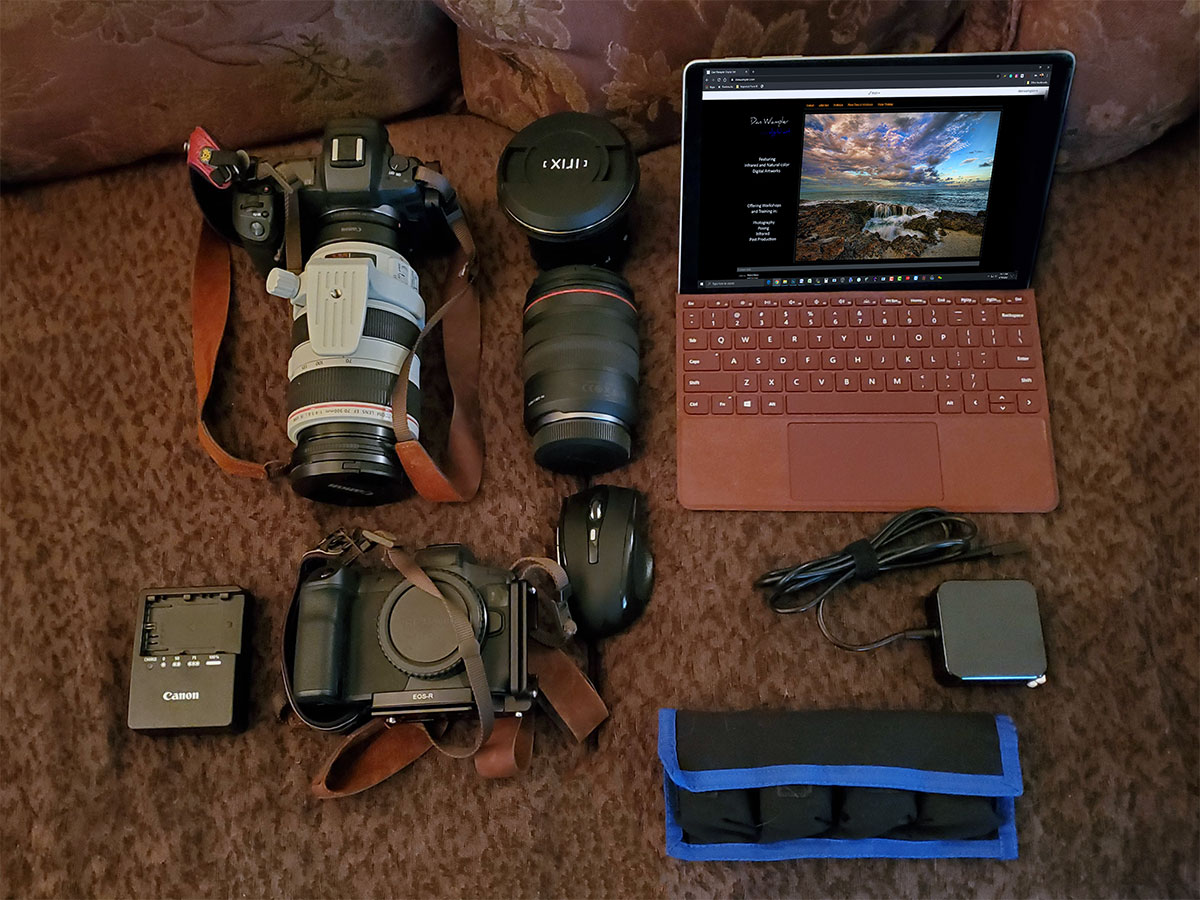
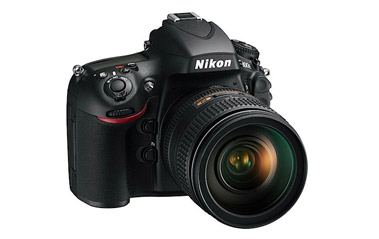
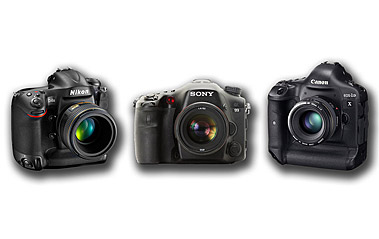
(2) Camera bodies
70-300L lens
24-105RF L lens
Irix 15mm lens
4 pack battery holder
Battery charger
Microsoft Surface Go
Mouse
Charger
(not pictured, but was also in the pack)
Rain cover – Backpack
Poncho
Pens
cards
allen wrench set
Water bottle
Windbreaker jacket
The first thing you will notice when you start setting up the Retrospective Backpack 15 is it has dual access. You can open the top and slide out a camera with a lens quite easily.
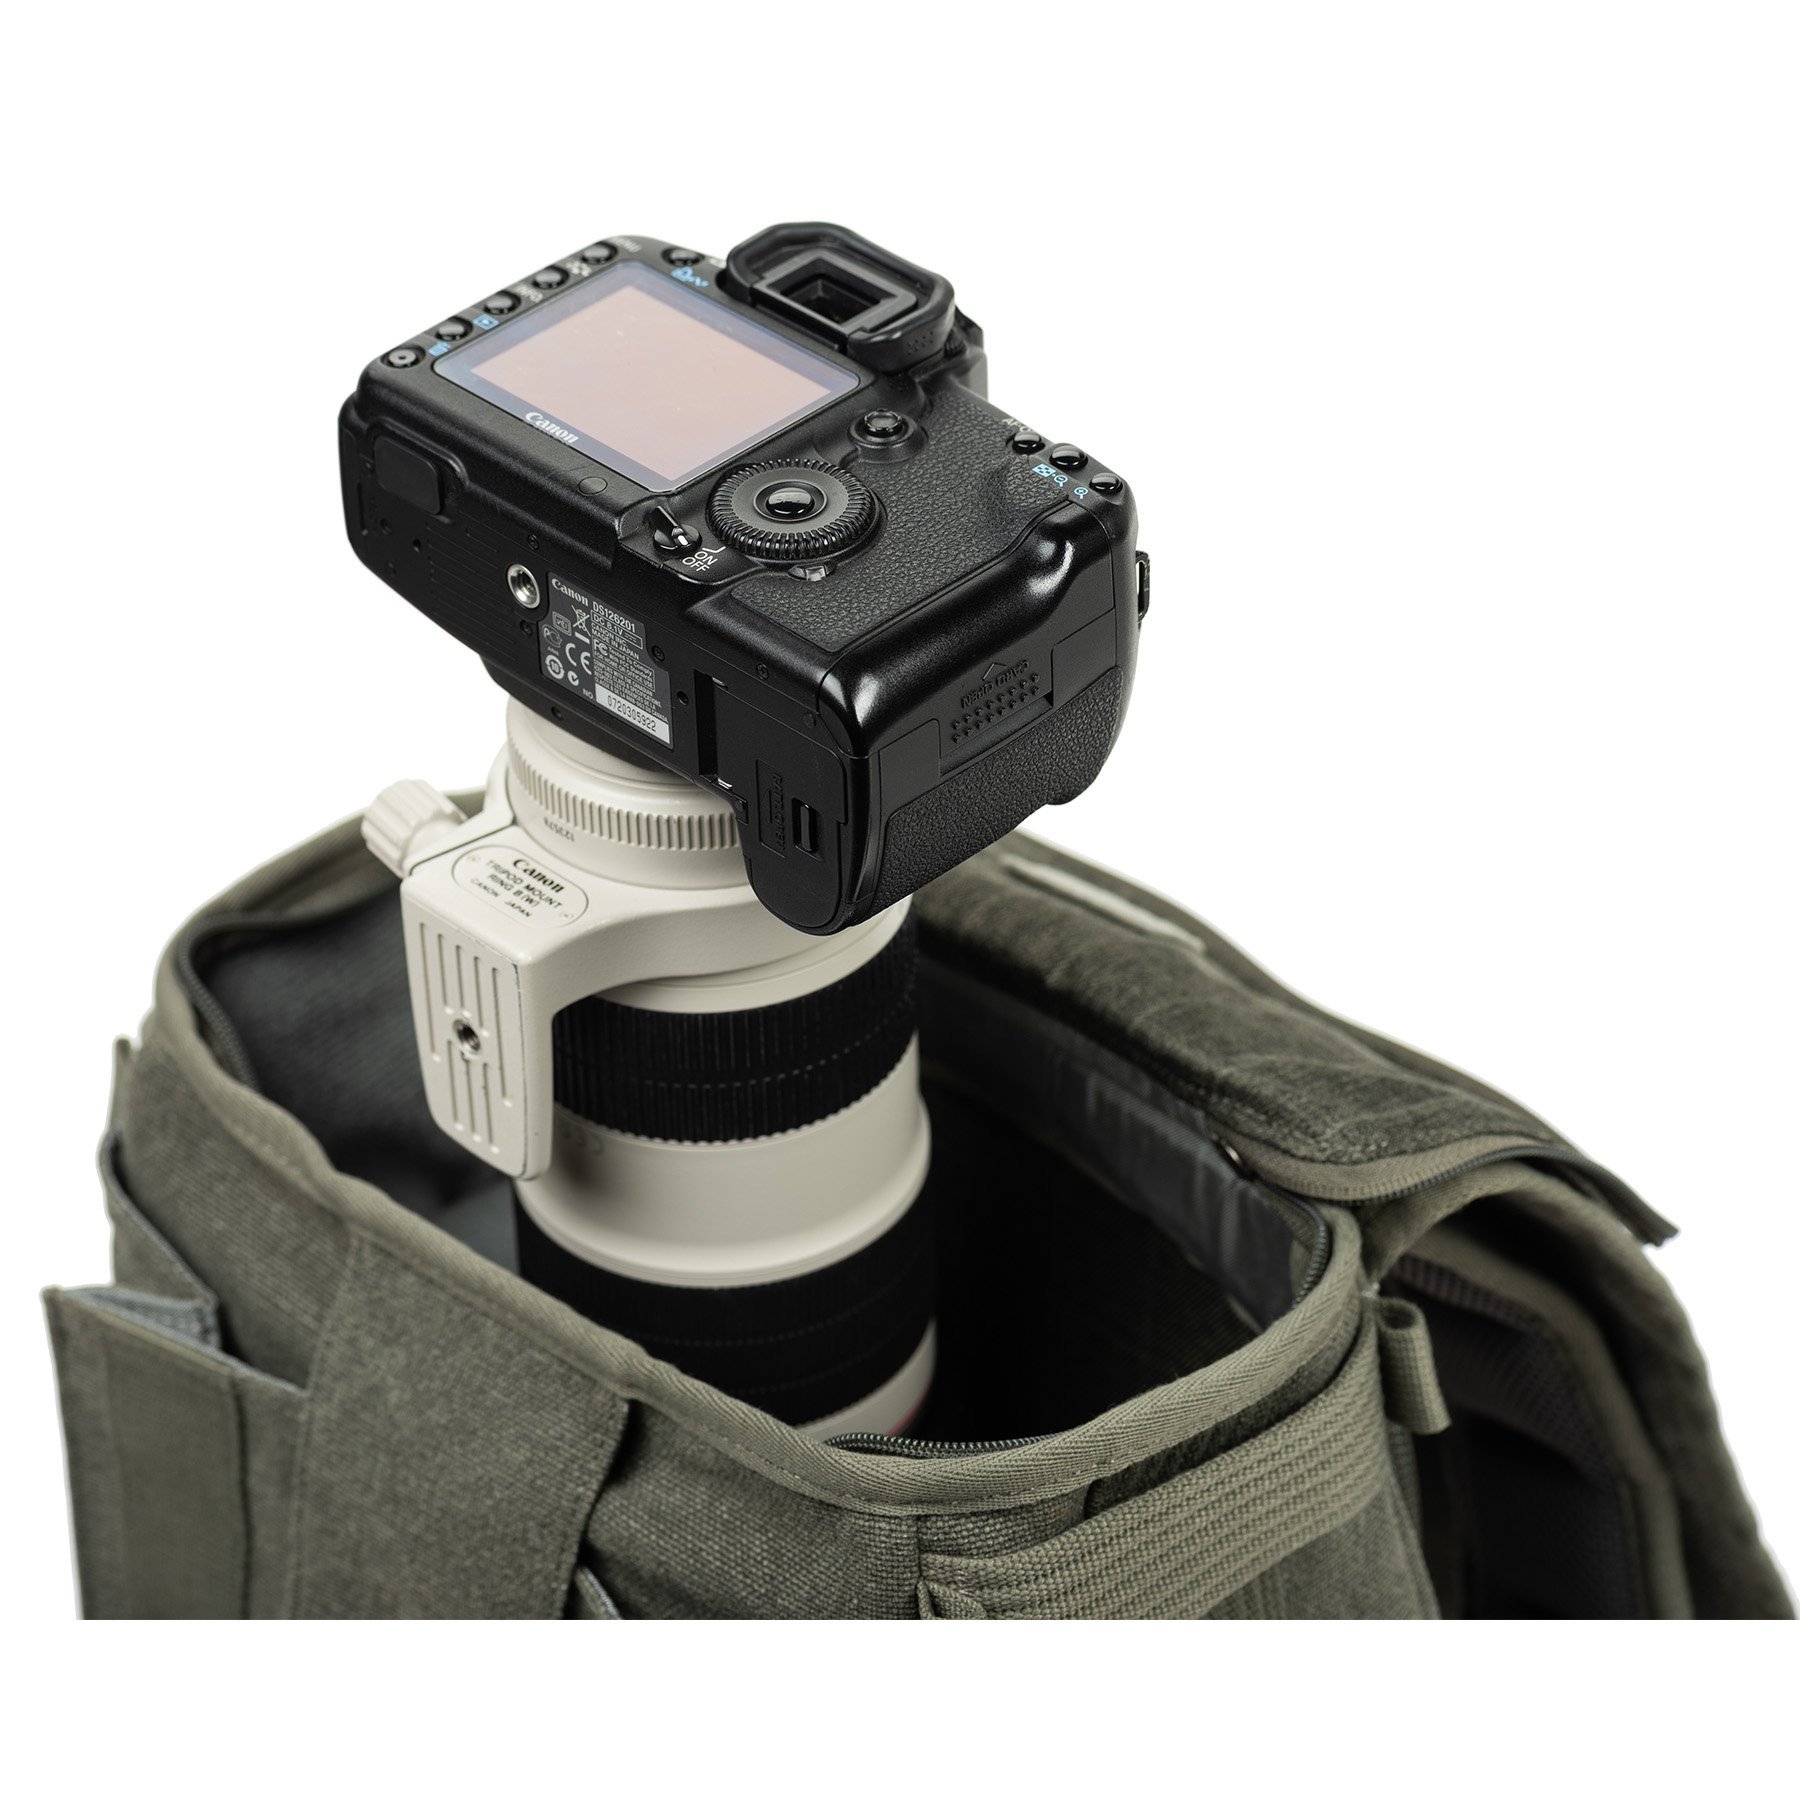
There is also an inside zippered flap to protect your camera from the elements. I brought the Canon 70-300L, but it can easily hold the longer 70-200 f2.8 L.
The next part is my favorite. To gain access to the main compartment of the Retrospective Backpack, you go in through the back that sits against your body when you wear it. You are not going to accidentally leave the compartment open and put the backpack on endangering your gear, and no one is going to get into your pack while it’s on your back.
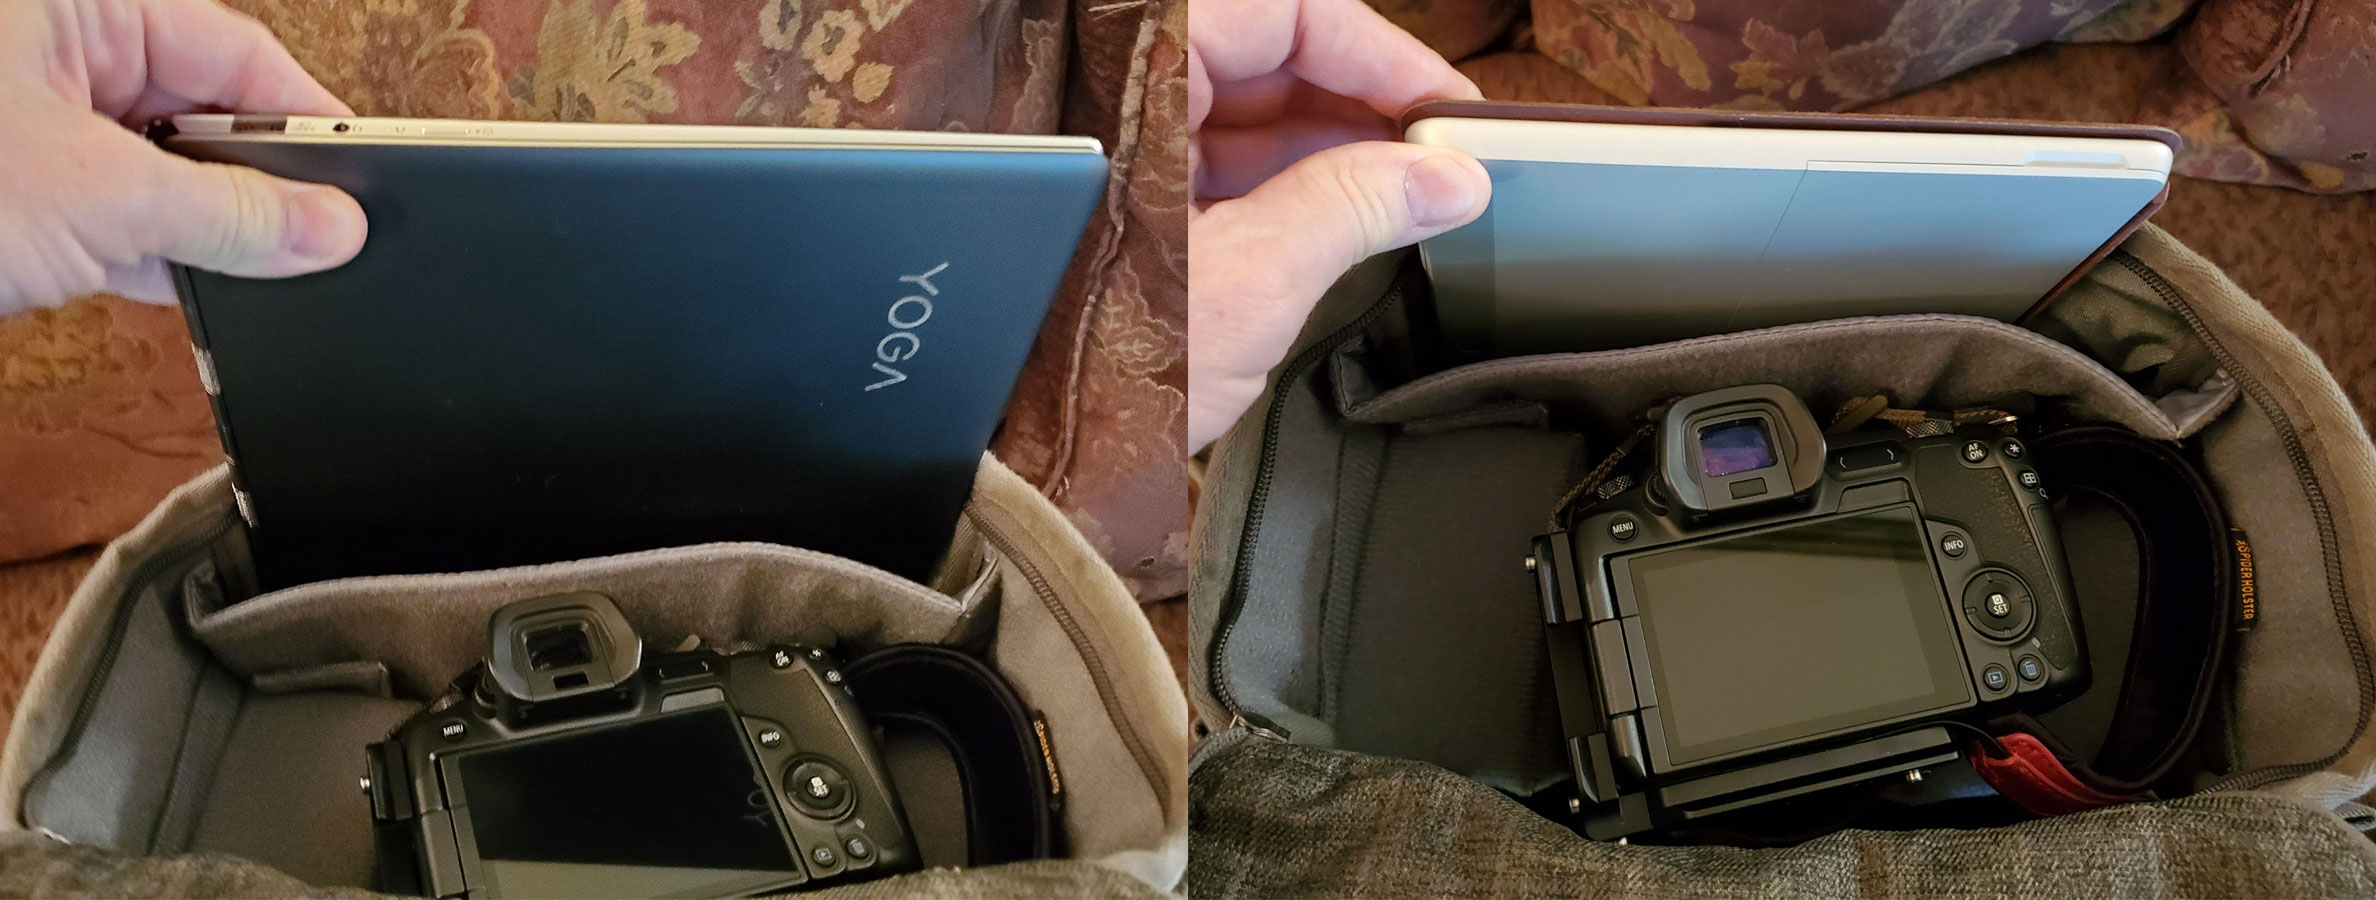
Storage wise the Retrospective Backpack utilizes every bit of real estate inside it. It is designed to hold up to a 15 inch laptop, so my Surface Go had plenty of room.
Inside the front flap is an area for pens, business cards, and there’s even a zippered area for things like a passport. Once again ThinkTank designed the pack to be useful.
The day I arrived in Moab, it was raining. If you’ve been to the Canyonlands airport you know you have to walk across the tarmac to tiny building that is the airport. They have one gate, and the baggage claim is outdoors. The rain cover that comes with the pack opens very easily and slides over it. By the time I picked up my luggage and got to my rental car I wished that I was in as great a shape as the backpack.
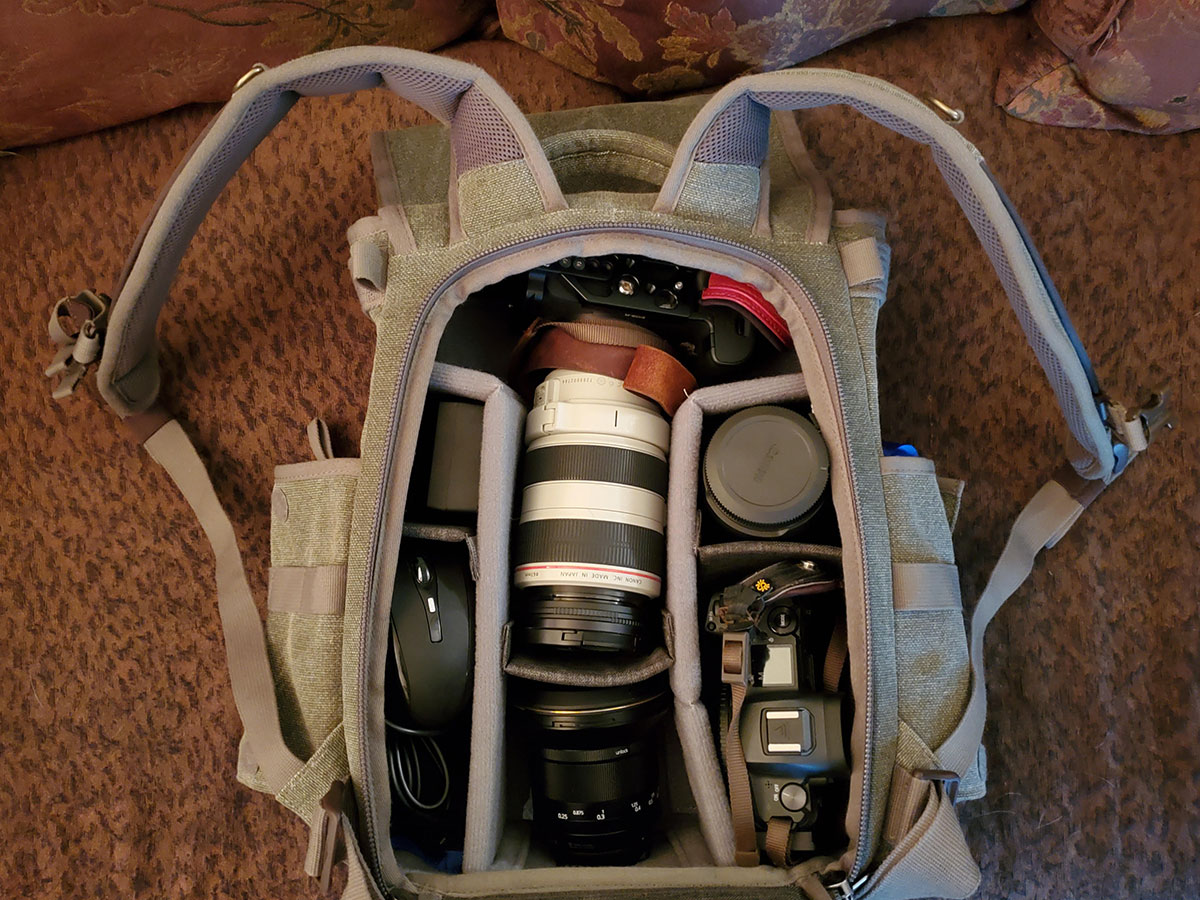
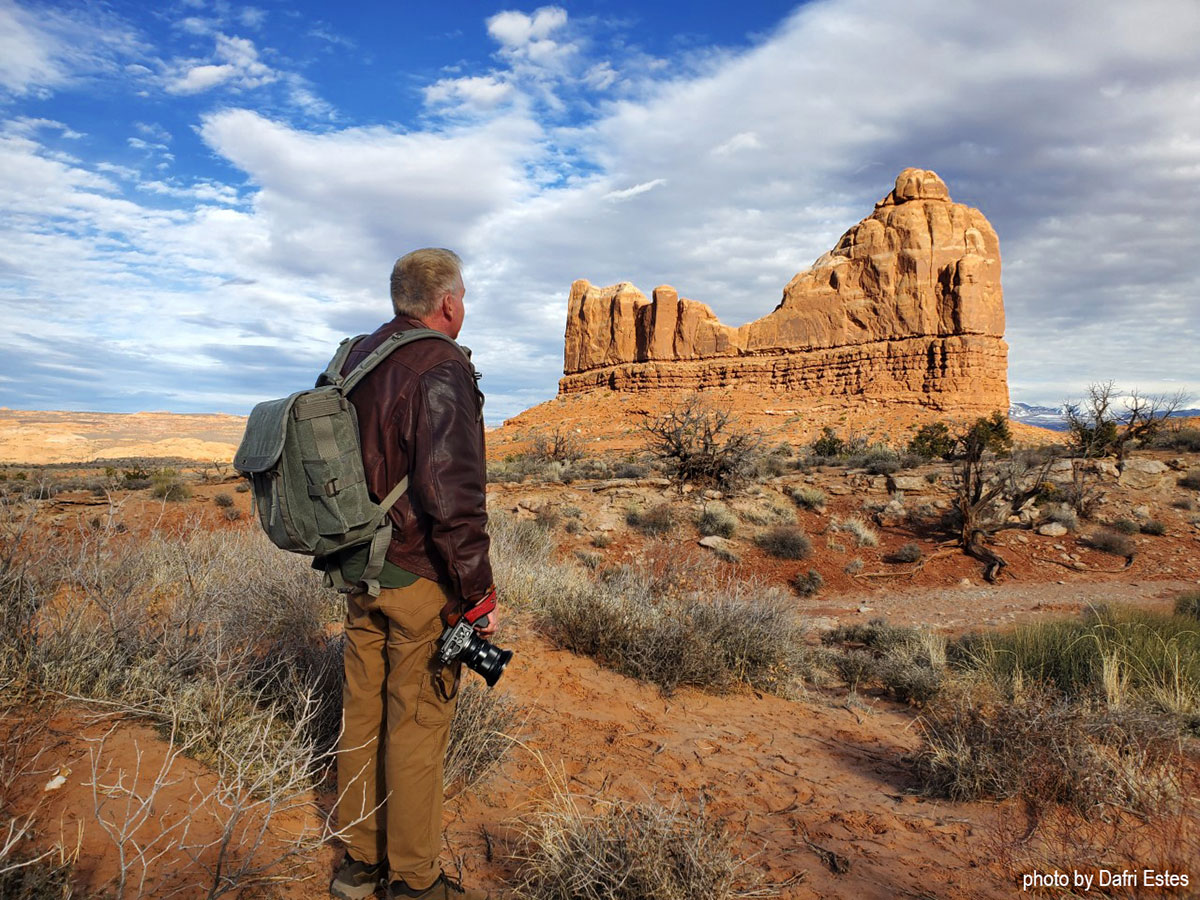
Of course, like most all ThinkTank products, the main compartment is modular so you can shift things to suit whatever configuration you want. Once I got to Moab, I removed the items I didn’t need to carry and set up the pack so it could hold two camera bodies each with a lens attached. Over the next couple of days the pack went everywhere I did and was exactly what I needed. It was comfortable enough to wear for long periods. Oh, and thank you Dafri for the image from the workshop.
I haven’t had any other opportunities to utilize the bag since I returned fro Moab as I went straight into self Isolation, but the next time I need a bag (I hope that is soon) the Retrospective Backpack will be what I’ll use.
If you want more information on this backpack, Click Here
Latest articles by Dan Wampler (see all articles)
- Seal Bay photoshoot - March 7, 2023
- Major Copyright Infringement site Scroller.com - March 6, 2023
- Kangaroo Island Wallabies and Roos - March 1, 2023
Dan Wampler
Dan Wampler is a digital artist from St Louis, MO. Having been interested in art and photography since childhood, he spent most of adult life working for Kodak and in the portrait photography industry. A student of the works of Ansel Adams, Any Warhol, and David Hamilton, Dan attempted to keep a wide range of artistic style.
As an early adopter of digital imaging, he found it gave him a way to completely incorporate art and photography. Began shooting Digital Infrared in 2004, and had first camera converted in 2006. His work has been seen in numerous gallery shows, is featured in an iTunes app. He produces Infrared and natural color digital art for sale and teaches his post-production techniques online.
Dan is LifePixel's Creative Director, social media manager, lead blog author, main workshops and training sessions instructor. His images appear in this gallery and throughout the website.
If you have a topic suggestion or request feel free to shoot him an email at danwampler@lifepixel.com
Otherwise all LifePixel customer service inquires should be directed to service@lifepixel.com or by phone at 866-610-1710.
View more of Dan's work on his Website | Facebook
See All Articles by Dan Wampler

Leave a Reply