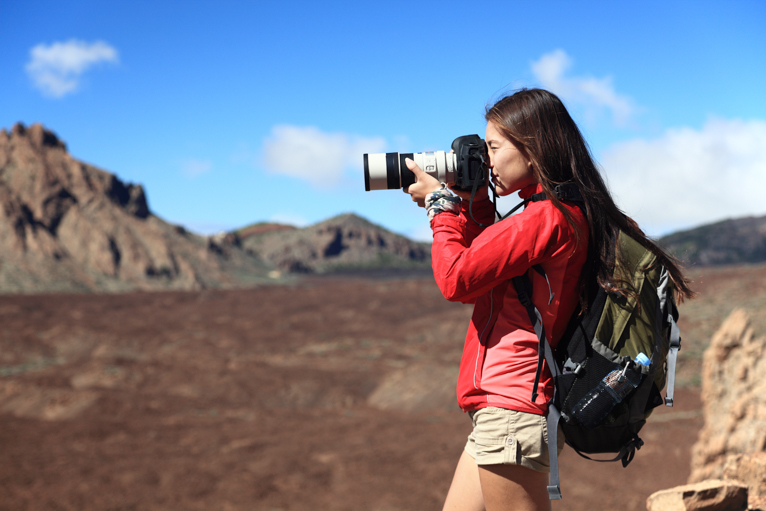
Photography is like any other skill or profession. With experience and the more you practice the better you will become. But one of the issues that newbie photographers face is having the time and a clear plan of how to practice. Sure you can just head out and snap away, but is that actually improving areas that you may struggle with? Think about it, if you were going to hike up a mountain, would just walking around for a few hours a day be sufficient? It will help, but you would need to train yourself to be able to walk up a steep incline. You might even have to do it wearing a backpack to simulate the weight you would have to carry. There might also be specialized training like being able to use crampons and an ice axe.
Photography is no different. Every scenario will throw up challenges that you’ll need to overcome. The best way to ensure you are ready is to practice. So here is a 6-week plan aimed at helping you become a better photographer.

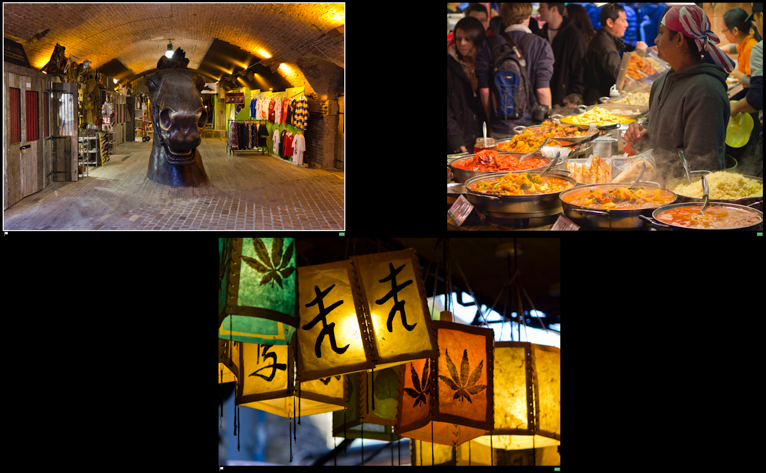
Week 1 – three picture story
One of the big challenges for any photographer is to be able to tell a story in a series of images. That might be as a feature in a magazine or newspaper or as just a set of 3 or 4 in a gallery. The photos all need to be different yet have a cohesive story that links them.
A great way to practice this art is by using a technique called the “three picture story”. Simply aim to capture any scene or scenario that you are looking at in a set of 3 photos. That doesn’t mean putting your camera on burst mode and photographing the same thing 3 times. Start with a wide-angle shot that captures the whole scene. Then a slightly closer shot of one element or aspect of the scene. Finally, a close-up of the detail of something within a scene. Aim to do this wherever you are taking photos. Soon you’ll notice how much more variety you will get into your shots.
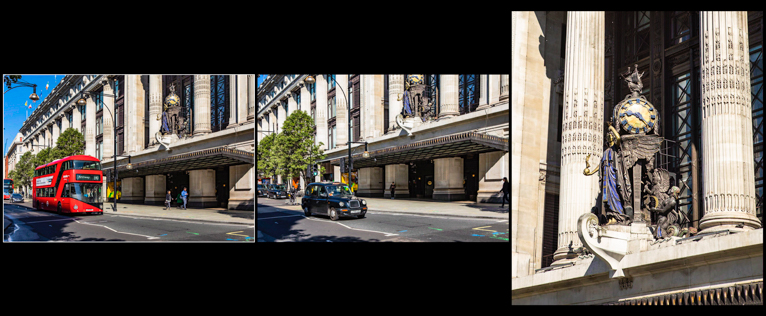
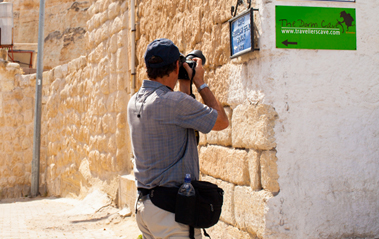
Week 2 – the street corner challenge
Sometimes as a photographer, you have to capture even the mundane. Not every scenario will be a beautiful sunset across an epic landscape. This challenge is designed to help you see the beauty and intrigue in even standing on a mundane street corner.
For this challenge find a street corner to stand at. Preferably you should aim for somewhere that will be relatively busy otherwise you might be waiting for hours before something happens. Set yourself a time limit (whether that’s an hour or a day is up to you) and just take photos as and when something catches your eye. You are allowed to move around a little and cross the road but the point of the exercise is to try and see if you can find that unique shot without moving away too far. For example, if someone with an interesting look walks past, ask to take their portrait. Look for details or interesting angles and composition. Once you have finished, check your images to see if you have managed to capture a photo (or a set of photos) that could represent that street corner. If not, try again somewhere else.
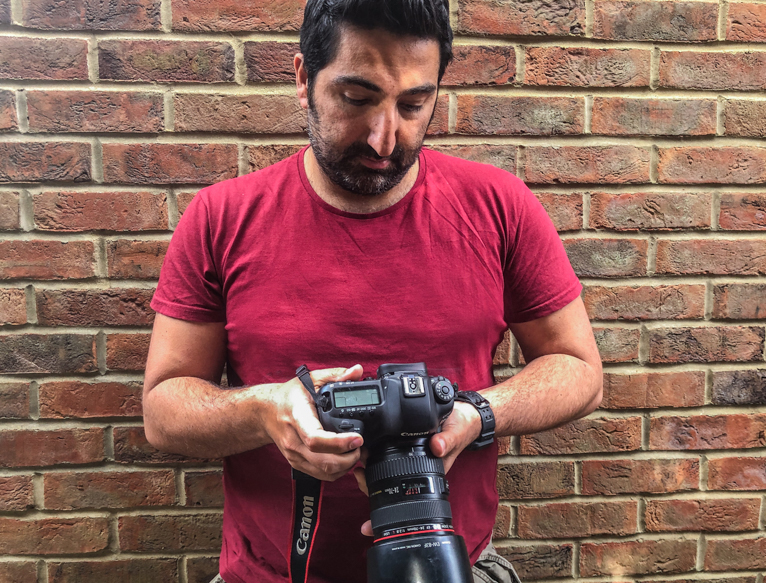
Week 3 – no chimping challenge
Chimping is a term that is used to describe the habit of looking at every photo on the LCD on the back of a camera after every shot. The reason that this is not always good to do is that by checking every photo, you are potentially missing others. But also because by having the option to check your photos, it can mean you are not thinking about the process of taking the photo in the first place.
Back in the days of film, as a photographer, you had to trust your knowledge and instinct to capture any photo. Everything from composition and settings would have to be known before the photo was taken. So you would have to analyze the scene more and think about the execution.
This challenge is about replicating this method of photography. Set yourself a time period of taking photos without looking at the LCD screen at all. If your camera has the option to switch it off then do so. Before you take any photo, really think about your composition and settings. To make this challenge even harder, set yourself a limit for the number of photos that you are going to take (similar to how a roll of film would work). You’ll be amazed how much more careful you are in selecting your shots when you only have limited photos to work with.
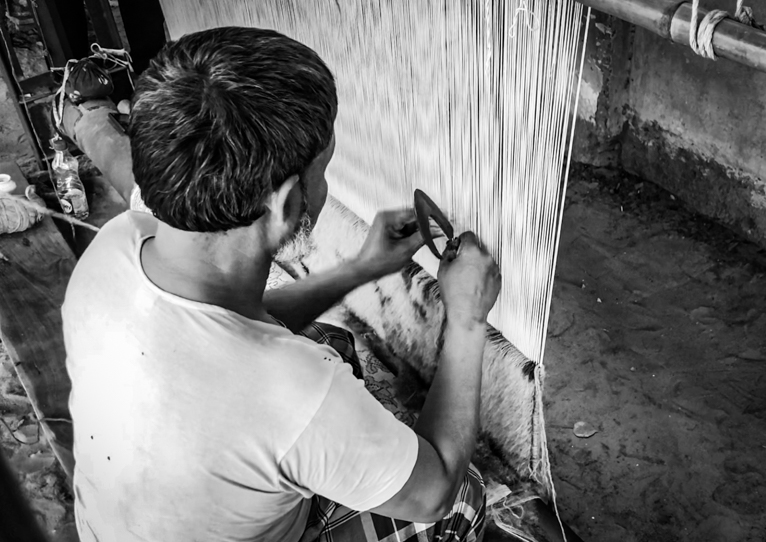
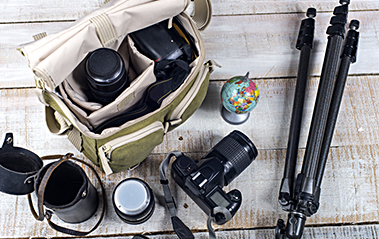
Week 4 – the prime lens challenge
This weeks challenge is all about teaching you not to rely on your zoom. A prime lens has a fixed focal length. In other words, you can’t zoom in or out. So if you want to capture a close-up photo, you have to physically get closer to your subject. The reason that this is important especially when taking photos of people is that it helps to build a connection with your subject. They will be more engaged with you and often that means more intimate and better photos. Look for a 50mm prime lens and aim to do a day’s worth of photography just with that lens.
If you don’t have a prime lens or can’t get one, just set you focal length on your camera to 50mm and try not to change it throughout the day.
Week 5 – long lens challenge
Whereas last week’s challenge was about getting closer, this week’s is all about stepping back. One of the common mistakes that beginner photographers make is that they try to capture everything within a scene. Good photography is about knowing when and what to exclude from a photo as much as what you should include. Using a telephoto lens will make you have to be selective about every scene. This will help your composition when you come to using a wide-angle lens. Aim for a lens that offers at least 100mm zoom.
Again if you don’t own a telephoto lens you can zoom in as much as possible using your existing lens. Most default lenses for cameras would be either 24-70mm or 24-105mm. So you should still be able to do the challenge using an existing lens.
Week 6 – the random word challenge
Your week 6 challenge is to put everything together and capture a telling and intriguing set of images. But rather than just heading out and snapping away with no direction, set yourself a random word challenge. This challenge is great fun and can really test your creativity. Write down a set of random words on a piece of paper. Then tear them up and place them in a hat. Choose one at random. Whatever your word is, that is your brief for the day. So you should aim to take photos that can represent that word. For example, if your word is “legs” you might take some photos of people’s legs whilst they are walking. But could then photograph shoes or closeup of shoelaces. You may even photograph someone’s tattoos and so on. How difficult you make this task is up to you.

These are just some of the sort of challenges and tasks you can set yourself to make you a better photographer. The key is to actively try to improve the areas that you struggle with using a clear plan. Follow this 6-week plan and you should see an improvement in your photos.
Photo credits: Kav Dadfar – All rights reserved. No usage without permission. Dreamstime.
Latest articles by Kav Dadfar (see all articles)
- How To Photograph Street Performers - April 26, 2022
- Profiled Photographers – Ben McKechnie - August 24, 2021
- Profiled Photographers – Jim Maher - August 24, 2021
is the founding editor of JRNY Travel Magazine as well as a professional travel photographer and writer based in the UK. His images have been used by clients such as Condé Nast, National Geographic, Lonely Planet, Rough Guides and many others. Kav is also the co-founder of That Wild Idea, a company specializing in photography workshops and tours both in the UK and around the world.
See All Articles by Kav Dadfar

Leave a Reply