A tripod is one of the most important accessories that any photographer has. But they are heavy, cumbersome and awkward to carry around not to mention that they often do end up drawing attention. You may also find that in some places (usually indoors) tripods are not allowed at all. So how can you ensure that you take great photos that are not blurry when you don’t have a tripod with you? Here are 5 tips to help you do so.
Bump up your ISO
The most important factor in ensuring that your photos are not blurred is your shutter speed. If it isn’t fast enough then you will end up with camera shake which in turn means blurred photos. How slow your shutter speed can be is influenced by a variety of factors such as the subject you are photographing (i.e. a speeding car requires a faster shutter speed than a statue). Your lens and your camera are also factors in how slow you can shoot handheld. Image stabilization has meant people can handhold a camera a few stops slower than they ever could before but it will vary from lens to lens and camera to camera. There is also your own ability to be able to hold a camera steady. For example many years ago on one of my workshops, one of the attendees could not hold a camera steady even at 1/100 sec due to a medical condition. Whereas others may be able to do so at speeds of 1/60 sec or even slower.
To ensure that your shutter speed is going to be fast enough to capture the photos that you want, you will have to increase your ISO. The higher your ISO is the faster you can set your shutter speed. The important part is that you only increase your ISO as much as you need to as the higher it is, the more noise will appear in your photo. This actually ends up making your photo seem soft. So keep tweaking your ISO to see how low it can be whilst giving you a fast enough shutter speed.
Find a resting place
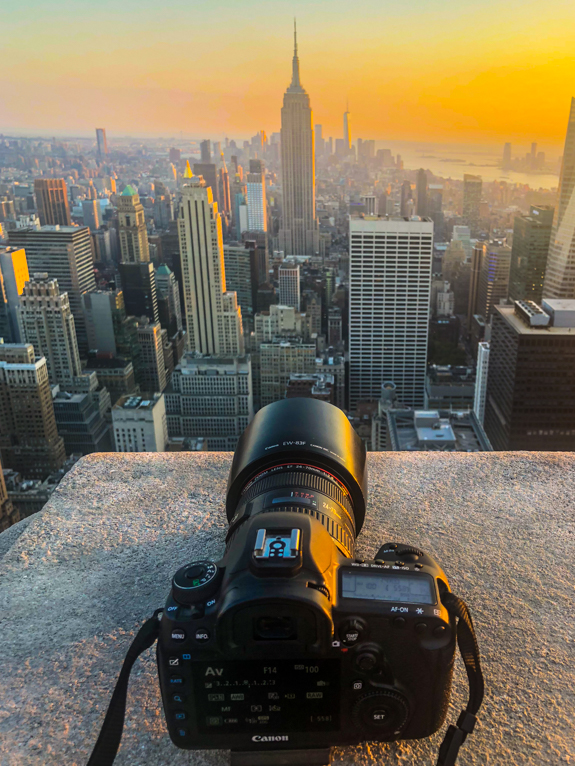
As useful as the ISO setting is for allowing you to set a faster shutter speed, nothing will beat having your camera on a tripod and on as low an ISO as you can set (some cameras this could be as low as 50). This might seem like an obvious thing to point out, but even without a tripod you can still put your camera somewhere steady and treat it the same way as you would do with a tripod. A ledge, bench, rocks, trees, the ground or even your backpack can all act as a tripod and help you keep your ISO as low as possible. I have lost count of the number of times that I have taken photos by simply looking around or being creative and placing my camera somewhere.
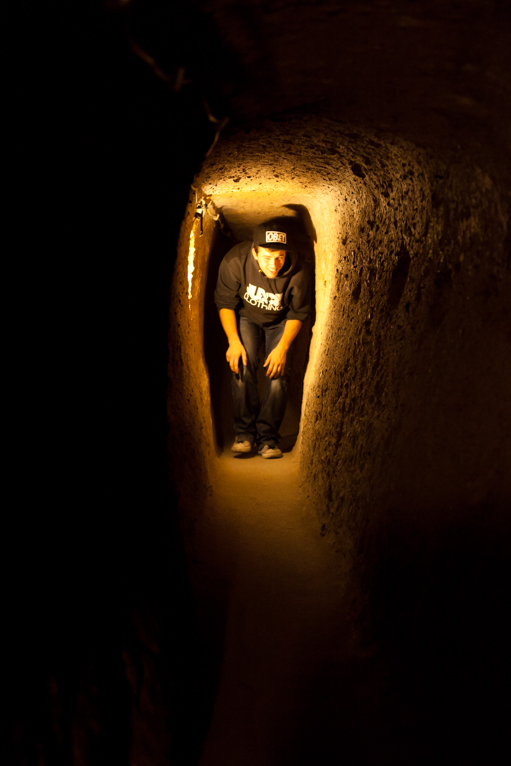
I placed my camera on the ground for this shot and placed my wallet underneath the lens to raise it up a little.
The added benefit of taking photos in this way is that you will often end up with some very interesting angles and views that you won’t normally take. We are all guilty of setting up our tripod at eye level and taking photos from the obvious spots. By having to find places to rest your camera on, you will automatically end up with much more unique shots.
Find a light source
As mentioned earlier, often the main reason that people end up with blurred photos is that their shutter speed isn’t fast enough. This usually happens when there isn’t enough light for the scene. Throughout all my years of running photo tours and workshops very few people end up with blurred photos in the middle of the day when the scene outside is bright! One way to ensure that there is enough light to help you set a fast shutter speed in the lower light conditions that you face earlier or later in the day or even when you are indoors is to actually add more light to the subject. Rest assured I’m not talking about packing a whole load of lighting gear for the day (although you may want to do that). But something as simple as an LED light or even the light on the back of an iPhone can be incredibly useful to light up your subject a little. Just this bit of extra light can mean the difference in allowing a slightly faster shutter speed rather than a higher ISO.
This will only work when you have a subject that is fairly close to your camera, like if you are photographing a person. In a landscape scene, a small light wouldn’t be strong enough to light any further than the immediate foreground. But this is really useful when photographing people so it might be worth investing in an inexpensive LED light.

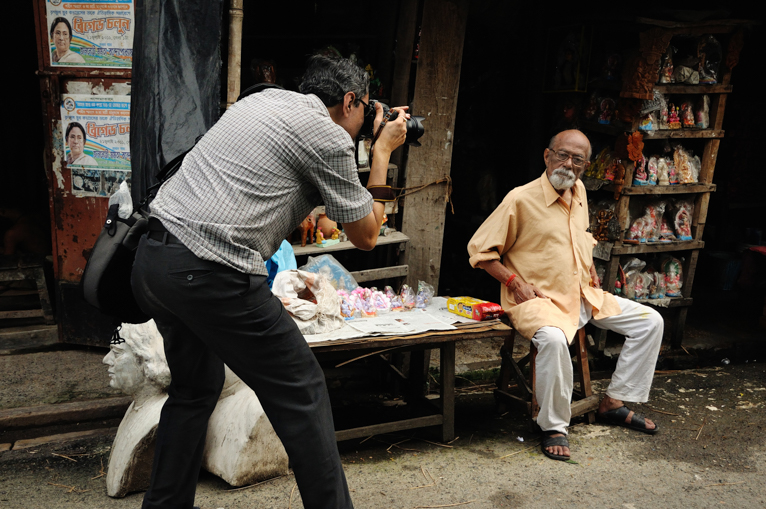
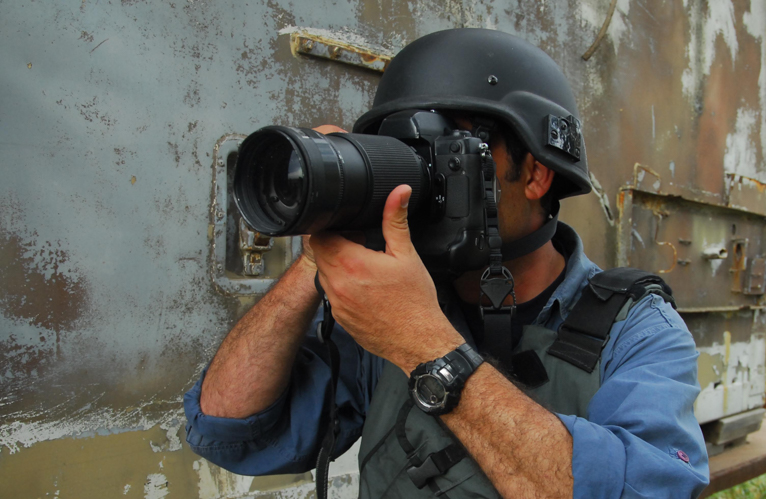
I used an iPhone to light this man a bit more to allow me to set a slightly faster shutter speed rather than raising the ISO too high.
Get your stance right
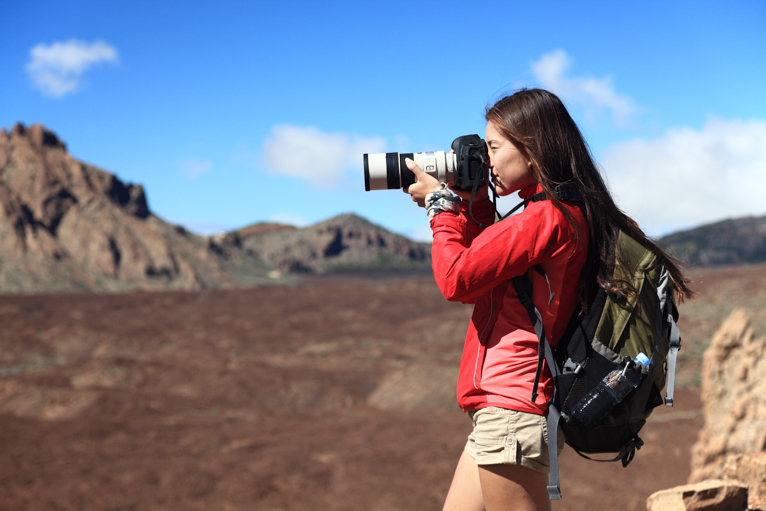
Sometimes you have no choice but to do your best to capture the shot whilst handholding the camera There may not be anywhere you can rest your camera on. You may not want to set your ISO too high and you might not have an LED light with you. What do you do then? Firstly, it’s important to get the way you are standing and holding the camera correct. I often see people holding a camera with their hand over the focus ring rather than under it. If you hold the camera in this way you are in effect holding the full weight of the camera with one hand. Holding your lens from underneath will immediately make your camera more steady.
You should also tuck your elbows into your side which again will help make you more steady. If you are shooting in low light conditions, try to find somewhere to lean on like a wall or even crouch down and rest your elbow on your knee. Lastly, take your time and control your breathing. If you have just been walking around or hiking you might be out of breath so give yourself a few minutes to calm down. All of this can help you become more steady so that the camera doesn’t shake when you take photos. In fact, you should make sure that your stance is correct whenever you take photos not just in low light conditions.
Shoot in burst mode
Once you have got your stance correct, another way that you can improve your chances of capturing sharp photos is by setting your camera to shoot in burst mode. You will often find that the middle shots in a set of burst shots are the sharpest. Some cameras like the latest Canons also have high-speed burst mode which shoots even faster. Try to rattle off 6 or 7 shots and then check them in post-production where you can choose the sharpest ones.
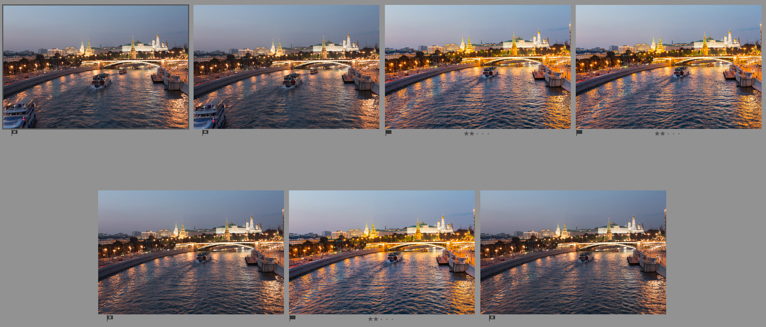
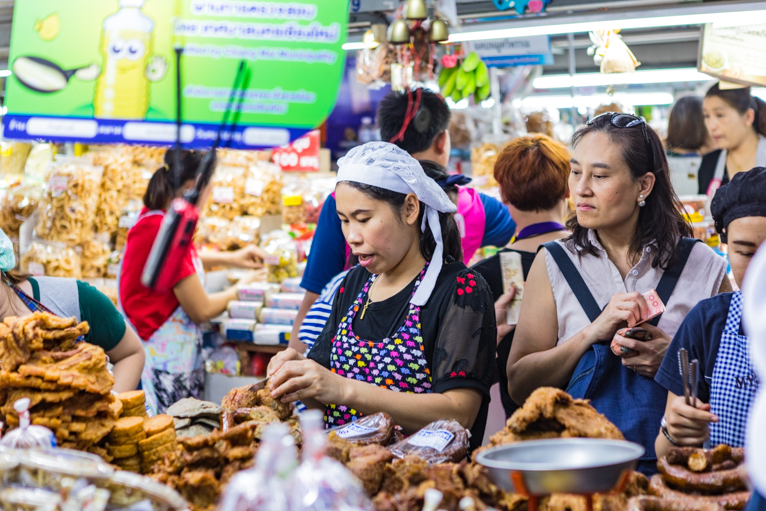
A burst of shots taken handheld. 3 of this set were sharp enough to use.
I would always advise anyone to use a tripod as much as possible where they can. But there are times and situations when that just isn’t possible. In those scenarios, use the tips above to enhance your chances of capturing a sharp photo.
Photo credits: Kav Dadfar – All rights reserved. No usage without permission. Dreamstime.
Latest articles by Kav Dadfar (see all articles)
- How To Photograph Street Performers - April 26, 2022
- Profiled Photographers – Ben McKechnie - August 24, 2021
- Profiled Photographers – Jim Maher - August 24, 2021
is the founding editor of JRNY Travel Magazine as well as a professional travel photographer and writer based in the UK. His images have been used by clients such as Condé Nast, National Geographic, Lonely Planet, Rough Guides and many others. Kav is also the co-founder of That Wild Idea, a company specializing in photography workshops and tours both in the UK and around the world.
See All Articles by Kav Dadfar


Leave a Reply