Travel photography is like any other hobby or profession in that the more you do it, the better you will become. You will learn from every mistake. You will celebrate every success and over time you will find your successes become more and more often. It’s an incredible skill to possess and with time and practice, you too can capture great photos. Whilst there is no magic formula in capturing great travel photos, you can enhance your chances by using a few tried and tested techniques. So follow these 5 tips to help you capture great travel photos every time.
Pause for a second
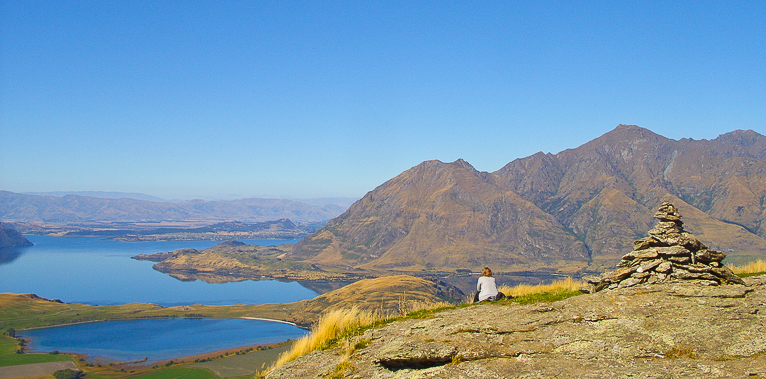
It’s amazing how often I see people walk up to a scene or interesting subject and start snapping away quickly. Of course, sometimes that is what is needed as it may be a fleeting moment. But often you can take your time to really think about the composition. When I run photo tours I often run a small exercise where I get my students to count to 10 before they take a photo at any scene. I asked them in that time to try and pre-visualise their shot before actually taking the picture.
But not only pre-visualise the shot but also look around the main subject to try and identify if there is anything they should crop out. It’s easy to get lost in the moment when taking a photo only to get home and realize that for example there is a lamp post directly behind your subject. If you can pause for a few seconds before taking the photo you will often find that your final result will be better.
Tweak your settings
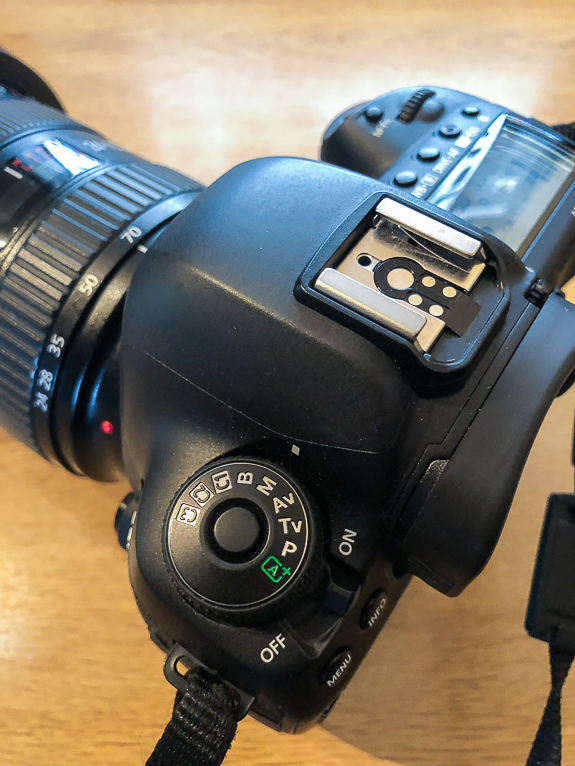
Have you ever suddenly saw a great photogenic movement if front of you, took the photo only to find that it was blurred? It’s happened to every photographer, even the pros. Whilst you can’t always guarantee that you’ll be able to capture these moments perfectly, you can enhance your chances. The best way to ensure that you are always ready is to tweak your settings constantly for the changing light and environment. For example, if you turn into a shaded street after being in bright sunshine, you will clearly need to adjust your settings.
In this situation, you may need to raise your ISO slightly to combat the low light conditions. Or you might want to increase or decrease your aperture to vary your depth of field. The closer you are able to set your camera to what you are going to need, the better your chances are of capturing those fleeting moments on the fly.
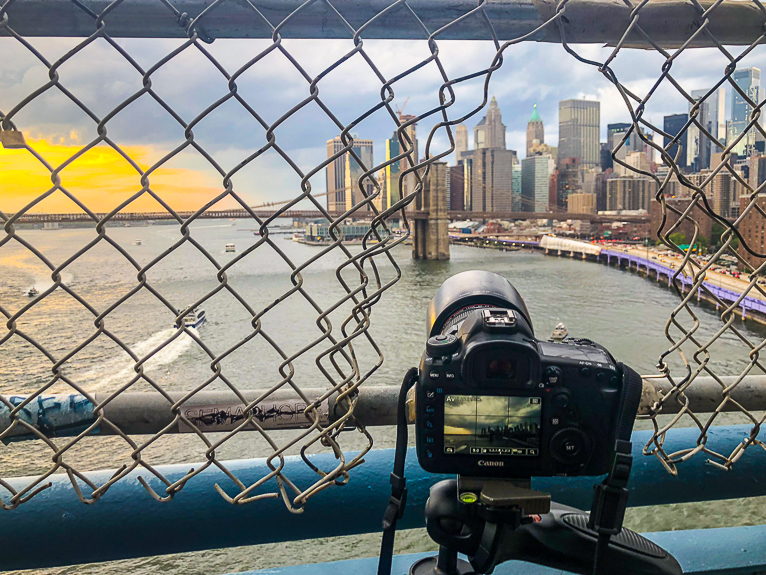
Learn to wait
Patience is one of the key attributes for any travel photography. It’s very rare to get somewhere and have everything in place for a perfect photo. Often you have to be willing to wait for the right moment. That could be a few minutes so that the car that has stopped in front of you moves. Or it might be hours so that the storm clouds disperse and give you the light that you need. Obviously how long you are willing to wait will depend on you and your situation. But sometimes even a few minutes can make a difference.
You can also use a technique whereby you find a scene where you compose your shot. You make sure that your camera settings are set and you wait for the missing element. For example that could be a street scene where you want to have a person walking in the road. Compose the image and then just wait. It incredible how often doing this pays off.
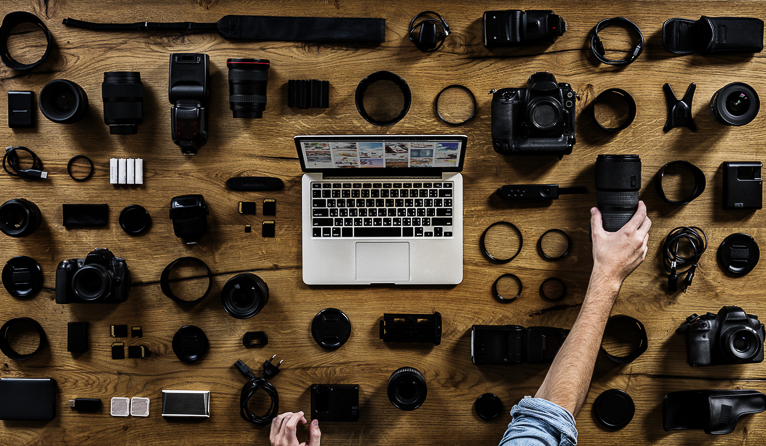
Only use what you need
Throughout my travels, over the years I have come across lots of other photographers. Every now and again I come across someone who is using a piece of accessory unnecessarily. All this does is have a detrimental effect on the quality of the photo. For example recently in London, I came across an amateur photographer who was using a graduated neutral density filter when photographing in a covered market. In a place where it was already low in light, this photographer was making it even harder to capture images. After a few minutes of watching, I asked why she was using a graduated ND filter as I was curious to know.
Her response was that she didn’t actually know what the filter was for and thought it would help “take good pictures”. Now, this might seem like a silly mistake to make, but over the years I have encountered so many situations like this. After a very quick explanation of what a graduated ND filter was and should be used for, she removed it from her camera. So unless you are sure that you need a piece equipment or accessory don’t use it. When you do use one, know how and what for.
Shoot in burst mode
Burst mode in modern DSLRs is a great function to use and not just for a fast moving subject. Even taking portraits in burst mode can be really useful as you can ensure that you can capture the person with a nice expression on their face and their eyes open. But it can also help you if you struggle with holding the camera steady. You will generally find that if you shoot say five photos in burst mode, photos two, three and four will be the ones you were steadiest at. But obviously shooting in burst mode (or high-speed burst mode in some modern DSLRs) will mean a lot more storage is needed. It wouldn’t be a surprise if you filled up a 16GB memory card in one day! As you become more experienced then you won’t need to use it as often. But when starting out it’s a good way to ensure your photos are sharp and you capture the right moment.
These quick and easy tips are just some of the ways that you can ensure you capture great travel photos every time. The reality of travel photography is that the more you do it, the better you will become. In time these tips will become second nature and you will subconsciously do them. Or you might even have your own set of processing and tips that you will adopt. But for now, use the tips above and see if you notice an improvement in your travel photos.
Photo credits: Kav Dadfar – All rights reserved. No usage without permission. Dreamstime.
Latest articles by Kav Dadfar (see all articles)
- How To Photograph Street Performers - April 26, 2022
- Profiled Photographers – Ben McKechnie - August 24, 2021
- Profiled Photographers – Jim Maher - August 24, 2021
is the founding editor of JRNY Travel Magazine as well as a professional travel photographer and writer based in the UK. His images have been used by clients such as Condé Nast, National Geographic, Lonely Planet, Rough Guides and many others. Kav is also the co-founder of That Wild Idea, a company specializing in photography workshops and tours both in the UK and around the world.
See All Articles by Kav Dadfar

Leave a Reply