Taking a great travel photo might seem straightforward. You turn up to a location take a few shots and that’s that. If only… Great travel photography is a bit more complicated and time-consuming than that. Often newbie travel photographers are astonished at some of the reasons why their photos might not be turning out the way they thought. So, to help you ensure you are not making these mistakes, here are 4 reasons that your travel photos might not be turning out the way that you wanted.
Not enough time
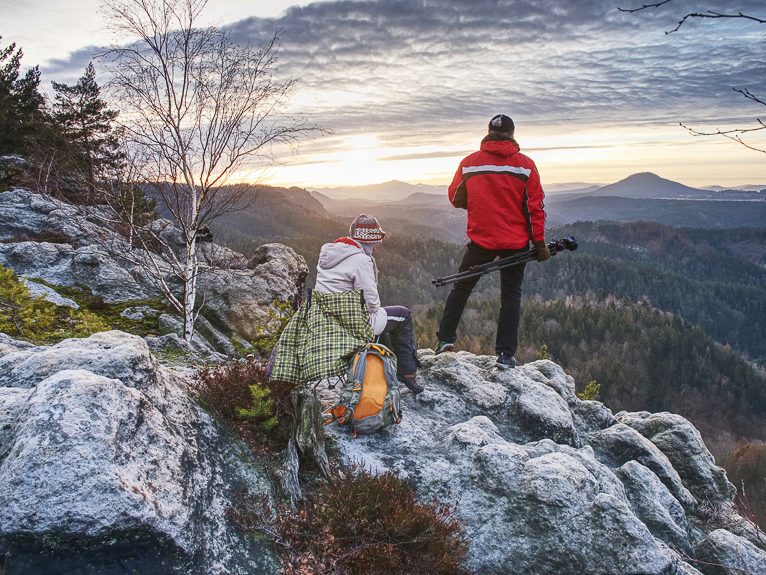
Travel photography can be the ultimate contradiction. Sometimes you will face fleeting moments that will disappear in the blink of an eye. But more often, you will arrive at a location to find that it isn’t ideal for photography. This might be the light on offer or the weather conditions. It might be that someone or something is in your way. Or it could just be that the scene is missing a vital component to make the composition work (like for example a point of interest). This is where professional travel photographers often differ from newbies or hobbyist photographers. A professional photographer will wait or keep coming back to a location until they get the shot that they want. Whereas all too often I’ve seen some photographers turn up to a location, take a few shots and leave.
So my first bit of advice if you want to capture those awesome travel photos is to simply give yourself more time. I will sometimes just concentrate on two or three locations a day and spend hours waiting for the right moment to take the photo that I want. If you rely on a quick visit and hope to capture a stunning photo, you may be very disappointed. Give yourself as much time as you can at any location to maximise your shoot.
Didn’t research enough
I recently showed the attendees at one of my workshops my research from a previous two-week shoot in Scotland. They were astonished by the level of detail with one person commenting that it looked like an “encyclopedia”. I spend months researching any given shoot whether it’s a city, national park or country. I will make notes, create maps and mood boards. I will look on social media and contact local guides or businesses if I want access to shoot from their rooftops for example. I will read guidebooks, articles and even watch documentaries about the destination to get a better understanding of the destination. By the time I arrive at the location, I will have a folder full of clear and detailed maps and shot lists that include alternatives if for example my plans are ruined by the weather.
If you want to capture great travel photos you need to try to be the most informed tourist in town. Try to find out as much as possible and build a detailed shot list for your shoot.

The wrong time
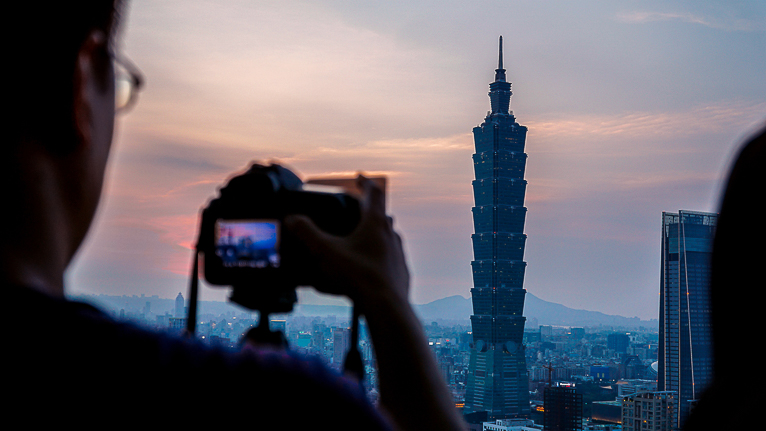
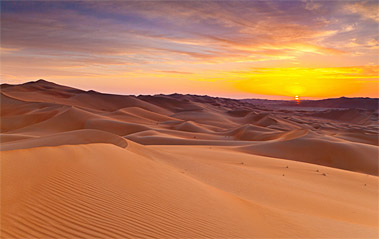
Just because you’ve arrived at a location doesn’t mean it’s the best time for photography. Any outdoor photography relies as much on the conditions as the subject you are photographing. Even the most amazing vista will look dull and uninteresting in the wrong light. Whereas on the other hand even if your scene isn’t hugely interesting, a beautiful light can do wonders. So, the first element that you should always look for when you arrive at a location is the light. Ask yourself if this is the best time to be photographing this location? What is the direction of the light and is it enhancing the scene? You will generally find that early morning and late afternoon light is much better to photograph in than harsh midday sun.
Try to spend a bit of time when you are on location really studying and thinking about how the light is falling in the scene. If you find that you are there at the right time, then shoot away. But if not then be prepared to either wait for the right time or come back.
Wrong settings
Of course, once you have done all of the things above, it’s important to ensure that you capture the photo correctly. There is nothing more frustrating than looking at a great photo on a computer screen only to realise that it is blurred. But how do you know what setting to use for each scenario? Well, that comes from experience. But if you are photographing something for the first time spend some time reading online articles or watching tutorials so you have a rough idea of the settings that you will need.
These are by far the most common reasons that I have come across as to why people are often disappointed with their travel photos. The good thing is that all of these are pretty easy to fix and just require better planning, research or some learning. But the results will be great and could transform your photos.
Photo credits: Kav Dadfar – All rights reserved. No usage without permission.
Latest articles by Kav Dadfar (see all articles)
- How To Photograph Street Performers - April 26, 2022
- Profiled Photographers – Ben McKechnie - August 24, 2021
- Profiled Photographers – Jim Maher - August 24, 2021
is the founding editor of JRNY Travel Magazine as well as a professional travel photographer and writer based in the UK. His images have been used by clients such as Condé Nast, National Geographic, Lonely Planet, Rough Guides and many others. Kav is also the co-founder of That Wild Idea, a company specializing in photography workshops and tours both in the UK and around the world.
See All Articles by Kav Dadfar

Leave a Reply