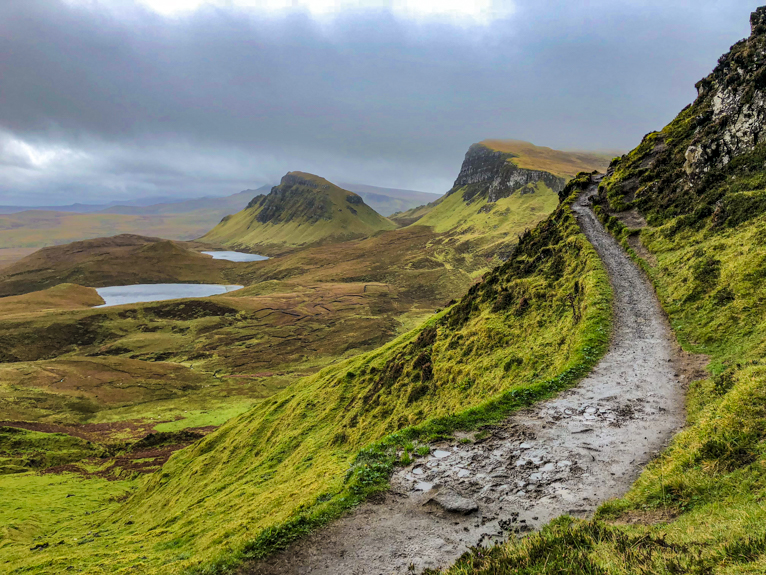
Capturing sharp images is one of the critical elements of photography. It is also often one of the areas that beginner photographers struggle with the most. It can be incredibly frustrating and somewhat disheartening when you think you have captured a great shot only to realise upon closer inspection that it isn’t sharp. Like most elements of photography with practice and experience, you’ll be able to pick up the knowledge and skills necessary to be able to capture sharp photos. But to help you on your journey, here are 4 mistakes that you could be making that have a detrimental effect on your photos.

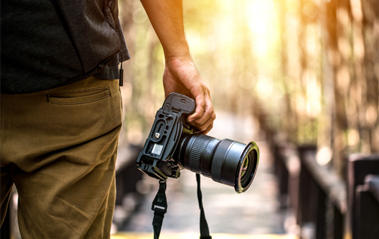
Holding the camera incorrectly
This is one of the most common mistakes that I see photographers of all levels make. Like anything in life, you should aim to get the very basics right first. So you should pay close attention to the way that you are standing and holding the camera. Start by ensuring that your legs are shoulder-width apart with one slightly further forward than the other. Ideally, you should be standing at a slight angle so that your weight is distributed evenly. Next comes your arm position. Keep your elbows tucked into your sides rather than out to the sides. This will make things much easier on your shoulders and give your arms more stability.
Lastly, make sure you are holding the camera properly. I often see people holding the camera but then trying to zoom or focus with their other hand from the top of the lens. This means that one hand is holding of the weight of a camera. Instead, cradle the lens from underneath using your other hand. By adopting these tips you will hold the camera far more steady and will be less likely to suffer from camera shake.

Using a wide aperture all the time
Just because your lens is capable of allowing you to shoot at f/1.4 doesn’t mean that you should all the time. The big problem when using extremely wide apertures is that often it has a detrimental effect on your images (the same as shooting with very small apertures). Shooting at something like f/1.4 could result in edges appearing softer which in turn means less sharpness. So why are lenses capable of this you may ask? Because in some situations you have no other choice but to have a wide aperture to allow enough light to come into the camera so that you can shoot handheld.
The other big challenge when shooting with an extremely wide aperture is to make sure that you focus correctly on the right element that you want sharp. Because your plain of focus will be so shallow, only a very small part of the image will be in focus. So missing that mark will mean that your image will look blurred. So try to avoid using lenses at their extreme apertures unless you really have to.

Your shutter speed is too slow
You might already realise that unless you have statue-like hands, then you simply would not be able to hold a camera steady at slow shutter speeds. But how slow is that? Well, firstly that depends on you, the person holding the camera. One person might be able to hold a camera steady at 1/80 sec whereas for someone else that might result in camera shake. Then there is also your focal length to factor in. There is a longstanding rule called the “reciprocal rule” which simply means that you match your minimum shutter speed to the focal length you are shooting at. So for example, if you are shooting with a 100mm lens then your shutter speed should be 1/100 sec. For 200mm lens 1/200 sec and so on. This is not set in stone and these days lenses have much better image stabilization which can mean you can reduce your shutter speed. But it is a handy formula to use to ensure your shutter speed will not be too slow.

Letting the camera set your ISO
There’s no denying that modern cameras are incredibly advanced. But they are still no match for human intuition and are ultimately governed by predetermined rules and formulas. Unfortunately, sometimes this can lead to wrong decisions when it comes to settings. One of the biggest culprits of soft photos is too much noise which is often due to high ISO settings. For example, if you have set your camera to Auto ISO you may find that the camera will suddenly whack up your ISO so that you can achieve your shutter speed or aperture. Whilst on the surface this might seem like the right thing to do, by actually selecting the settings yourself you may find that you can underexpose your image a little instead of raising your ISO so high. You can then fix this in post-production and end up with a far sharper image than if you had used a very high ISO. Needless to say that you should always keep your ISO as low as possible.
This might all seem like too much to remember or implement, but with practice and experience, you will naturally improve. But remember to also check your mistakes and work out where you went wrong. Was it because you ISO was too high? Or maybe you focused on the wrong thing. By examining your photos and working out where you went wrong you are far more likely to avoid making the same mistakes again. Always remember that you learn more from your failed photos than your successful ones. Use the tips above and you should see an improvement in the sharpness of your photos.
Photo credits: Kav Dadfar – All rights reserved. No usage without permission. Dreamstime.
Latest articles by Kav Dadfar (see all articles)
- How To Photograph Street Performers - April 26, 2022
- Profiled Photographers – Ben McKechnie - August 24, 2021
- Profiled Photographers – Jim Maher - August 24, 2021
is the founding editor of JRNY Travel Magazine as well as a professional travel photographer and writer based in the UK. His images have been used by clients such as Condé Nast, National Geographic, Lonely Planet, Rough Guides and many others. Kav is also the co-founder of That Wild Idea, a company specializing in photography workshops and tours both in the UK and around the world.
See All Articles by Kav Dadfar


Leave a Reply