• Cart
  • Checkout
  • My Account

Infrared Conversions, IR Modifications & Photography Tutorials | Life Pixel IR

The world leader in infrared conversions, modifications & DIY IR conversion tutorials. Scratched sensor replacement, UV & Full spectrum conversions.

The world leader in infrared camera conversions

866.610.1710
  • Home
  • → Start Here ←
    • 1 – Introduction
    • 2 – Filter Choices
    • 3 – Focus Calibration
    • 4 – Lens Considerations
    • 5 – Camera Considerations
    • 6 – Start Shopping
  • Galleries
    • Infrared Photography
    • Infrared Time Lapse
    • Infrared Cinematography
    • Infrared Stop Motion
    • Ultraviolet Photography
    • Forensic Photography
  • Education
    • Training Sessions
    • How To Shoot Infrared
    • AR Coated Infrared Filters
    • Lens Hot Spot Database
    • Photoshop Video Tutorials
    • Infrared Issues & Solutions
    • IR Basics in Photoshop
    • Camera Quick Start Guide
    • DIY Conversion Tutorials
    • IR Photography Primer
    • Secondhand Cameras
    • Wall Of Shame
  • Workshops
  • FAQ
  • Blog
    • Tutorials
    • Inspiration
    • Locations
    • Gear
    • News
    • Other
  • Why Choose LifePixel?
    • Submit Your Review
  • Contact
  • Shop

9 Tips For Better Fitness Photos

Taking fitness photos can be tricky. You are trying to capture a moment of a body in motion, an image that inspires people and catches their eye. But often people end up with blurred photos or someone red in the face looking like they’re about to keel over from too much exertion. Here are some practical tips that will help you produce high-quality fitness photos.

Fitness_photography_tips

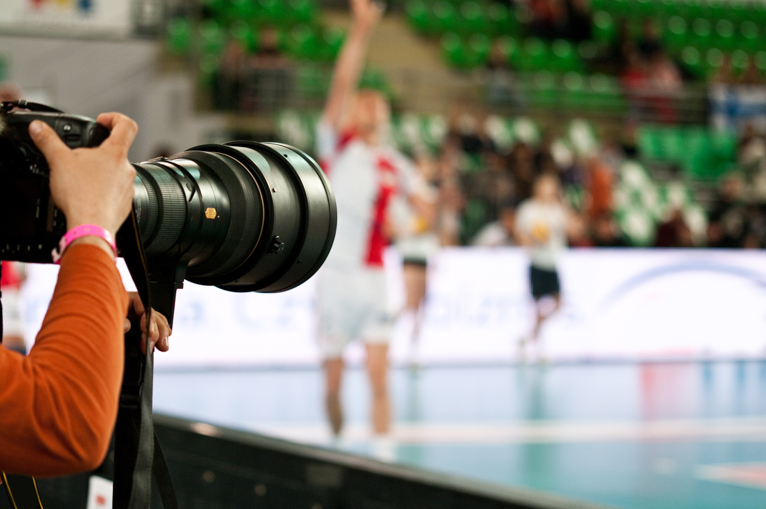
Your settings are critical

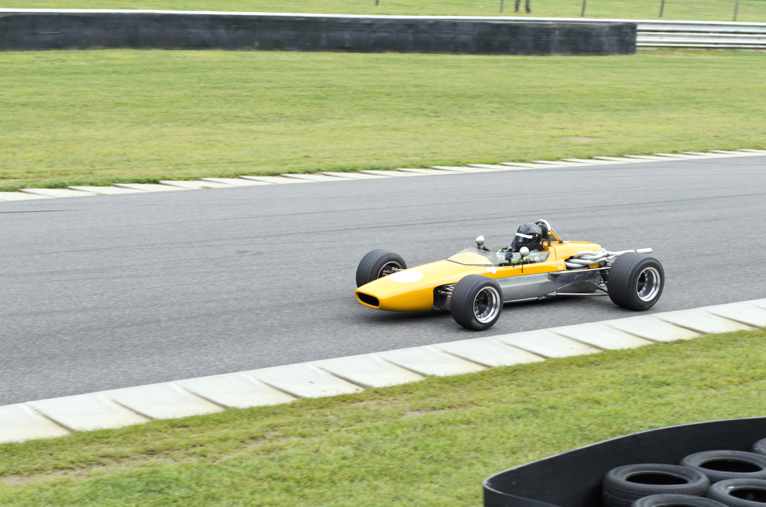
Using a fast shutter speed is critical in action shots to prevent the photos from being blurry. Depending on the type of action you may have to have a shutter speed of 1/500 sec or even faster. Open your aperture so it is fairly wide to be able to have a fast shutter speed and also a shallow depth of field. You may have to increase your ISO to accommodate a higher shutter speed.

Always shoot in burst mode to increase your chance of capturing that perfect shot. It will be impossible to catch the perfect frame with just one shot in a fast-moving scenario.

Fitness_photography_tips

Take plenty of memory cards

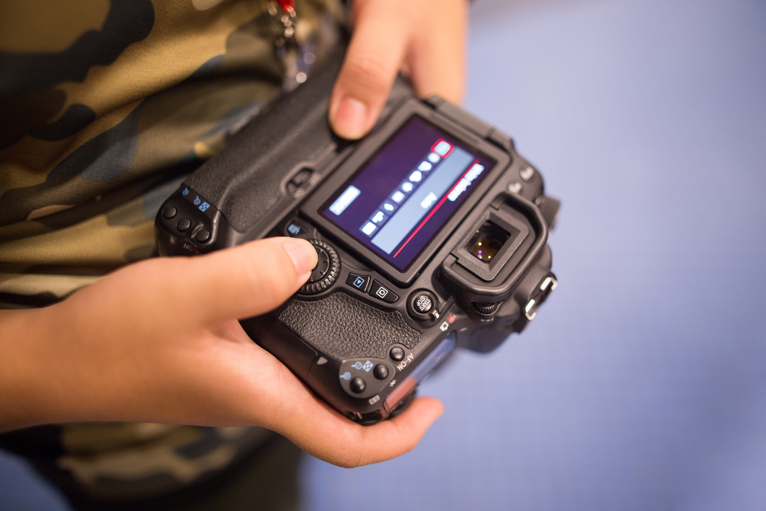
Unless you will be shooting in JPEG (which you really shouldn’t be), you’ll need plenty of memory cards. RAW files are considerably bigger than JPEGs but offer much better quality and editing flexibility. Because you will be shooting in burst mode, you will go through memory cards very quickly. So make sure you have enough.

Fitness_photography_tips

Adjust the white balance

Take your time to get your white balance right. If you set your camera to auto white balance it will often need to be tweaked. This is especially important indoors where the artificial light will play havoc with auto white balance. If you are shooting in one place (i.e. in the gym) you can adjust your white balance manually so you are set. Alternatively, if you shoot in RAW files you can adjust this easily in post-production.

Fitness_photography_tips

Focus correctly

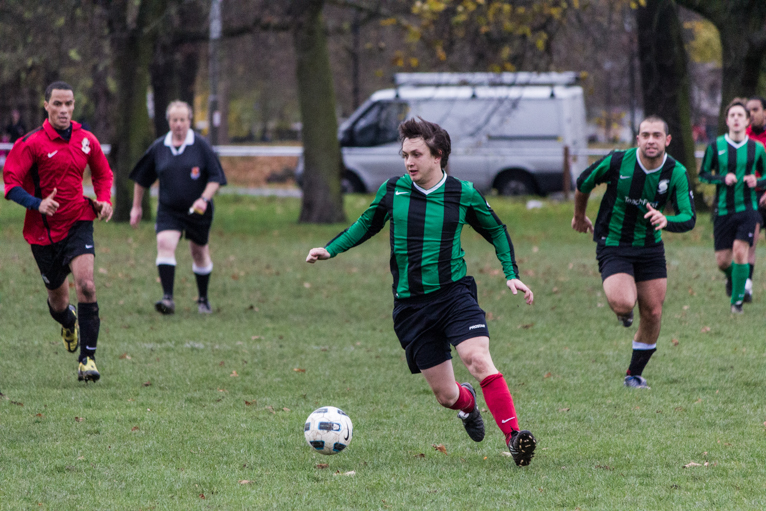
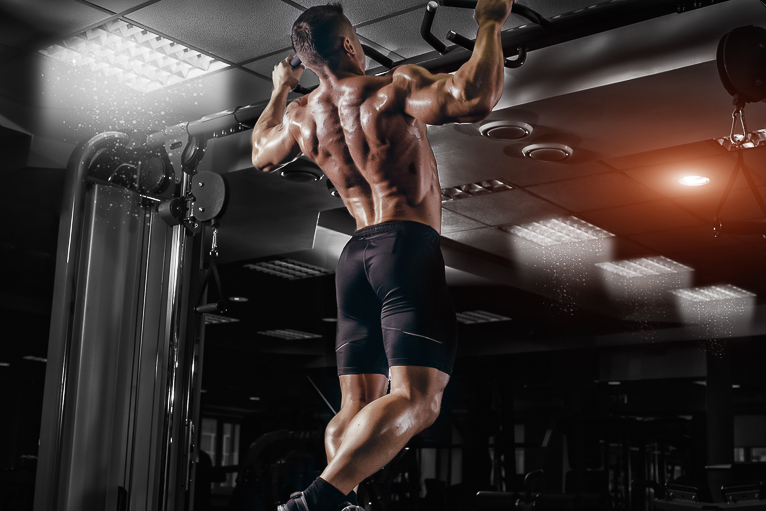
The trickiest part of fitness shots is focusing correctly. This isn’t much of an issue if someone is standing still. But when they are moving it an be difficult to focus on the right thing. If your subject is moving, you should put your camera onto continuous focus. This will ensure that your camera will keep focusing on the subject if, for example, they are running towards you. Use the central points to focus ideally on your subject’s face and remember to shoot in burst mode.

It’s important to focus correctly because you’ll be using a wide aperture. If you accidentally focus on the background then your subject will be blurred.

Fitness_photography_tips

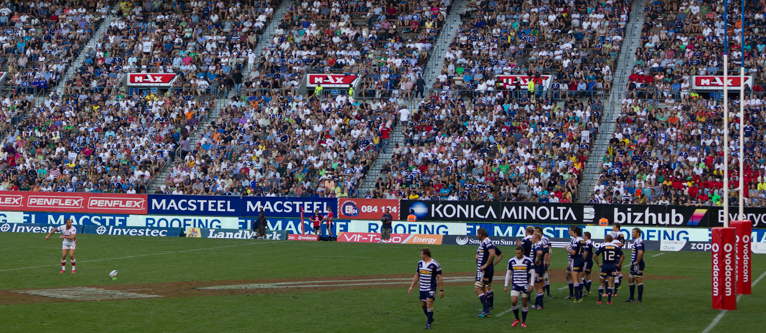
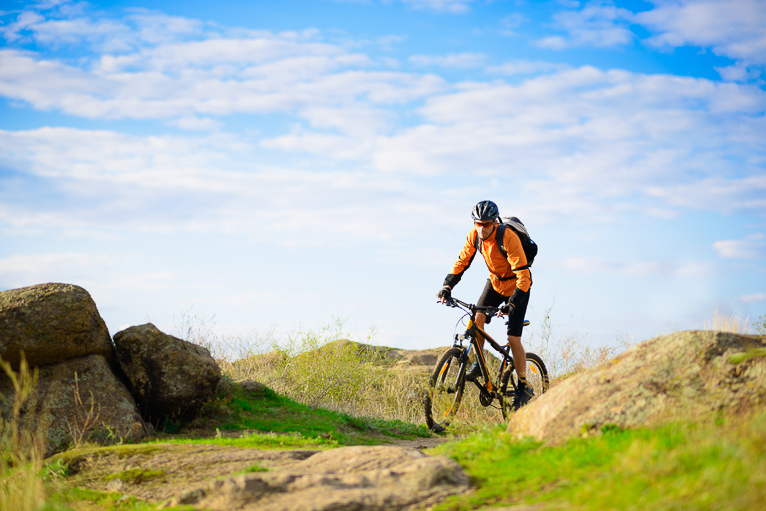
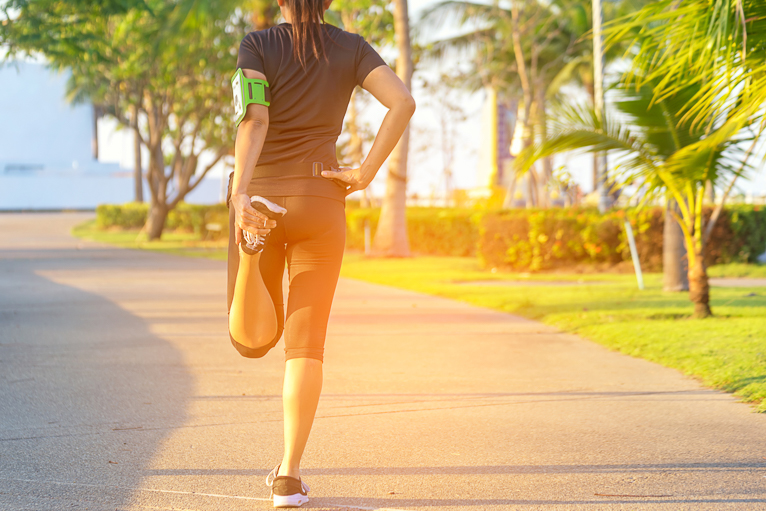
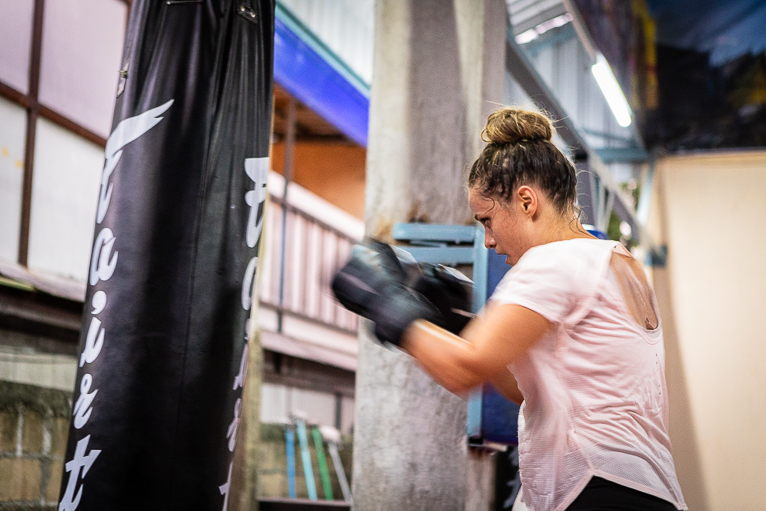
Shade or soft light works best

Direct sunlight is harsh, so always take outdoor photos in the shade or in the soft light that occurs in the morning of late afternoon. Not only does sunlight make people squint, it creates harsh shadows, and the stark contrast can detract from the subject. The early morning or late afternoon light has a beautiful golden glow which can bring to life the colours in a photo. Whilst shooting in the shade softens shadows, making them highlight the subjects’ features more naturally.

If shooting indoors, you may need to use additional lighting. Keep things simple. Start with a single light and use it to target areas that are getting lost in the shadows. Avoid a direct flash onto your subject. Instead either bounce it off a surface or better still use a softbox or diffuser. LED lights have also become widespread and can provide much more control in being able to direct the light to where you need it.

Fitness_photography_tips

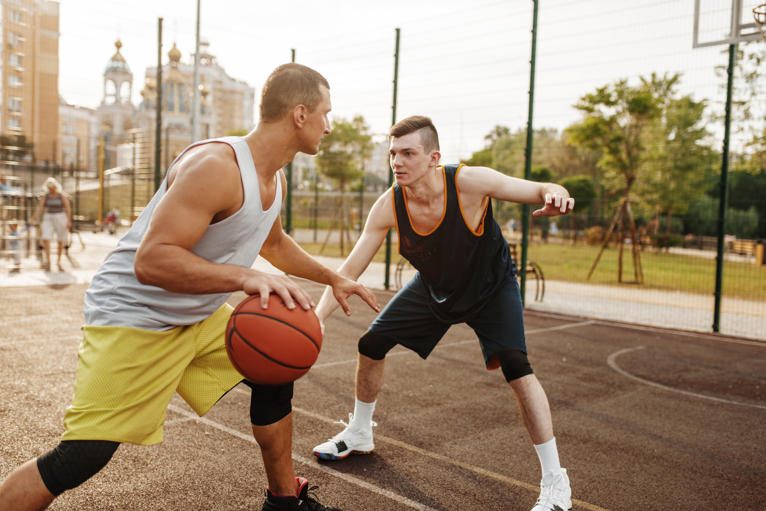
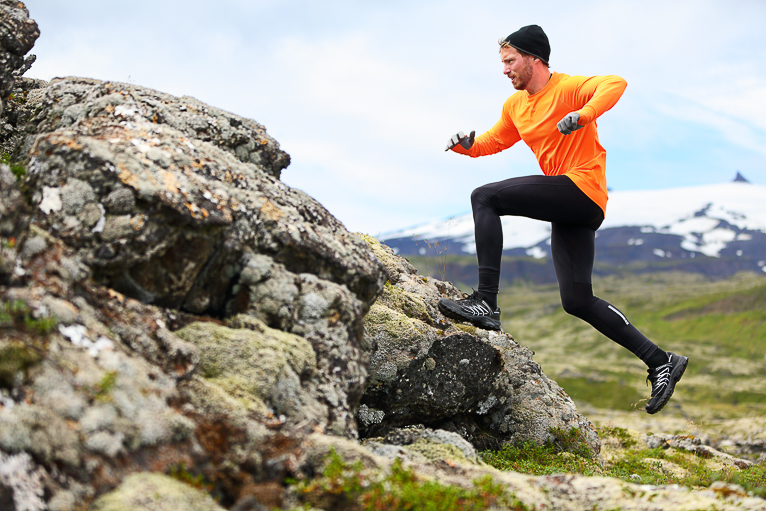
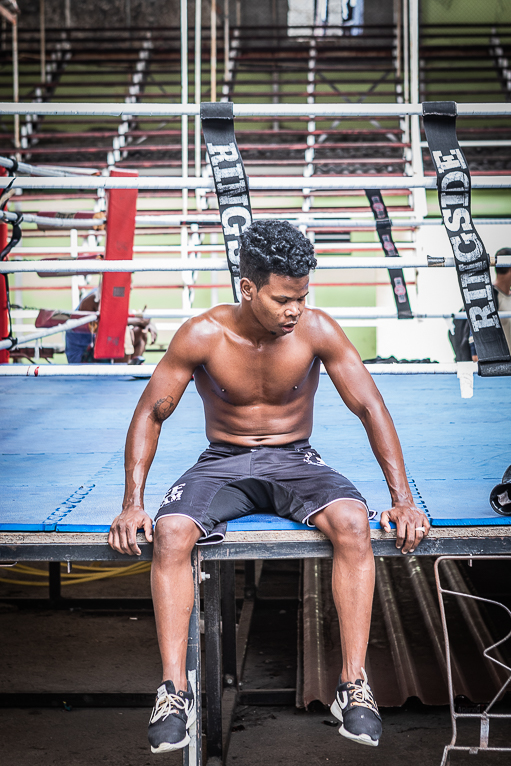
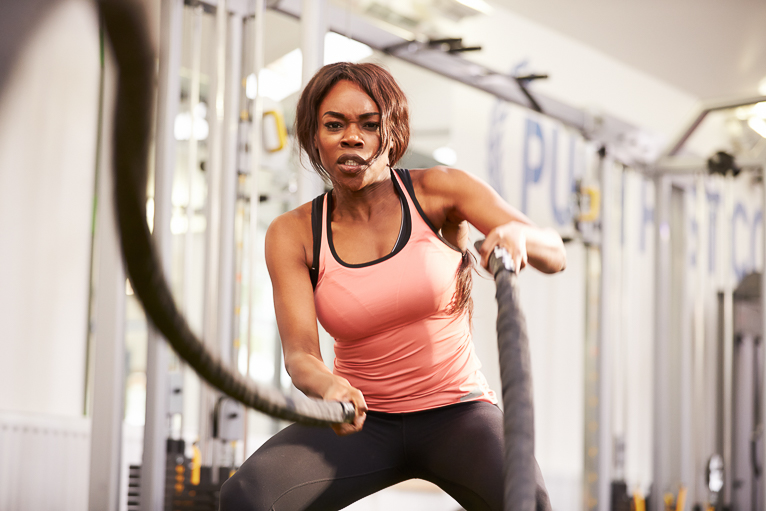
Aim for natural poses

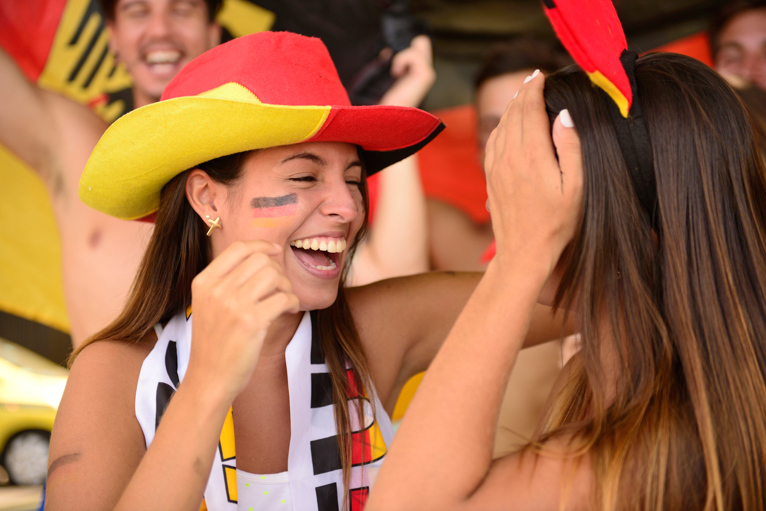
Another big challenge in good fitness photos is making sure that your model looks natural. A posed or staged shot won’t have the same impact as one that looks real. To achieve this you can either try to capture photos of an actual training session or you have to art direct your model to give a natural pose. The benefit of photographing real training sessions is that you can often capture photos of people resting, sweating or even with the pain of a hard training session on their face.

TIP: If you want to create some fake sweat, mix glycerin and water in a spray bottle. You can then spray your subject and beads will stick to their body or face rather than streaming down.

Fitness_photography_tips

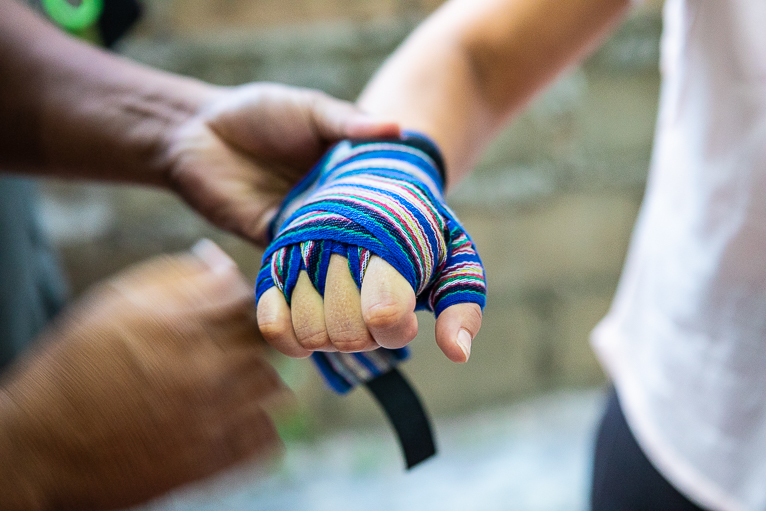
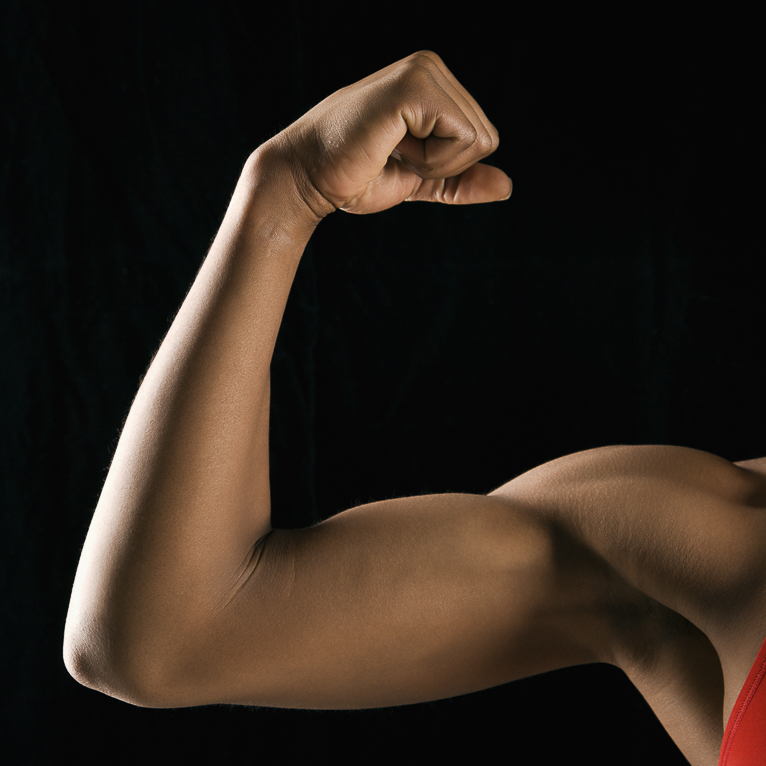
Crop into your image

Remember that a fitness photo doesn’t always have to be a full-body shot or even include the person’s face. You can zoom in and capture details or contours of the body. You can also focus on equipment and accessories. For example, a pair of boxing gloves still sends the message out without featuring a person.

Fitness_photography_tips

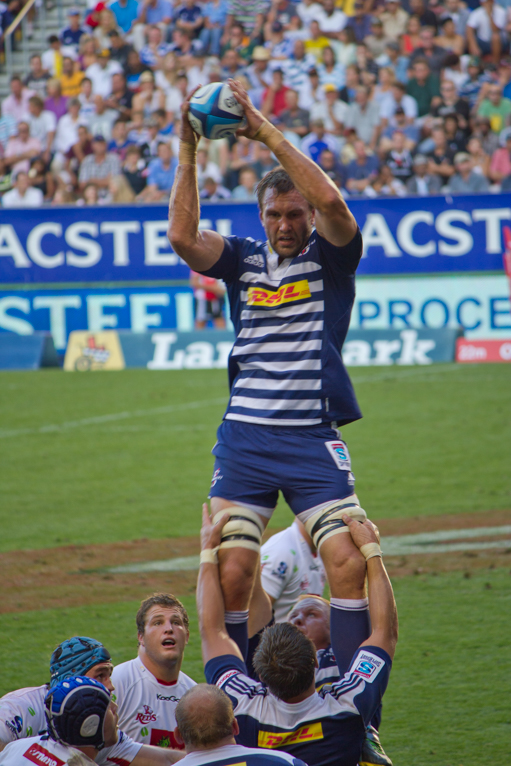
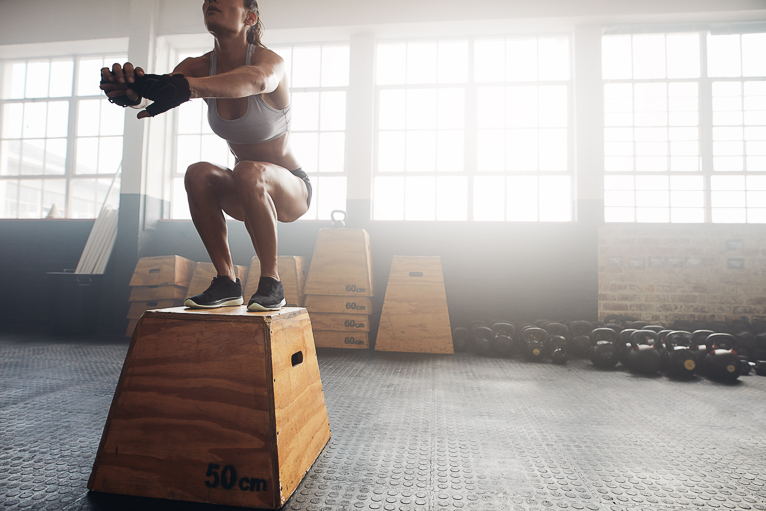
Play around with angles

A photo that is taken at an unusual angle always attracts more attention. So play around with different and unconventional views. Whether that is low to the ground looking up or even looking directly down at someone laying on the ground, these can give your shots more variety than just standard eye-level shots.

Fitness_photography_tips

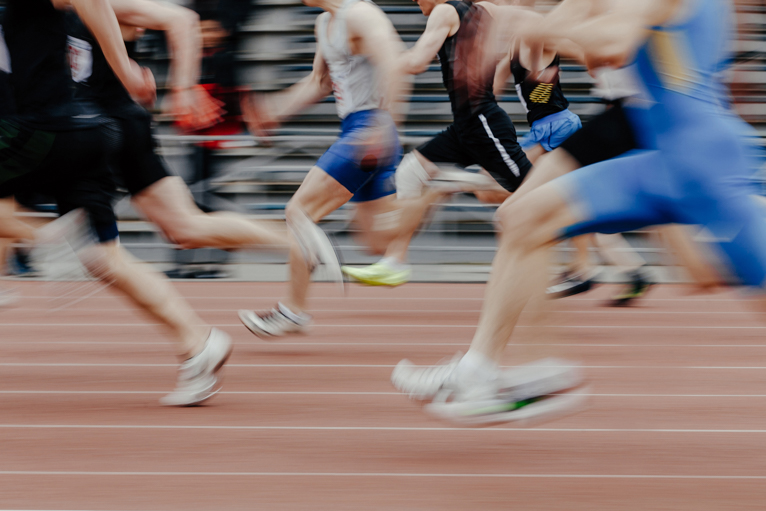
A bit of blur isn’t bad

Don’t be afraid to have a little bit of motion blur in your fitness shots. These can help add a dynamic element to your shots showing movement. The key with this is to ensure that some part of their body is sharp (ideally their face). If you don’t have a sharp part in your photo that sense of movement won’t be evident and instead you will have a blurred photo.

Fitness_photography_tips

These tips and unique techniques for taking better fitness photos will make a big difference to the pics you take. There are all sorts of factors you have to take into account, and you may not need them all at once but, whether you’re shooting indoors or outdoors, you’ll find this list extremely useful, and you’ll see the difference in the quality of the fitness photos you produce.

Photo credits: Kav Dadfar – All rights reserved. No usage without permission. Dreamstime.

Filed Under: Tutorials Tagged With: fitness photography, fitness photography tips, Sport photography

Beginner Tips On How To Photograph Sporting Events

Sports photography is one of the most difficult genres of photography to master. The biggest challenge when it comes to sports photography is being able to capture photos which are sharp but also being able to isolate a key moment in the game. To help you on your way here are 9 tips on photographing sporting events.

Know your sport

To be able to photograph anything really well you really need to understand everything there is to know about it. This is even more vital when it comes to sports photography. You need to understand the rules and the general flow of the action. For example, if you want to photograph soccer you need to understand potentially where the action will be. So whilst standing on the halfway line will give you some nice photos the real action in soccer occurs at opposite ends near the goals. But you also need to understand the rules of the game. Because these also provide key photographic opportunities that you need to capture. For example in soccer, a red card is a big deal or a penalty is an important event in the game. So the first thing you should do if you’re photographing sporting events that you don’t know well enough is to research and understand what the rules are.

Know the limitations you face

If you are photographing a professional sporting event you will often have to sit or stand with the spectators. This means that you may not have the best view of the action for photography. You certainly won’t be as close to the action as the official photographers who will have designated areas and special access which allows them to get right up close to the action. So by understanding the limitations that you face you can prepare accordingly. For example, if you know that you’re going to be sitting in the crowd it’s neither wise or courteous to other spectators to have a huge telephoto lens at the end of your camera. It’s also important to check what the rules are as many sporting arenas do not allow large camera equipment to be taken into the venue by anyone other than official photographers.

You will need at least a 200 mm lens

As mentioned above if you’re going to be one of the spectators in the crowd you just have to accept that you may not be able to get the perfect photos. But let’s assume you are photographing a more local event where you are allowed to stand where you like. In most sports, you are still going to be far enough to need a telephoto lens. So as a minimum, aim for a 200 mm lens to be able to at least room into the action a bit. But depending on the sport you may need to zoom in even more. For example, photographing a rugby match or soccer match where the action might be on the opposite side of the pitch is a lot different from photographing table tennis where there is a relatively small playing area. But as a general rule at the very least take a 200 mm lens with you.

Be prepared for the weather

If the sport you are photographing is going to be outdoors then there is a chance that you could be caught in a rain shower. So make sure that both you and your camera are prepared. Higher-end DSLR cameras are often weather sealed which means they can withstand rain showers and other harsh conditions. But it’s still worth taking some precautions such as carrying a rain cover for your camera and a towel of some sort to be able to dry and wipe your lens clean.

Fast shutter speed is what you need

There is no one rule that can determine the shutter speed that you’re going to need to photograph sport. In fact, even in one sporting event, you may have to use different shutter speeds for different parts of the action. For example, if you are photographing basketball you’re going to need a fast shutter speed to capture players moving then when they’re sitting on the bench. But the shutter speed you need will vary greatly from sport to sport. For example for a 100-meter sprint, you are going to need a pretty fast shutter speed to freeze the action. But you’re going to need an even faster shutter speed if you’re photographing racing cars. As a general starting point if the sport you are photographing involves sprinting or fast movements, aim for around 1/500 sec. But be prepared to have to raise this to be much faster like to 1/2000 sec.

Don’t chimp

Champing is the term given to the process of checking the LCD on the back of the camera every time you take a photo. Whilst this might be okay to do if you’re photographing a landscape scene when photographing sport, things happen really quickly. Taking your eyes off the action even for a few seconds will mean you potentially miss a key element. So don’t worry about checking your photos just carry on shooting and check your images when you get home. If you are worried that for example you haven’t got your settings correct and want to check, then wait until there is a break in the action like a time-out or even an injury.

Use continuous autofocus

This is a really key element of photographing anything which is moving. If you don’t select continuous focus there’s a good chance that you may not be able to capture sharp photos. The reason is that if you focus on a person, even after just a few shots in burst mode they would’ve moved from that original spot you focused on. So now your focus point is in a completely different place. So make sure you select continuous focus and also photograph in high-speed burst mode for the best chance of capturing the right moment.

Don’t forget about the fans

Of course one of the key elements to any sporting event are the fans. So don’t forget to also capture those unique moments of celebration, despair or even excitement. A good tip to remember is that if there is a key bit of action happening in an area of the field that you can’t photograph from your position turn around and focus on the fans. This will allow you to capture elements of the game that are so important to the overall experience of the sport. Of course, once the action moves near you, you can turn around and face the action again.

Experiment for unique results

The common practice for photographing sporting events is to capture everything sharp and in focus. But you can also experiment with a few shots where are you can break the rules. For example, selecting a slightly slower shutter speed might give you a little bit of motion blur that can emphasise the speed at which someone is running. So don’t be afraid to experiment with your settings, you may be pleasantly surprised by the results.

To be able to capture stunning photographs of sports you need to practice for years and years to perfect your skill. Every time you pick up a camera you are going to be challenging yourself and facing situations and scenarios that you hadn’t faced before. Keep doing this and eventually, things will become second nature to you and you will begin to subconsciously be able to compose and execute a shot instinctively.

Photo credits: Kav Dadfar – All rights reserved. No usage without permission. Dreamstime.

Filed Under: Tutorials Tagged With: photographing sport, Photographing sporting events, Sport photography

Blog Topics

  • Tutorials
  • Inspiration
  • Locations
  • Gear
  • News
  • Other/Misc

What our customers say:

Life Pixel has been a life-changer for me. Continue reading
Eric GConnecticut
Read more reviews
I am more than satisfied with the service I received Continue reading
Christopher JCanada
Read more reviews
I am more than pleased with the conversion job that you did Continue reading
LOUIS MWaco, Texas
Read more reviews
I am VERY impressed with his knowledge of your products and his patience in explaining it to a novice like me. Continue reading
Lynn FEssex, Maryland
Read more reviews
Things will only get better from here thanks to all of you. Continue reading
Phillip FRedding, California
Read more reviews
The Lifepixel newsletter reminds me of not having expressed my gratitude for the excellent job you made. Continue reading
Michael GGermany
Read more reviews
Your staff went above and beyond the call of duty to make sure everything was handled in an excellent manner. Continue reading
Paige RPearland, Texas
Read more reviews
It has given my old camera a new life, I will enjoy using it again. Continue reading
William PAustralia
Read more reviews
Excellent service and the camera works just great Continue reading
Hans FairhurstAustralia
Read more reviews
I just got my converted camera back from you guys. THANK YOU!!!! Continue reading
Anne CutlerForest Knolls, CA
Read more reviews
infrared_filter_choices_sidebar
ir_conversions_explained_sidebar
----------- Watch More Videos -----------
infrared_quick_start_guide

Ready to start shooting Infrared?

Convert My Camera

Subscribe To Our Newsletter

Receive updates, tips, cool tutorials, free stuff and special discounts.

Learn the Basics

  • Video
  • Start Here
  • Filter Choices
  • Focus Calibration
  • Lens Considerations
  • Camera Considerations
  • Place Your Conversion Order

Resources

  • Galleries
  • Lens Hot Spot Database
  • IR Tutorials
  • FAQ
  • Infrared Filter Choices
  • Infrared Photography Guide
  • Infrared DIY Tutorials

Company

  • Why Choose Us
  • Get In Contact
  • Job Openings
  • Write For Us
  • Affiliate Program
  • Terms of Use
  • Privacy Policy
  • Home
  • Start Here
  • Galleries
  • Tutorials
  • FAQ
  • Blog
  • Why Choose LifePixel?
  • Shop
  • Contact

Copyright © 2025 Life Pixel Infrared - All rights reserved - LifePixel Infrared Photography IR Conversion, Modification & Scratched Sensor Repair