Sports photography is one of the most difficult genres of photography to master. The biggest challenge when it comes to sports photography is being able to capture photos which are sharp but also being able to isolate a key moment in the game. To help you on your way here are 9 tips on photographing sporting events.
Know your sport
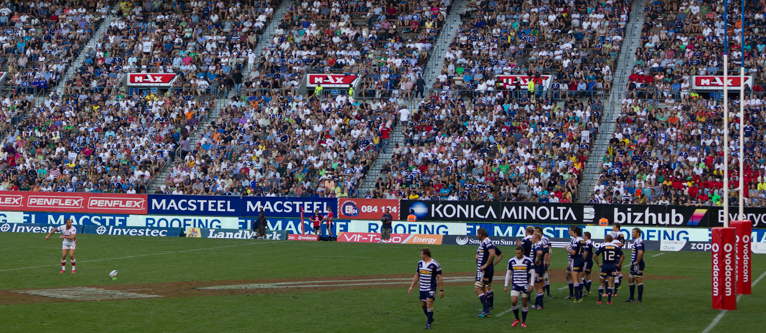
To be able to photograph anything really well you really need to understand everything there is to know about it. This is even more vital when it comes to sports photography. You need to understand the rules and the general flow of the action. For example, if you want to photograph soccer you need to understand potentially where the action will be. So whilst standing on the halfway line will give you some nice photos the real action in soccer occurs at opposite ends near the goals. But you also need to understand the rules of the game. Because these also provide key photographic opportunities that you need to capture. For example in soccer, a red card is a big deal or a penalty is an important event in the game. So the first thing you should do if you’re photographing sporting events that you don’t know well enough is to research and understand what the rules are.
Know the limitations you face
If you are photographing a professional sporting event you will often have to sit or stand with the spectators. This means that you may not have the best view of the action for photography. You certainly won’t be as close to the action as the official photographers who will have designated areas and special access which allows them to get right up close to the action. So by understanding the limitations that you face you can prepare accordingly. For example, if you know that you’re going to be sitting in the crowd it’s neither wise or courteous to other spectators to have a huge telephoto lens at the end of your camera. It’s also important to check what the rules are as many sporting arenas do not allow large camera equipment to be taken into the venue by anyone other than official photographers.
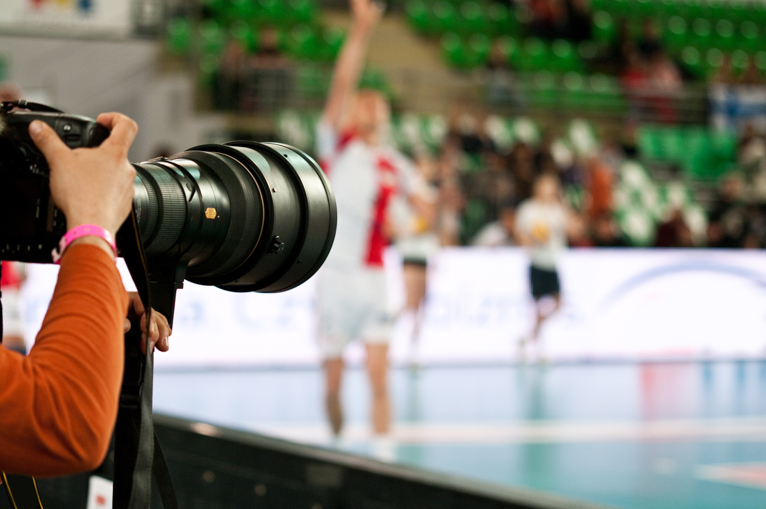
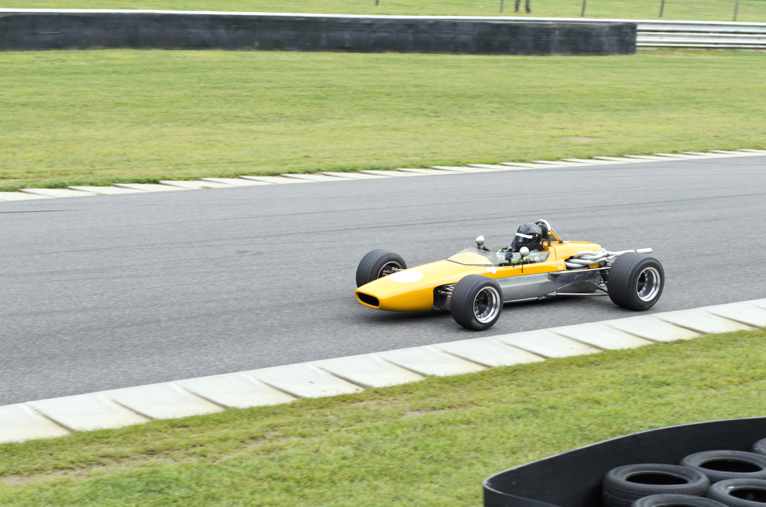
You will need at least a 200 mm lens
As mentioned above if you’re going to be one of the spectators in the crowd you just have to accept that you may not be able to get the perfect photos. But let’s assume you are photographing a more local event where you are allowed to stand where you like. In most sports, you are still going to be far enough to need a telephoto lens. So as a minimum, aim for a 200 mm lens to be able to at least room into the action a bit. But depending on the sport you may need to zoom in even more. For example, photographing a rugby match or soccer match where the action might be on the opposite side of the pitch is a lot different from photographing table tennis where there is a relatively small playing area. But as a general rule at the very least take a 200 mm lens with you.
Be prepared for the weather
If the sport you are photographing is going to be outdoors then there is a chance that you could be caught in a rain shower. So make sure that both you and your camera are prepared. Higher-end DSLR cameras are often weather sealed which means they can withstand rain showers and other harsh conditions. But it’s still worth taking some precautions such as carrying a rain cover for your camera and a towel of some sort to be able to dry and wipe your lens clean.

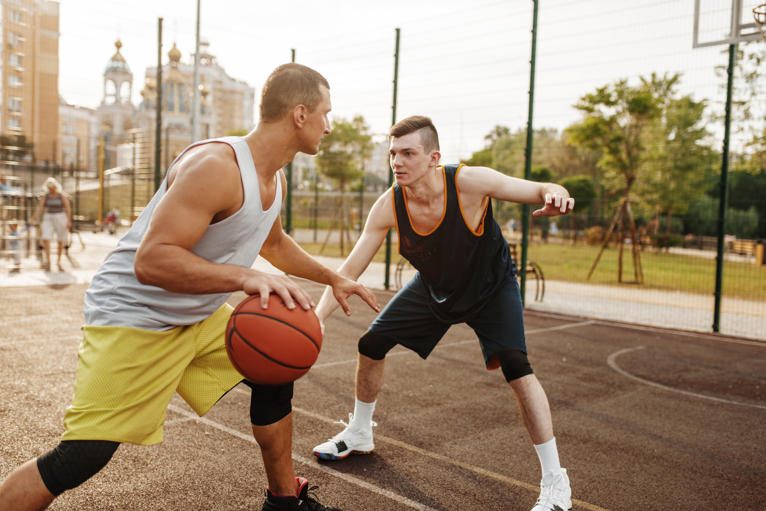
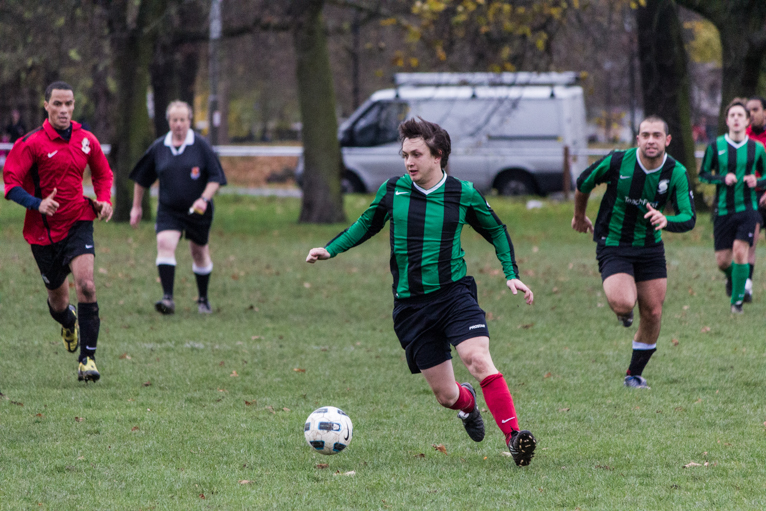
Fast shutter speed is what you need
There is no one rule that can determine the shutter speed that you’re going to need to photograph sport. In fact, even in one sporting event, you may have to use different shutter speeds for different parts of the action. For example, if you are photographing basketball you’re going to need a fast shutter speed to capture players moving then when they’re sitting on the bench. But the shutter speed you need will vary greatly from sport to sport. For example for a 100-meter sprint, you are going to need a pretty fast shutter speed to freeze the action. But you’re going to need an even faster shutter speed if you’re photographing racing cars. As a general starting point if the sport you are photographing involves sprinting or fast movements, aim for around 1/500 sec. But be prepared to have to raise this to be much faster like to 1/2000 sec.
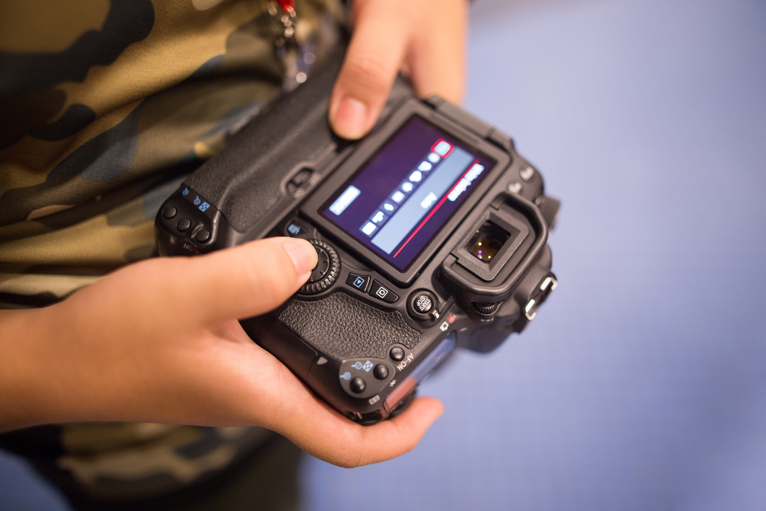
Don’t chimp
Champing is the term given to the process of checking the LCD on the back of the camera every time you take a photo. Whilst this might be okay to do if you’re photographing a landscape scene when photographing sport, things happen really quickly. Taking your eyes off the action even for a few seconds will mean you potentially miss a key element. So don’t worry about checking your photos just carry on shooting and check your images when you get home. If you are worried that for example you haven’t got your settings correct and want to check, then wait until there is a break in the action like a time-out or even an injury.
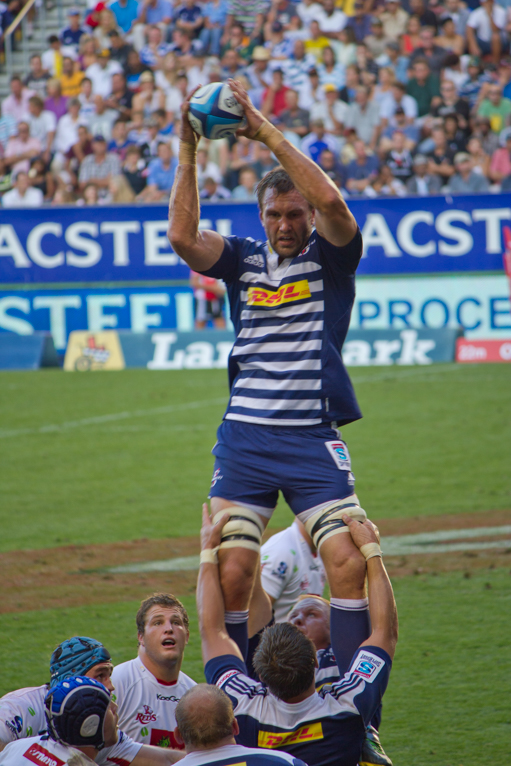
Use continuous autofocus
This is a really key element of photographing anything which is moving. If you don’t select continuous focus there’s a good chance that you may not be able to capture sharp photos. The reason is that if you focus on a person, even after just a few shots in burst mode they would’ve moved from that original spot you focused on. So now your focus point is in a completely different place. So make sure you select continuous focus and also photograph in high-speed burst mode for the best chance of capturing the right moment.
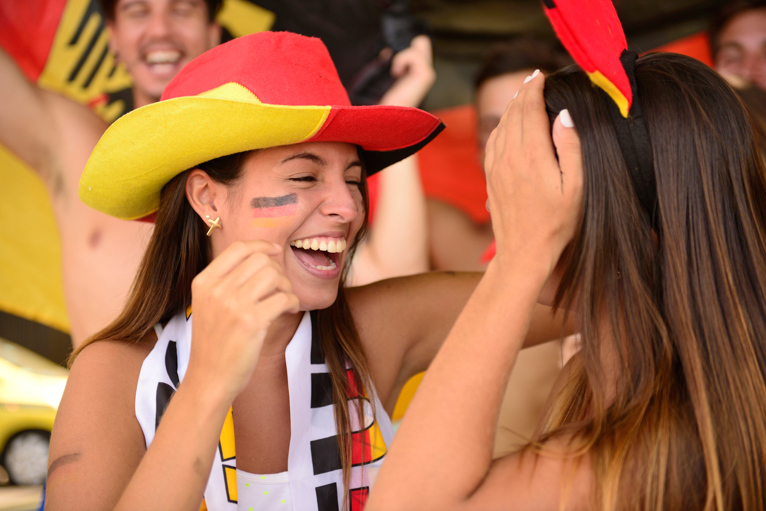
Don’t forget about the fans
Of course one of the key elements to any sporting event are the fans. So don’t forget to also capture those unique moments of celebration, despair or even excitement. A good tip to remember is that if there is a key bit of action happening in an area of the field that you can’t photograph from your position turn around and focus on the fans. This will allow you to capture elements of the game that are so important to the overall experience of the sport. Of course, once the action moves near you, you can turn around and face the action again.
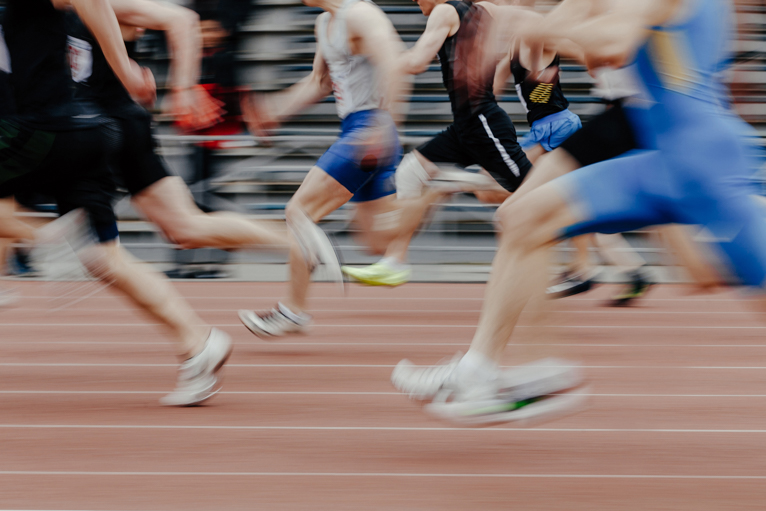
Experiment for unique results
The common practice for photographing sporting events is to capture everything sharp and in focus. But you can also experiment with a few shots where are you can break the rules. For example, selecting a slightly slower shutter speed might give you a little bit of motion blur that can emphasise the speed at which someone is running. So don’t be afraid to experiment with your settings, you may be pleasantly surprised by the results.
To be able to capture stunning photographs of sports you need to practice for years and years to perfect your skill. Every time you pick up a camera you are going to be challenging yourself and facing situations and scenarios that you hadn’t faced before. Keep doing this and eventually, things will become second nature to you and you will begin to subconsciously be able to compose and execute a shot instinctively.
Photo credits: Kav Dadfar – All rights reserved. No usage without permission. Dreamstime.
Latest articles by Kav Dadfar (see all articles)
- How To Photograph Street Performers - April 26, 2022
- Profiled Photographers – Ben McKechnie - August 24, 2021
- Profiled Photographers – Jim Maher - August 24, 2021
is the founding editor of JRNY Travel Magazine as well as a professional travel photographer and writer based in the UK. His images have been used by clients such as Condé Nast, National Geographic, Lonely Planet, Rough Guides and many others. Kav is also the co-founder of That Wild Idea, a company specializing in photography workshops and tours both in the UK and around the world.
See All Articles by Kav Dadfar


Leave a Reply