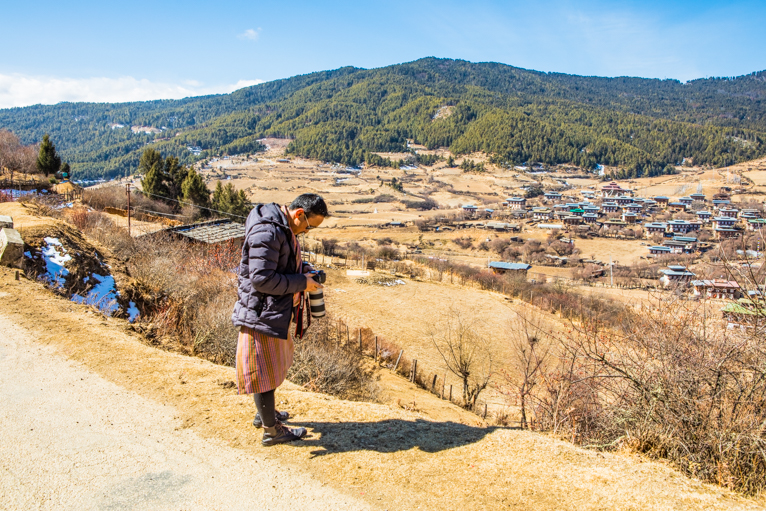
One of the biggest elements of any travel photographer’s workflow includes research and planning prior to going away on a shoot. A common question I get asked is how I go about finding spots to shoot from. Thankfully these days there are lots of ways in which you can research and plan your shoot so that you can almost have the picture composed in your mind before you even turn up to a shoot. Here are a few different ways in which you can work out how, where and when to take your shots.
Google Maps
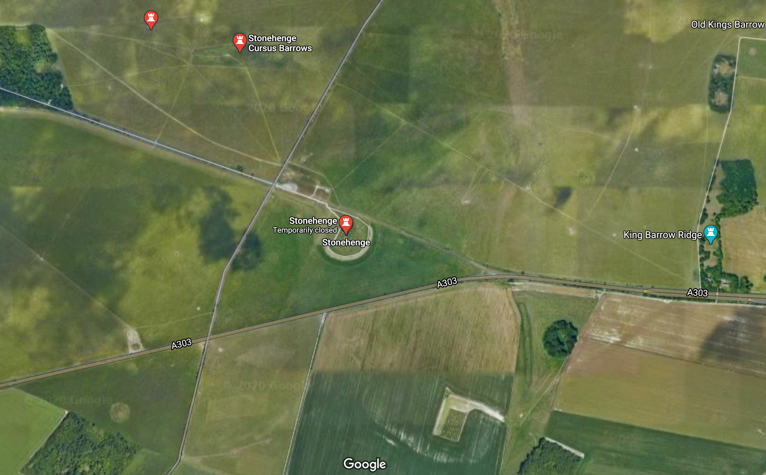
Google maps is one of my most important tools in researching a shoot. Not only does it allow you to create your own map with pins that you can save, but you can also work out walking times between places and even terrain information. But for me, the biggest attribute of Google Maps is street view. This allows you to literally look at the view from where you will be standing. It’s not available in every location but if where you are going is covered be sure to check it out.
The way I use this is to often find the location I want to shoot from and then move around within the map to see if there are any angles or places that I should go to. This is useful as it’ll potentially stop you from wasting time unnecessarily trying to find a location. You may also stumble across somewhere that you didn’t know about.
Taking this a bit further, Google Earth is also a useful tool as it allows you to check out elevated views. Again this can be useful in finding locations like rooftop bars or accommodations with balconies.
Books
Sometimes good old fashion methods of research yield the best results. As much as I love what the online world offers, nothing beats having a guide book or a map and finding potential locations from it. But it doesn’t just have to be guidebooks. Photography books, non-fiction travel books and even magazines and newspapers can all be a great source of information.
Another great way to find new spots is to simply explore places from a guidebook or just use a map to walk around. This is a really great thing to do on the days when the weather conditions aren’t suited to photography.
Post Cards
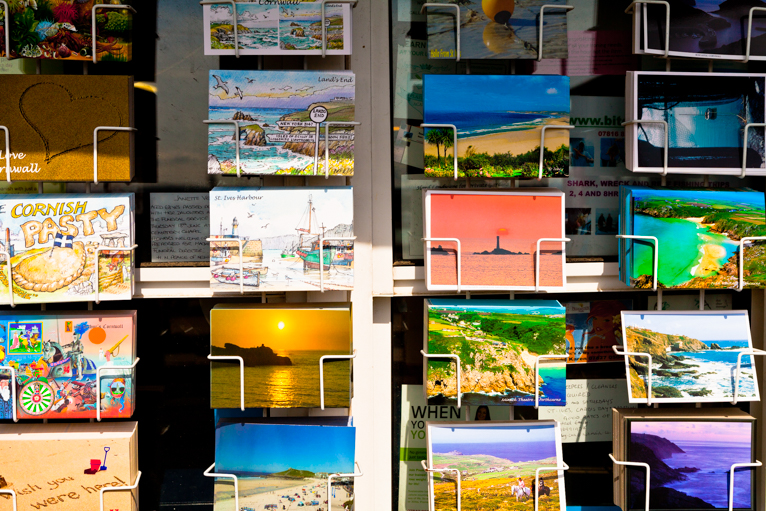
Another useful resource for finding potential spots for shots is having a look at postcards when you are on location. Of course, there will be plenty that are from the obvious spots but there might be ones that give you alternative angles you didn’t know about. The important thing to keep in mind is that you shouldn’t be looking to copy the postcard shots. But rather to find potential locations that you can shoot from in your own style or a unique way.
Locals
This is one of my top tips when it comes to finding locations for a shoot. The easiest option is to hire the services of a guide who will undoubtedly have knowledge of places that you didn’t even know about. But this can be expensive if you are on a budget. Another option is to simply speak to locals. Taxi drivers, shop keepers, market vendors and even waiters or waitresses can all help you with local knowledge that you wouldn’t know otherwise. Obviously, there may be a language barrier (this is another benefit of having a guide) but thankfully there are apps these days that can help navigate this.
Another option is to get in contact with photographers who may be happy to guide you around a place. Or sometimes they may be willing to even give up some of their knowledge of a location. But don’t count on this as many will understandably want to protect their unique shots.
Social Media
Social media is often misunderstood by photographers and not used to its full potential. For many, it is simply a vanity tool and too many people get caught up on “likes” and “followers”. For me, one of the biggest value of social media is in being able to research and plan a shoot and get ideas for potential spots. As a Londoner, there is no denying that I will know far more about London and potential shooting spots than say someone from another country. So by following people and looking at their feeds you can often find some amazing spots that are removed from the usual places. The people you follow don’t have to necessarily be photographers. Just locals that share their smartphone pictures can offer a wealth of ideas.

Walking
There is also something to be said about simply getting to a destination and just exploring it. Walk around a city and you will stumble across a whole multitude of locations and photo opportunities. A really good habit to get into is to set yourself an endpoint in a city and just walk to it over the course of a few hours. Allow time to venture off in different directions to explore side roads and other places. But doing this instead of getting a metro or taxi will allow you to see places for potential photo opportunities that you may not have thought of before.
If you want to capture the very best travel photos that you can, the best way is to plan and have an idea of what you want to shoot. But as I said earlier the key when you are researching is not to copy other people’s work, but try to think of new ways of shooting them.
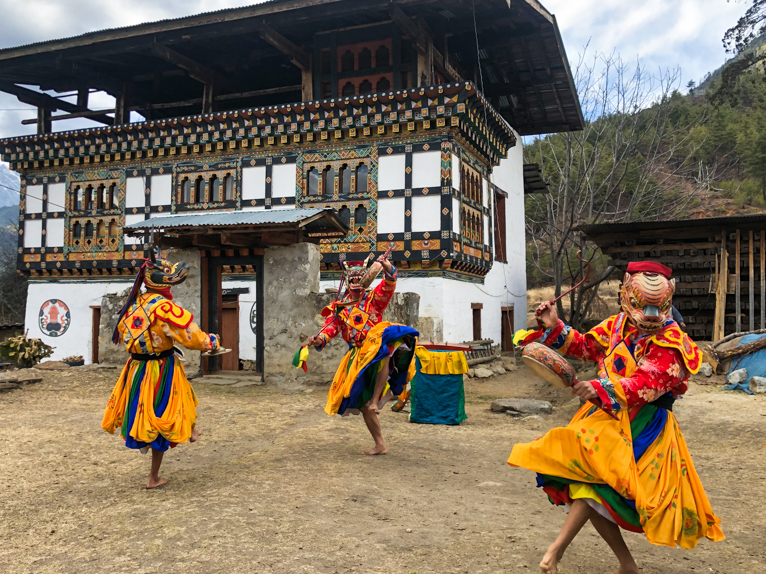
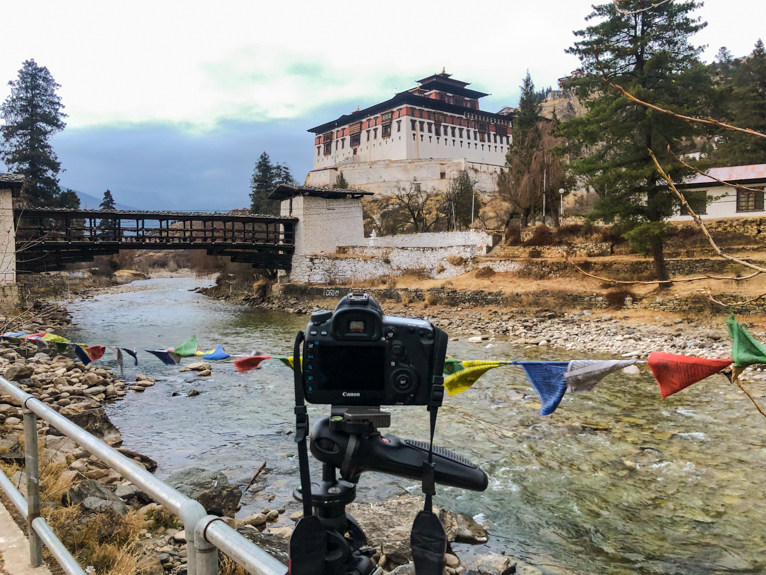
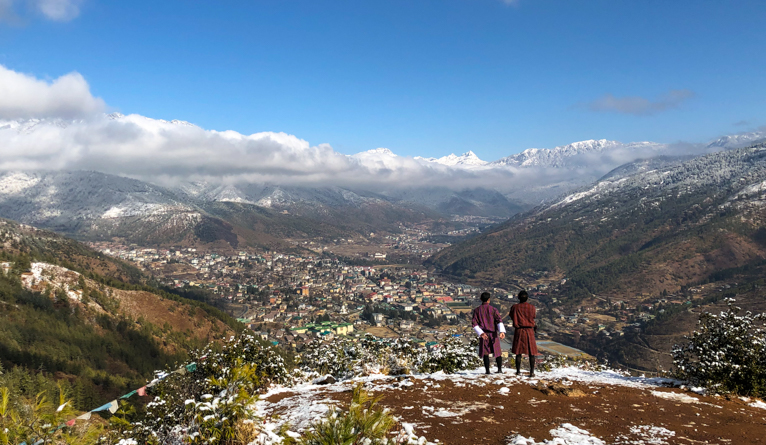
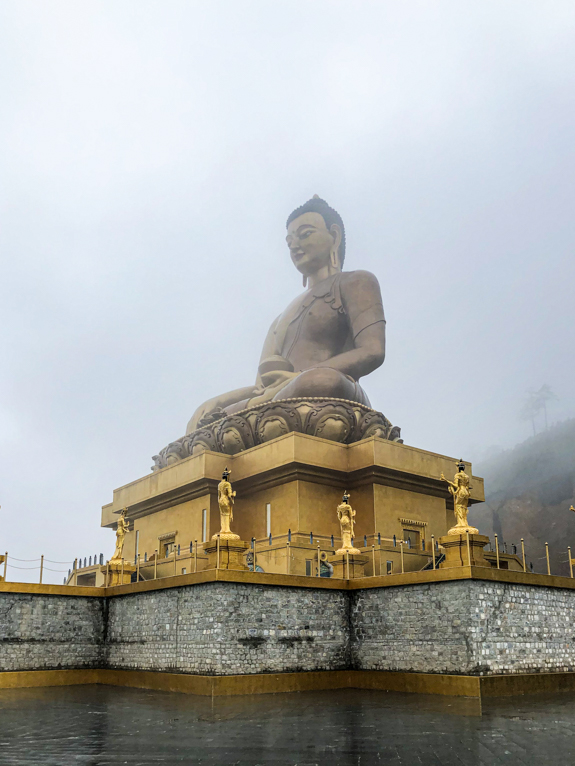
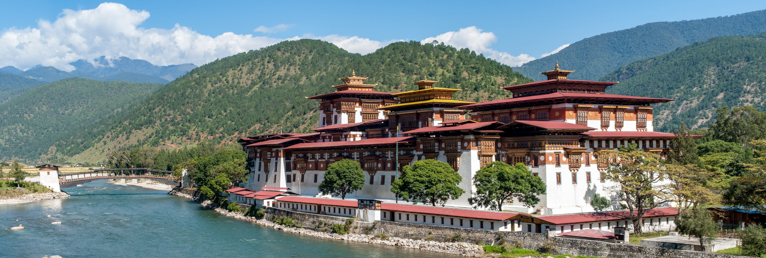
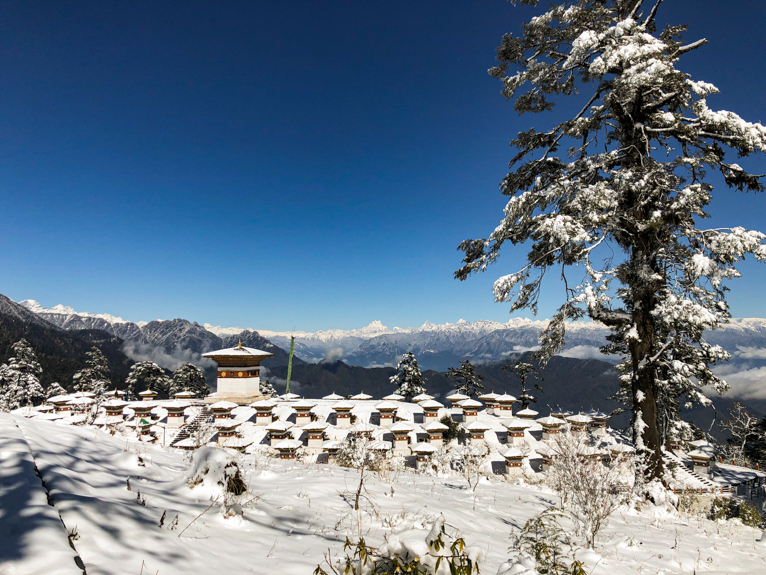
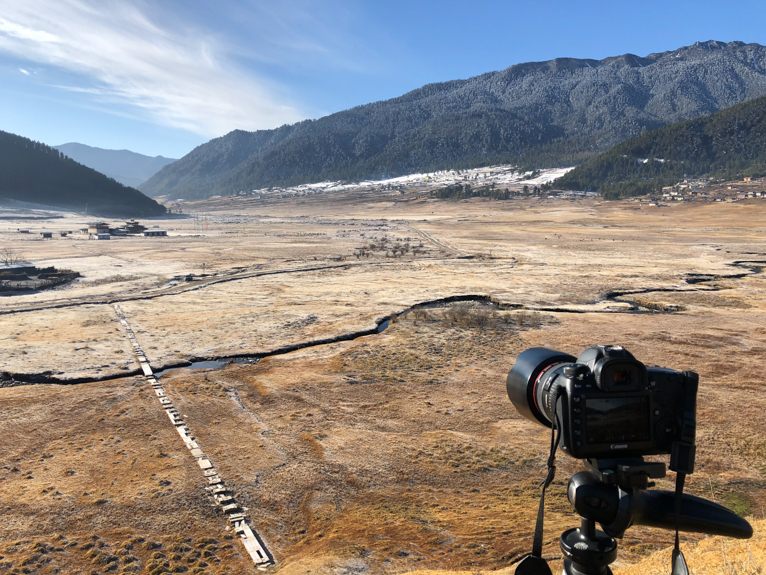
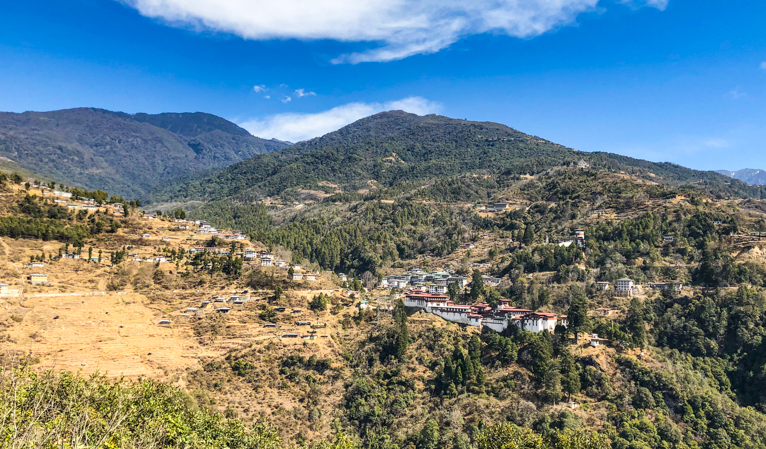
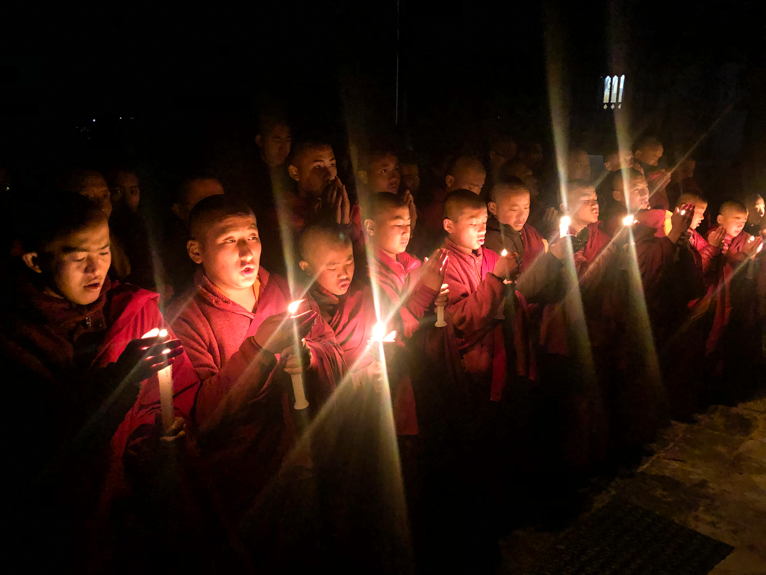
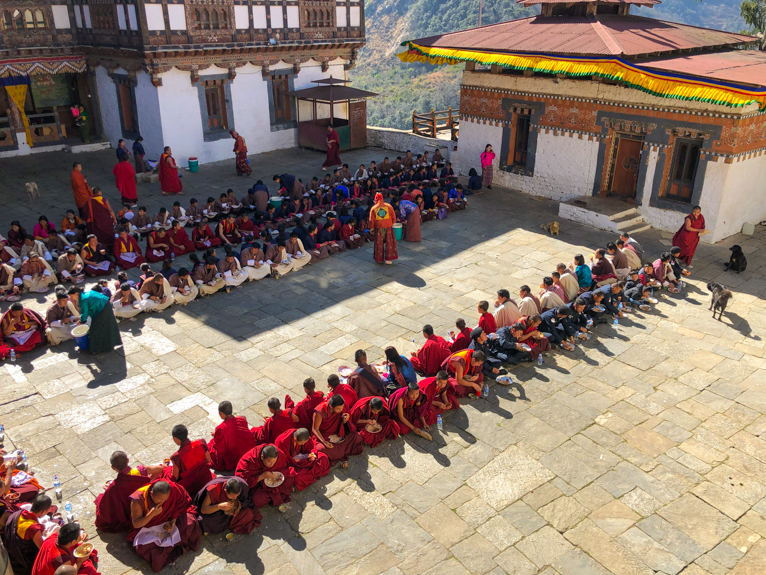
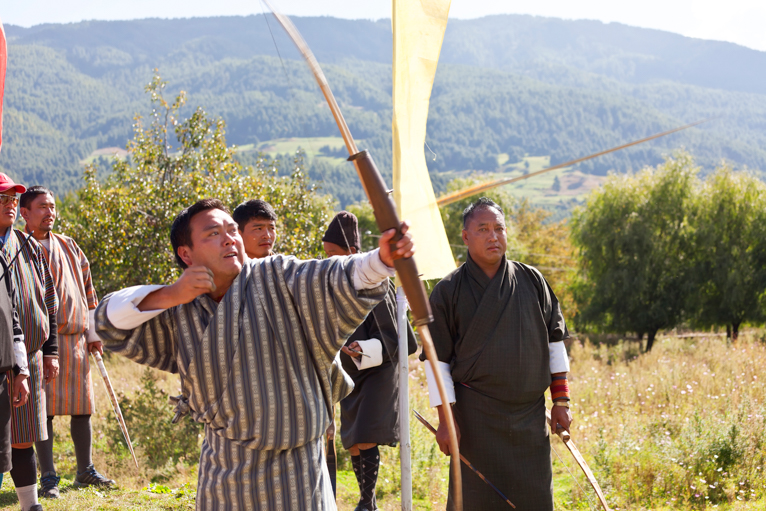
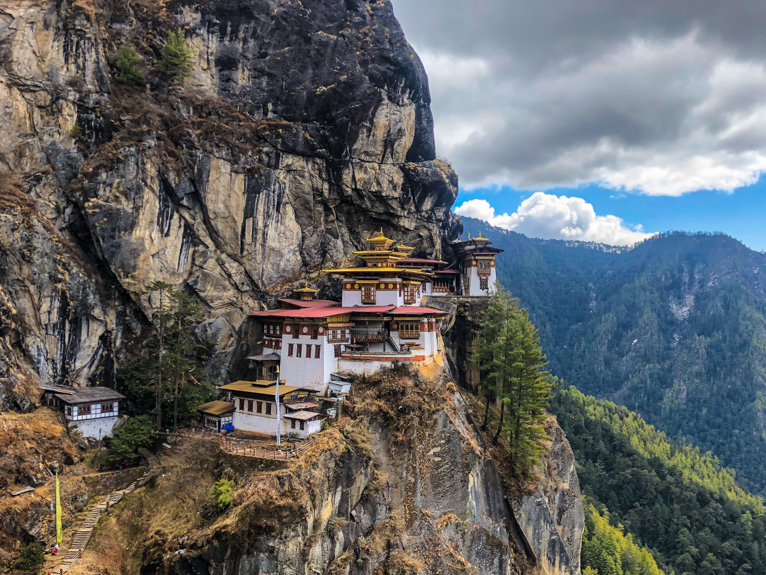
Photo credits: Kav Dadfar – All rights reserved. No usage without permission. Dreamstime.