As you learn and develop your photography skills you’ll discover why aperture priority is such a useful setting in helping you take photos. This mode on your camera is incredibly important, but unless you know when and how to use it it is just another function on your camera. Read on and learn all about aperture priority and the best ways to use it for your next photo shoot.
What is aperture priority?
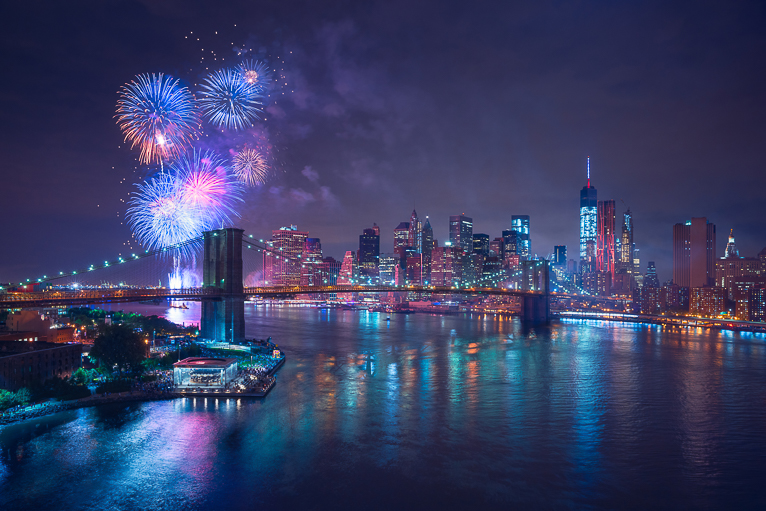
This semi-automatic camera mode allows you to set the aperture manually and let the camera selects the shutter speed automatically. While this may sound simple, this is an incredibly valuable setting to have when taking pictures. The reason this is valuable is that it gives you complete control over the aperture which determines your depth of field. This is really important because your depth of field determines how much of your focal plane is going to be in focus. For example, say you had selected shutter priority and you are taking a cityscape shot. The camera might set your aperture is to f/2.8 to allow you to achieve your shutter speed. So you will end up a vast part of your photo blurred. By selecting aperture priority you can ensure that your depth of field is going to be correct for what you are photographing.
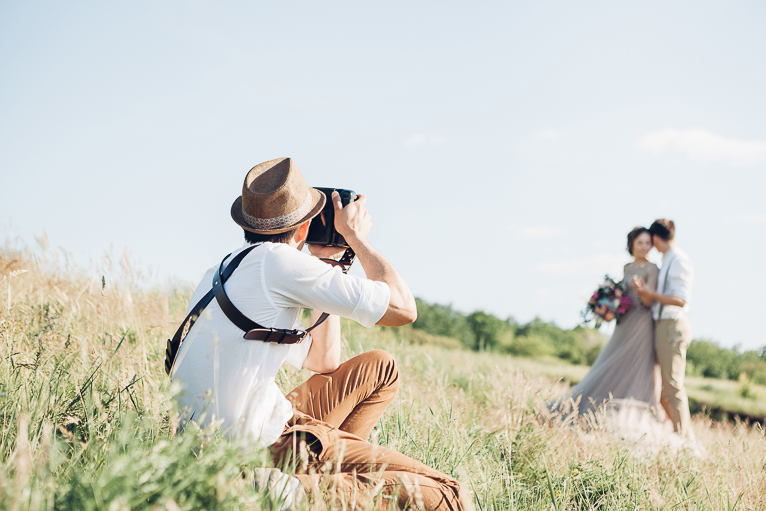
This option is also a much faster way to take pictures when you compare it to the manual mode. In manual mode, you need to select all of the settings yourself to achieve perfect shots. If you are shooting any sort of fast-moving scenarios like a street scene, there simply won’t be enough time to do that. If you master aperture priority, you can quickly adjust the settings as you need to, so that you can get the perfect shot every time.
Advantages of aperture priority
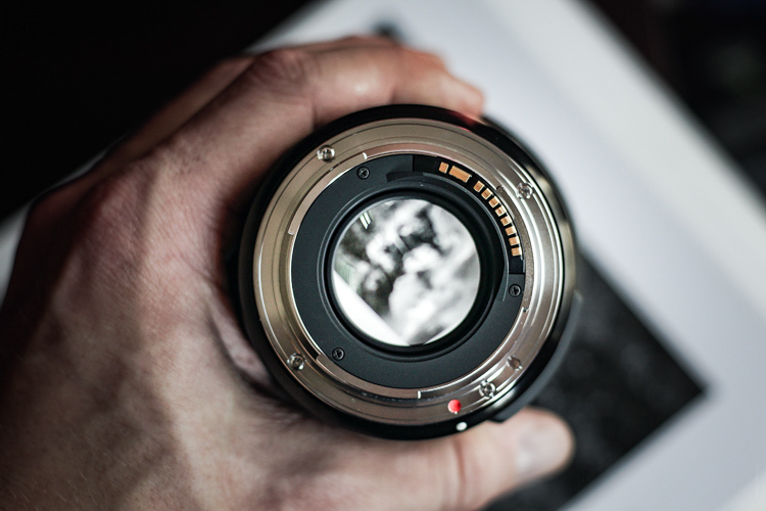
There are a few advantages of using aperture priority. The first advantage as mentioned above is that you can better control the depth of field of images. The aperture on your camera (also known as the f/stop) is what determines your depth of field. If you want a blurry background for your images, you will use a smaller f/stop number (wider aperture). Using a higher number will make your background and the foreground be in focus given you a greater depth of field.
Aperture mode can also give you more creative control over your shots, allowing you to separate background and foreground, depending on what you want the focus to be in your images.
Lastly, you can respond quicker by using aperture priority. You don’t have to stress about your shutter speed (as long as it isn’t too slow) when snapping pictures, which gives you less to worry about.
How to select and use aperture priority?
First, select aperture priority mode on your camera by moving the dial to A on most cameras and Av on Canon cameras.
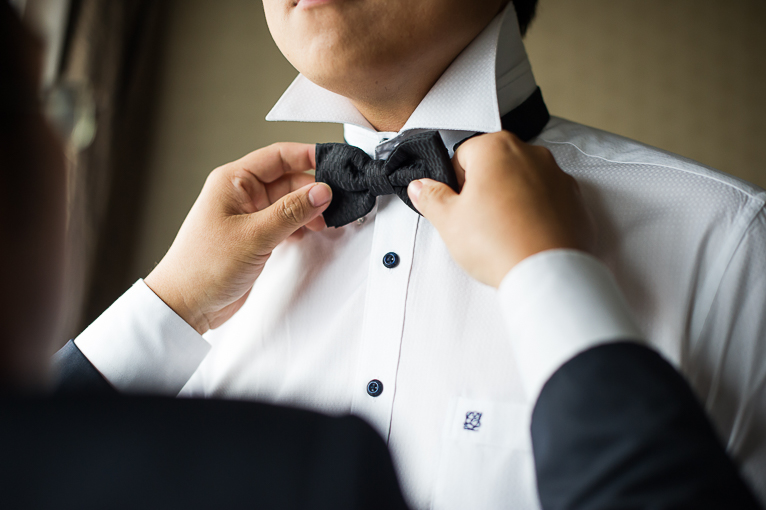
Next, select the aperture manually by determining the f/stop number that you need to use for your shots. What’s excellent about aperture priority mode is that the camera doesn’t change this setting while you take your pictures. But this means that it’s crucial that you change your aperture for different scenarios. So if you have just taken a portrait of someone and then you are taking a landscape shot, remember to adjust your aperture.
There are of course occasions when by selecting your aperture to get the exposure correct, the camera has to select a slow shutter speed. If your shutter speed is too slow it will mean that your photos will suffer from camera shake and look blurred. You have a couple of options on how to solve this issue.
You can either increase your ISO to allow you to have a faster shutter speed. But the higher your ISO is, the more noise will appear in your photos. So for example, if you are able to increase your ISO a bit and achieve the right shutter speed, then that will be fine. But if it means increasing it too high (i.e. above 1000 ISO, you may want to try the solution below).
The alternative to increasing your ISO is to compensate on the exposure by a combination of shutter speed and aperture. For example, you may find that by selecting a slightly wider aperture, even though your photo is slightly underexposed, you can fix it in post-processing. Most of the time the solution is a mix of both. So increasing the ISO a little and selecting a slightly wider aperture.
When to use aperture priority?
There are a few situations where you should use aperture priority. Generally, anytime that your depth of field is important, you should select aperture priority. But if shutter speed becomes more important than you should select shutter priority. For example, if you are photographing moving subjects that you want to freeze, then shutter priority is what you need.
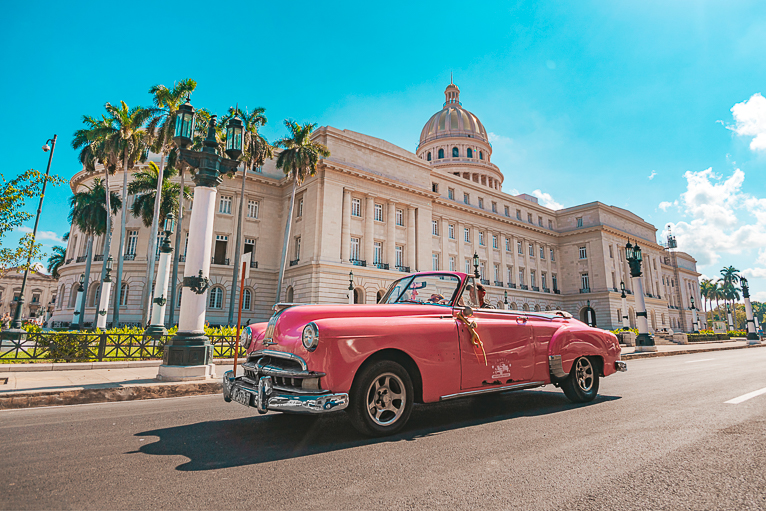
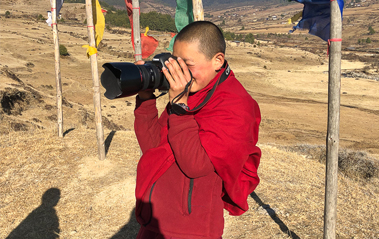
Aperture priority is also a good mode to select for everyday outdoor photography in travel or street photography. Because most of the time there will be sufficient light, you won’t find your shutter speed becoming an issue. But in lower light conditions it will, so at that point, you need to look to the solutions that I mentioned above.
What’s excellent about aperture priority is that you can take great photos without having to worry or stress about adjusting all the settings. Your camera will be doing most of the work for you so you can concentrate on seeing the photo opportunities. But its important to know that this mode isn’t the ideal approach for all purposes. If you are working with flash or panorama photography, manual mode is a far better setting to get the best images. But, aperture priority mode can be a valuable setting for you to use in your photography.
Photo credits: Kav Dadfar – All rights reserved. No usage without permission. Dreamstime.
Latest articles by Kav Dadfar (see all articles)
- How To Photograph Street Performers - April 26, 2022
- Profiled Photographers – Ben McKechnie - August 24, 2021
- Profiled Photographers – Jim Maher - August 24, 2021
is the founding editor of JRNY Travel Magazine as well as a professional travel photographer and writer based in the UK. His images have been used by clients such as Condé Nast, National Geographic, Lonely Planet, Rough Guides and many others. Kav is also the co-founder of That Wild Idea, a company specializing in photography workshops and tours both in the UK and around the world.
See All Articles by Kav Dadfar


Leave a Reply