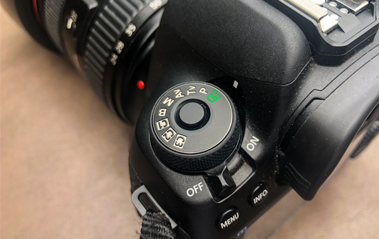
Anyone with a DSLR or Mirrorless camera would have probably seen the initials Av or Tv on their mode dial (or somewhere on their camera). But most newbie photographers avoid these elements and just go straight to the auto setting. Whilst auto settings on cameras have advanced a lot in the last few years, they are still no match for actively taking control of the photo taking process manually. After all, that is the whole point of an expensive DSLR camera. Not only do high-end cameras take better quality photos but they also give you more control. Aperture and shutter priority modes are commonly used by photographers and are very easy to understand and utilize. So, if you are unsure what aperture priority or shutter priority modes are and when to use them, then read on…
![]()
The basics
Before understanding and being able to use these modes, you need to have a basic understanding of the photo taking process. There are three main elements that determine how a photo is captured and looks. These three elements are shutter speed, aperture, and ISO. Together they are referred to as the exposure triangle. As the name suggests these three elements of photography are linked together and so a change in one has an impact on another one. On manual mode on a camera, the photographer is responsible for adjusting all three of these elements. Whilst that gives a lot of control sometimes it isn’t feasible and can mean missing the key moment because you are changing settings. This is where shutter priority and aperture priority can help immensely.
![]()
Aperture priority
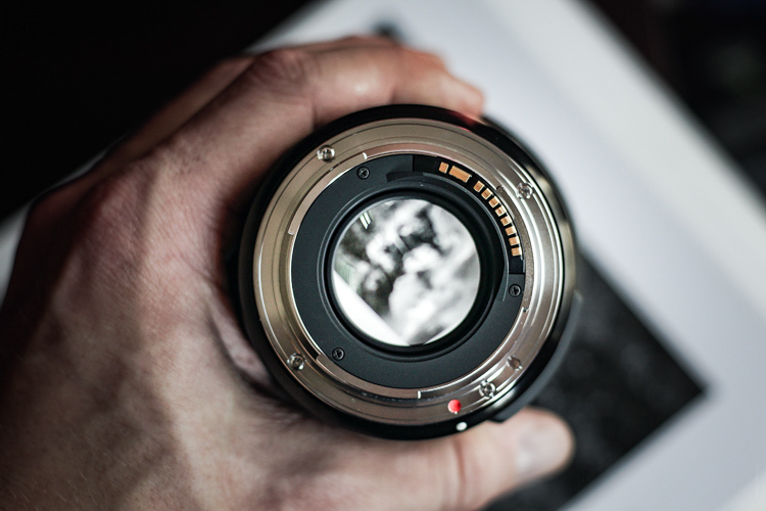
Every time you click to take a photo, the shutter that is situated in your lens opens and closes to allow light to hit the sensor in your camera. The amount that the shutter leaves open is indicated as an f/number. The higher the f/number the smaller the opening for light to get into the camera. This is important because how much this opening is, determines your depth of field. In other words how much of your image is sharp from the foreground to the background.
![]()
The higher your f/number the more your image will be sharp from front to back. The lower your f/number is the shallower your depth of field will become. So for example, if you are taking a portrait of someone, you will ideally want their face to be in focus and the background blurred so that they stand out. In this scenario, you would use a low f/number to achieve this. But in landscape photography where you need more of the image to be sharp, you will want to use a higher f/number.
Aperture priority mode allows you to set this f/number so that any photo taken will be at the desired aperture. The camera then automatically sets the other components of the exposure triangle (i.e. ISO and shutter speed) to ensure the photo can be taken at this aperture.
![]()
When would you use aperture priority mode?
This mode is ideal when you want to have control over your depth of field. So for example, if you are photographing a person in daylight you can set your aperture knowing that the camera can then do the rest. Or for example in landscape photography, if you are using a tripod, then you can set your aperture as this is a key setting to ensure you have the depth of field required. Another example would be if say you are photographing something close-up like a flower or food where you need a fairly shallow depth of field.
Where you need to be careful when using aperture priority mode is when there is a chance that your shutter speed will end being too slow or your ISO will be too high. For example, if you are photographing in low light condition and have set your aperture to f/18, then the camera will either have to raise your ISO really high to capture the image. Or if you have set a maximum on your ISO setting on your camera it will select a slow shutter speed. Anything less than 1/60 sec and your image will likely be blurred due to camera shake (unless you are using a tripod).
So if you are going to use aperture priority mode, make sure:
- Your shutter speed isn’t going to be too high
- Your ISO isn’t going to be too high (as this will mean noise in your image)
![]()
Shutter priority
The other element of the shutter opening and closing that is vital to photographs is how long the shutter remains open. Naturally, the smaller the opening is to allow light into the camera the longer it needs to stay open. For example at f/22, your shutter will need to stay open longer to allow enough light in to be able to capture the image. How long this time needs to be will be determined by the available conditions. If you are photographing in bright sunshine it would be less time. But in low light conditions, your shutter may have to remain open for seconds or even minutes!
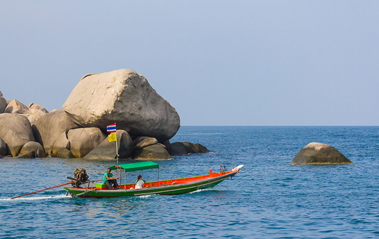
The other factor is what you are actually photographing. For example, a statue will not move so you can use slower shutter speeds to capture sharp images. Whereas if you are photographing a racing car you have to use faster shutter speeds to be able to freeze the action. So as you can see, there may be times where you will be more concerned about the shutter speed rather than the depth of field.
Shutter priority mode allows you to set your minimum shutter speed so that the camera will not select anything slower when you take a photo. But of course, this means that the camera will then select the aperture and ISO automatically (unless you have set a minimum ISO).
![]()
When would you use shutter priority mode?
This mode should be selected when your shutter speed is key to capturing a photo. This is generally when you are photographing moving subjects where you need to ensure that you have a shutter speed fast enough to freeze the action. Sport, wildlife and even people moving or dancing are all examples of when you will likely need to use shutter priority mode.
But as per aperture priority mode, shutter priority also comes with factors that you need to consider. For example, if you have set your camera at a fast shutter speed but there isn’t enough light, your camera will raise your ISO. But if it is too high, it will mean too much noise in your photos which will then make them look soft. Or the camera might choose a wider aperture (i.e. shallower depth of field) which might mean that your subject won’t be sharp.
So if you are going to be using shutter priority mode, make sure:
- Your ISO is not going to be too high
- Your depth of field (i.e. aperture) will allow you to capture the subject or scene in focus
![]()
Most cameras will allow you to set various factors such as maximum ISO even when using these modes. So, you can fine-tune your settings to ensure you can capture the image you want. Of course, it will take practice and you have to accept that you will end up with some blurred images. But if you can master these modes it will go a long way to ensuring you can capture great photos.
Photo credits: Kav Dadfar – All rights reserved. No usage without permission. Dreamstime.
Latest articles by Kav Dadfar (see all articles)
- How To Photograph Street Performers - April 26, 2022
- Profiled Photographers – Ben McKechnie - August 24, 2021
- Profiled Photographers – Jim Maher - August 24, 2021
is the founding editor of JRNY Travel Magazine as well as a professional travel photographer and writer based in the UK. His images have been used by clients such as Condé Nast, National Geographic, Lonely Planet, Rough Guides and many others. Kav is also the co-founder of That Wild Idea, a company specializing in photography workshops and tours both in the UK and around the world.
See All Articles by Kav Dadfar


Leave a Reply