For most landscape photographers, the holy grail is capturing amazing images of sunrise or sunsets. These are often the “wow” factor shots that will look great anywhere. From magazine spreads to prints on a wall. But capturing great sunrise or sunset shots isn’t easy or straightforward. But fear not as there are various ways in which you can ensure that your sunrise and sunset shots look stunning.
Find your location
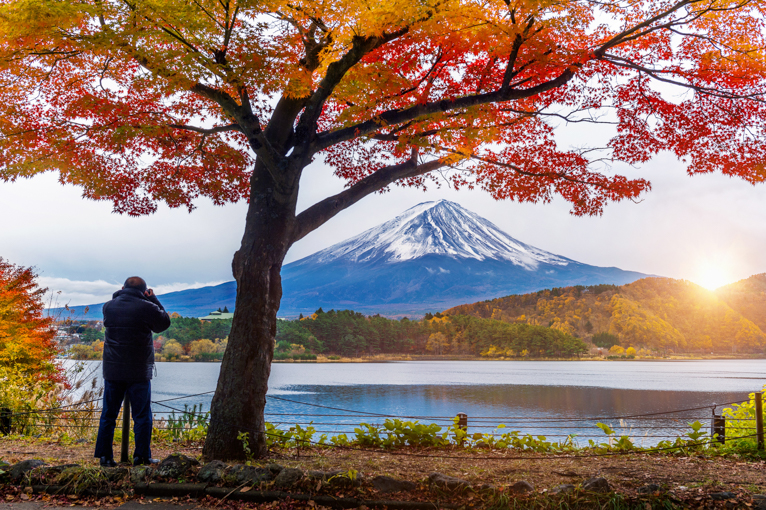
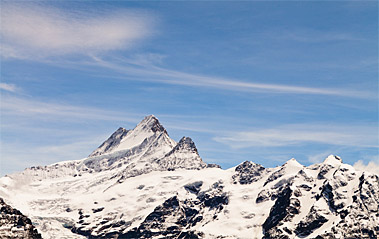
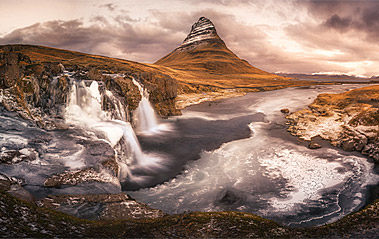
One of the biggest mistakes that people make when it comes to sunrise or sunset photography is to do with the location. I have seen endless photos of sunsets from the beach with no real point of interest. Frankly, they are pretty boring because let’s be honest sunrises and sunsets are not that exciting in a photo. What makes the scene spectacular is the elements within it or in other words points of interest.
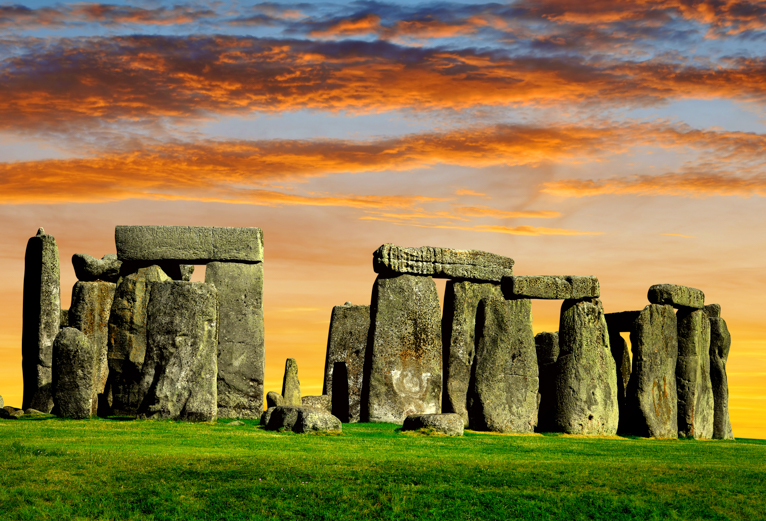
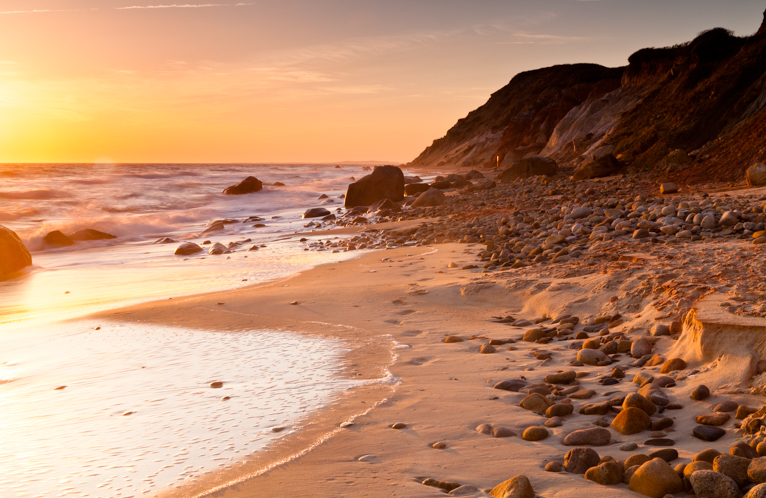
For example on a beach, this might be rocks in the foreground. So it’s really important to choose your location carefully. Try to think of the sunrise or sunset as the backdrop to the main focus of your scene. Whether that is a mountain range, a city skyline or even people.
You need clouds
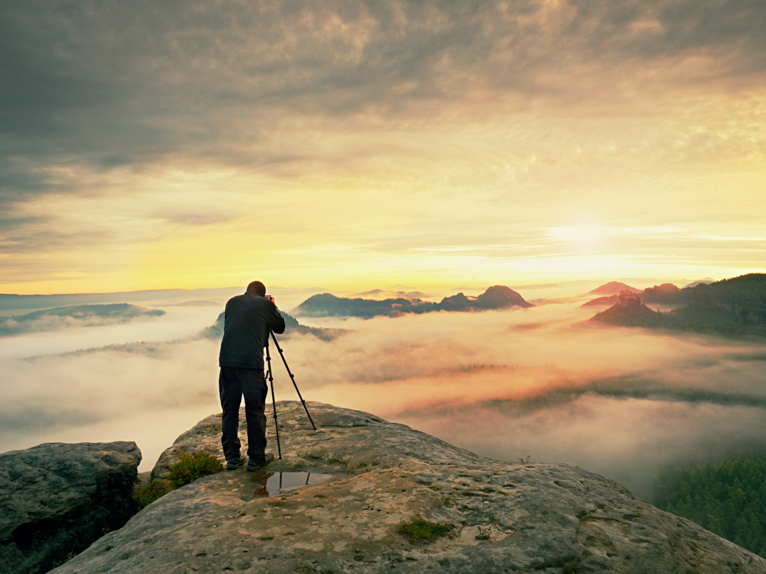
The best sunrise and sunset shots also unusually involve some clouds. Ideally, look for days where there is broken and scattered low or mid-level clouds. These conditions will mean that during sunset you get a beautiful sky when the colours from the sun reflect off the clouds. That is not to say you can’t capture a great sunrise or sunset shots when there are no clouds. You will just end up with a more interesting photo if there are clouds in the sky.
Obviously, this does mean that you will have to be lucky or more often, wait for the best conditions for photography. But this is exactly why these types of shots are so special because you may have to wait for them to happen.
Compose your shot like a painting
By this I mean you need to really think of every inch of your photo like a canvas. In a painting, you wouldn’t just leave a part of your image blank or just fill it with a random colour. That’s the same with sunrise and sunset shots. Try to examine every inch of the composition and place your element in relation to the sky. For example, if you have a dramatic sky and a boring foreground, place the horizon line lower so you are showing more of the sky. On the other hand, if you have got interesting elements in the foreground that can lead the viewer’s eyes into the horizon, show more of the foreground and less of the sky. As I mentioned above, try to use the sunrise or sunset as a backdrop to your image.
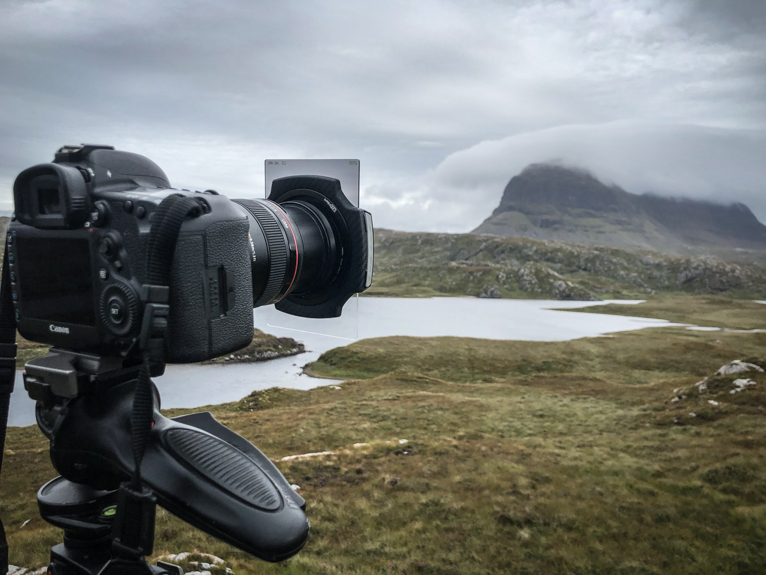
You need to use filters
Filters can be one of your biggest aids when it comes to sunrise or sunset shots. These times of the day present big challenges in terms of getting your exposure right. Because you are dealing with a bright sky and a dark foreground, you might find either your shadows or highlights being clipped. If you expose for your sky, your dark areas will suffer and if you expose for the shadows your highlights will be blown out. This “clipping” occurs when there are no pixel details in these areas so you end up with pure white in bright areas or black in dark areas.
You can of course bracket your shots and merge them together in post-production. But I prefer getting my shots correct in post-production which means using Graduated Neutral Density filters. By darkening the sky without affecting the foreground you can get a more even exposure across your image. Not only will this make your photos look better but will enhance the colours and contrast of the scene.
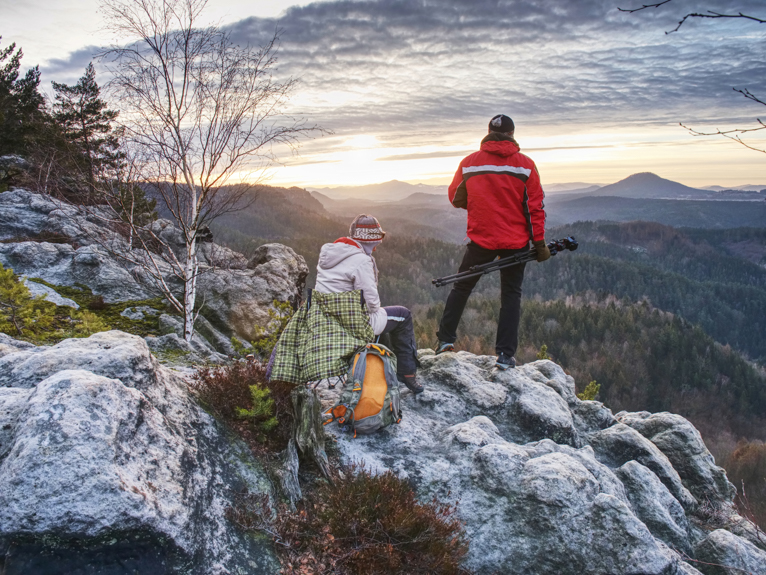
Arrive early, stay late
How often have you turned up at a location just as it’s getting to sunset, taken a few shots and then left? If this sounds like you then you are potentially not getting the most out of a location and shoot. One of the best ways to improve your sunrise or sunset shots or in fact all photography is to take your time. The more time you have at a location, the more you can look around and try out different compositions until you find the one that you feel works best.
Of course, for a sunrise shot this might mean arriving in the dark, so if possible scout the location out the day before so that you can turn up ready. But don’t just pack up and head off once you have captured your shot. Explore the scene further to see if you can find other interesting compositions or angles. Even if the time isn’t right at that point, you’ll then have other spots that you can come back to another time. Very rarely do I ever find that my best shots from a new location I haven’t been to before are from a spot that I first envisioned taking a shot from.
Sunrise and sunsets photos have the power to captivate the viewer. You are reliant on the weather conditions but if you are willing to do your research and plan your shoot accordingly, and use the tips above, you may just end up with some of the most stunning photos you have ever taken.
Photo credits: Kav Dadfar – All rights reserved. No usage without permission.
Latest articles by Kav Dadfar (see all articles)
- How To Photograph Street Performers - April 26, 2022
- Profiled Photographers – Ben McKechnie - August 24, 2021
- Profiled Photographers – Jim Maher - August 24, 2021
is the founding editor of JRNY Travel Magazine as well as a professional travel photographer and writer based in the UK. His images have been used by clients such as Condé Nast, National Geographic, Lonely Planet, Rough Guides and many others. Kav is also the co-founder of That Wild Idea, a company specializing in photography workshops and tours both in the UK and around the world.
See All Articles by Kav Dadfar


Leave a Reply