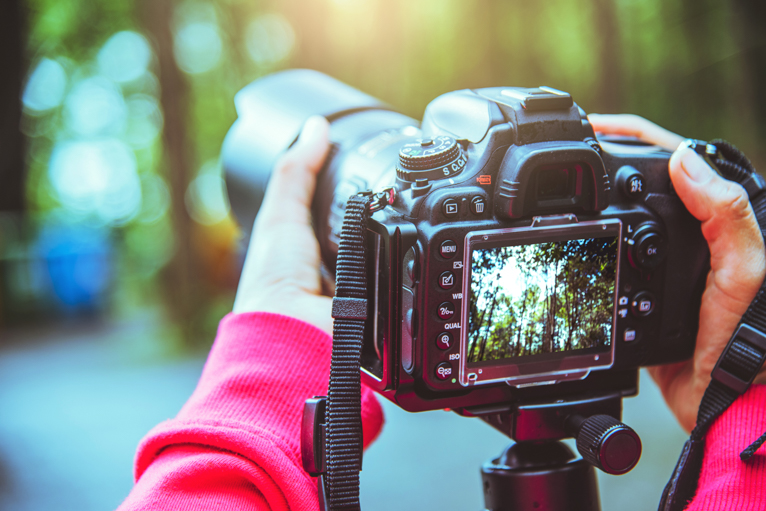
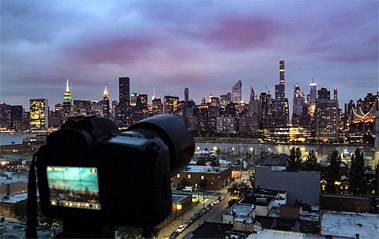
Any outdoor photographer will tell you that a successful photo will often require more than just turning up to a location that you have researched, setting up a camera and taking some photos. If you really want to capture great travel photos – whether that is to sell or to hang on a wall, then you need to actively think of ways to give your photo that little bit extra. So here are a few tips to help you improve your travel photos whatever location you are at.
Don’t take any photos
You are probably thinking that I have lost my mind so let me elaborate… Often one of the biggest mistakes that I see people make in my photography workshops is rushing to take photos when we get to a location. If you ever watch tourists when they arrive at say a landmark, they do exactly the same thing. They take a few quick photos and move on. So, my first advice to anyone wanting to improve their photos at any location is to just pause for a few minutes and look around.
Granted that there might be occasions that there is a fleeting moment or a beautiful light that won’t be around for long. In these situations snap away. But when you have finished don’t move on. Go back to the beginning and look. If you get into the habit of getting to a location and just waiting for the right moments, you will find that you are far more likely to capture great photos. Spend the time to visualise the shot in your mind and work out your settings. You may just find that you are surprised by the results you end up with.

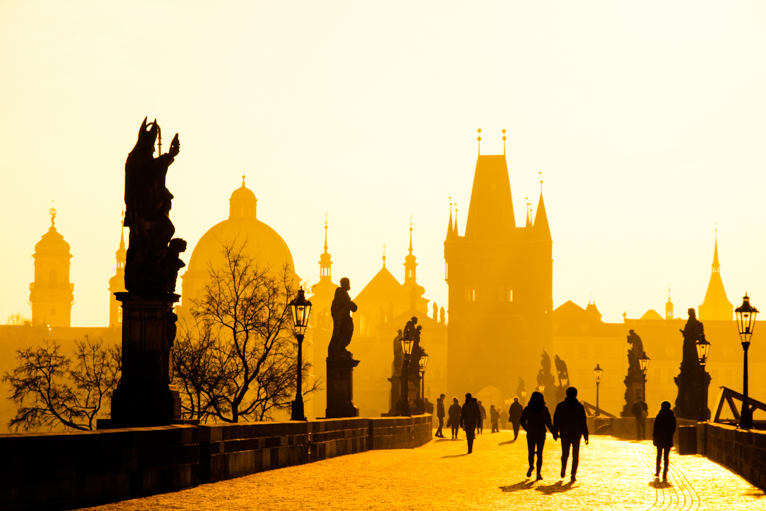
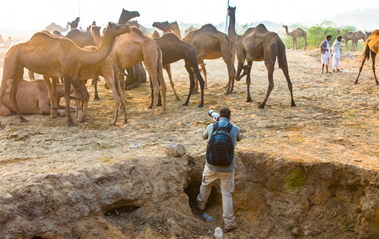
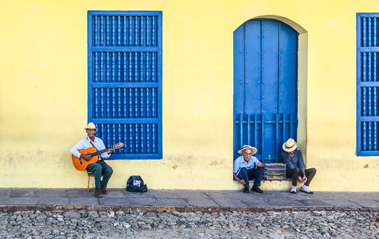
Look for people
When I look at my travel photos, by far and away my most popular and best-selling shots have people in them. This is something that is often backed up by photo editors that I work with. They regularly tell me that the types of shots they are looking for are the “untouristy” photos. It is really difficult in this age of digital photography to capture anything unique enough that doesn’t look like a tourist photo.
Including people in your shots can really help do this as it’ll be very rare to have the same type of travel shot with the same person in. So naturally by including a person you are making that photo unique. But including a person in your composition doesn’t just mean head and shoulder portraits. It could be a slow exposure by someone walking across your shot. Or it could be someone in the distance. Next time you are at a location try to think of ways of including someone in your photo.
Look beyond “eye-level”
Every photographer is guilty of taking photos primarily at eye level. It’s the natural thing to do and I myself am probably as guilty of doing this more than I should. But if you can learn to take photos beyond this view you will be astonished by some of the results that you’ll get. All digital cameras these days have LCD screens with “live-view” mode. Some also have tilt screens that make it so much easier to take shots at different heights.
So, instead of just taking photos at eye level, set yourself a target of taking a high shot where you hold your camera above your head as high as you can and take a photo. Then do the same as low as you can close to the ground where it will automatically create a foreground in your shot. These types of angles are rarely seen and if you execute them well can look fantastic and very unique.

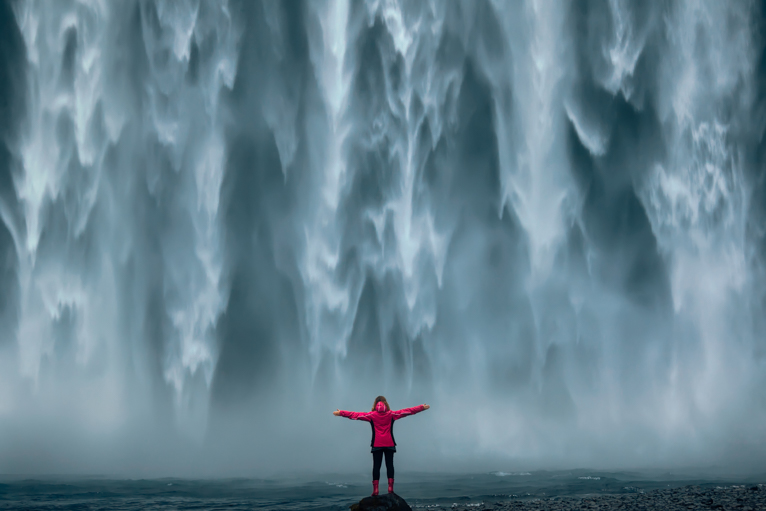
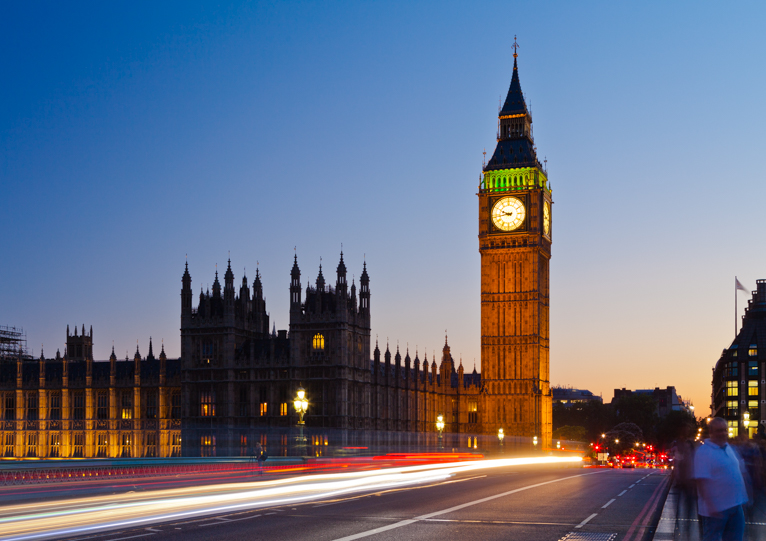
Go slower
Another really great way to take your photos to another level is to experiment with your shutter speed. Slower shutter speeds are only possible by using a tripod, but often what they offer is the ability to add movement to your photos. This can add things like light trails from cars, blurred movement of people, clouds, water or even structure like Ferris wheels. This movement can add colour but also it will make a photo feel much more dynamic and alive.
Another benefit of using slow exposure is that you can often make an image cleaner by blurring some of the people or cars in the shot. This is one of the main reasons that often landscape photographers use this method of photography to smooth out water in coastal scenes. The same can be done in places like cities where the long exposure can mean some people and cars don’t appear in the image.
Wait for the “bad” weather
Is there such a thing as bad weather for photography? Whilst conditions might not be ideal, I believe you can take photos anytime. You may just have to work harder to find interesting subjects and compositions to make up for the lack of good light. But often weather conditions such as storms, fog and mist can really help enhance a photo to something extraordinary. So, a great habit to get into as to be ready to go and shoot somewhere when these conditions arise. For obvious reasons, this is much easier to do in places that are near you. But if you do happen to be away and these kinds of weather condition occur, don’t despair, grab your camera and head outside.
For example, if there has been recent rainfall, look for reflections on the ground and water droplets on windows that can add a really great story to an image.
Capturing great travel photos requires some luck but also hard work. The research and planning prior to visiting anywhere are essential. But nothing beats getting somewhere in good time and spending a bit of time exploring and composing shots in your head. But even then be willing to try new things, whether it be interesting angles, techniques or exposures. You might just be surprised by the results.
Photo credits: Kav Dadfar – All rights reserved. No usage without permission. Dreamstime.
Latest articles by Kav Dadfar (see all articles)
- How To Photograph Street Performers - April 26, 2022
- Profiled Photographers – Ben McKechnie - August 24, 2021
- Profiled Photographers – Jim Maher - August 24, 2021
is the founding editor of JRNY Travel Magazine as well as a professional travel photographer and writer based in the UK. His images have been used by clients such as Condé Nast, National Geographic, Lonely Planet, Rough Guides and many others. Kav is also the co-founder of That Wild Idea, a company specializing in photography workshops and tours both in the UK and around the world.
See All Articles by Kav Dadfar

Leave a Reply