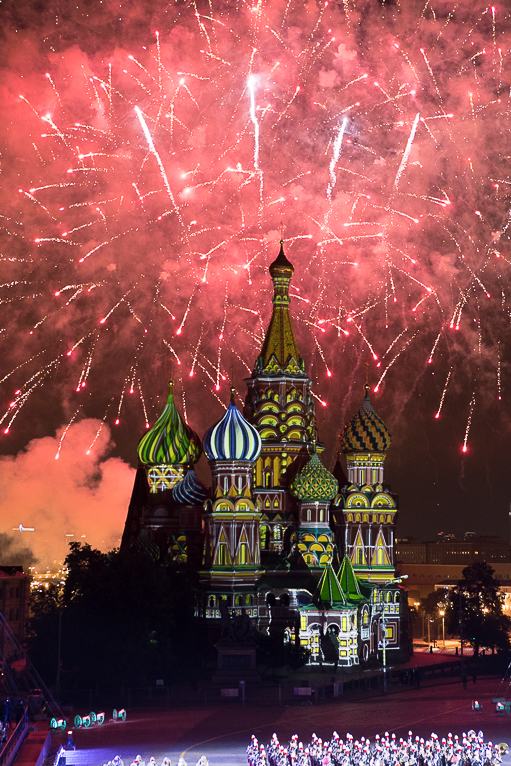
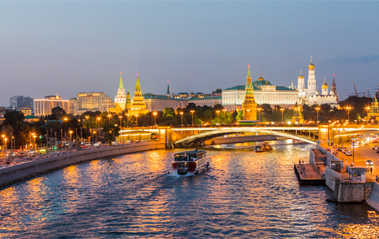
Most travel and landscape photographers would put a tripod on the top of their favourite list of accessories. It’s with good reason as a tripod gives you so much flexibility when it comes to taking photos. From being able to use slower shutter speeds to lower ISO, if you want to get the best quality photos at the best possible time, often a tripod is a must.
But there might be times when you don’t have a tripod with you, or possibly not allowed to use one. In those situations, you will need to find a different way to be able to take photos. So here are 6 tips to help you shoot in low light without a tripod.
1. Use A Wider Aperture
Depending on what you are photographing your first attempt at being able to photograph in low light could be to use a wide aperture (if you are not already). Basically, the more light you can get into the camera in these situations the better it will be. So, a wider aperture like f/3.5 or f/2.8 will give you that. Seems logical right? But there is a compromise with using a wide aperture.
The wider your aperture is, the shallower your depth of field will become. So, in other words, if for example, you are photographing a landscape scene you will find that not all your image will be sharp. Clearly, for something like landscape photography, this is an issue as you’ll need to try and keep the scene sharp all the way through. But if you are taking a portrait of someone where you only need their face in focus, you can use a shallower depth of field.
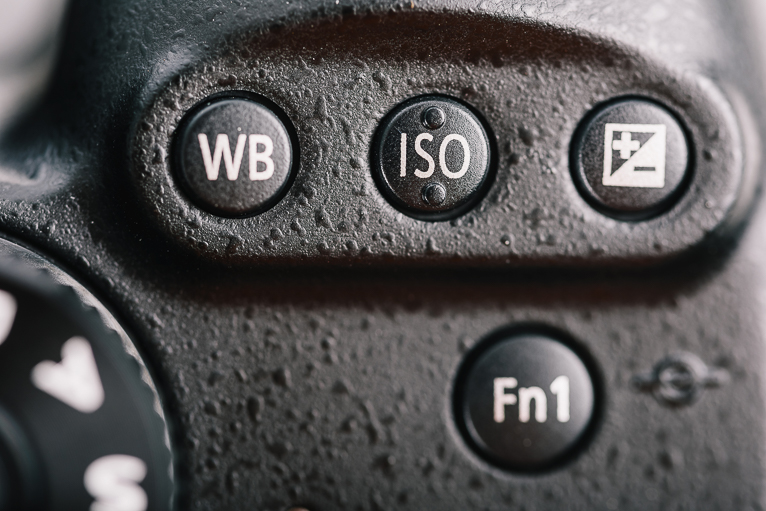
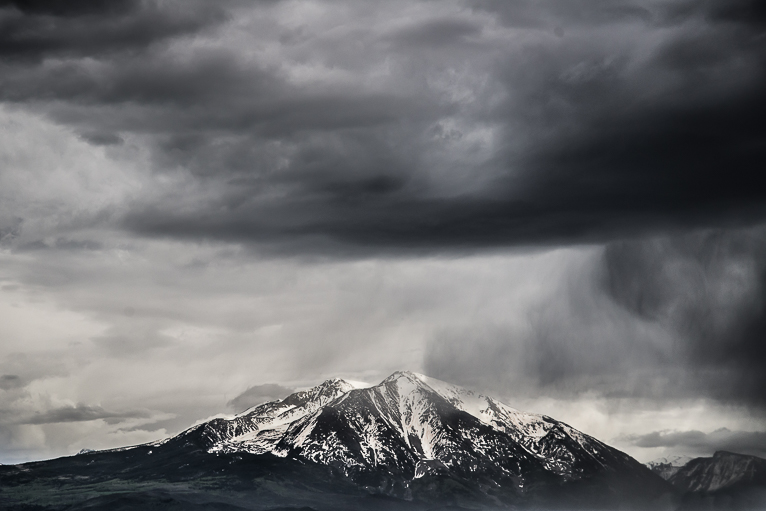
2. Bump Up Your ISO
Sometimes you may be able to get around the issue of low light by using a wide aperture. But as explained above in some cases like landscape photography you need a greater depth of field to ensure that your image is sharp throughout. In these scenarios, you have no choice but to raise your ISO to be able to have a shutter speed fast enough at smaller apertures.
But be very careful when raising your ISO. The higher it is the more noise you will get in your photos which in turn means your photo will lack sharpness. Remember that different cameras produce different levels of noise. It’s worth testing your camera at high ISO to see what level is acceptable.
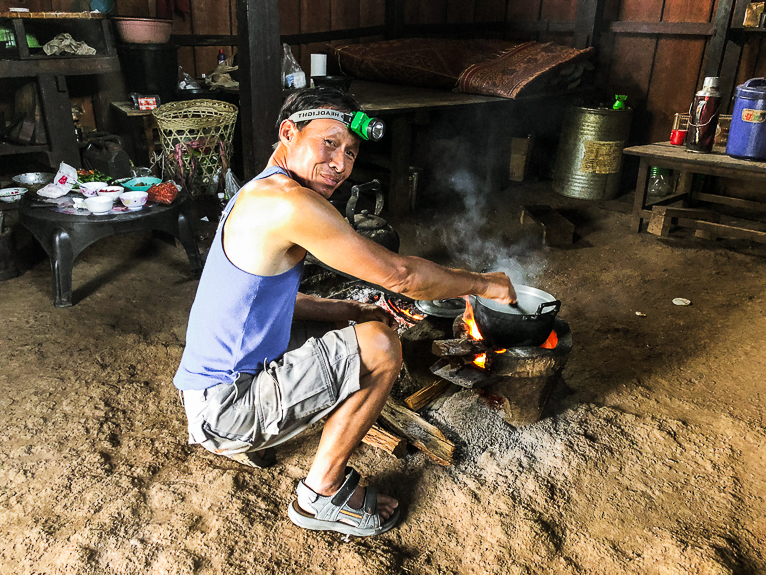
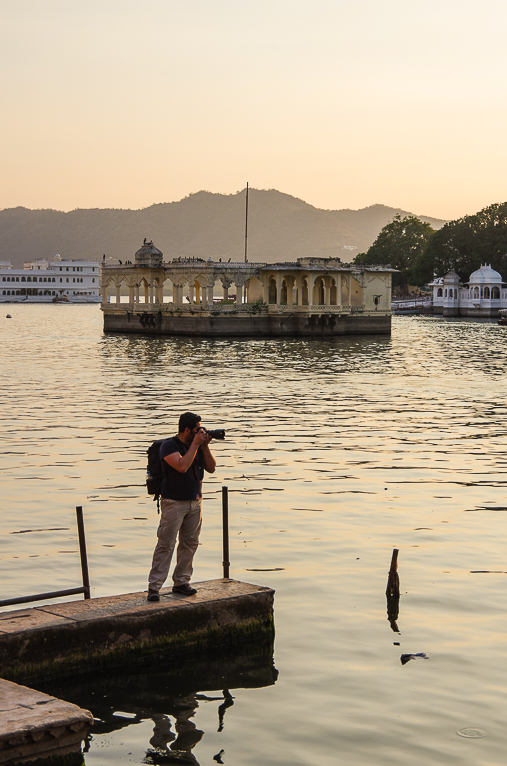
3. Find A Resting Place
One of the key attributes a photographer needs to have is to be able to solve problems. Sometimes the problem might be to do with the photo itself. Like for example, the composition doesn’t work. Or it could be that the light isn’t right. Shooting in low light conditions is another one of these issues that need to be solved.
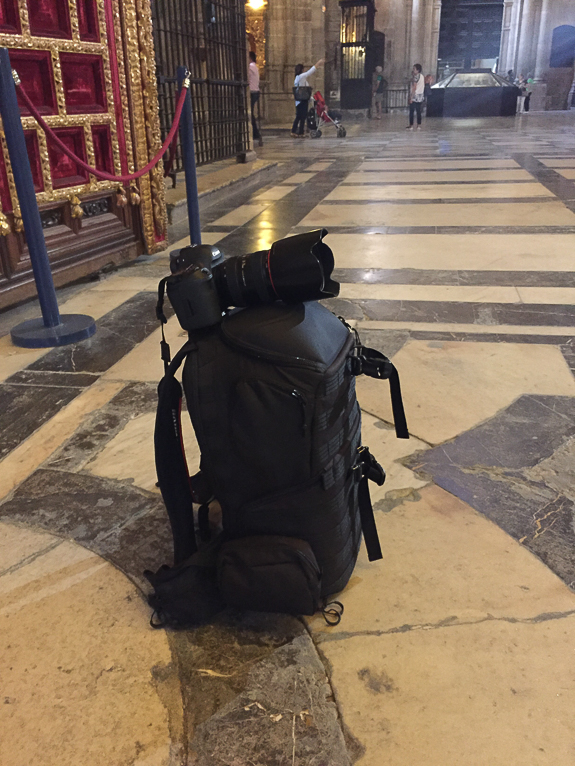
If you can’t have a tripod or don’t have one with you, then you need to work out the best way to shoot a scene without one. Often one of the best ways to do this is finding something that you can put your camera on. It might just be that you can place it on the floor or on a ledge. Or if you are creative in your thinking even using something you have with you like a camera bag.
If you can do this then it means you can take your photos at the ideal depth of field and shutter speed with the lowest ISO possible.
4. Use Burst Mode
Most cameras these days have a burst mode. This is when the camera rattles off multiple frames in a second. Some more advanced DSLRs will also have a high-speed burst which works even faster. Generally, you will probably find that when you are using slower shutter speeds, the first shot you take suffers from a bit more camera shake that the shots that follow. This often because you don’t have your initial hand movement of pressing the shutter button.
If your camera has burst mode or high-speed burst mode, then switch this on if shooting handheld in low light. It might just help you capture a photo which is sharper than you would be able to take with a single shot. But keep in mind that burst mode will often use up more battery power and will obviously fill up your memory card quicker. So, make sure you carry spares with you.
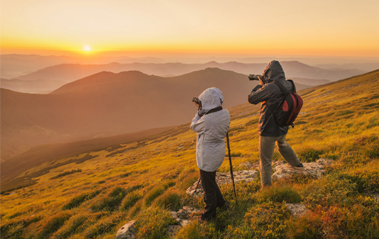
5. Get Your Stance Right
Another good tip for photography in general but especially for low light photography is to make sure you get your stance correct. For example, if you stand up with your elbows up and pointing out and you will be unstable. Instead by standing with your elbows down by your side and tucked into your body, you’ll find yourself being steadier.
Or for example, if you kneel on one knee and rest your elbow onto your knee you will again be less likely to suffer from camera shake. Finding something to lean against might also help you keep the camera steadier than standing up straight.
It’s important to learn and use the correct stance when photographing. So spend time learning and practising it.
6. Underexpose Your Shot
I said earlier that as a photographer you have to solve problems. But you also need to learn what compromises you can make in order to capture a photo. Everything you do to the elements in the exposure triangle affects something else. For example, one way to get around the issue of a slow shutter speed in low light photography is to underexpose your image.
People will vary in how steady they can hold a camera. Some people can hold a camera steady at 1/60 second, whilst for others, the slowest might be 1/100 second. If you find that your shutter speed is just below your minimum, by underexposing your image by one stop, you might see your shutter speed become faster. Yes, your image is going to be underexposed but you can then brighten it up in post-production. But you won’t be able to recover a blurred image.
Just be very careful how much you underexpose your shot. If it’s too underexposed then when you brighten it up in post-production you will end up with a lot of noise and an image that lacks sharpness.
There is no substitute for using a tripod when it comes to low light photography. But at times when it isn’t possible these tips might help you capture the image you want. It might be that you have to use a combination of them to achieve the photo that you want. But always just be aware of the consequences and compromises you may have to make.
Photo credits: Kav Dadfar – All rights reserved. No usage without permission. Dreamstime.
Latest articles by Kav Dadfar (see all articles)
- How To Photograph Street Performers - April 26, 2022
- Profiled Photographers – Ben McKechnie - August 24, 2021
- Profiled Photographers – Jim Maher - August 24, 2021
is the founding editor of JRNY Travel Magazine as well as a professional travel photographer and writer based in the UK. His images have been used by clients such as Condé Nast, National Geographic, Lonely Planet, Rough Guides and many others. Kav is also the co-founder of That Wild Idea, a company specializing in photography workshops and tours both in the UK and around the world.
See All Articles by Kav Dadfar


Leave a Reply