Introduction
In June of 2016, I decided to expand my photography hobby – moving into deep sky photography (astrophotography). This required that I purchase a telescope (serving as the camera lens) and a German Equatorial mount to position the telescope. I decided that I would continue using my Nikon D7200 camera. (I have a complete list of my equipment at the end of this article).
Over the next 15 months, I have spent many hours under dark skies, photographing numerous deep sky objects. I learned new techniques for capturing the images and subsequently post-processing them, creating beautiful deep sky images.
Over this period of time, I was able to identify a shortcoming with using a stock DSLR camera – it is equipped with a UV/IR blocking filter, which only allows a fraction of the H-alpha (red nebulosity) bandwidth to reach the sensor. This bandwidth is not needed for regular photography.
I wanted to continue using the D7200 camera because of my familiarity with it, as well as being able to utilize all the accessories specific to this camera. For this reason, I purchased another D7200 camera, equipped with the H-alpha conversion by LifePixel, which will be dedicated to astrophotography.
After receiving the new camera…
I set out to compare the differences between a stock D7200 and the modified D7200 (with H-alpha conversion). I set both cameras to the same settings, turned on Long Exposure Noise Reduction, and set the High ISO Noise Reduction to normal.
Since I was taking the images in my driveway, I utilized a light pollution reduction filter on the telescope. I mounted the stock camera to the telescope and captured 10-minute exposures (ISO 1600) of (5) different objects. I then mounted the modified camera and captured 10-minute exposures (ISO 1600) of the same objects. The images (included in Figure 1) are as they came out of the cameras, without any processing.
Test Results
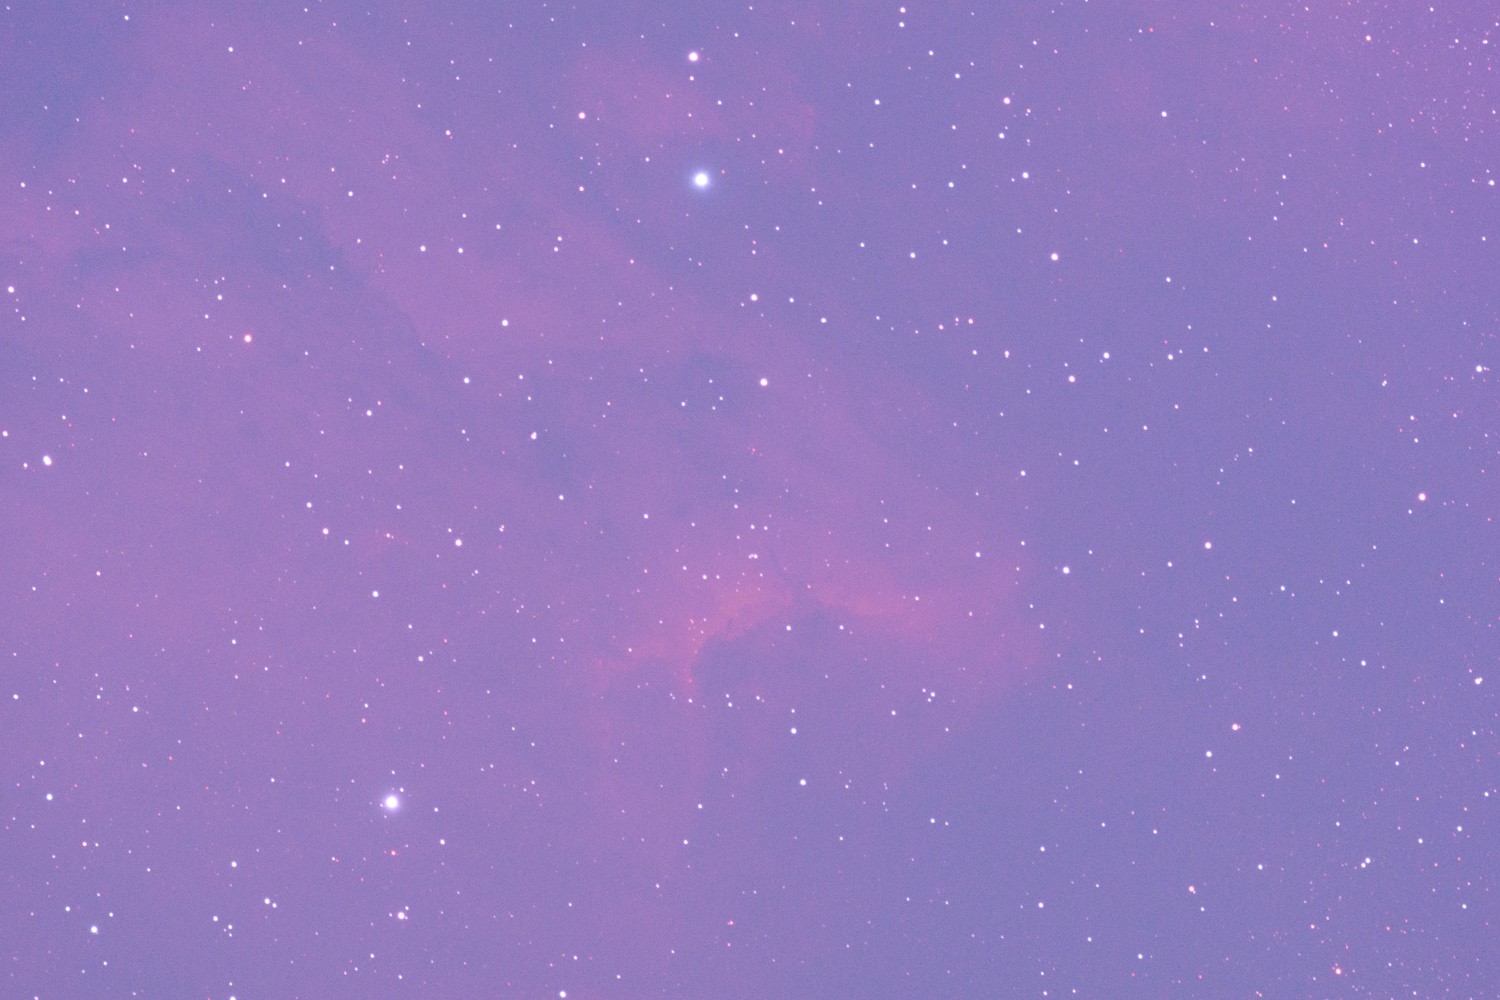
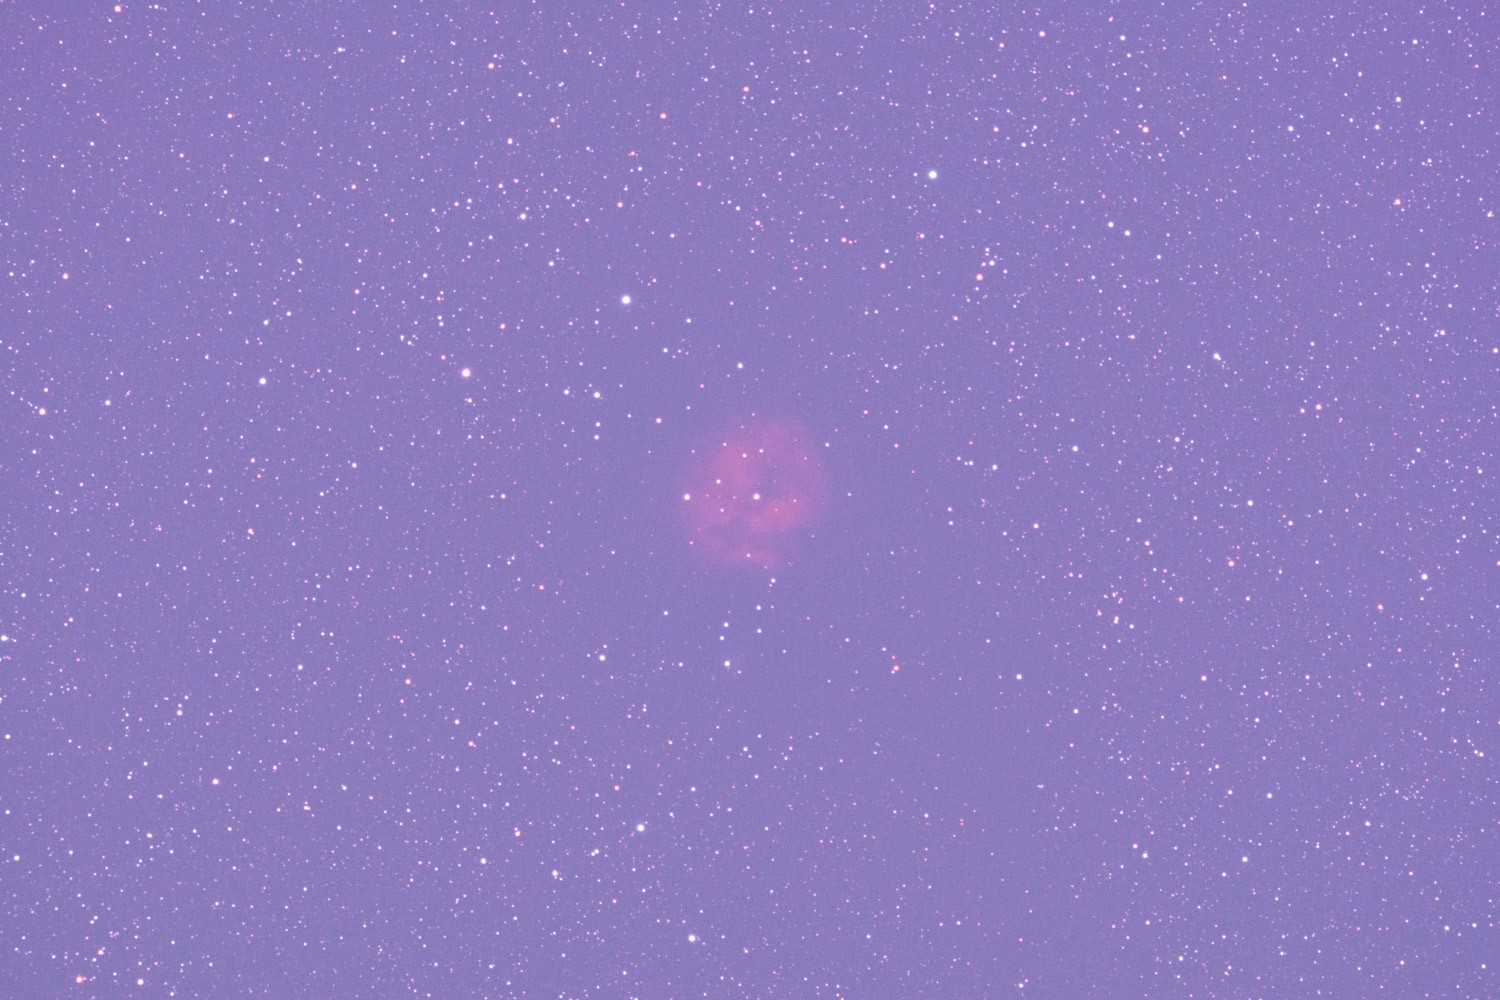
Examining the Stock D7200 camera images, the background is blue, but there is virtually no visible nebulosity. The Modified D7200 camera images have a magenta cast in the background, but the nebulosity is definitely visible.
| Stock D7200 Camera | Modified D7200 Camera | |
| IC5070 | 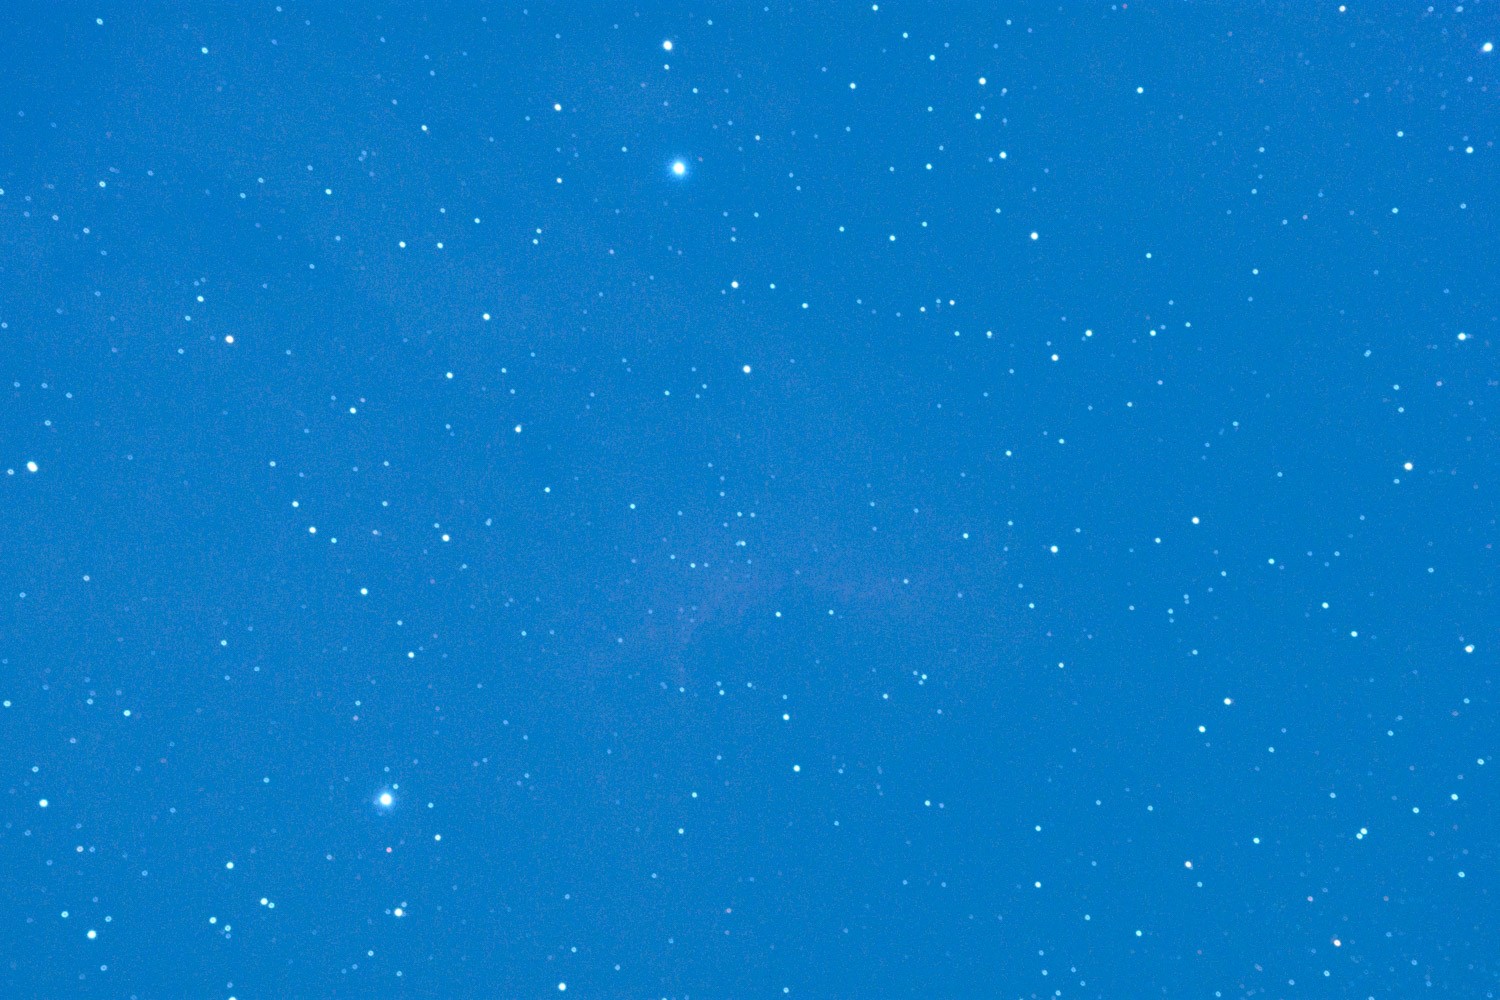 |
 |
| IC5146 | 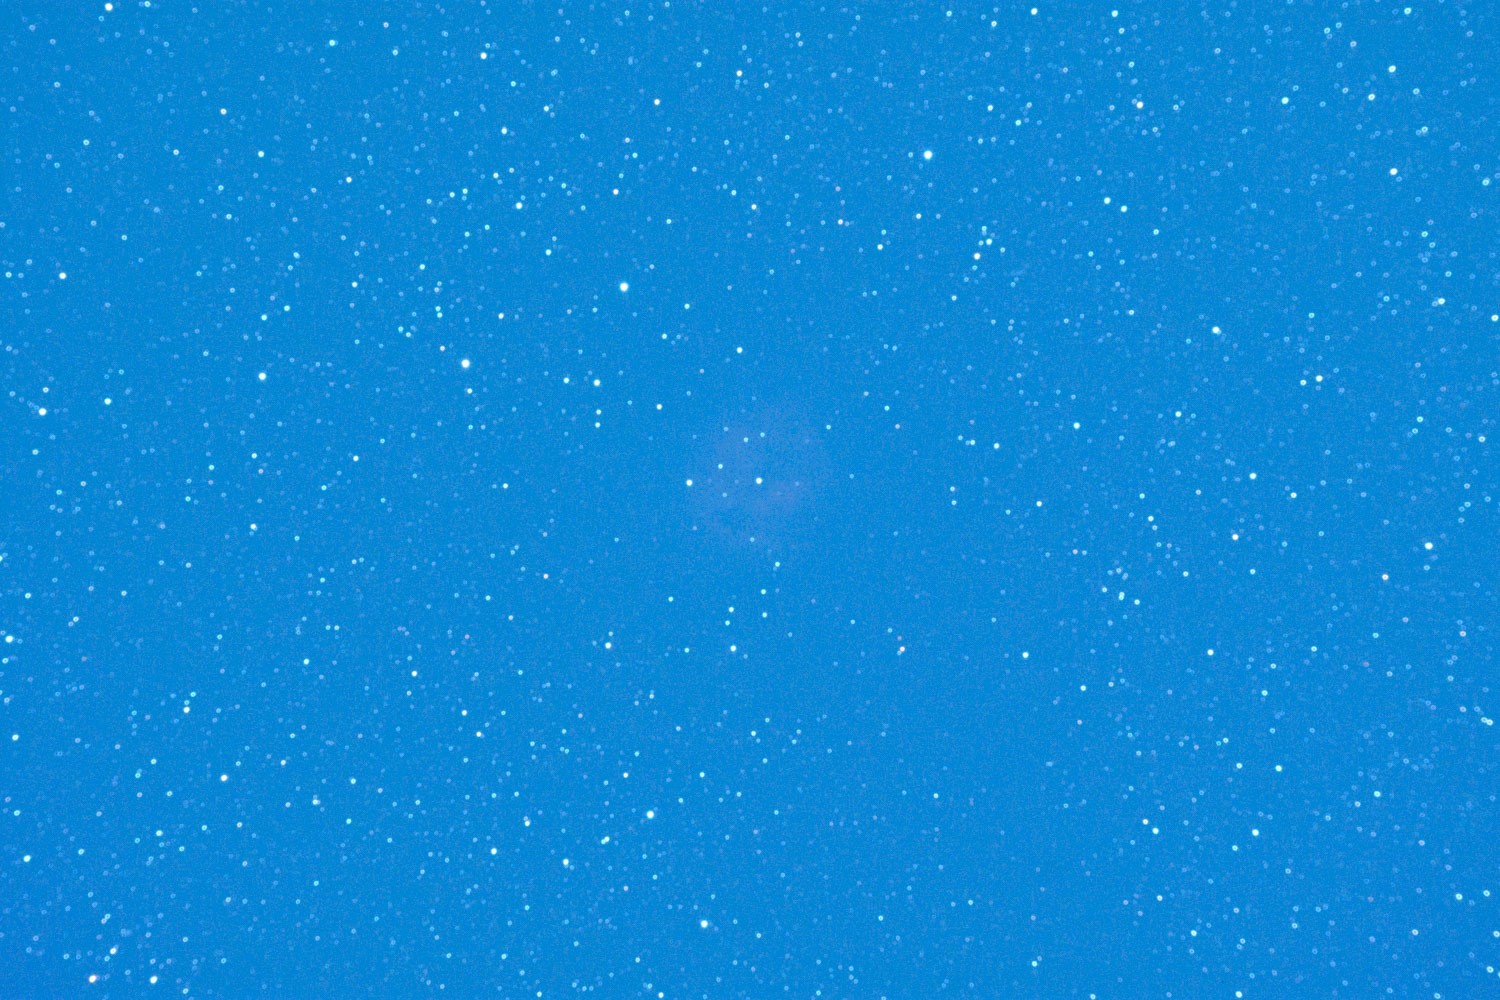 |
 |
| NGC281 | 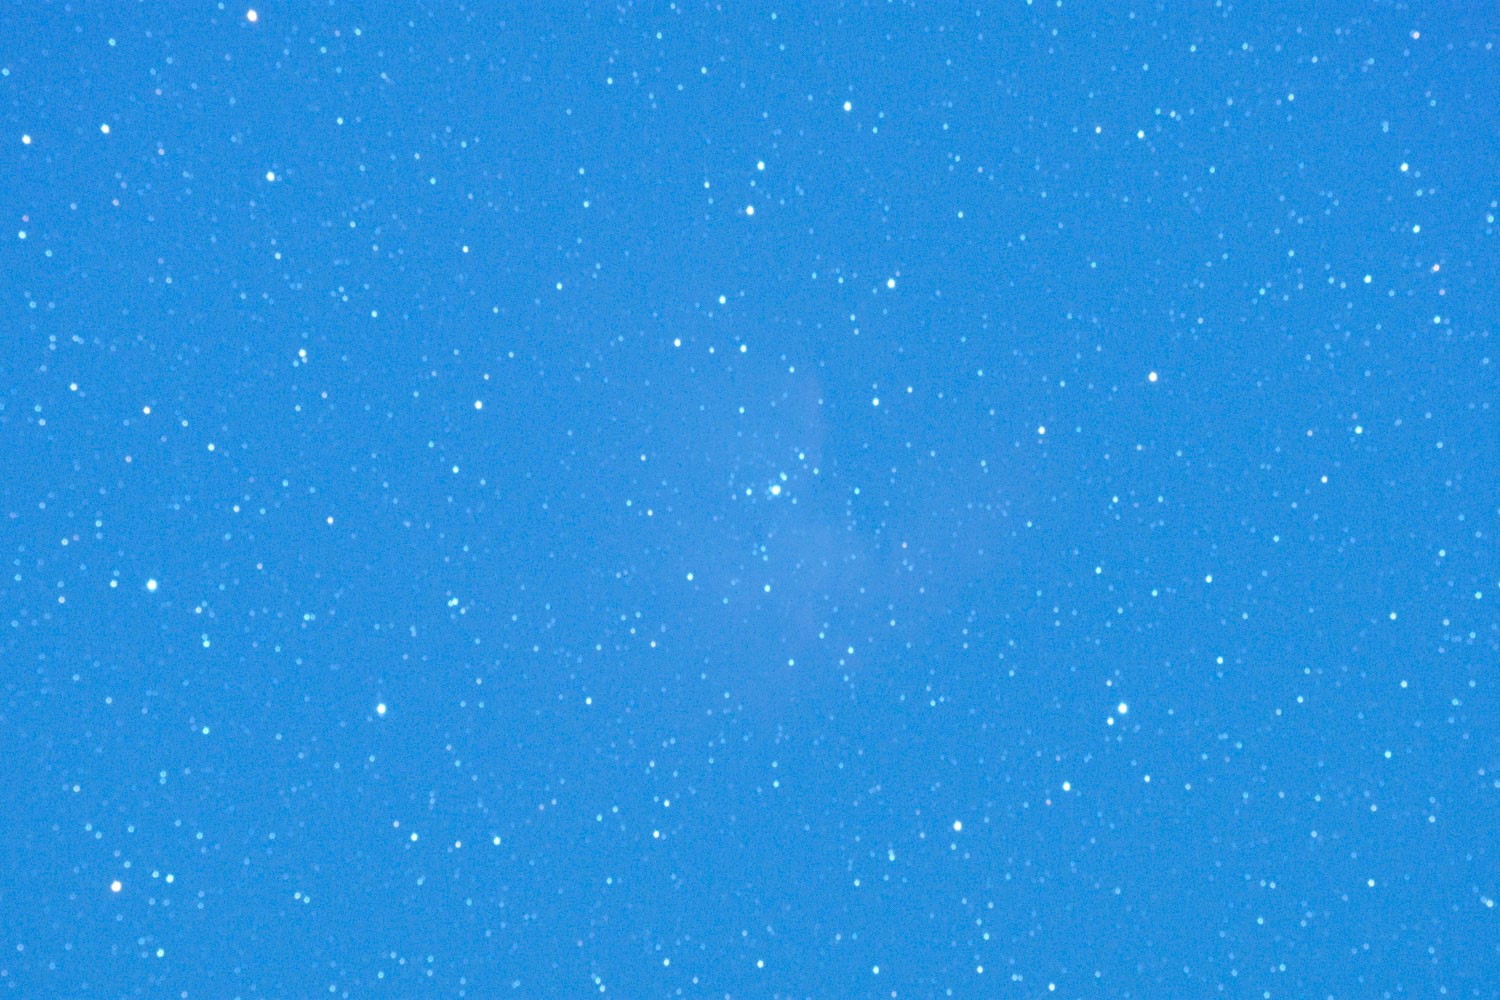 |
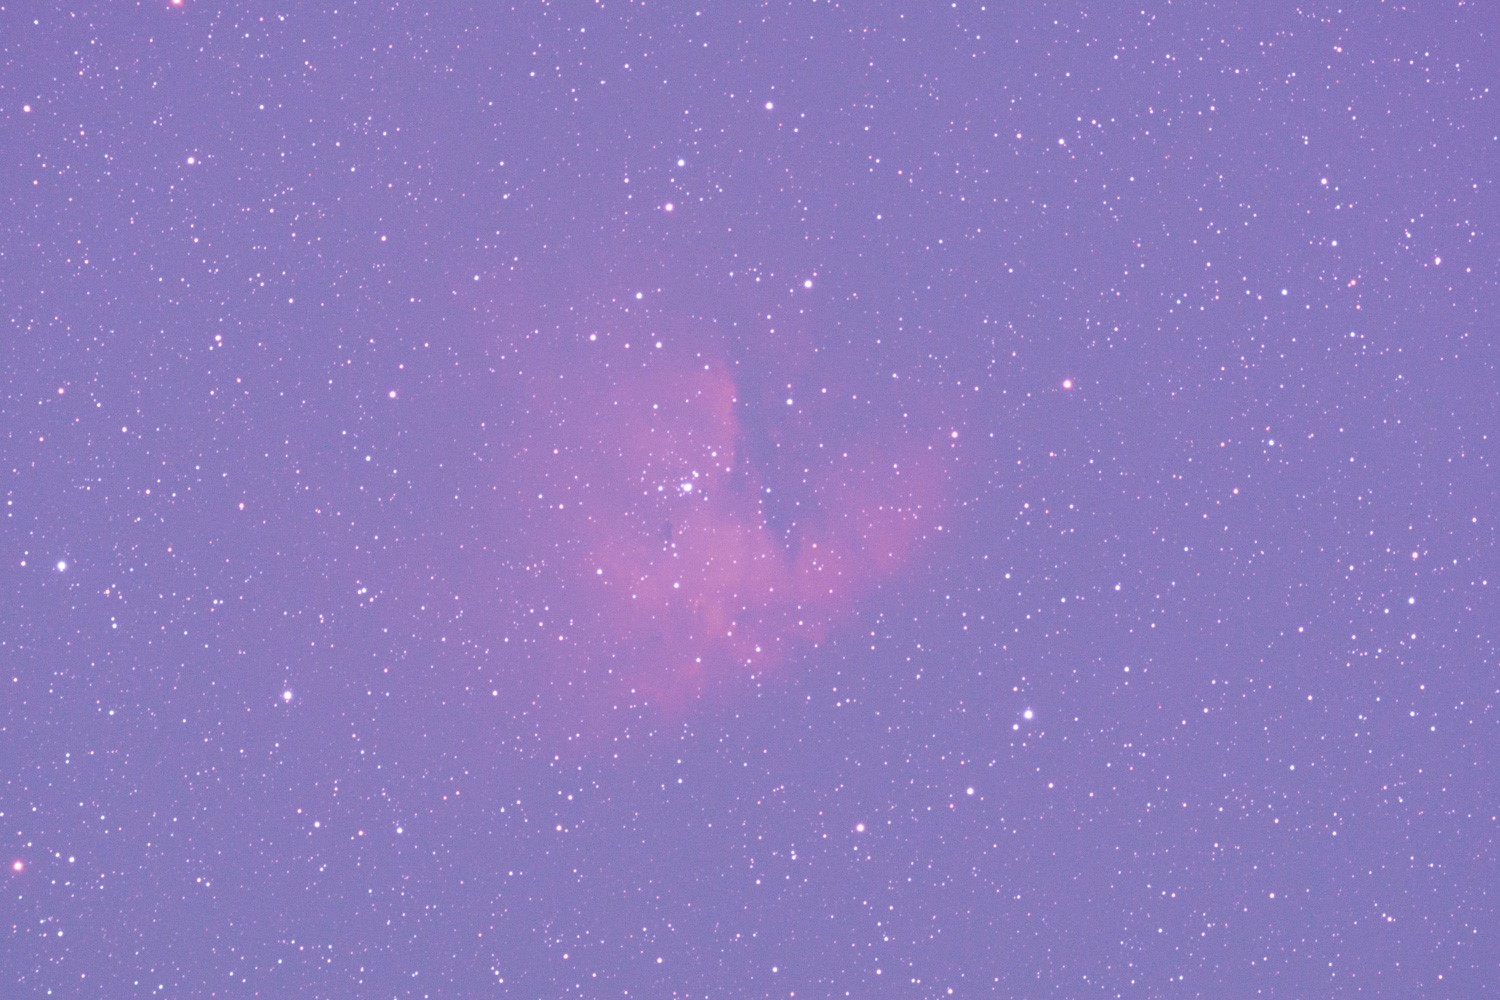 |
| NGC6960 | 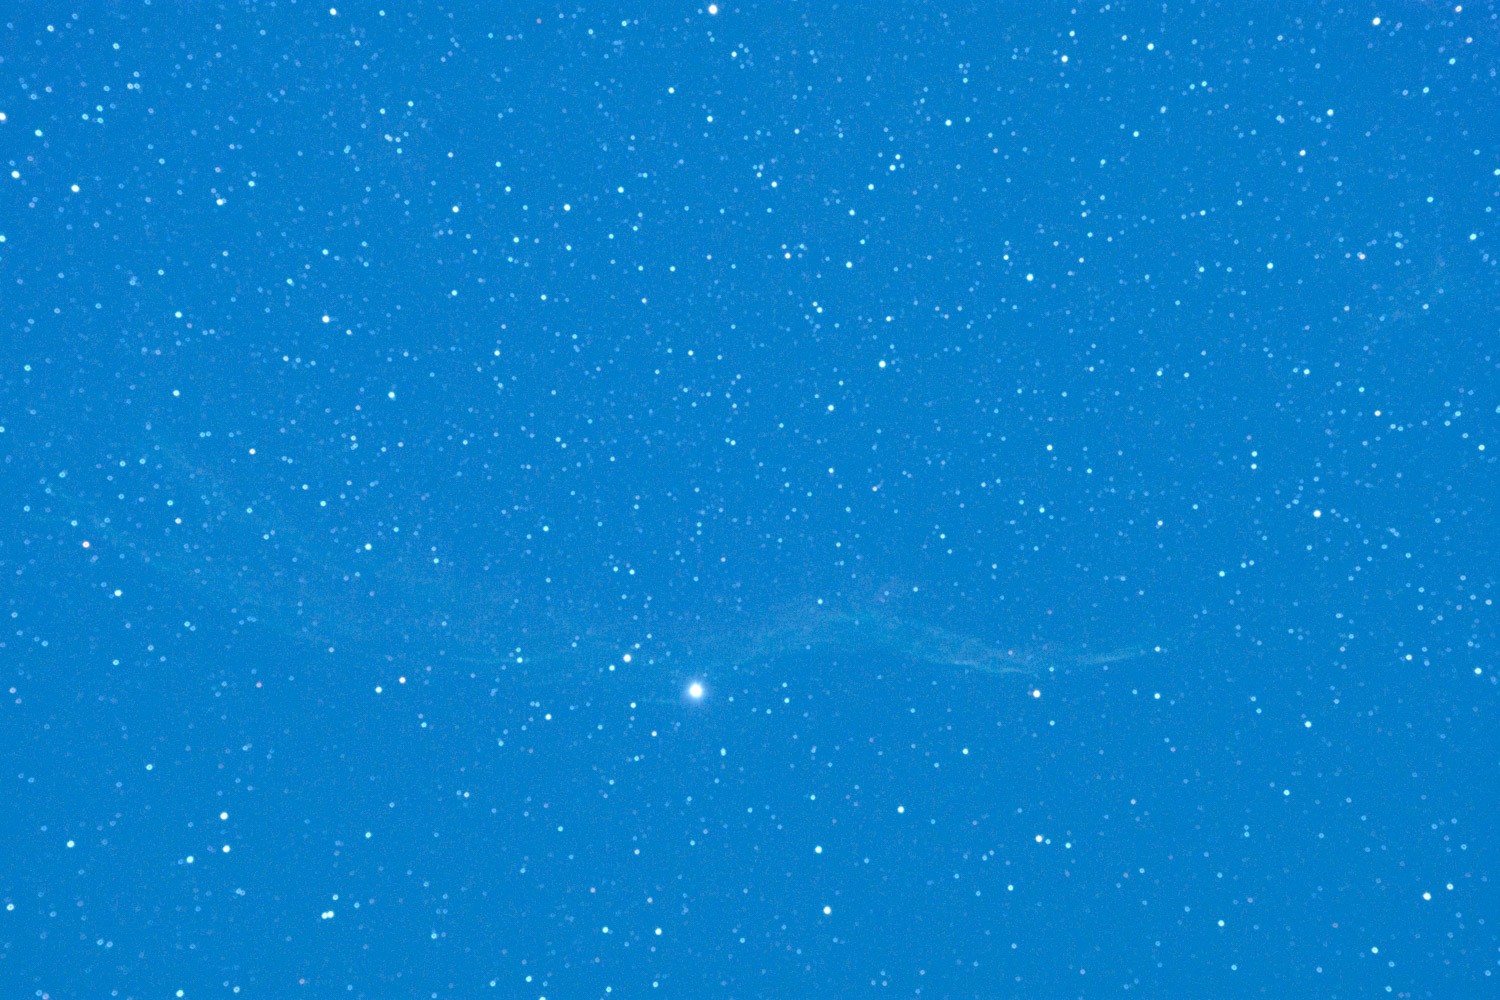 |
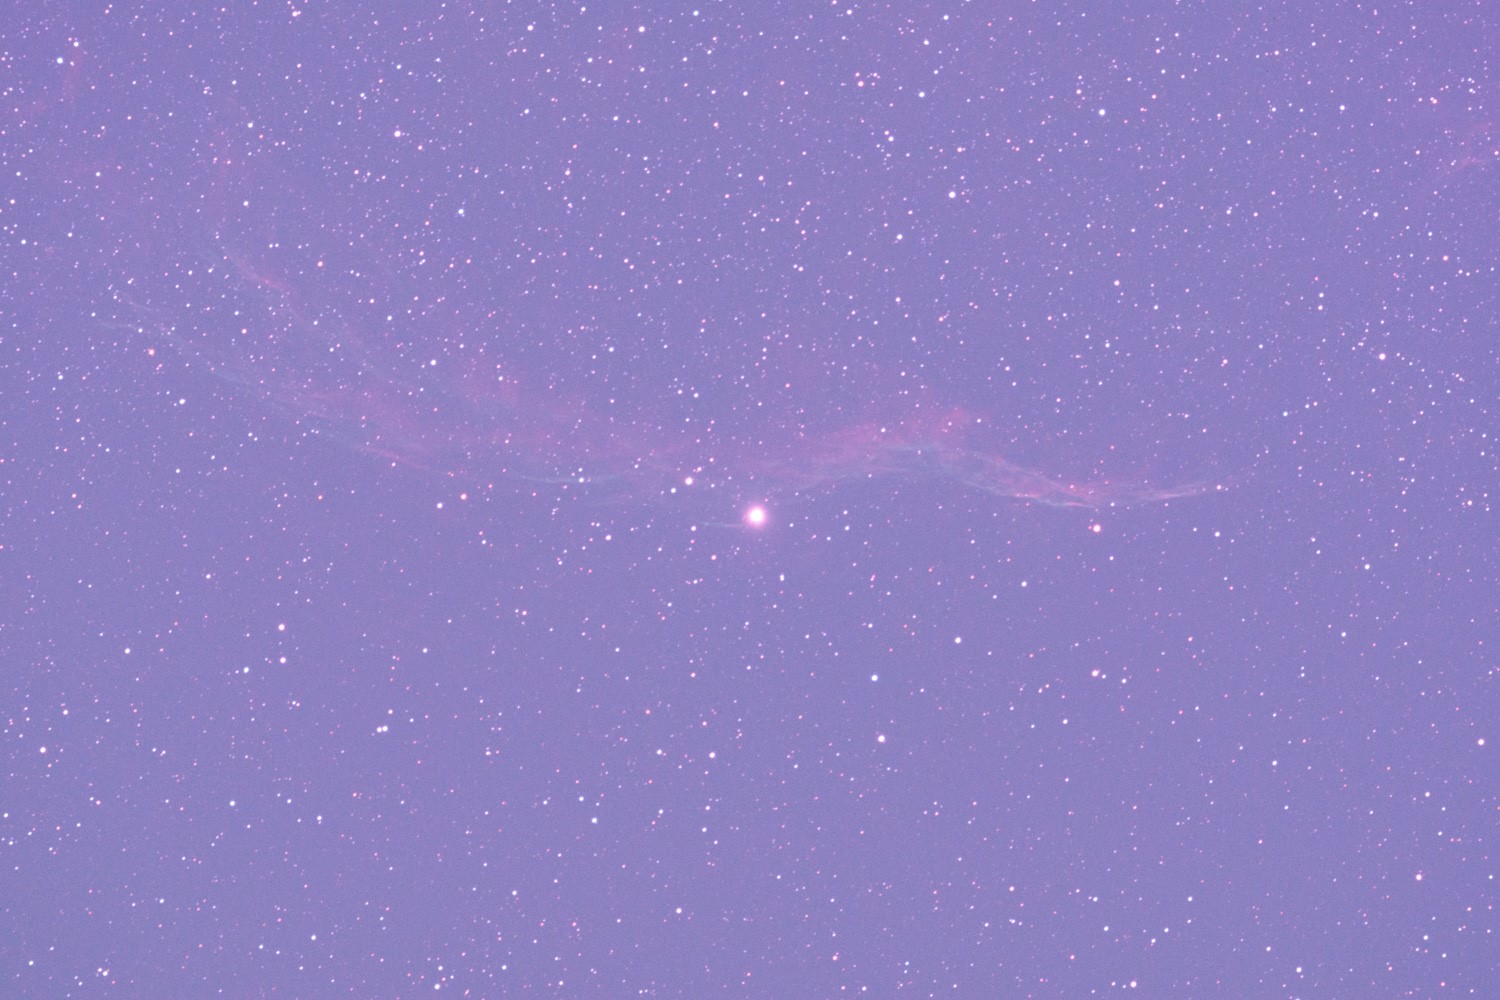 |
| NGC7380 |  |
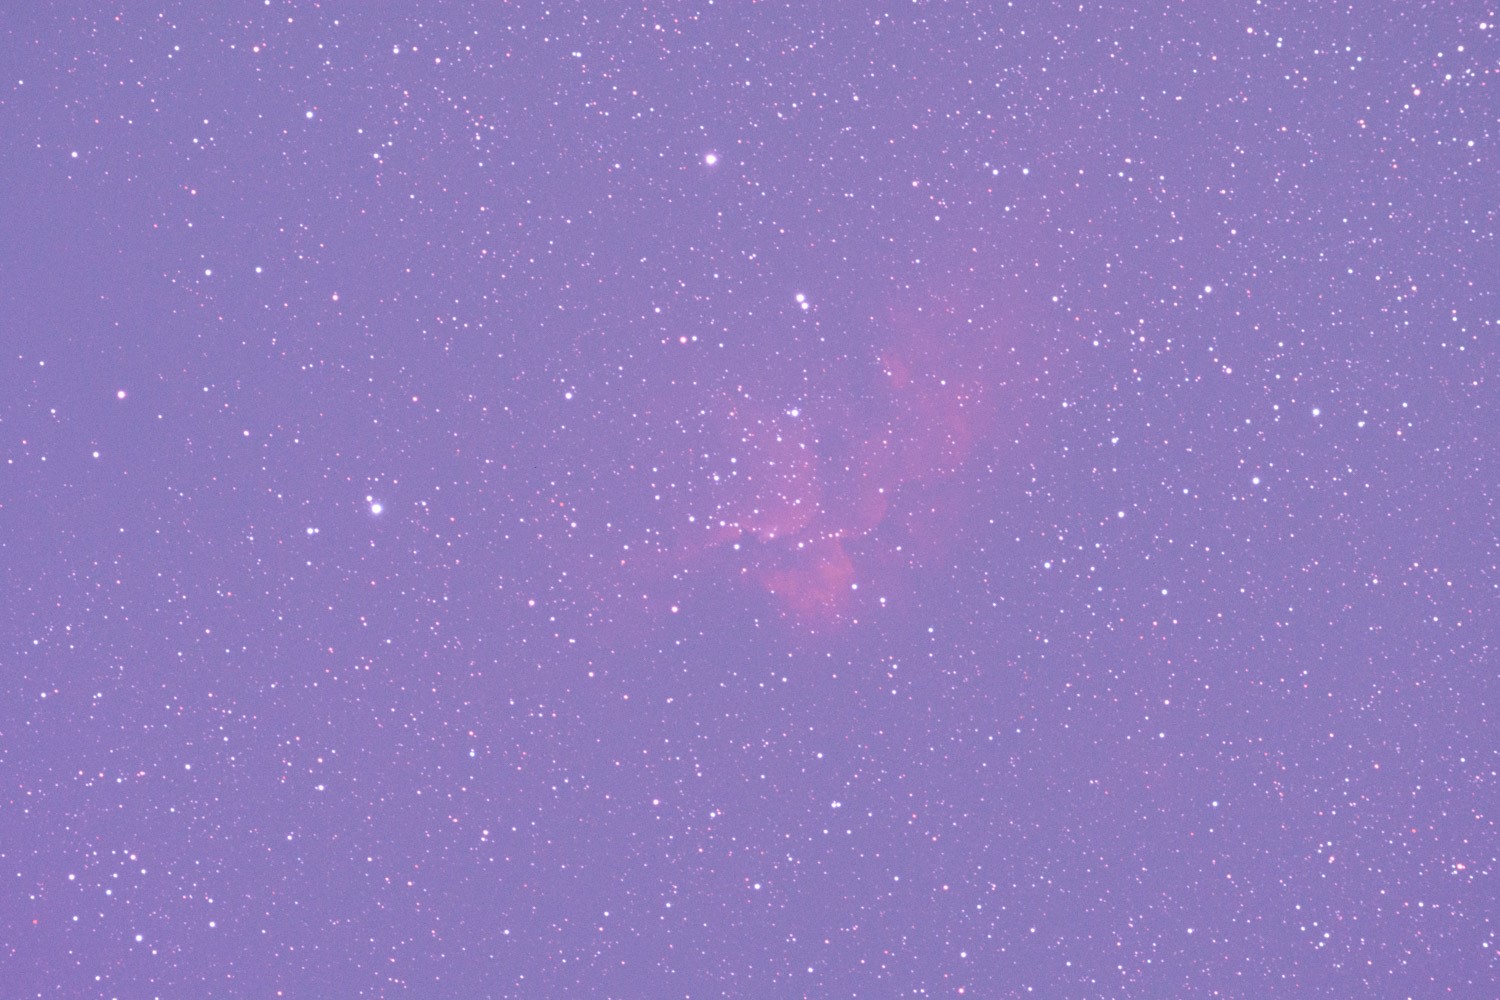 |
Figure 1 – D7200 stock camera vs D7200 modified camera comparison Images
Figure 2 includes a processed image of IC5070 – the Pelican Nebula. This is basic post-processing, done in Lightroom.
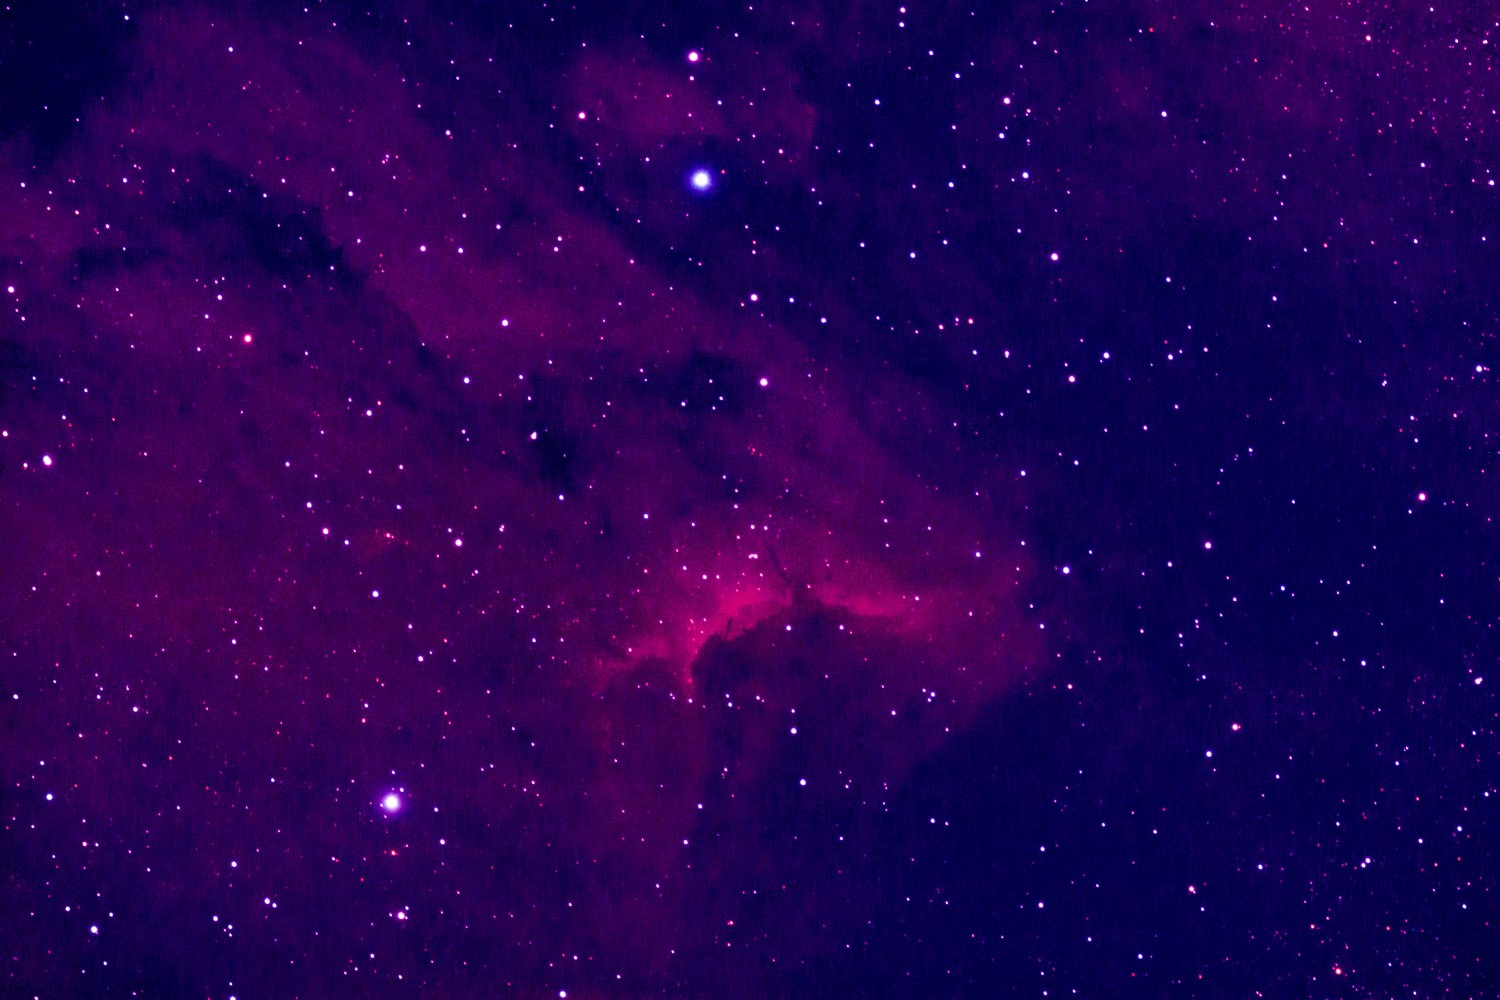
Figure 2 – IC5070 – Single image (modified camera) – basic post processing
As stated above, these are simply 10-minute exposures, to compare the differences in the cameras. When I am actually doing my astrophotography, I usually take multiple 20-minute exposures (light frames) of a single object. I also take dark frames for removal of camera generated noise and flat frames to remove any imperfections created by the telescope (i.e., vignettes and dust spots). All these different frames are then stacked, calibrated and registered into a single image.
Figure 3 includes a post-processed image of IC5070, using the above technique.
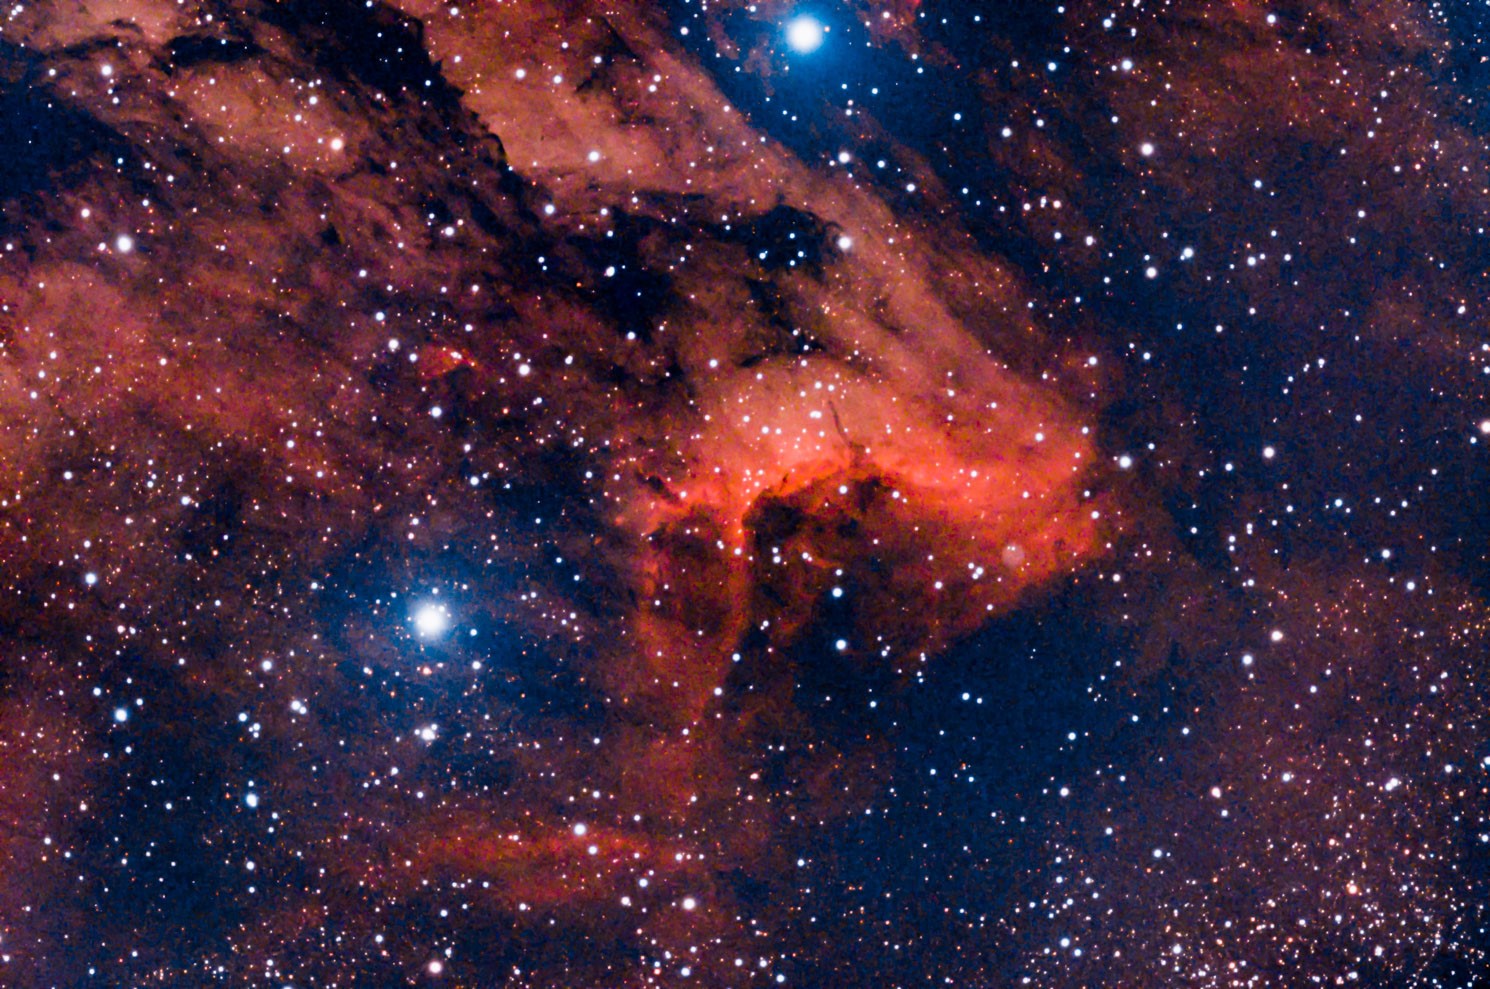
Figure 3 – IC5070 – Including light, dark and flat frames – totally post processed
Astrophotographic Equipment
- Nikon D7200 camera (stock)
- Nikon D7200 camera (with H-alpha conversion by LifePixel)
- Explore Scientific 127mm carbon fiber triplet apochromatic refractor telescope
- Losmandy G11 telescope mount, with Gemini GOTO system
- Rigel Systems motorized focuser for telescope
- Lumicon Deep Sky filter – light pollution reduction filter
- Software to manage telescope/camera configuration including: Astrotortilla (mount positioning software) and BackyardNikon (image capture software)
- Software to post process images including: Lightroom (basic post processing) and PixInsight (image calibration, alignment and image stacking)
Latest articles by Mike Ombrello (see all articles)
- Stock D7200 vs. H-Alpha Converted D7200 - October 5, 2017
Mike Ombrello
I am a member of a local photography club, and several local astronomy clubs.
Mike Ombrello
See All Articles by Mike Ombrello

Thanks for the article! Reall nice to see the comparison. I was wondering what iso you had the camera set to, and also what aperture value your telescope has.
Thanks
Hi Corey,
My telescope is a 127mm refractor, rated with an aperture of f/7. Though most of my astrophotography images are 20 minute exposures at ISO 800, these images were shot at an ISO of 1600.
Question: As beautiful as the fully post-processed image is taken with the H-alpha conversion filter — most of the stars appear white. Is it possible with the conversion to capture the diverse colors of stars? Are the white stars simply saturated?
The fully post-processed image was created from 7 light frames, 12 dark frames, 26 flat frames and 25 bias frames. The light and dark frames are each 20 minute exposures – which most likely over saturated the stars.
Great article Mike. I love this stuff! One question, you show a more saturated version (with much more than saturation, I am sure) of IC5070 that includes light, dark and flat frames. How many of each did you include in your stack? (I am really impatient and anxious when it comes to stacking, but I want detailed images.) You obviously spend a lot more time at this than can.
Thanks,
Tom
Hi Tom,
The IC5070 final image is the result of (7) light frames, (12) dark frames, 25 flat frames and 25 bias frames – each light and dark frame were 20 minute exposures. These were processed using PixInsight.