Waterfalls are great subjects to photograph. But it’s not always easy to capture photos that do the scene justice. The good news is that with just a little bit of planning and thinking before taking the photo, you will be able to see a massive improvement in your waterfall photos. In the meantime here are 10 tips to help you capture those stunning waterfall photos.
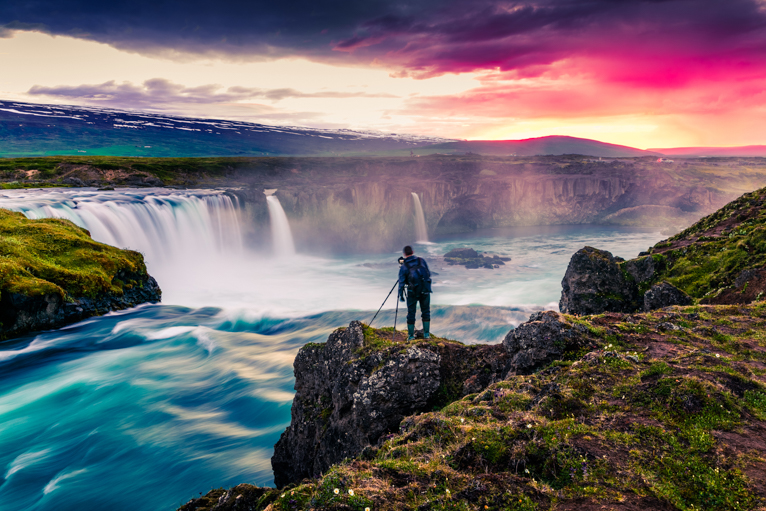
1. Time it right
Usually, a photographer is desperate for a string of clear days with some sunshine and no rain, however, the best time for photographing waterfalls is after rainfall because not only will the flow of the water be in full force but the rain will also have saturated the greens in the forest and the moss on the rocks which will give you a beautiful luminous green colour. You can also look forward to those cloudy or overcast days, as the even light will compensate for the harsh contrasts between the rocks or vegetation and the water. Cloudy days are also great for photographing waterfalls as the diffused light means you will get less contrast between highlights and shadows.
2. Get there early
Unless you pick a waterfall that is difficult to get to, it will likely attract crowds, so if you want to have it all to yourself you are best getting there very early in the morning. If you do find however that it is busier than you would like, just be patient and wait for a gap in the flow of traffic, or get as close as you can in order to crop out anyone in the way.
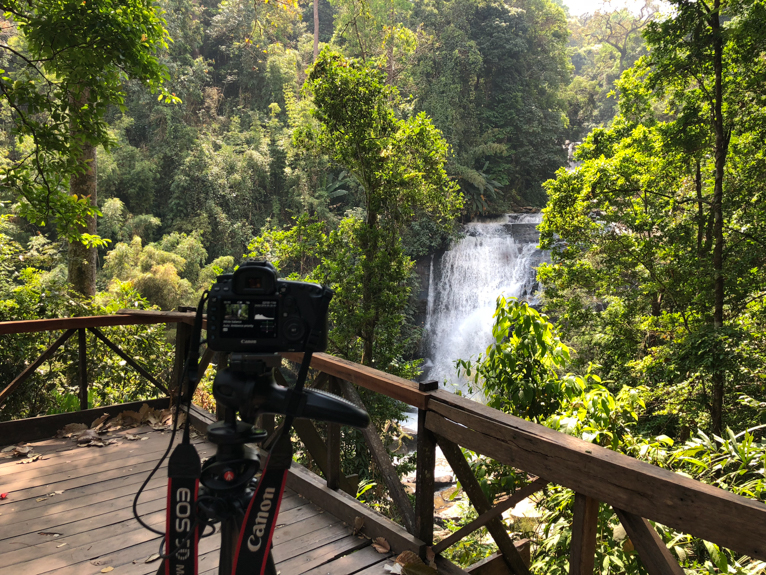
3. Don’t forget your tripod
Unless you use a tripod, you will find it near impossible to take photos with a slow shutter speed without having getting camera shake in the shot. Whilst you could always try using a stone or tree, this limits where you can take your photos from. It doesn’t need to cost the earth, but equally try not to go for the cheapest tripod as even a gust of wind could introduce shake. A cable release could also be a good investment as even the slightest touch on the shutter button could create camera shake. But alternatively set your camera on a 2 seconds timer if you don’t have a remote release.
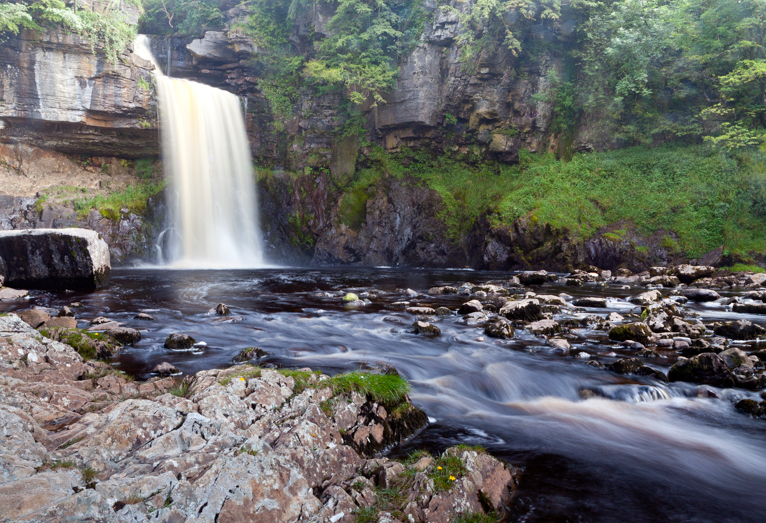
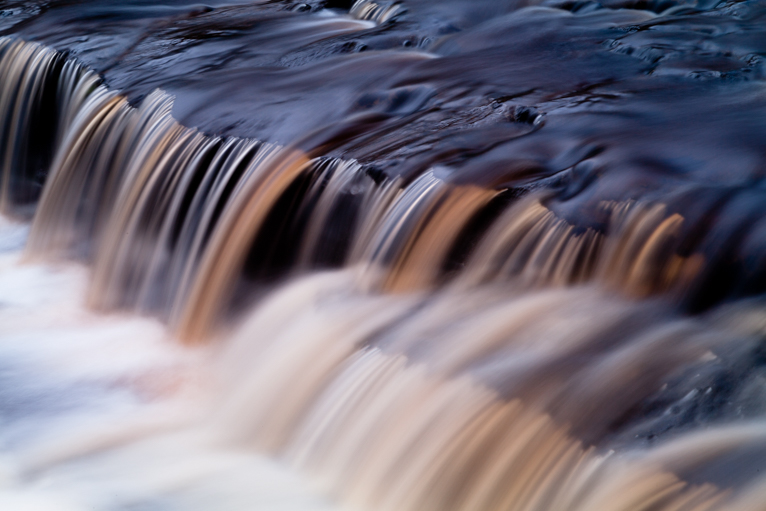
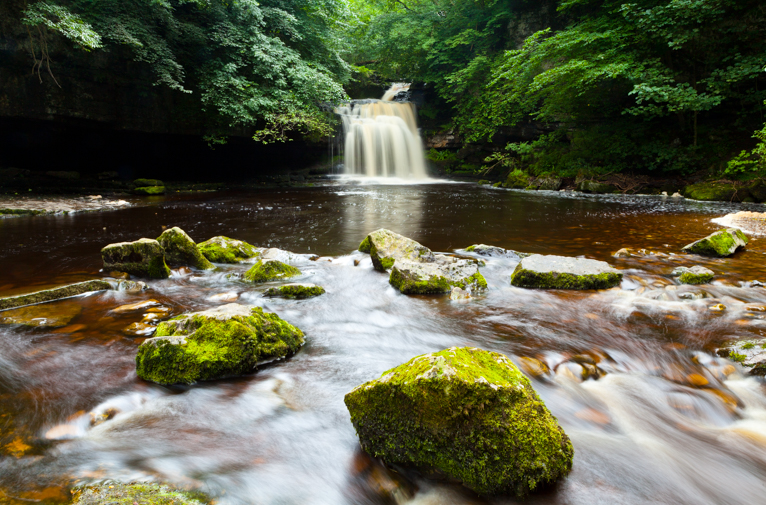
4. Use a slow shutter speed
Everyone will have a different preference in the way they photograph water and there is no right or wrong way. Some prefer to capture the detail in the water, whereas some prefer to capture the smooth silk-like movement. The shutter speed you use is key to determining how much movement you have in the water. 1/15th sec should be a good starting point for blurring the water (go even slower for more blur) and 1/250th or higher should start to freeze the water. But again this will depend on fast the flow of the water is.
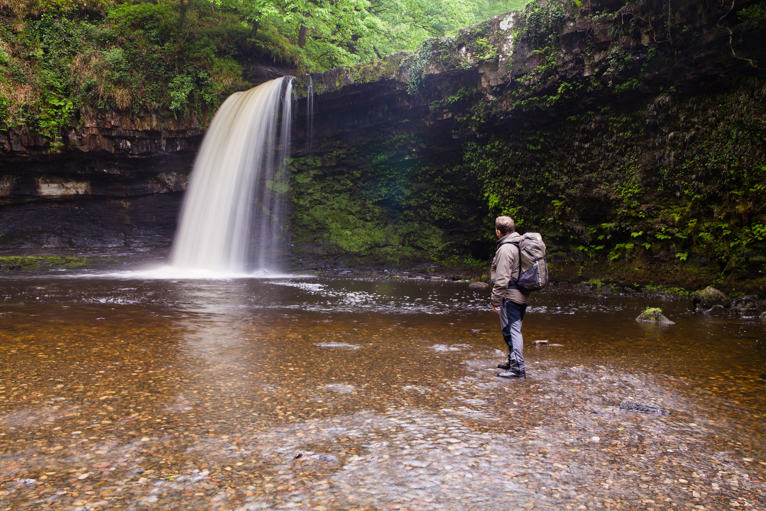
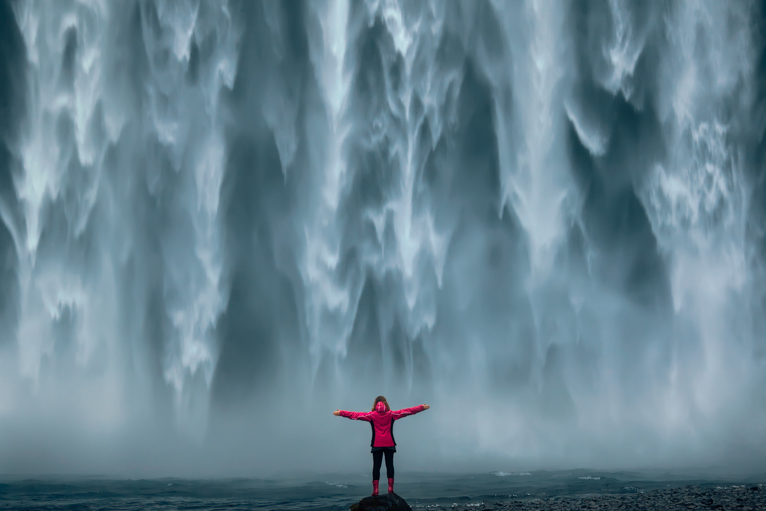
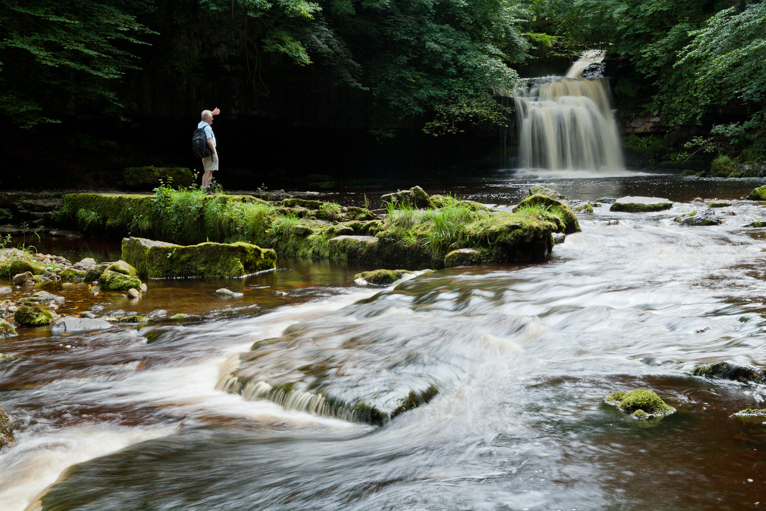
5. Look for people
Adding people into your photographs helps to make your photos look original and also give them context. Including people provides a sense of scale to your image, and it can also help tell a story and make the photo much more interesting. However do ensure you are using a fast enough shutter speed to shoot handheld, or better still, use a tripod.
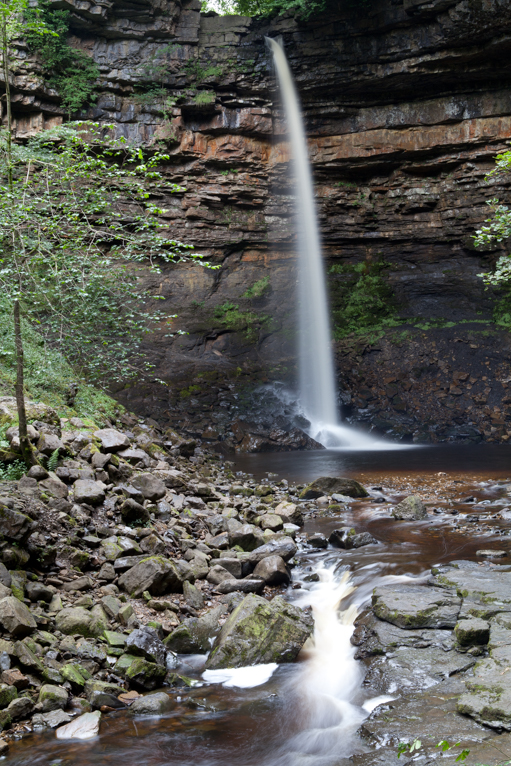
6. Shoot in portrait and landscape format
It always seems to feel natural to shoot in a landscape format. Whilst it is important to make sure you cover this off, remembering to place your point of interest on the left or right-hand side. It is also essential that you shoot in portrait format as well. This is especially important if the waterfall you are photographing is high. But shooting portrait will also give the scene a sense of scale especially if you can have a point of interest like a person in the foreground.
7. Lenses, filters and polarizer
Having good quality lenses is essential. You could also try using a wide-angle lens if you can and want to include the whole waterfall.
If you are shooting in the day you will need the correct filters. The best ones for waterfalls are polarizing filter and neutral density filters. The polarizing filter will help control the reflections off the water and although may darken the image slightly, it can also bring out the blues in the sky and greens in the foliage. By using a neutral density filter you can limit the amount of light that enters the lens so you can use a longer shutter speed without overexposure.
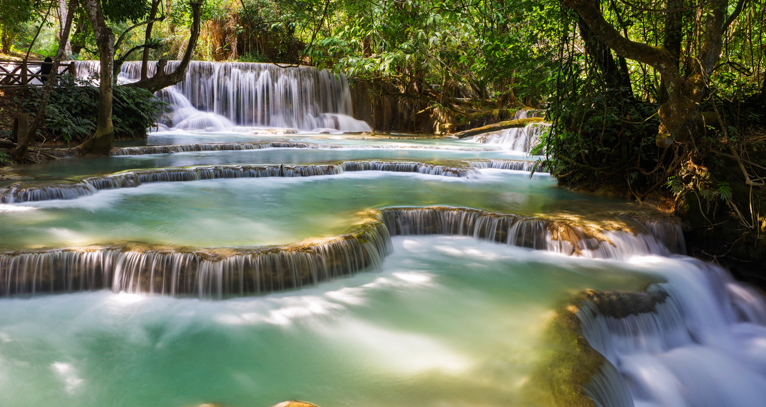
8. Add points of interest
One of the best ways to capture waterfalls is when they are in contrast to the plants, foliage and rocks around them, so look out for something unique you can incorporate into your photo. Fallen leaves, trees and even people can transform an image and give it a completely distinctive look and feel. You could even sometimes make the waterfall secondary in your composition and have the focus on a different element in the scene such as leaves on the ground or even the flow of the water.
9. Be careful
Water and slippery rocks can be incredibly dangerous but also very damaging to your equipment. Wear appropriate footwear to make hiking and navigating steep pathways easier, protect your camera from any watery mist that could be coming from a powerful waterfall, and make sure any valuables are in a waterproof casing.
10. Take a few essential items
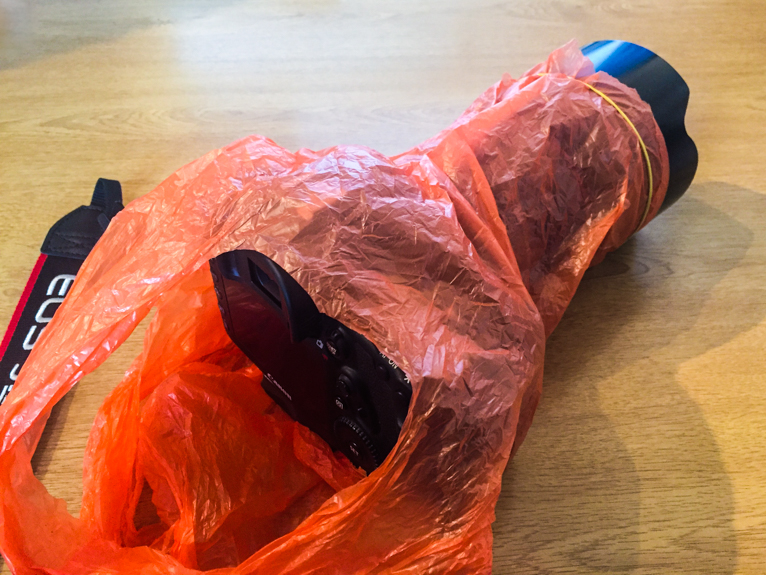
Alongside your camera gear, just taking a few of these items will also become very useful in helping your capture great waterfall shots
- A plastic bag – cut a hole at the end and poke your lens through and it will help keep your camera dry.
- Shorts (or swimming trunks) – depending on the waterfall that you are going to be photographing, you may wish to get into the water for a better view. Short or swimming trunks will mean that you can walk into the water without getting your trousers wet.
- Towel – not only can you use it to dry your camera from the spray of water but if you decide to stand in the water you can use it to dry your feet before putting your shoes on.
By using these tips you should see a massive improvement in your waterfall photos. But you will also find that with practice and experience you will also improve. So, there you have it. Our 10 tips to improve your waterfall photos.
Photo credits: Kav Dadfar – All rights reserved. No usage without permission. Dreamstime.
