• Cart
  • Checkout
  • My Account

Infrared Conversions, IR Modifications & Photography Tutorials | Life Pixel IR

The world leader in infrared conversions, modifications & DIY IR conversion tutorials. Scratched sensor replacement, UV & Full spectrum conversions.

The world leader in infrared camera conversions

866.610.1710
  • Home
  • → Start Here ←
    • 1 – Introduction
    • 2 – Filter Choices
    • 3 – Focus Calibration
    • 4 – Lens Considerations
    • 5 – Camera Considerations
    • 6 – Start Shopping
  • Galleries
    • Infrared Photography
    • Infrared Time Lapse
    • Infrared Cinematography
    • Infrared Stop Motion
    • Ultraviolet Photography
    • Forensic Photography
  • Education
    • Training Sessions
    • How To Shoot Infrared
    • AR Coated Infrared Filters
    • Lens Hot Spot Database
    • Photoshop Video Tutorials
    • Infrared Issues & Solutions
    • IR Basics in Photoshop
    • Camera Quick Start Guide
    • DIY Conversion Tutorials
    • IR Photography Primer
    • Secondhand Cameras
    • Wall Of Shame
  • Workshops
  • FAQ
  • Blog
    • Tutorials
    • Inspiration
    • Locations
    • Gear
    • News
    • Other
  • Why Choose LifePixel?
    • Submit Your Review
  • Contact
  • Shop

How To Capture Great Photos Of Family Pets

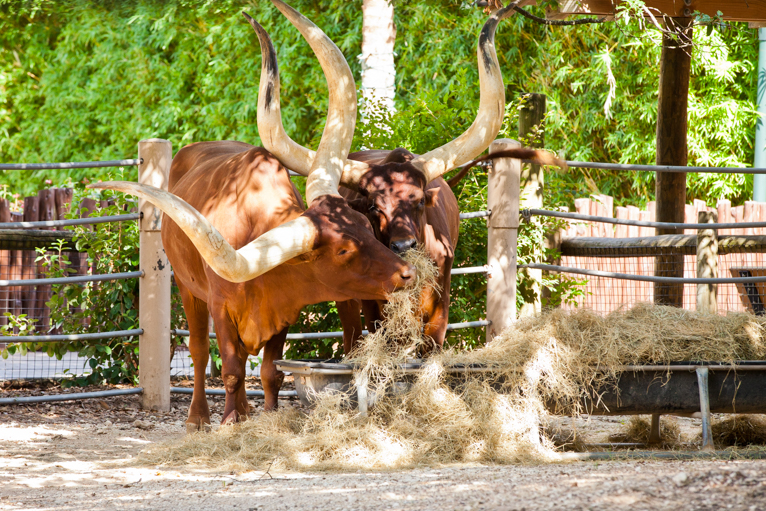
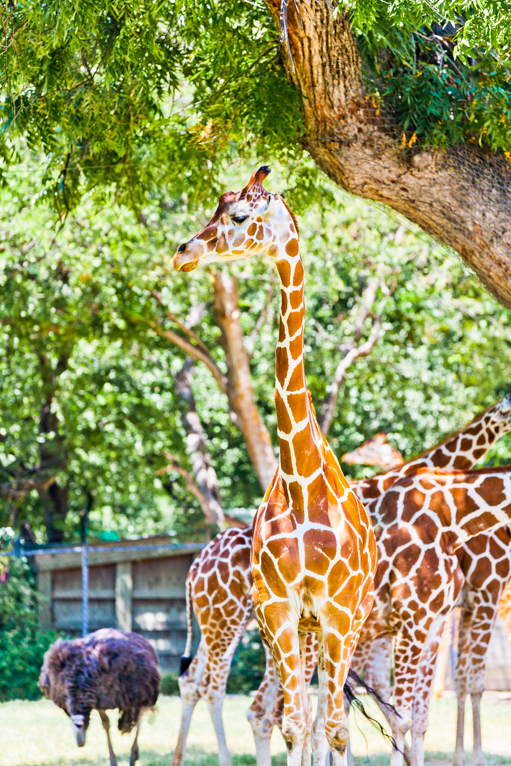
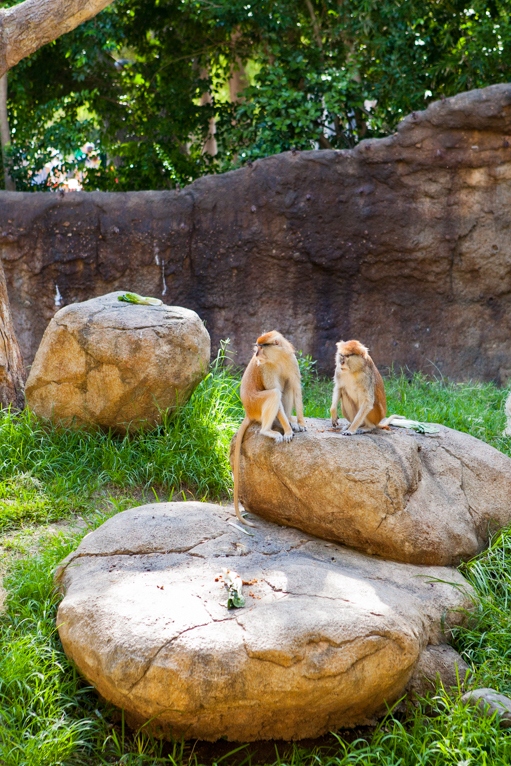
Since communication with animals is really more of an impenetrable fortress than a barrier it can be a frustrating experience when trying to get a fantastic photo of a family pet. They can be cute, adorable, and just cherished beyond all belief, but after an hour of putting them back into the wicker basket so you can get the right shot, you might as well give up.

This isn’t an uncommon problem for professional photographers, so beginners who are trying to get a photo of an animal should learn a few techniques for how to capture great photos of family pets.

Photographing_Pets

Play with them

Imagine that you escort a person into your photography studio to take their portrait. You set them in place, coldly take their picture, and then ignore them the whole time. It’s a jarring experience for the subject and they are not likely to give you a good session at all. To avoid this, you would most likely chat with them a little to put them at ease.

The same concept should be applied with animals, except that instead of chatting with them (although the sound of your voice doesn’t hurt if it’s the right tone), playing with them can put them at ease. Don’t pretend like this is a work session; play with your family pet so they know it’s a comfortable spot for them to be and they will be much more likely to placate your camera clicking off a few photos.

When they’re comfortable, let them play on their own for a moment and then quietly try and take some pictures. They likely won’t even notice.

Photographing_Pets

Timing is everything

Depending on the type of photo you want to get, you will want to be selective about the time you take it. Let’s say that you want a softer, gentler photo. If your family pet is known to take a nap or get a little sleepy around a certain time of day, then choosing that time will make everything a lot easier. Similarly, time it for around the same time your pet wakes up. You’ll get a still photo of an animal with a pleasant demeanour.

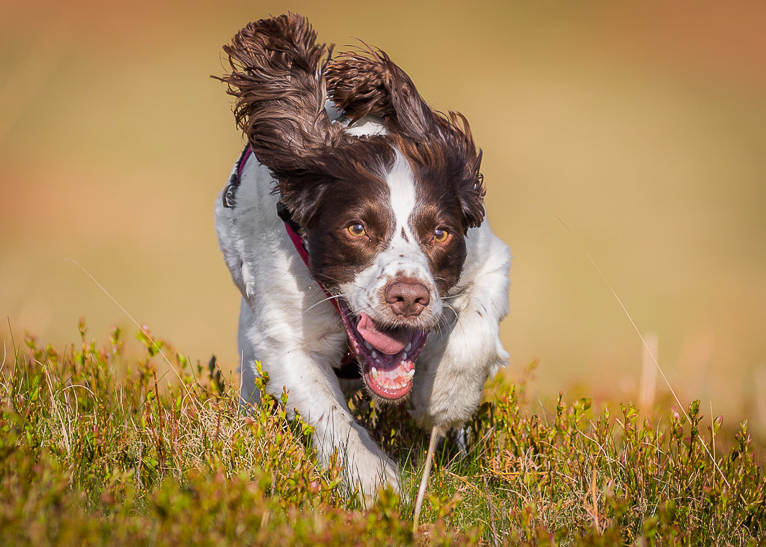
If you’re looking for an energetic shot of a frolicking pet, then get them rolling around with their favourite toy. Play with them when they’re normally expecting it and you’ll have a much easier time getting the kind of energy you want.

Photographing_Pets

Have patience

Since you can’t have a dialogue with your family pet to get them in the right mood, then you’re going to have to hang in there and be patient. If you really want that great photo, then be ready to calmly sit tight until the pose you want comes along.

Photographing_Pets

Natural light is the way to go

Flashes are going to startle and distract your family pet. Open the blinds and let the natural light fill the room. In addition to possibly scaring your subject, flash bursts are also known for causing red-eye.

If you can, you could take it one step further and take your animal outside. At the right time of day, the natural light will illuminate your pet and make for a great photo.
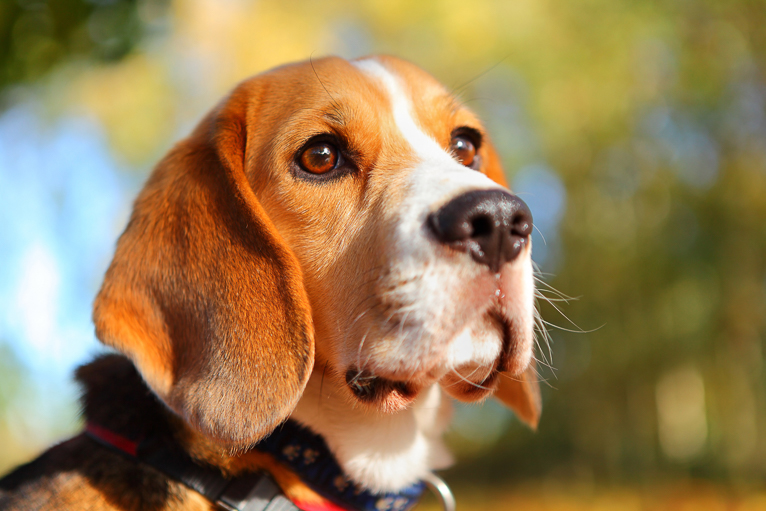
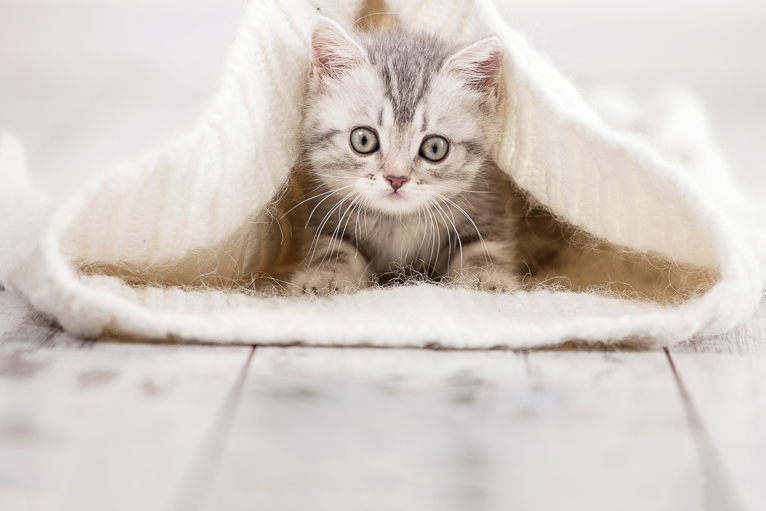
Photographing_Pets

Focus on the eyes

Just like with humans, the eyes make for a central focal point that captures the very spirit of your pet’s mood. By focusing on the eyes, you will capture any essential expression that your animal makes, thereby getting their personality to the forefront of the photo. A face-front position with both eyes being focuses on will get you a direct shot that showcases their expression, but if their head is turned to the side, then focus on the one showing eye.

Photographing_Pets

Use a fast shutter speed

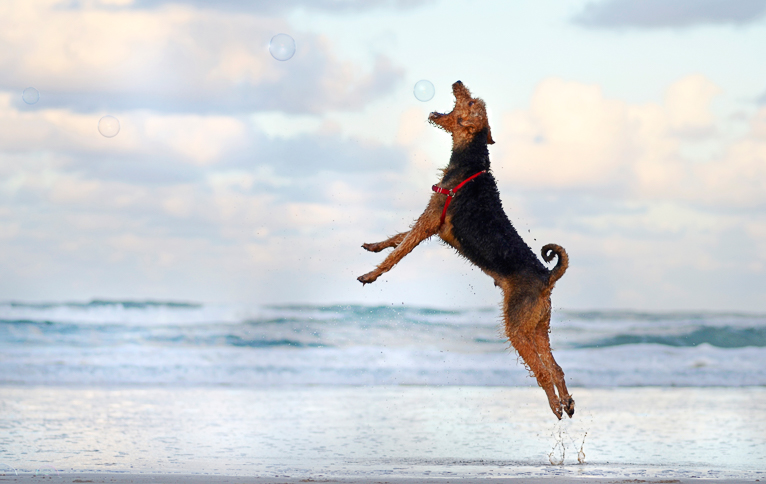
The faster the shutter speed, the better. Since shutter speed controls exposure and therefore limits blurring, you’re going to want to use a fast shutter speed so that you cut down on any active movement from your family pet.

If you want an active shot of your animal, then this becomes doubly important. A photo of your family pet running through the tall grass would look amazing, but if your shutter speed is too slow, then you’re only going to get a blurry image mixed in with some green grass.

Select a shutter speed of at least 1/250 if your pet is moving. If possible, go faster to limit any blurring problems.

Photographing_Pets

Reward them

Make this a fun experience for the animal. Playing with them is great, but it can’t be the only thing you do if you want this to be repeated anytime soon. The memory of an animal is better than you may think, and if you cut out on the rewards when they do a good job for your first photo session, then they may not grant you a second one.

Stuffing treats into them will only spoil them, though. Choose when to reward them and do it in the right way so you don’t overcompensate for making them be your model. Scratch behind the ears, offer a small treat that you know they love, rub their belly, or just tell them what a good pet they are…anything is infinitely better than nothing.

Photographing_Pets

Get down to their level

When shooting, make sure you work at their level. Don’t tower over them. It will seem intimidating or confusing to the animal. If you lower yourself to their height, not only will you be able to focus on their eyes, but you’ll also be able to frame them much better. This creates a much more personal photo of the family pet, as opposed to one that looks like it was taken from way over their heads.

Photographing_Pets

Photographing animals whether it’s in the wild or at home can be tough. They are notoriously unpredictable and have a tenancy not to co-operate. By being patient and a bit of practice, you will be able to capture great photos of your family pets.

Photo credits: Dreamstime – All rights reserved. No usage without permission.

Filed Under: Tutorials Tagged With: Animal photography, Photographing animals

7 Tips For Better Zoo Photography

There’s no doubt that capturing animals in the wild in their natural habitats is one of those bucket list photography scenarios. For example lions in the Serengeti, tigers in the jungles of India and polar bears in Yukon can provide stunning photographs. But to capture great animal photos takes practice and often lot’s of patience. Wildlife photographers might have to wait days, weeks or even months to be able to capture the photo that they want to take. There is also the cost of actually getting to these destinations. For some photographers, all of this combined will make it prohibitive to capture photos of animals in the wild. So the other alternative is photographing photos of animals in zoos. So here are 7 tips for better zoo photography.

photographing-the-zoo

Plan your day

Even though you are photographing captive animals and you know that you are going to see some, it still pays to plan your day in advance. Try to find out when the quietest times are (usually just after opening times or late in the afternoon). Also, see if there are details of when specific shows and talks are happening. These may offer an opportunity to photograph the animals or even go to other areas of the zoo that would be quite because most people are at the show or talk. You should also check the regulations of the zoo in regards to photography and the use of tripods.

photographing-the-zoo

Prepared to be patient

Clearly photographing animals in a zoo doesn’t mean that you will have to stay in a hide for a few days. But you will need to be prepared to wait for the right moment. Animals are unpredictable and so rarely will they be the perfect spot waiting for you to take a photo. It may even be that they are hidden somewhere out of view. So allow yourself enough time to be able to wait around until the perfect moment. A good tip is to find out when feeding times are as animals will usually become active during these periods.

photographing-the-zoo

Focus on the eyes

If you are photographing a close-up of animals in any sort of wildlife photography, the eyes are the most important element. They need to be sharp and in focus otherwise, the photo will not work. Even in a zoo, you are going to need a telephoto lens so make sure you carry one with you.

photographing-the-zoo

Avoid barriers and cages

This may be easier said than done. Most animals will be behind barriers or cages that will often get in the way of the photo. But they also highlight the whole notion of captivity. There are two ways to try and approach this issue. You can either try to incorporate the barries into the composition to give that sense of captivity. Or you can try to exclude them from your photos. If the obstruction is see-through like glass, with a lens hood attached you can rest your camera on the glass and that should give you a clear picture. Try to find a part of the glass that isn’t dirty or scratched.

Cages are a little more difficult to exclude. The best way is to try to find the biggest gap that you can see and press your camera right up against the fence. Using a wide aperture you should be able to focus on the animal whilst blurring out the fence or cage. Be very careful about the focusing if you are using the camera’s autofocus as it can easily focus on the fence instead of the animal.

photographing-the-zoo

Don’t use a flash

This is one of the biggest mistakes that I see people make when taking photos in a zoo. Firstly the animals will usually be too far away so the flash will not make any difference. Secondly, if you are photographing anything behind glass, all a flash will do is bounce back of it and into your camera. But most importantly a flash can startle and distress the animals whether that is in the wild or in a zoo. So keep your flash turned off.

photographing-the-zoo

Get your settings right

There are so many variables when you are dealing with animals that it is impossible to have an “ideal setting”. But as a general rule, your hero of the photo is the animal. So you need to try and make them stand out against their background. Don’t forget that most animals have evolved to blend into their environment. The best way to do this is to choose a wide aperture to blur the background. This will help make them stand out. If the animal is moving set your camera to continuous focus and shoot in high-speed burst mode. Remember that depending on how fast they are moving you are going to need a faster shutter speed. If the animal is still you can afford to photograph them using slightly slower shutter speed and without burst mode or continuous focus.

photographing-the-zoo

Don’t forget the people

Remember to also capture some photos of people. Whether it’s children gasping in awe after seeing the lions or riding a pony, capturing photos of people enjoying the zoo can give a different perspective. When combined with photos of the animals it can give your set of photos more variety.

photographing-the-zoo

Photographing zoos is not only a great way to practice wildlife photography but it can also provide you with great photos. Whilst you may not capture photos of the animals in their natural environment, you will often be able to get much closer than you would in the wild. Take your time and just focus on capturing a few great photos than a hundred mediocre ones. You may just find that you have photos that you can be proud of.

Photo credits: Kav Dadfar – All rights reserved. No usage without permission.

Filed Under: Tutorials Tagged With: Animal photography, Photographing animals, Photographing zoos, Zoo photography

Blog Topics

  • Tutorials
  • Inspiration
  • Locations
  • Gear
  • News
  • Other/Misc

What our customers say:

Life Pixel has been a life-changer for me. Continue reading
Eric GConnecticut
Read more reviews
I am more than satisfied with the service I received Continue reading
Christopher JCanada
Read more reviews
I am more than pleased with the conversion job that you did Continue reading
LOUIS MWaco, Texas
Read more reviews
I am VERY impressed with his knowledge of your products and his patience in explaining it to a novice like me. Continue reading
Lynn FEssex, Maryland
Read more reviews
Things will only get better from here thanks to all of you. Continue reading
Phillip FRedding, California
Read more reviews
The Lifepixel newsletter reminds me of not having expressed my gratitude for the excellent job you made. Continue reading
Michael GGermany
Read more reviews
Your staff went above and beyond the call of duty to make sure everything was handled in an excellent manner. Continue reading
Paige RPearland, Texas
Read more reviews
It has given my old camera a new life, I will enjoy using it again. Continue reading
William PAustralia
Read more reviews
Excellent service and the camera works just great Continue reading
Hans FairhurstAustralia
Read more reviews
I just got my converted camera back from you guys. THANK YOU!!!! Continue reading
Anne CutlerForest Knolls, CA
Read more reviews
infrared_filter_choices_sidebar
ir_conversions_explained_sidebar
----------- Watch More Videos -----------
infrared_quick_start_guide

Ready to start shooting Infrared?

Convert My Camera

Subscribe To Our Newsletter

Receive updates, tips, cool tutorials, free stuff and special discounts.

Learn the Basics

  • Video
  • Start Here
  • Filter Choices
  • Focus Calibration
  • Lens Considerations
  • Camera Considerations
  • Place Your Conversion Order

Resources

  • Galleries
  • Lens Hot Spot Database
  • IR Tutorials
  • FAQ
  • Infrared Filter Choices
  • Infrared Photography Guide
  • Infrared DIY Tutorials

Company

  • Why Choose Us
  • Get In Contact
  • Job Openings
  • Write For Us
  • Affiliate Program
  • Terms of Use
  • Privacy Policy
  • Home
  • Start Here
  • Galleries
  • Tutorials
  • FAQ
  • Blog
  • Why Choose LifePixel?
  • Shop
  • Contact

Copyright © 2025 Life Pixel Infrared - All rights reserved - LifePixel Infrared Photography IR Conversion, Modification & Scratched Sensor Repair