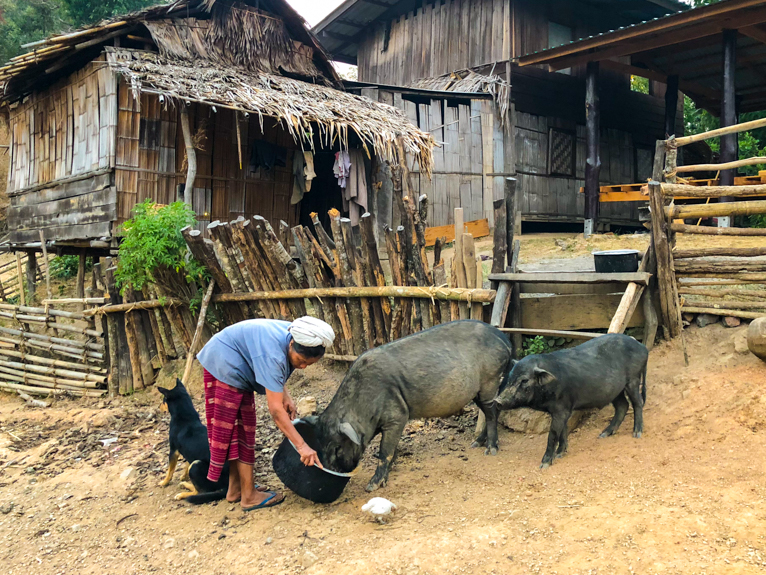
Photography is an amazing and sometimes daunting art. A stunning photo leaves you in awe and wishing you could learn to take pictures like that too. However, it’s also easy to make up excuses, such as, “I don’t have a good enough camera.” This statement is not valid. Nowadays, you can create amazing photos with practically any camera.
If you think you will miss out on great photo opportunities because you only have a phone camera, think again. With these 7 tips on phone photography, you will start seeing improvement in your photography skills immediately. Try implementing these tips whenever you have the opportunity. Practice and experimentation are the next steps to take your phone photography to the next level.

Clean Your Lens
This tip may seem obvious, but it is easy to overlook. We touch our phones all the time. Plus they sit in our pockets, purses and they collect dirt, dust, grease, fingerprints, and the like. A dirty lens means smudged photos. Unless you want a blurry-looking picture, a clean lens will help you achieve sharp images. Use a soft, clean cloth to wipe the lens gently. If dust or sand lands on the glass, blow it off first to avoid scratching the lens. Cleaning your lens is an easy step that takes less than a minute. With that out of the way, you can focus on more critical steps like focusing.

Focusing
Focusing is a big one in photography. A picture that comes back blurry or unfocused is aggravating. Phones try to focus shots for you, but they are not perfect. They may not focus on the same object that you want emphasizing. Thankfully, you can do something about this. Smartphones are capable of changing the focus to where we want it to be. All you have to do is tap on the spot on which you want to be focused. In most photos, you will want to focus on the main subject of your picture. To focus on an object, tap on your phone’s screen. For an iPhone, a yellow box appears around the spot you touched. You will see a difference as your camera adjusts its focus to the point you desire. Take the picture by pressing the shutter button.
Grid Lines
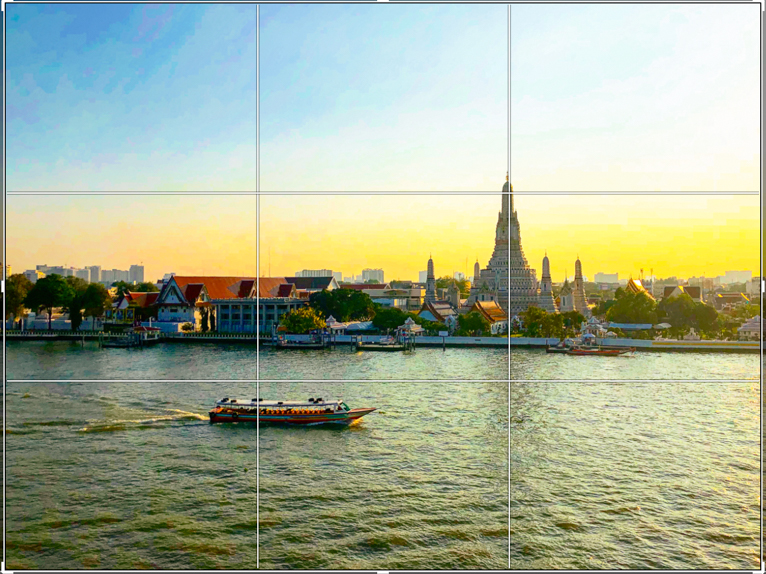
You may have heard of the “Rule of Thirds” if you’ve taken an art or photography class. This rule is universal in the composition of a picture in which you divide your photo into thirds—horizontally and vertically—creating nine equal sections. Essential parts of your image should overlap with at least one of the intersecting lines. According to the principle, this configuration appeals more to the human eye. Primarily, avoid always putting your main subject directly in the centre.
You can set your smartphone to display this “Rule of Thirds” grid on your camera to help you practice. For iPhones, go to “Settings,” find “Camera,” and turn “Grid” on. Use the grid as a guideline for composing your photos. While a wholly centred picture tends to be boring, focusing points of interest along the intersecting lines are pleasing and draw people’s attention.
Exposure
Sometimes pictures turn out way too dark or way too bright. This is called underexposure and overexposure. Even when you tap to focus the camera on your subject, the overall brightness may not adjust to your liking. This is why the focus ability in your camera has a brightness function too.
Start by tapping on your camera’s screen so that the yellow box appears. You will see a small “sun” symbol next to it along a vertical line. Swipe the sun symbol up to increase the brightness. Swipe down to reduce the brightness.
How much exposure do you need? In general, you want to adjust the brightness until your subject is detailed and colourful. Experiment with various lighting. You may find that achieving good exposure is challenging in some settings where you have a big contrast between light areas and dark areas. This is where High Dynamic Range (HDR) comes in handy.

HDR
Using the “brightness” function may not work when taking pictures of settings with both bright and dark areas. When you brighten the shaded area, the bright section becomes overexposed, and vice versa. For example, a landscape scene may have an extremely bright sky, while the ground is dark and in shadow.
Your smartphone’s HDR setting allows you to take the photos in these scenarios and produce a more evenly-lit photo. You may need to go to your camera settings to turn HDR on. You may also find the HDR symbol inside your camera app.
How does HDR work?
By turning HDR on, your camera takes several shots of your subject with different levels of exposure. It then combines these to create a photo with both the dark and bright areas properly exposed without sacrificing clarity and detail. In traditional photography with a DSLR or mirrorless camera, this is called photo stacking.

Burst Mode
Have you ever tried to take a photo of a moving object? What looks so impressive in person doesn’t always come out that way in photos. Actions shots taken with your phone’s normal camera setting usually turn out blurry and out of focus.
These shots are precisely what Burst Mode is made for. For iPhones, simply press the shutter button down and hold it. Newer models will have you swipe across your shutter button to the left. The camera will keep taking pictures until you release your finger. With all the images you take, you should have at least a couple of good photos.
Afterwards, filter through your burst images and delete unwanted ones in your Photos app, so you don’t clog your phone with tons of pictures. With Burst Mode, you won’t miss the perfect shot.

Lighting
Lighting is essential to photography. In general, always keep your light sources in front or to the side of your subject. Faces become shadowed and unclear when backlit. For example, placing your subject directly in front of a window during the daytime will cause them to be darker compared to the light coming from outside. Instead, have your subject face the window and take the picture from the side.
Remember, you want your light sources to illuminate your subject for clarity and detail. Even for landscape photography, you will find it much easier not to directly shoot into the light source when using your phone.
Phones are here to stay and over the next decade will slowly begin to replace many more conventional DSLR cameras. As the quality of them improves more and more people will choose smartphones. Because after all, the best camera is one that you always have with you.
Photo credits: Kav Dadfar – All rights reserved. No usage without permission.
