
How do you view your camera? How many different ways do you hold, move or otherwise use your camera to make a photograph? I believe people can get stuck in a rut by limiting how a photograph is made. For some people it’s cranking up the ISO and shooting hand-held in every situation, for some it’s always using a tripod, others shoot only black and white, and so on. I don’t believe there is anything wrong with any of these individual things, my point is that there is a whole world of possibility out there and a whole lot of fun to be had by exploring new and interesting ways the camera can be used to create art.
Moving Camera with Stable Subject
With this technique, you have to be the active one. Take your camera and choose a relatively slow shutter speed so that the camera movement produces a smooth blur of colour and light. I’ve found that too fast a shutter speed produces choppier images, and too slow a speed either results in overexposure, or an image with a complete lack of definition.
Try panning your camera vertically. This technique works well with structures that have strong vertical lines such as trees and power poles. Horizontal pans work well with scenes that have strong horizontal lines such as lines on a highway. Another fun exercise is to try and move your camera on two different axes during the exposure. You could be holding the camera with both hands, pointing up to the sky while standing in the shade of a tree. As you make your exposure, pull the camera towards your chest (vertical axis) while rotating the camera and moving it from one side to another (horizontal axis). Any of these techniques require a bit of practice. The fun of this kind of experimentation is that no matter what happens, even the “mistakes” can sometimes be beautiful.
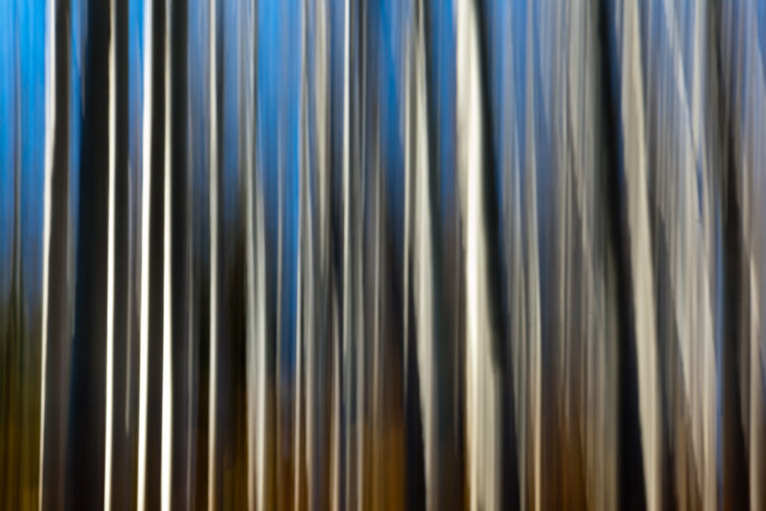
trees at lake kathlyn
Moving Camera with Moving Subject
As with the previous technique, here you are using the relative instability of hand-holding to help with the creation of art. I find low-light situations best for these experiments as the darkness means longer exposure times. This results in a greater potential for painting with light. Here I like to photograph light sources while I’m the passenger in a vehicle someone else is driving. The car window goes down, I make sure my camera strap is around my neck and I point my camera at the lights passing beside me.
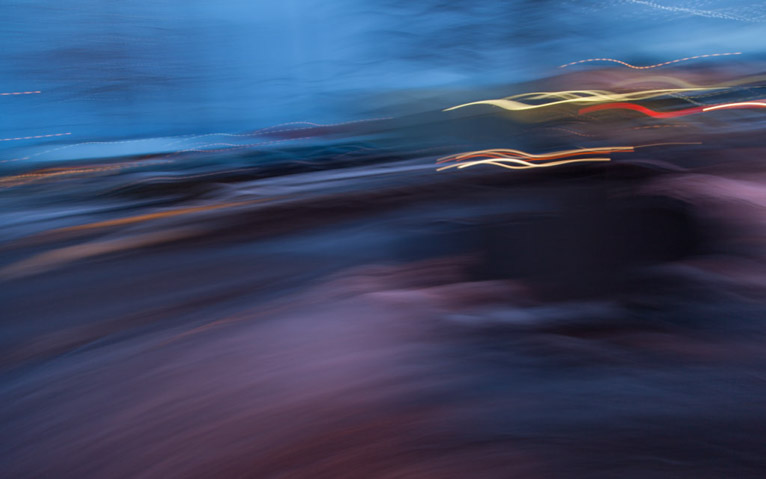
vehicle lights
Stable Camera with Stable Subject
If you find yourself with your camera and zoom lens on tripod with a still-life subject, try moving your lens from wide-angle to telephoto (and vice versa) during the exposure. You’ll get all sort of radiant lines in your images.
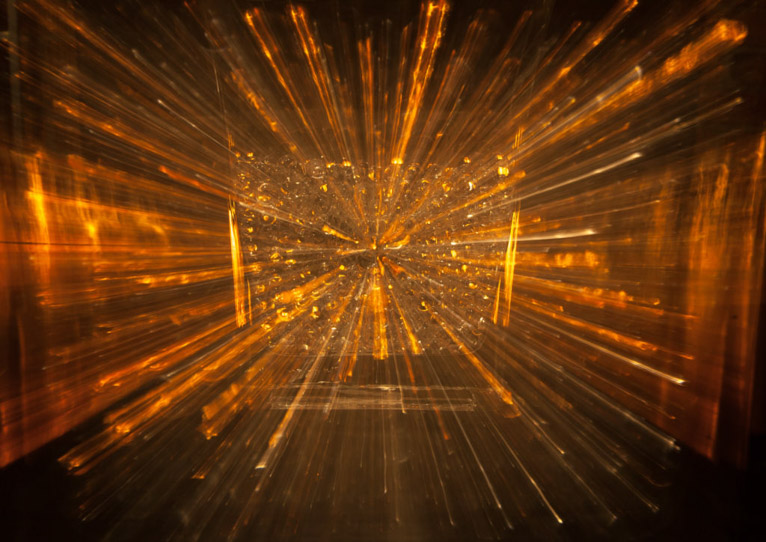
vase with glass beads in front of woodstov
Stable Camera with Moving Subject
My favourite thing to photograph in this instance is fire-spinning. Typically I’ll have my camera on a tripod, pre-focused on a determined spot and manually set my camera for how many ever seconds are appropriate for the level of light I’m shooting in. Before I release the shutter (on a 10-second timer), I’ll have a whisk with fine steel wool stuffed inside that I’ll light. After the wool starts to glow, I’ll release the shutter and then start spinning the whisk (typically on the end of one of my dog’s leashes) as I walk to the pre-determined spot in front of the camera. I’ll then whirl the leash until the camera’s finished exposing. This is fun to do in any number of different settings, but doing it while either standing on snow or in water produces some amazing results.
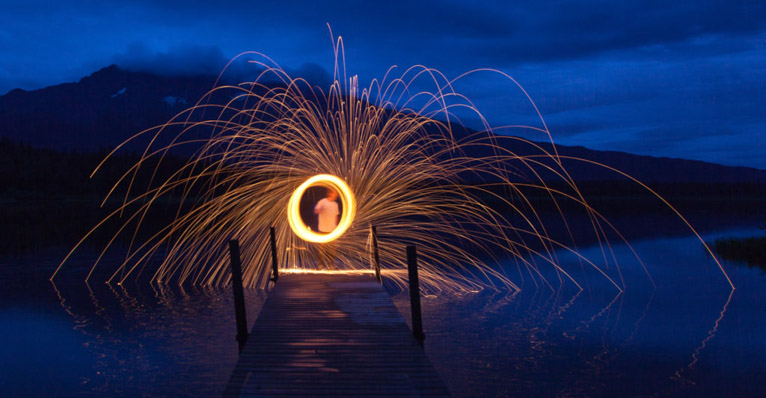
fire spinning on dennis lake
The Art of an Abstraction
The best thing using any of these suggested techniques is the abstract images that result. In and of themselves, the images are fun expressions of light and mood. Sometimes though, the abstract you make will be suggestive of something else. This is where the fun of using image editing software to further enhance your vision comes into play. One of my favourite techniques is to duplicate and create a mirror image of the original photograph. Time and time again, I am amazed at what this simple effect creates. I particularly like it when I see something recognizable. Who would have thought some smears of light and colour could turn into a butterfly?
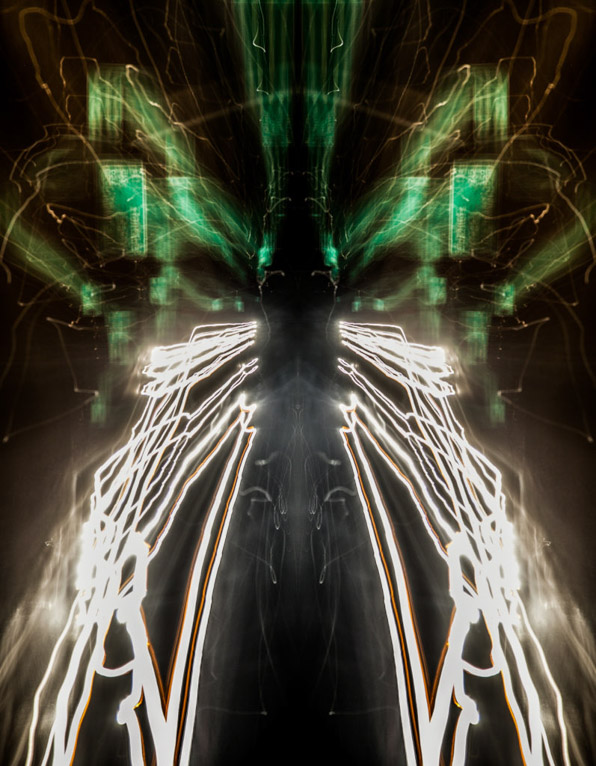
abstract butterfly
So ask yourself the next time you go out with your camera, “what would happen if I did this?” Add an element of play to your photography and see what happens.
