By far one of the most common questions that I get asked is what camera equipment I carry with me when I’m on assignments. Usually, people are surprised when they hear my response. I am definitely not one of those photographers that pack every piece of equipment I own. If anything, over the years I have actually reduced what I take with me and have never found that I was in a situation where I wish I had something more. For most travel photography scenarios your standard kits will be more than sufficient, so why carry all that extra weight for things you won’t use. So here is a list of my basic equipment that I pack for every trip.
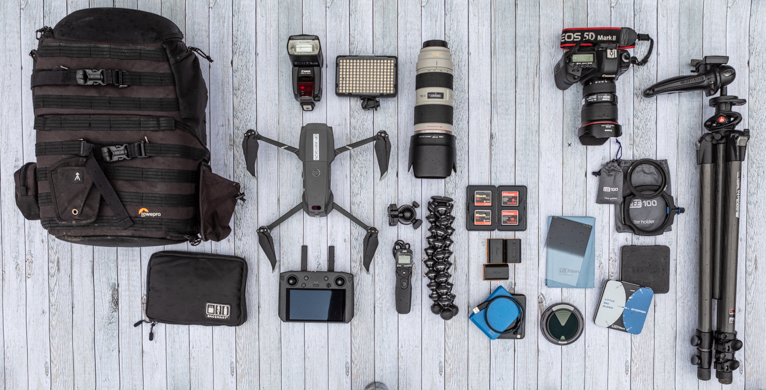
Canon bodies
I take two Canon bodies with me on every trip. This includes my main camera which is a Canon 5D MK IV and a backup which is a Canon 5D MK II. Why do I take two cameras? This is simply as a precaution if my main camera stops working. But also because in some scenarios like when I’m photographing festivals or events, two bodies with two lenses can be really useful as you don’t have time to constantly change lenses. But most of the time my backup body either stays in my bag or in the hotel room.
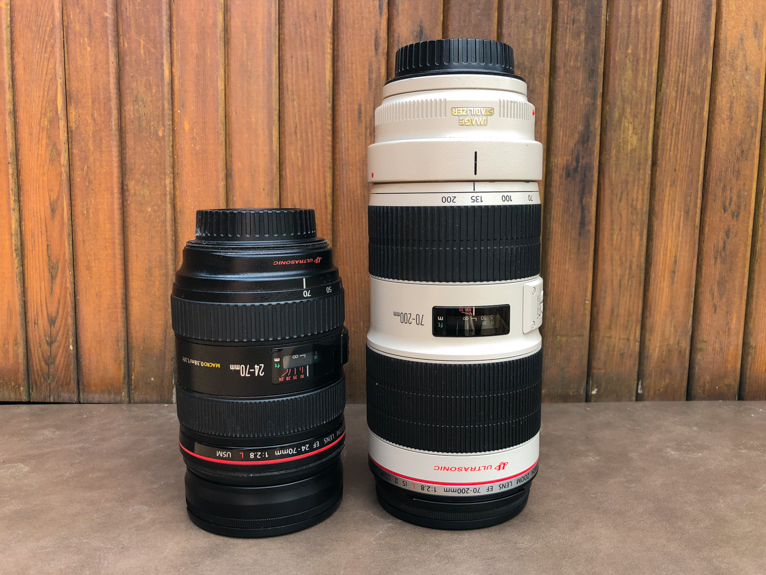
Two lenses
My basic equipment includes only two lenses. A Canon 24-70mm and a Canon 70-200mm (both f/2.8). My 24-70mm is my workhorse lens and pretty much most of my photos are taken with this lens. Until recently I also used to take a 17-35mm lens with me as well but with the introduction of a drone to my equipment, I have had to leave this lens behind more often to fit my drone in my camera bag. If I want the extra wide-angle shots I will now opt for a stitched panorama. I should say that these two lenses are my basic equipment set and if I need other lenses depending on the shoot I will add them to my kit accordingly.
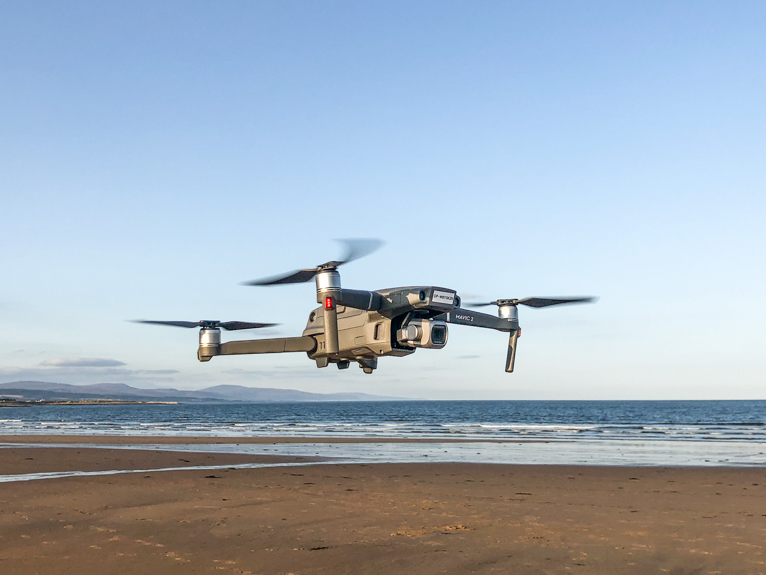
DJI Mavic Pro 2
I finally succumbed to my desire to add a drone to my equipment and it has been a great addition. It isn’t something I use all the time but sometimes it can give you a really unique perspective of locations that you would not be able to capture without it. And that doesn’t always mean height. Sometimes the best thing about owning a drone is simply being able to fly it over a cliff to get a different angle of the coast. The DJI Mavic Pro 2 is at the time of writing pretty much the affordable and professional enough quality consumer drone on the market.
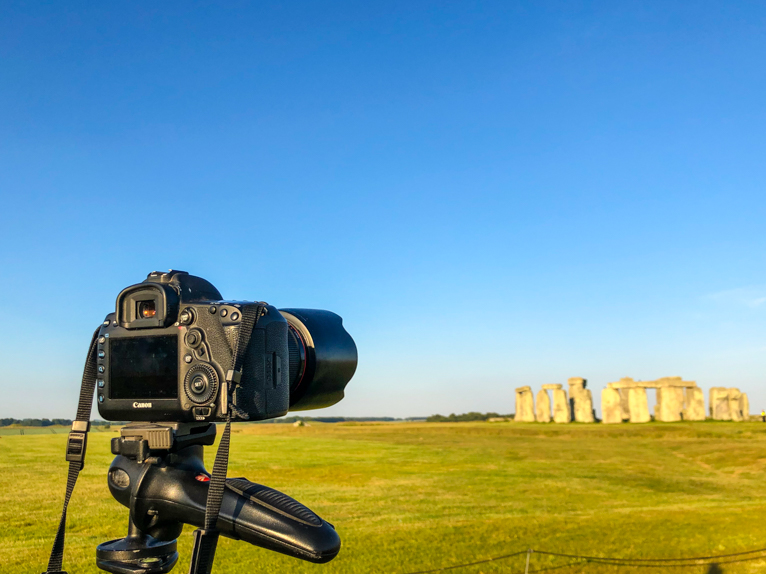
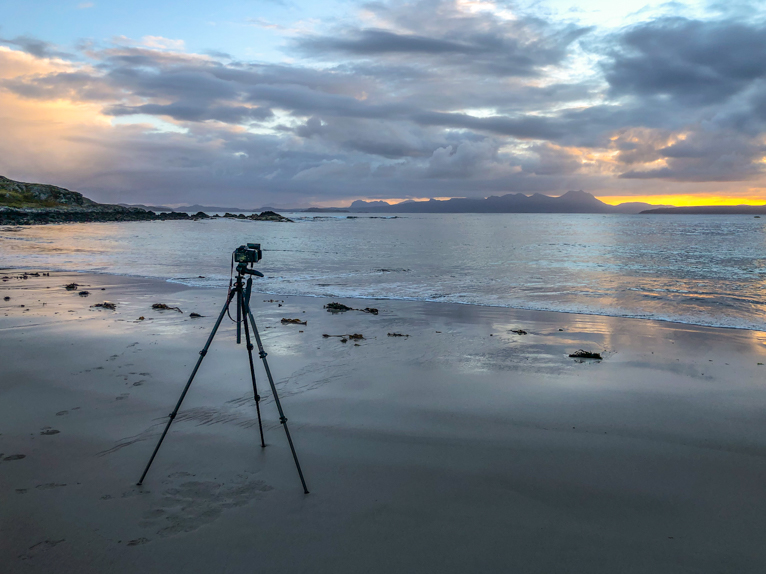
Tripod
I will never forego my tripod on any trip. I have a Manfrotto tripod which is almost 15 years old and in that time I have dropped it, whacked it around and even hit it with my car once and yet it is still in perfect working order. This goes to show that a good tripod is well worth the initial investment as it will last you for a long time. I pack my tripod in my suitcase but as soon as I arrive at a location it is out and ready to use. I can strap my tripod to my backpack so most of the time it is pretty easy (albeit heavy) to carry around.
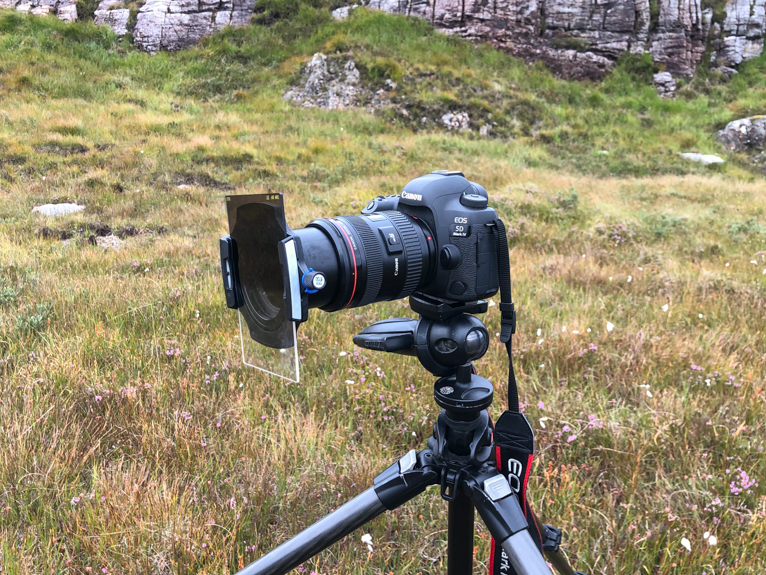
Filters
One of the most important sets of accessories in my camera bag are my Lee square format ND (neutral density) and GND (graduated neutral density) filters. I have a range of them with different stops as well as a Lee little and big stopper. Pretty much every landscape photo that I take will have a filter of some sort attached to my camera. As well as these filters I also carry a polarizer and I have UV filters permanently attached to my lenses to protect the glass against scratches. I don’t also carry a variable screw-in K&F Concept ND filter as a backup in case I ever break or lose my ND filters.
LED Light
Up until a couple of years ago, I would carry a Canon Speedlite flash with me. But I replaced this with an inexpensive LED light that has served me well. In fact, on my last few trips, I didn’t even bother taking my flash with me and just used the LED. The great thing about an LED is that you can place it off-camera without triggers. But also as the light can be on you can get a better sense of how it lights up the subject. And because it is a lot cheaper than my Canon Speedlite I’m less worried when I use it off-camera in busy places.
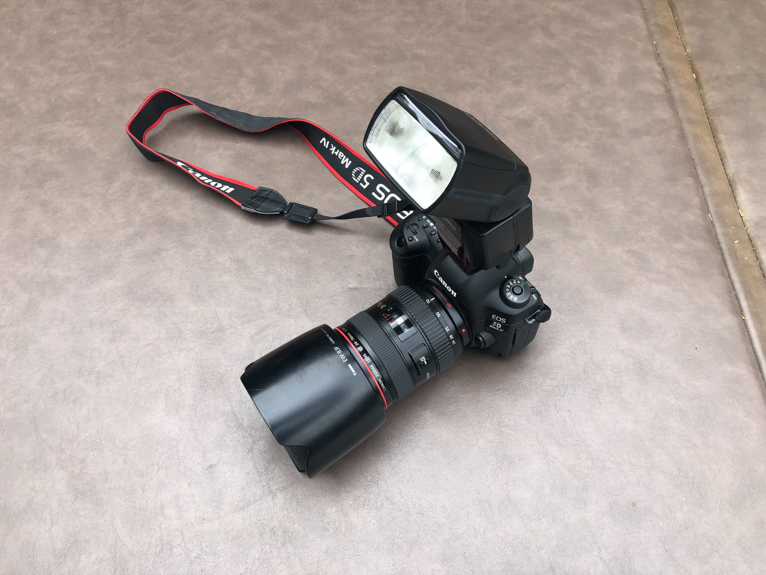
I have replaced my Canon Speedlite with an LED light.
Batteries, memory cards, hard drives and others…
I always try to carry enough memory cards so that I can have a fresh card in the camera every day. This allows me to back up my photos from a day onto my two hard drives every night (using my laptop) but also then keep the memory card. This way I always have three copies of my photos at all times. I only ever format and wipe my cards before I go onto my next trip.
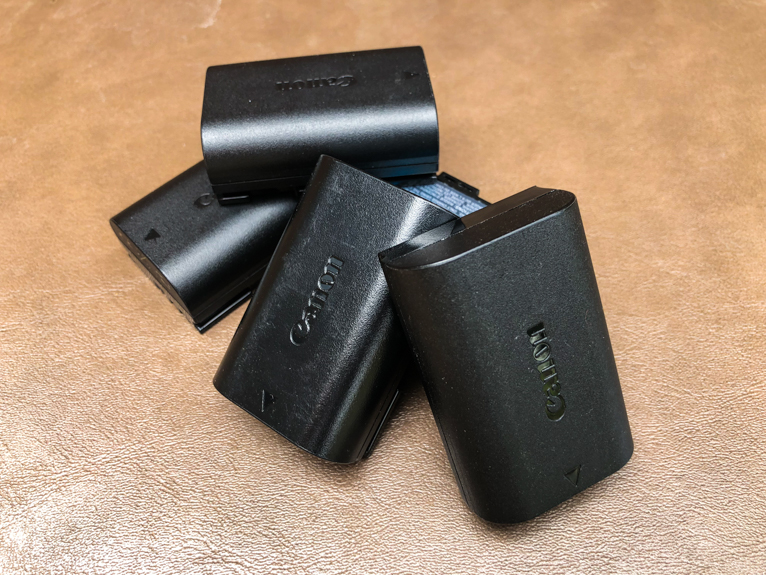
Multiple batteries are also very useful as it means you always have plenty of backups and so are not having to wait for batteries to recharge before using them. I tend to rotate my batteries so every night I would replace my battery with a fully charged one and charge the one I was using that day overnight.
These are the main pieces of equipment that I carry with me on every trip but then I will customize this based on the shoot. For example, if I need a macro lens I will add that to my kit. Or if I know I’m going to be shooting somewhere wet, I’ll add a rain cover for my camera to my bag. But everything above (other than the tripod) fits into my Lowpro backpack and so it means I can take it on the plane as a carry-on. Over time you will build up your own set of equipment, but take my advice and always pack as little as you need to because most of the time you will only use a few selected things.
Photo credits: Kav Dadfar – All rights reserved. No usage without permission.
Latest articles by Kav Dadfar (see all articles)
- How To Photograph Street Performers - April 26, 2022
- Profiled Photographers – Ben McKechnie - August 24, 2021
- Profiled Photographers – Jim Maher - August 24, 2021
is the founding editor of JRNY Travel Magazine as well as a professional travel photographer and writer based in the UK. His images have been used by clients such as Condé Nast, National Geographic, Lonely Planet, Rough Guides and many others. Kav is also the co-founder of That Wild Idea, a company specializing in photography workshops and tours both in the UK and around the world.
See All Articles by Kav Dadfar


Leave a Reply