You might think that as a photographer, you do not want something in your image to be out of focus. Conceptually, it goes against everything a photographer should want in their final image. However, focus can be an important tool in getting creative shots and even better professional-quality images. In the case of achieving bokeh with your photography, a blurred background is necessary and can even enhance the subject.
But just as important is capturing every detail without sacrificing clarity in the background. Imagine your frustration if you are trying to take a close-up shot of something and the details toward the rear of the subject aren’t as clear as those in front. There isn’t a lot of depth, but there’s enough to create a focusing problem.
Focus stacking is a photography technique that can help solve this irritating problem that many novice photographers fall victim to. Surprisingly, it’s a lot easier than you may think, so let’s take a closer look at what you’ll need for focus stacking, how to apply your settings correctly, and what the results should look like.
What you will need for focus stacking
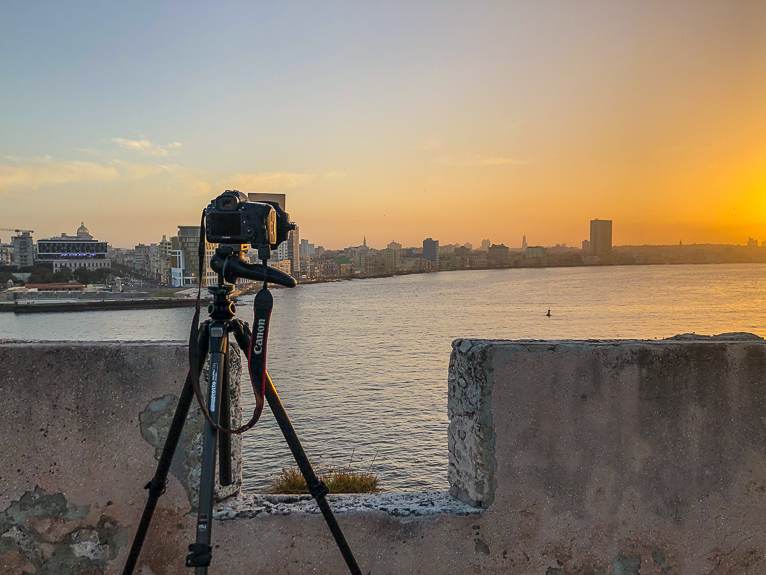
First and foremost, you’ll need something to stabilize your camera such as a tripod. A tripod would be preferable over a monopod since a monopod doesn’t offer as much support and is better suited to a more mobile photographer. For focus stacking to work at its best, you’ll want to be completely still, so a tripod is the way to go.
Your camera should be able to shoot in manual mode, preferably a DSLR camera. To help determine the depth of field for our subject, there are some apps that are really helpful. This isn’t absolutely necessary for focus stacking, but in the iPhone App Store, there are several free apps that can act as a depth of field calculator (such as Digital DoF and DOF Slider).
Finally, you’ll want to leverage some focus stacking software. Photoshop is pretty much the industry standard, but Helicon, InPixio, and ACDSee all make great products as well. Don’t get intimidated by the fact that getting software for the best focus stacking possible is recommended! They are fairly easy to install and use, with a little trial and error.
What does focus stacking actually do to the image?
Basically, images are taken with various focal points and then combined after shooting. This creates a single image that has a greater depth of field. So, in other words, you’re going to stack differently focused images on top of each other to get the best final version possible.
How to capture images for focus stacking
You are using a tripod, right? Good! Because you are going to want a completely still subject when you start out. If you are shooting outdoors, make sure the weather is agreeing with you, too. Lots of wind is going to create problems for focus stacking as it might cause the camera to shake causing blur.
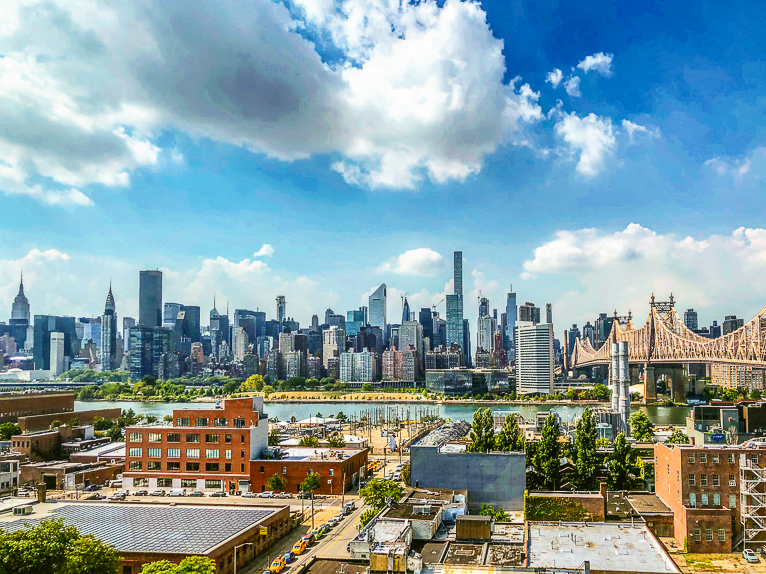
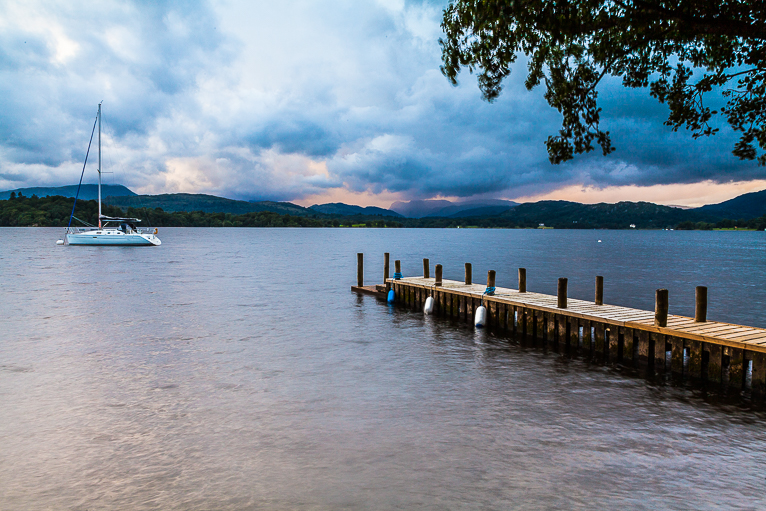
Take a few test shots to make sure your aperture is set correctly for your subject. For this example, we’re going to talk through shooting a landscape scene using focus stacking.
With the camera firmly set on the tripod, frame your landscape scene and compose your shot appropriately. Once you have your aperture setting and your exposure determined, make sure that your camera is set to manual mode. This will allow for a consistent exposure for every image that you’re taking.
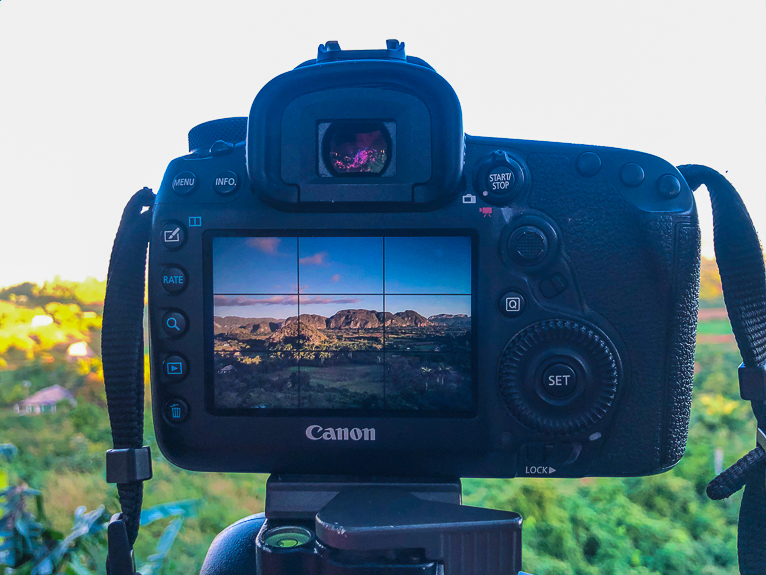
With your camera set to “Live View”, aim the focus point at the closet object in the foreground that you want to be in focus. Get it at the right focal point so that it’s crisp and clear and take the first shot.
Next, focus on something in the landscape midway between the foreground and the background, re-focus, and take your second shot. Do this again for something in the background of the landscape scene, re-focus, and take your third shot. Those apps we mentioned earlier can help you determine just how many exposures you’ll want to take given the scene, but usually, three shots work well for a landscape.
How to stack your images
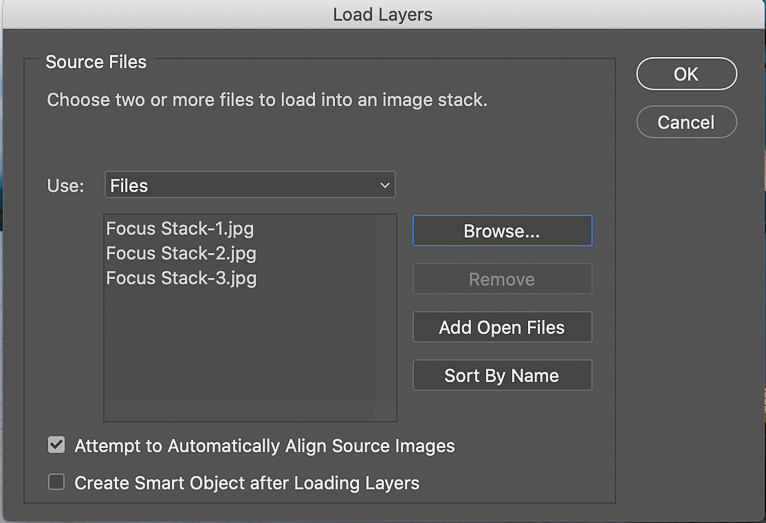
When you have your images it’s time to stack them. For this example, we are going to use photoshop. All you need to do is to select File=>Scripts=>Load Files into Stack. You will then be able to select the photos on your computer by using the “Browse” option. Photoshop can also align your photos if you tick the box for “Attempt to Automatically Align Source Images”.
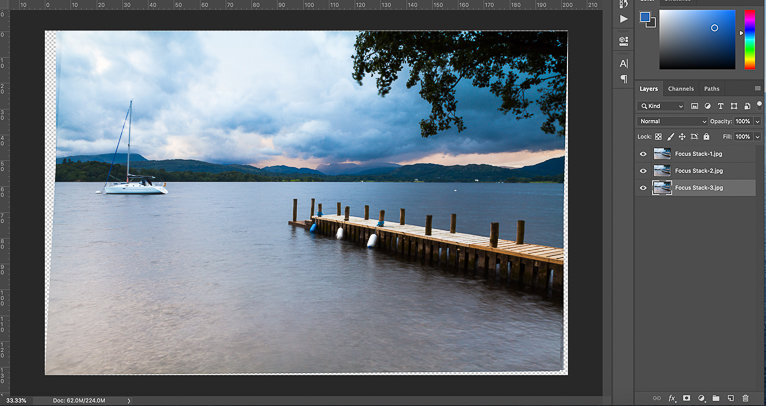
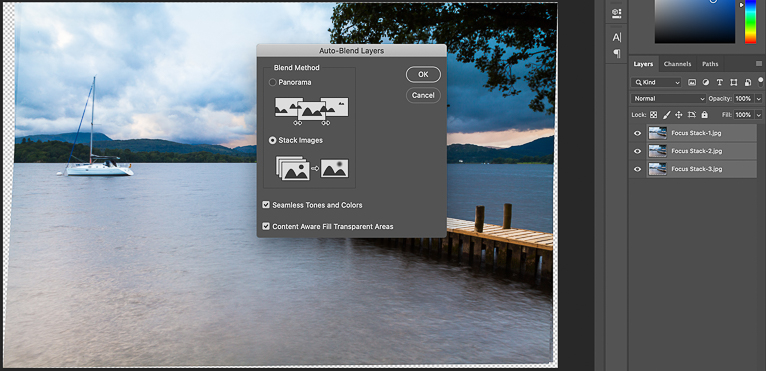
Once you have your stacked image the next step is to blend it into one image. Select the images (different layers) from the right-hand panel and then choose Edit=>Auto-Blend Layers. Select “Stack Images” option and be sure to tick the “Seamless Tones and Colours”. If after you aligned your image you found that there were areas with no image you can also tick “Content Aware Fill Transparent Areas” and photoshop will attempt to fill out your image to the edges.
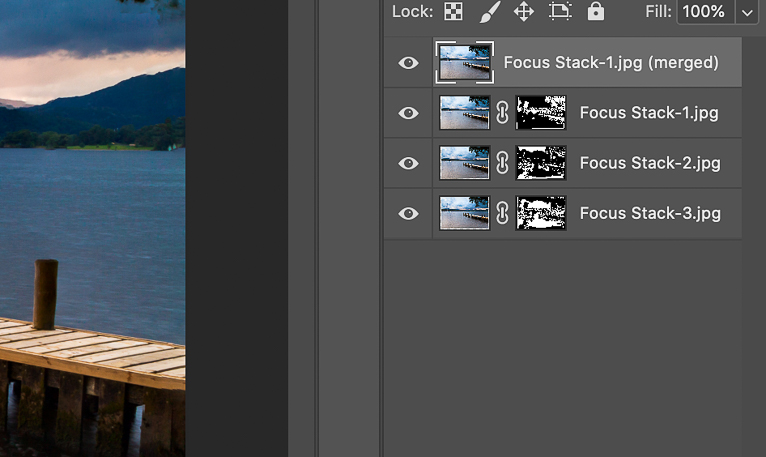
Your image on the screen should look just about ready. At this point, you may wish to just “Flatten Image” from the “Layer” menu option.
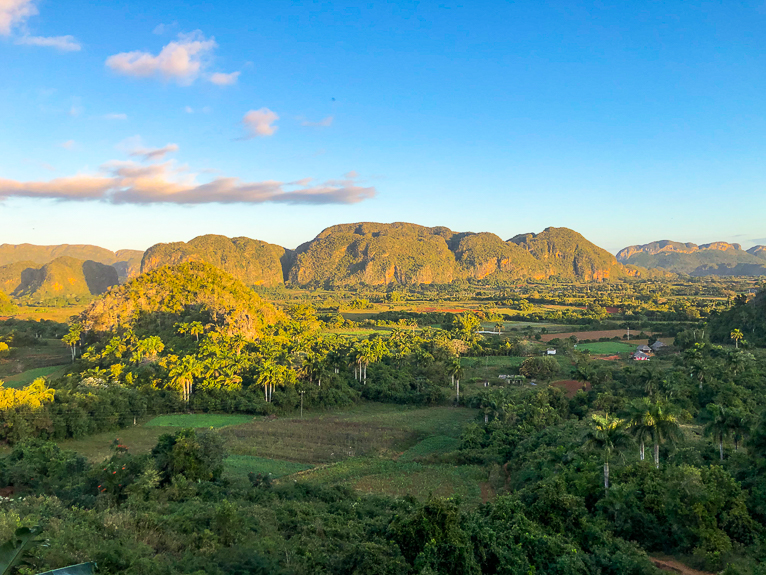
The result should be a crisp and clear picture from front to back, capturing as much detail as possible in your landscape scene. This very basic focus stacking technique has successfully combined three separate images that were shot under similar circumstances to create one fantastic and sharp image!
There you have it, a quick and easy guide for focus stacking. The great thing is that it isn’t a difficult technique to master and often with a couple of attempts you will get the hang of it. Try it next time you are out and about and you may find a new addition to skillset.
Photo credits: Kav Dadfar – All rights reserved. No usage without permission.
Latest articles by Kav Dadfar (see all articles)
- How To Photograph Street Performers - April 26, 2022
- Profiled Photographers – Ben McKechnie - August 24, 2021
- Profiled Photographers – Jim Maher - August 24, 2021
is the founding editor of JRNY Travel Magazine as well as a professional travel photographer and writer based in the UK. His images have been used by clients such as Condé Nast, National Geographic, Lonely Planet, Rough Guides and many others. Kav is also the co-founder of That Wild Idea, a company specializing in photography workshops and tours both in the UK and around the world.
See All Articles by Kav Dadfar


Leave a Reply