Being able to understand light and using it to your advantage is one of the most powerful tools a photographer has. To be able to use light and understand how it can affect the scene will give you far more creative control and ultimately better photos. The thing you need to realize is that there is “light” and then there is the “best light”. If you can understand the characteristics of different lights you will notice a vast improvement in your work. To help get you started, here is a brief tutorial on light and how to use it.
Understanding light
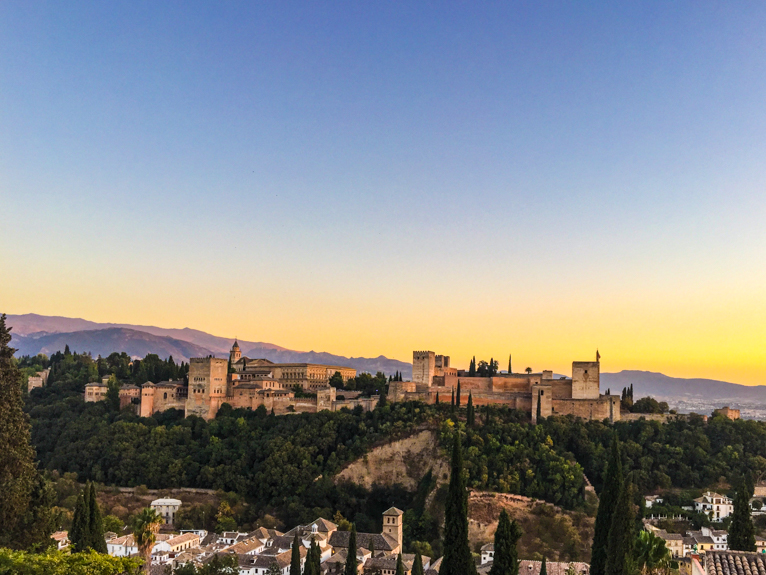
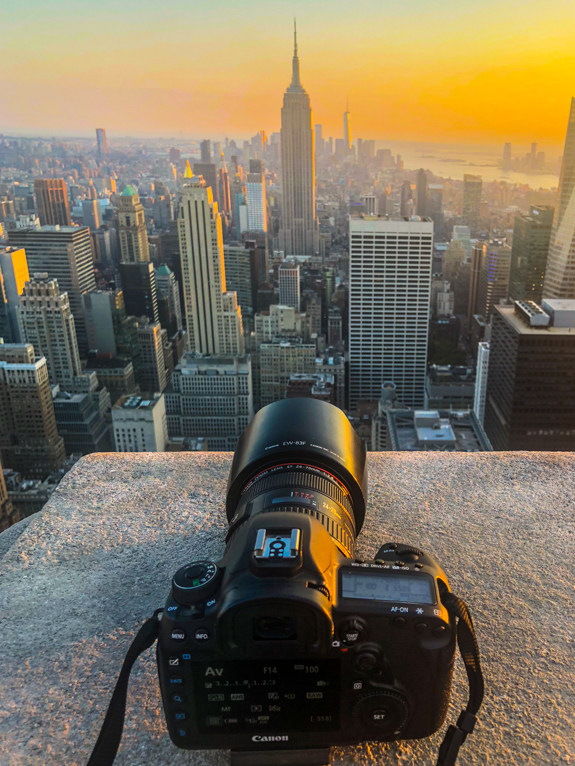
The first thing you should know about light is that it changes throughout the day. For example, early morning light will give you a soft warm yellow or orange look. The low angle of the sun immediately after sunrise and before sunset helps enhance textures, shapes and shadows. This is often the best time of the day for photographing outdoors.
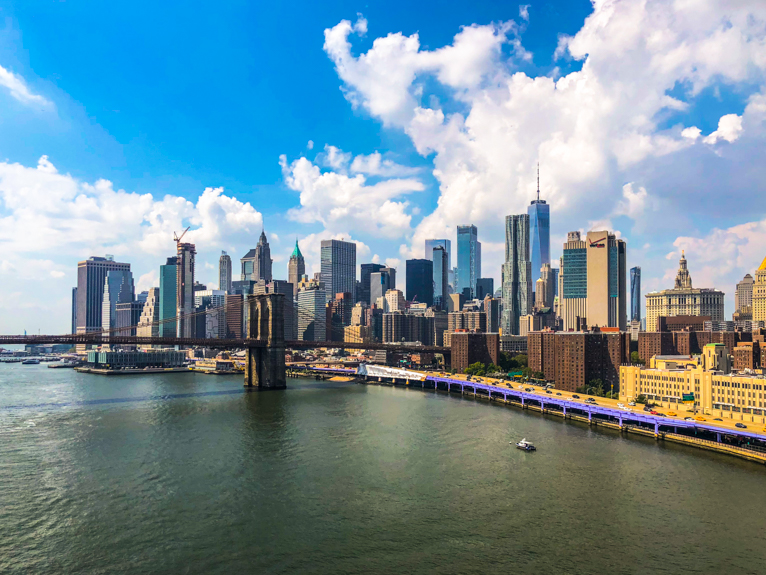
As the sun moves higher in the sky the light becomes harsher. For example, the more intense light of the midday sun makes the colour of the light become cooler and more natural. This will usually washout colours and contrast will be high in your images. You will often find that this intense light will give your images a blue tint.
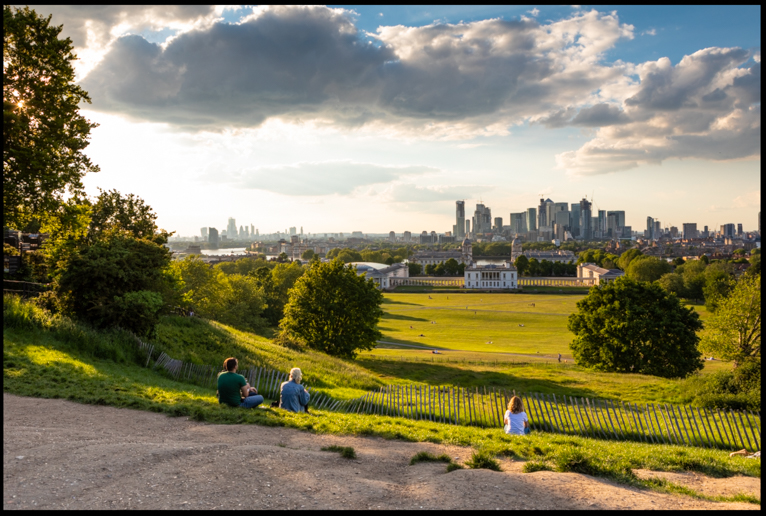
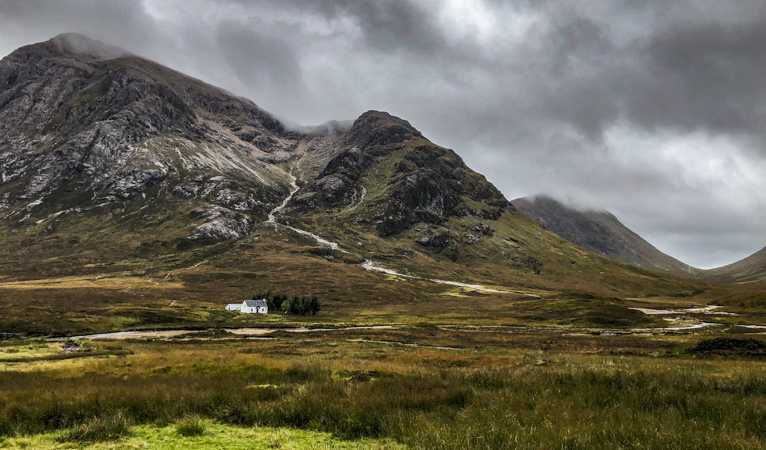
On an overcast but bright day or when the sun disappears behind a cloud, the light will become much more flat with soft shadows and little contrast. This doesn’t mean you shouldn’t photograph during these times, but for example, they may not be ideal for photographing landscapes. But on the other hand, they make ideal conditions for taking portraits or even food.
So as you can see understanding the different types of light will help you determine what to photograph and when. Because remember there is always an ideal time to photograph anything.
Light direction
Naturally, throughout the day the position of the sun changes. As a result, the direction of the light differs greatly in the morning to the afternoon. So you need to consider which direction is ideal for the subject you are photographing. Broadly speaking there are four main directions to consider. These are front, side, back and top. If you find that you get to a place and light isn’t coming in from the right direction, you have four options. You can either find another place to photograph from meaning the direction of the light will be in your favour. If you are photographing a subject you can try moving it or them (i.e a person). You can wait for the light to change or you can come back at another time. The important thing is not to just settle for the photo but capture it when it is lit best.
The quality of light changes
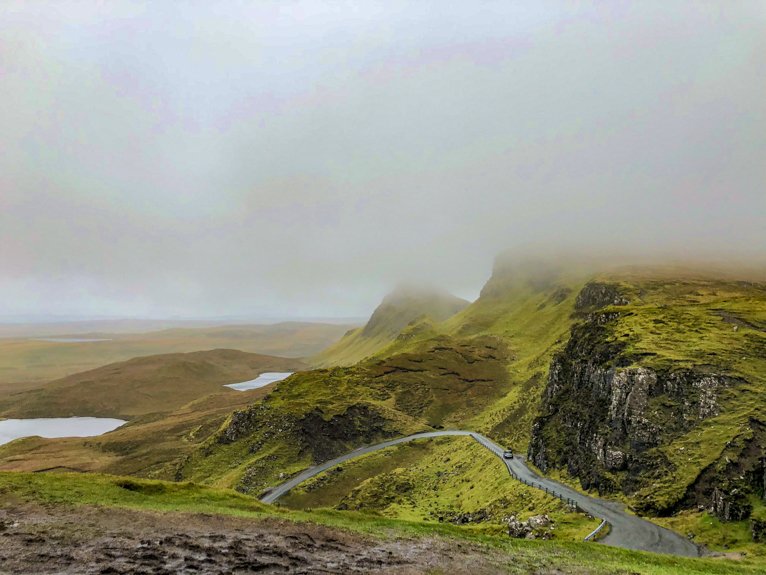
The other element that you need to factor in is the quality of light. This is somewhat influenced by the weather and things like pollution. For example, if there is a lot of haze in the sky this acts as a diffuser in your image which can sometimes be good or bad. For example in landscape photography, the crisp air in the winter months will give much sharper and clearer conditions during sunny weather. Or for example rainfall can clear the air of pollution and give you a much nicer image. Make it a priority to learn about the quality of light.
The flat light isn’t helping this scene.
Turn light to your advantage
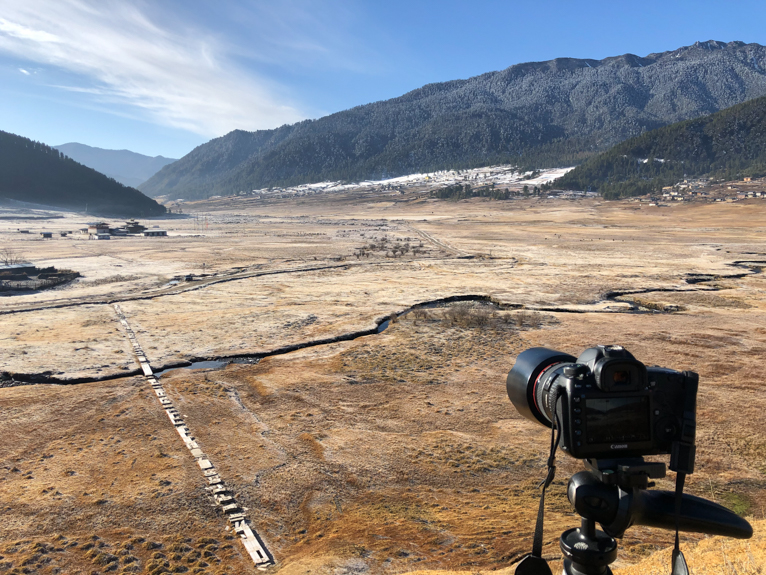
Most travel photography will involve photographing in natural outdoor light. However, there will also be times where you will be using other light sources such as flashes or even indoor lighting. But for the most part, you’ll be using natural light. The key with any sort of outdoor natural lighting is to use it to your advantage. To do that effectively, you need to work with it rather than against it. So if you get to a location and find that the light isn’t correct, try to find another viewpoint where it will make your job easier. Or even come back at another time.
Predict the effect of light
Once you understand the characteristics of the “right light” i.e. its colour quality and direction, you can predict the effect that it will have on your subject. This will allow you to compose your shot to make the most of the light available. To be able to do this well you need to understand how light changes throughout the day so spend some time experimenting with photographing at different times with different light conditions. This will help you build a picture of the effect of light in different scenarios and conditions.
Sunrise and sunset
Sunrise and sunset photos are usually the ones that photographers covet the most. The reason for this is that during sunrise and sunset not only are you getting that wonderful warm soft light that enhances the scene, you are also sometimes treated to a magnificent sky. It’s no wonder that a great sunset photo will wow the viewer. The main issue to be aware of when photographing during these times is that the low sun can provide a challenge for the camera’s light meter. If you expose your image to ensure your highlights i.e. bright areas are not clipped, you will find that your image is too dark. On the other hand, if you expose your image to ensure your dark areas are not clipped you will find that your bright areas are often clipped.
There are several options to be able to rectify this issue. The two most common are to use a graduated neutral density filter or to bracket your images. So as well as learning about light, you should also practice how you can use equipment and techniques to control light in your photos.
Light is one of the most significant aspects of a great photo. If you want to capture stunning photos you need to know how to use light to your advantage. If you can do that you will see a vast improvement in your photos. The points above are just the basics of learning and about light. But hopefully, they will begin to show you how important it is to understand this key aspect of photography.
Photo credits: Kav Dadfar – All rights reserved. No usage without permission.
Latest articles by Kav Dadfar (see all articles)
- How To Photograph Street Performers - April 26, 2022
- Profiled Photographers – Ben McKechnie - August 24, 2021
- Profiled Photographers – Jim Maher - August 24, 2021
is the founding editor of JRNY Travel Magazine as well as a professional travel photographer and writer based in the UK. His images have been used by clients such as Condé Nast, National Geographic, Lonely Planet, Rough Guides and many others. Kav is also the co-founder of That Wild Idea, a company specializing in photography workshops and tours both in the UK and around the world.
See All Articles by Kav Dadfar


Leave a Reply