Every photographer knows the importance of capturing sharp photos. Whilst photos can often work for personal projects or social media if they are slightly blurred, if you are looking to sell your images, you will usually find that your images will be rejected if they are not technically perfect. Unless the photo is supposed to be blurred (i.e. motion blur) then it will simply not get through the QA of picture editors. Here are 7 simple tips to help you capture sharp photos every time.

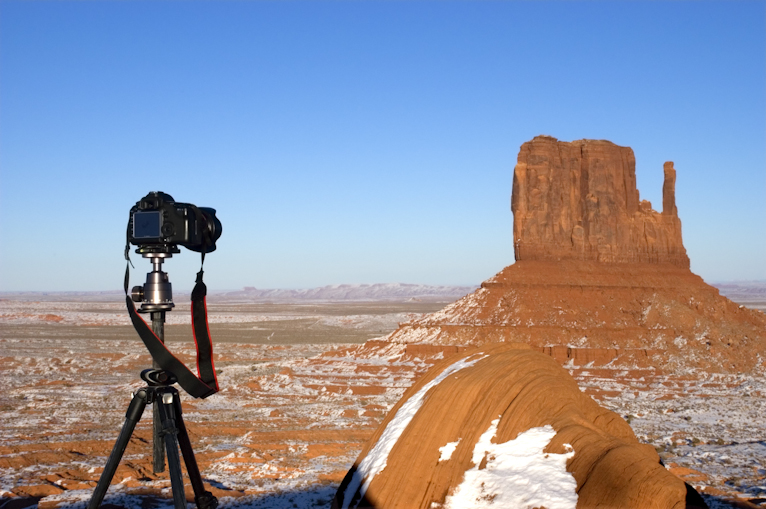
Use A Tripod
Most photographers will probably tell you that this is their favourite accessory. If you want to take the best photo possible in the best possible light, more often than not, a tripod is essential. The great thing about using a tripod is that it gives you full control over the photo but also usually means you can step away and think. But the greatest benefit of using a tripod is that it will allow you to take a photo with a deeper depth of field even if you have to use a slow shutter speed. Tripods vary greatly and very often the cheaper ones are simply not sturdy enough so make sure you do your research.
The Correct Aperture
This is a topic that usually generates a lot of debates. In simple terms the smaller the aperture (larger f number) the greater your depth of field and thus the sharper your image will be, all the way from the foreground to the background. But it isn’t as simple as that as in fact, very small apertures (large f numbers) can have an adverse effect on the sharpness of the image and make it look soft causing something called “diffraction”. Most photographers would agree that apertures of around f/8 to f/10 will produce pretty good results, but the only way to know for sure is to test your lenses to find out what their limitations are.
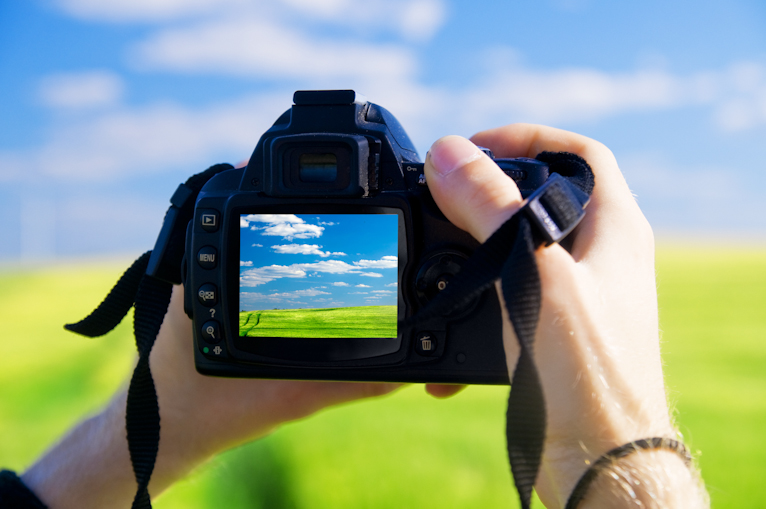
Use Manual Focus
The auto-focus in DSLR cameras has come a long way and is now superb, however, if you want to ensure your photos are correctly focused and sharp you should try to manually focus. Manually focusing will ensure that the photo is focused on the subject you are looking to photograph and not something in front or behind the object that the camera has accidently picked up. Almost every digital camera now allows us to “live view” the images on the screen on the back of the camera, so simply set your camera to manual focus and zoom into the image and check that the details you want are sharp and make any necessary adjustments.
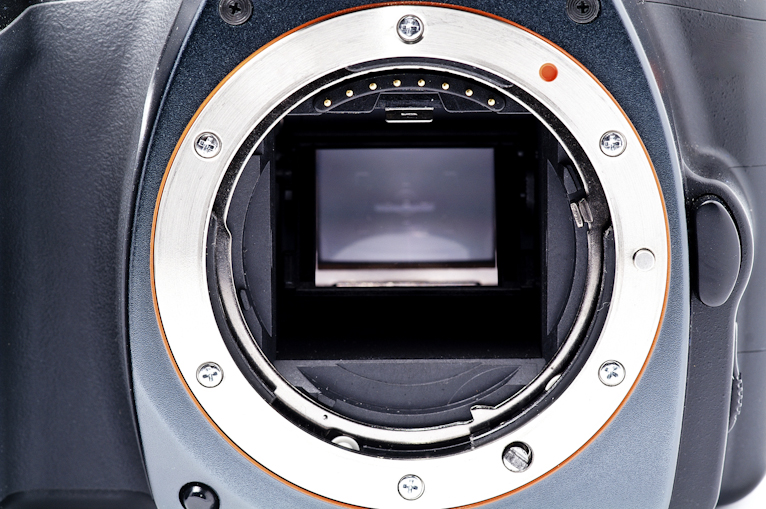
Mirror Lock Up
This is sometimes where beginner photographers stumble when it comes to capturing sharp photos. You might not realise, but on traditional DSLR cameras with a mirror, every time you press to take a picture, the mirror inside the camera flicks up and down to allow light to come into the sensor. If you are photographing with a fast shutter speed this often won’t make any difference, but for longer exposures this movement can shake the camera slightly, which will make your photos look soft. Some cameras will automatically lock the mirror in “live view” mode, but if it doesn’t or you are not going to use “live view” make sure you adjust the “mirror lock up” setting in your camera’s menu.
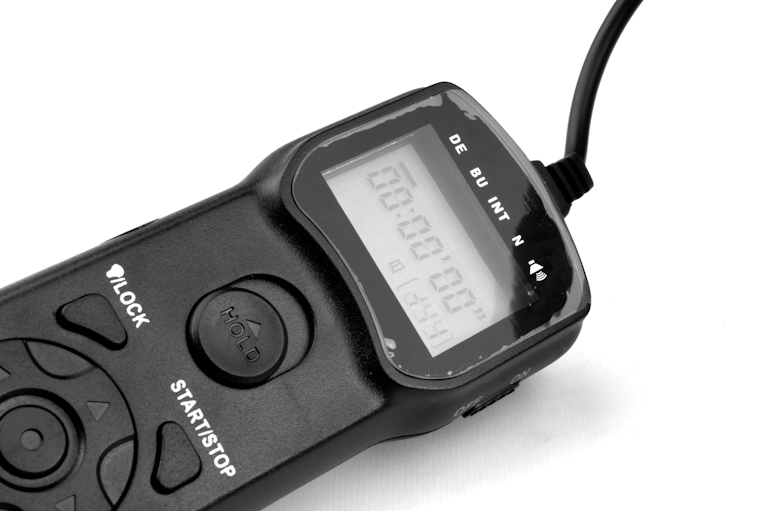
Remote Timer Or Release
Arguable the most difficult sharp images to capture are the ones that require long exposures. After all, this is where things have time to go wrong. You need to be aware of any movement because even the slightest bump can cause camera shake and make your image look blurry. Sometimes this comes from simply pressing the shutter release button on the camera! The best way to avoid this is by using a cable release, but if you don’t have one, fear not, you can simply set your camera on a timer so that when you click to take a photo, the time starts. Needless to say that this only works if you are using a tripod or have rested your camera on a sturdy surface.
Think About ISO
There are times when you simply have to raise your ISO to be able to allow enough light into the camera to make a picture. But the higher your ISO, the greater the level of noise in your photos, which in turn means the softer your image will be. Different cameras have different levels of noise so it is imperative to test your camera at different ISO settings to get an idea of how much noise you will get in your photos. By doing this prior to using your camera in real time situations, you’ll have an idea of how high you can set your ISO before the level of noise becomes unacceptable.

Post Production
There is no doubt that every photo can benefit from some form of post-production, whether that is simple cropping to more advanced colour corrections and retouching. But the key to a great final image is to ensure that the post production is subtle and enhances the photo rather than over powering it. So use post production diligently to make your images look sharper, but avoid too much noise reduction or sharpening. If you can tell that your image has been post processed, then so can picture editors – subtlety is the key.

It’s usually one of the most frustrating things for a photographer to think that they have captured a great photo only to realise that it isn’t sharp. With practice you will improve and those annoying blurred photos will become less and less frequent. Just follow the simple tips above and you will be on your way.
Photo credits: Kav Dadfar – All rights reserved. Dreamstime.
Latest articles by Kav Dadfar (see all articles)
- How To Photograph Street Performers - April 26, 2022
- Profiled Photographers – Ben McKechnie - August 24, 2021
- Profiled Photographers – Jim Maher - August 24, 2021
is the founding editor of JRNY Travel Magazine as well as a professional travel photographer and writer based in the UK. His images have been used by clients such as Condé Nast, National Geographic, Lonely Planet, Rough Guides and many others. Kav is also the co-founder of That Wild Idea, a company specializing in photography workshops and tours both in the UK and around the world.
See All Articles by Kav Dadfar


I have noticed that during my tests when the camera was on a tripod, that if I left the Image Stabilizer on, the picture would be blurred. Turned it off, and the picture was sharp.